Connecting Vive Trackers to Unreal Engine
For the full official tutorial, please refer to:
1. Get Your Trackers Ready
First things first—make sure each Vive Tracker is turned on and paired through SteamVR. SteamVR Settings > Devices > Pair Controllers > I want to pair a different type of controller.. > HTC Vive Tracker. You’ll know it’s good to go when the LED light is solid green.
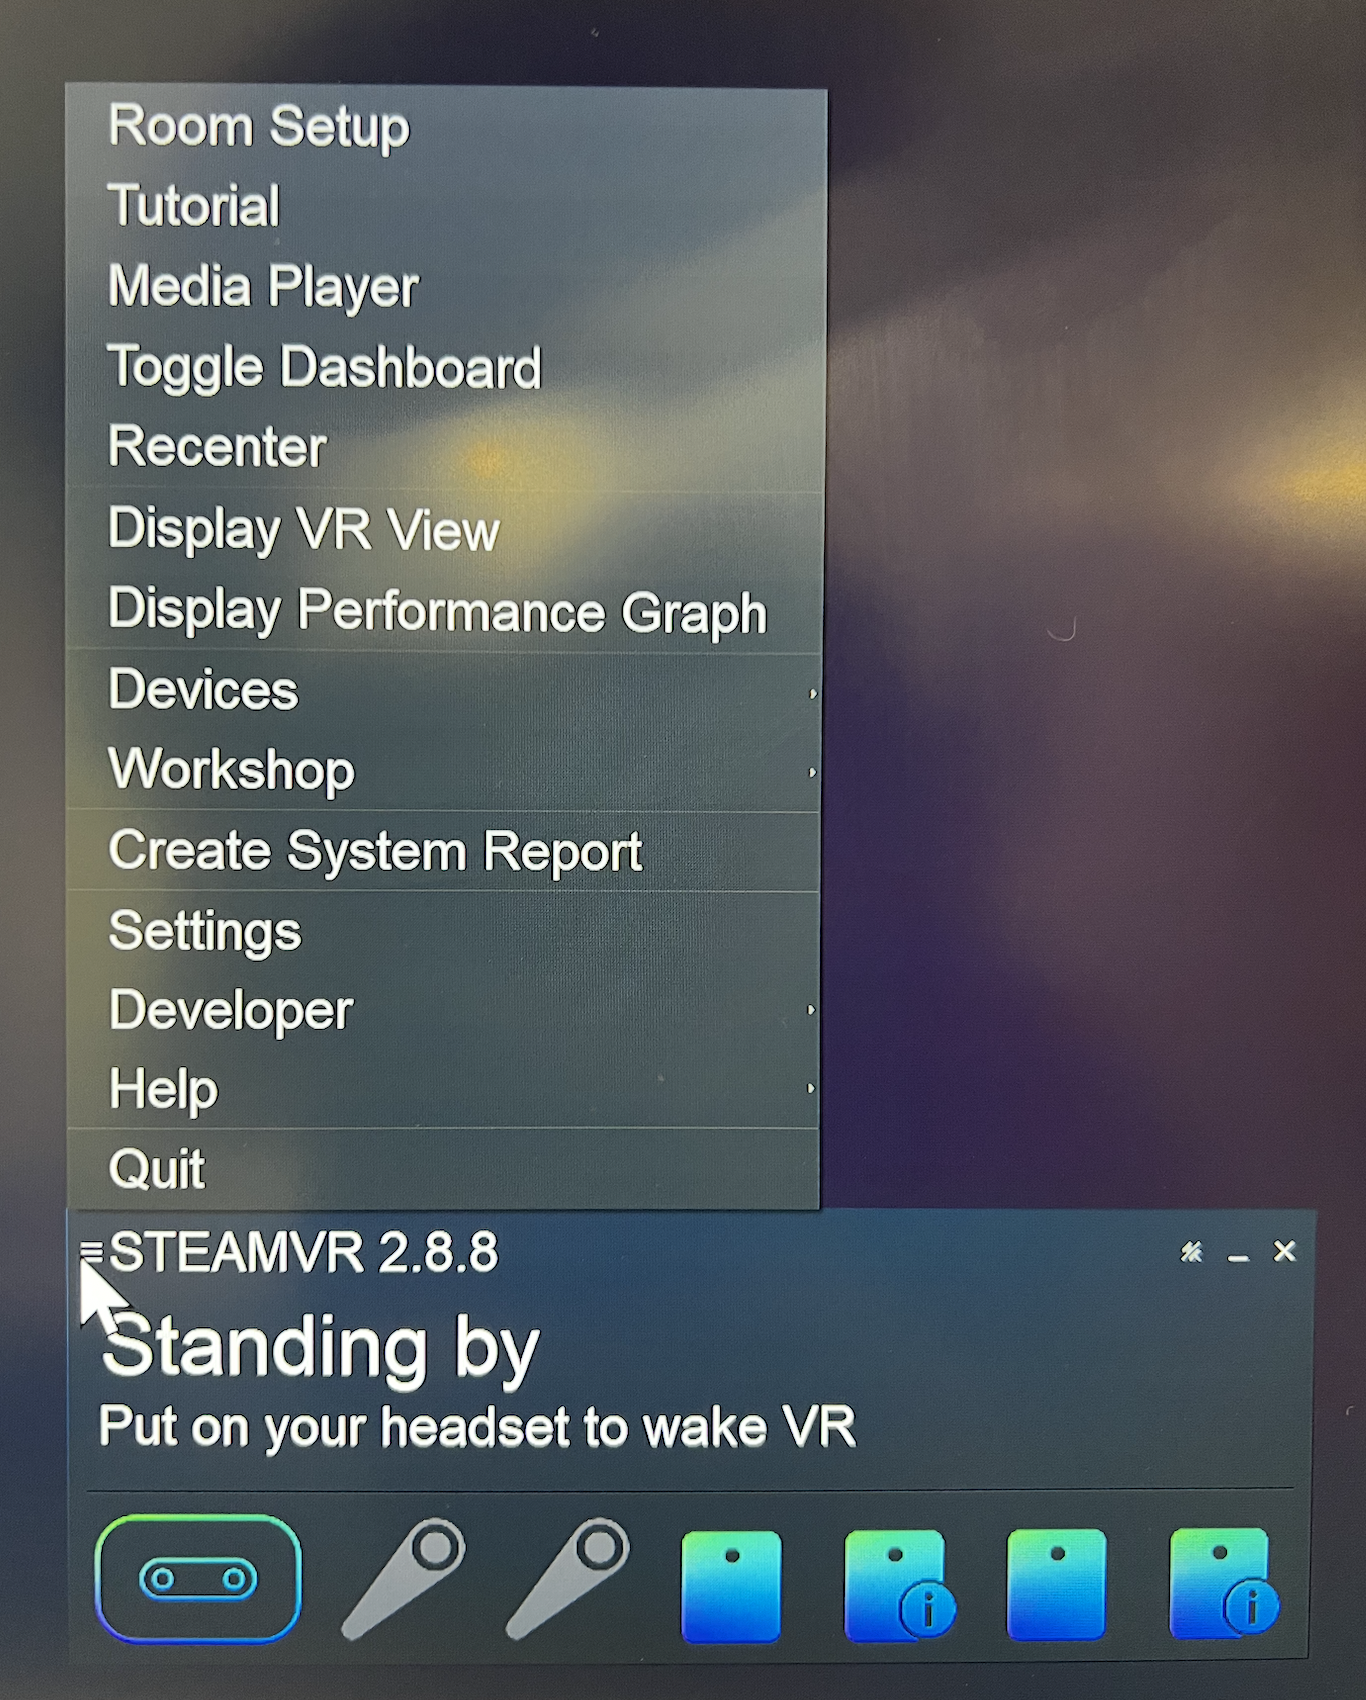
- Click the 3 little lines on the top left of the SteamVR desktop dashboard window to open the SETTINGS.

- Then go to Devices, chose pair your contrllers, click on I want to pair a different type of controller, then select HTC Vive Tracker.
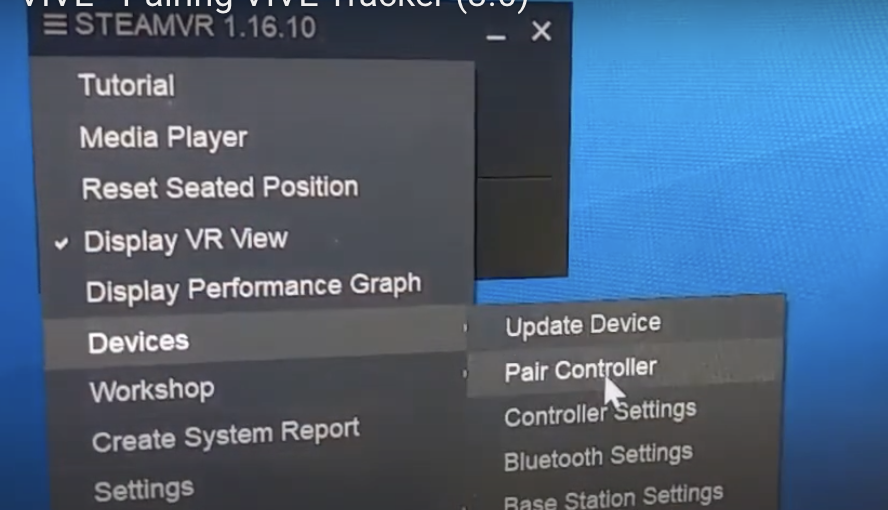
- Turn on the Tracker.


2. Set Up the Plugin
- Double-check that SteamVR is running.
- Open Unreal Engine and go to Edit > Plugins.
- Find and enable OpenXR Vive Tracker.
3. Assign Tracker Roles
After pairing your trackers you will need to assign them to the correct body part in SteamVR's Manage Trackers section, Left foot, Right Foot, ect. Its best to do them one at a time and label the tracker in some way so you know which body part is paired with that tacker.
Now let’s tell SteamVR which tracker does what:
- SteamVR Settings > Controllers > Manage Trackers
- Assign the roles like this:
-
Waist →
waist -
Left Foot →
left_foot -
Right Foot →
right_foot
-
Waist →
4. Integrate with Unreal Engine
- Open your project’s blueprint.
- Locate the Motion Controller component.
- Add a Live Link component to stream tracker data.
- Make sure the Role matches the SteamVR assignments.
5. Find and Link the Prawn Asset
- Connect the prawn’s motion controllers to the corresponding trackers. You could check here for more details Fixing Live Link XR in Unreal Engine 5.2 and 5.3
- Open the Content Browser.
- Search for prawn, and follow the tutorial video.
6. Test and Calibrate
- Run your project in VR Preview.
- Do some basic movements to check if everything tracks correctly.