Kinect
Kinect for Windows and Azure require different drivers and SDK. Identify your Kinect and install the corresponding SDK from below.
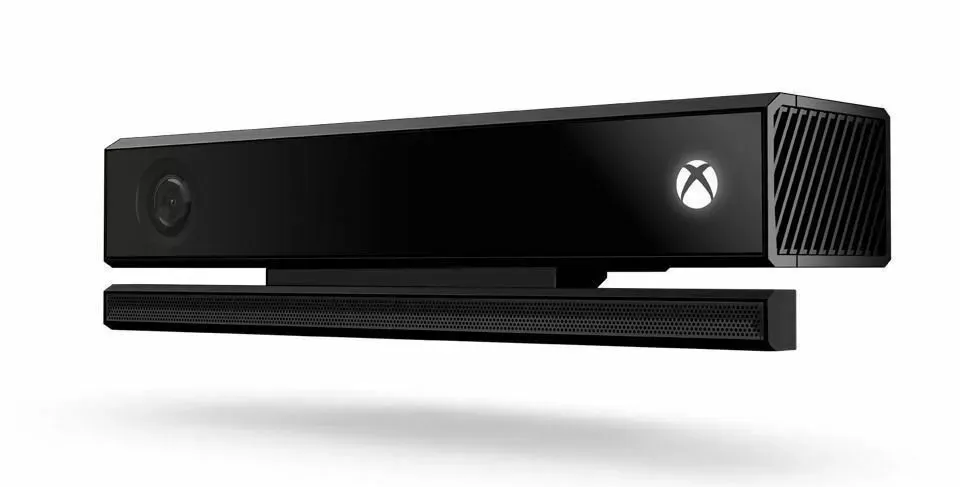 Kinect for Windows V2
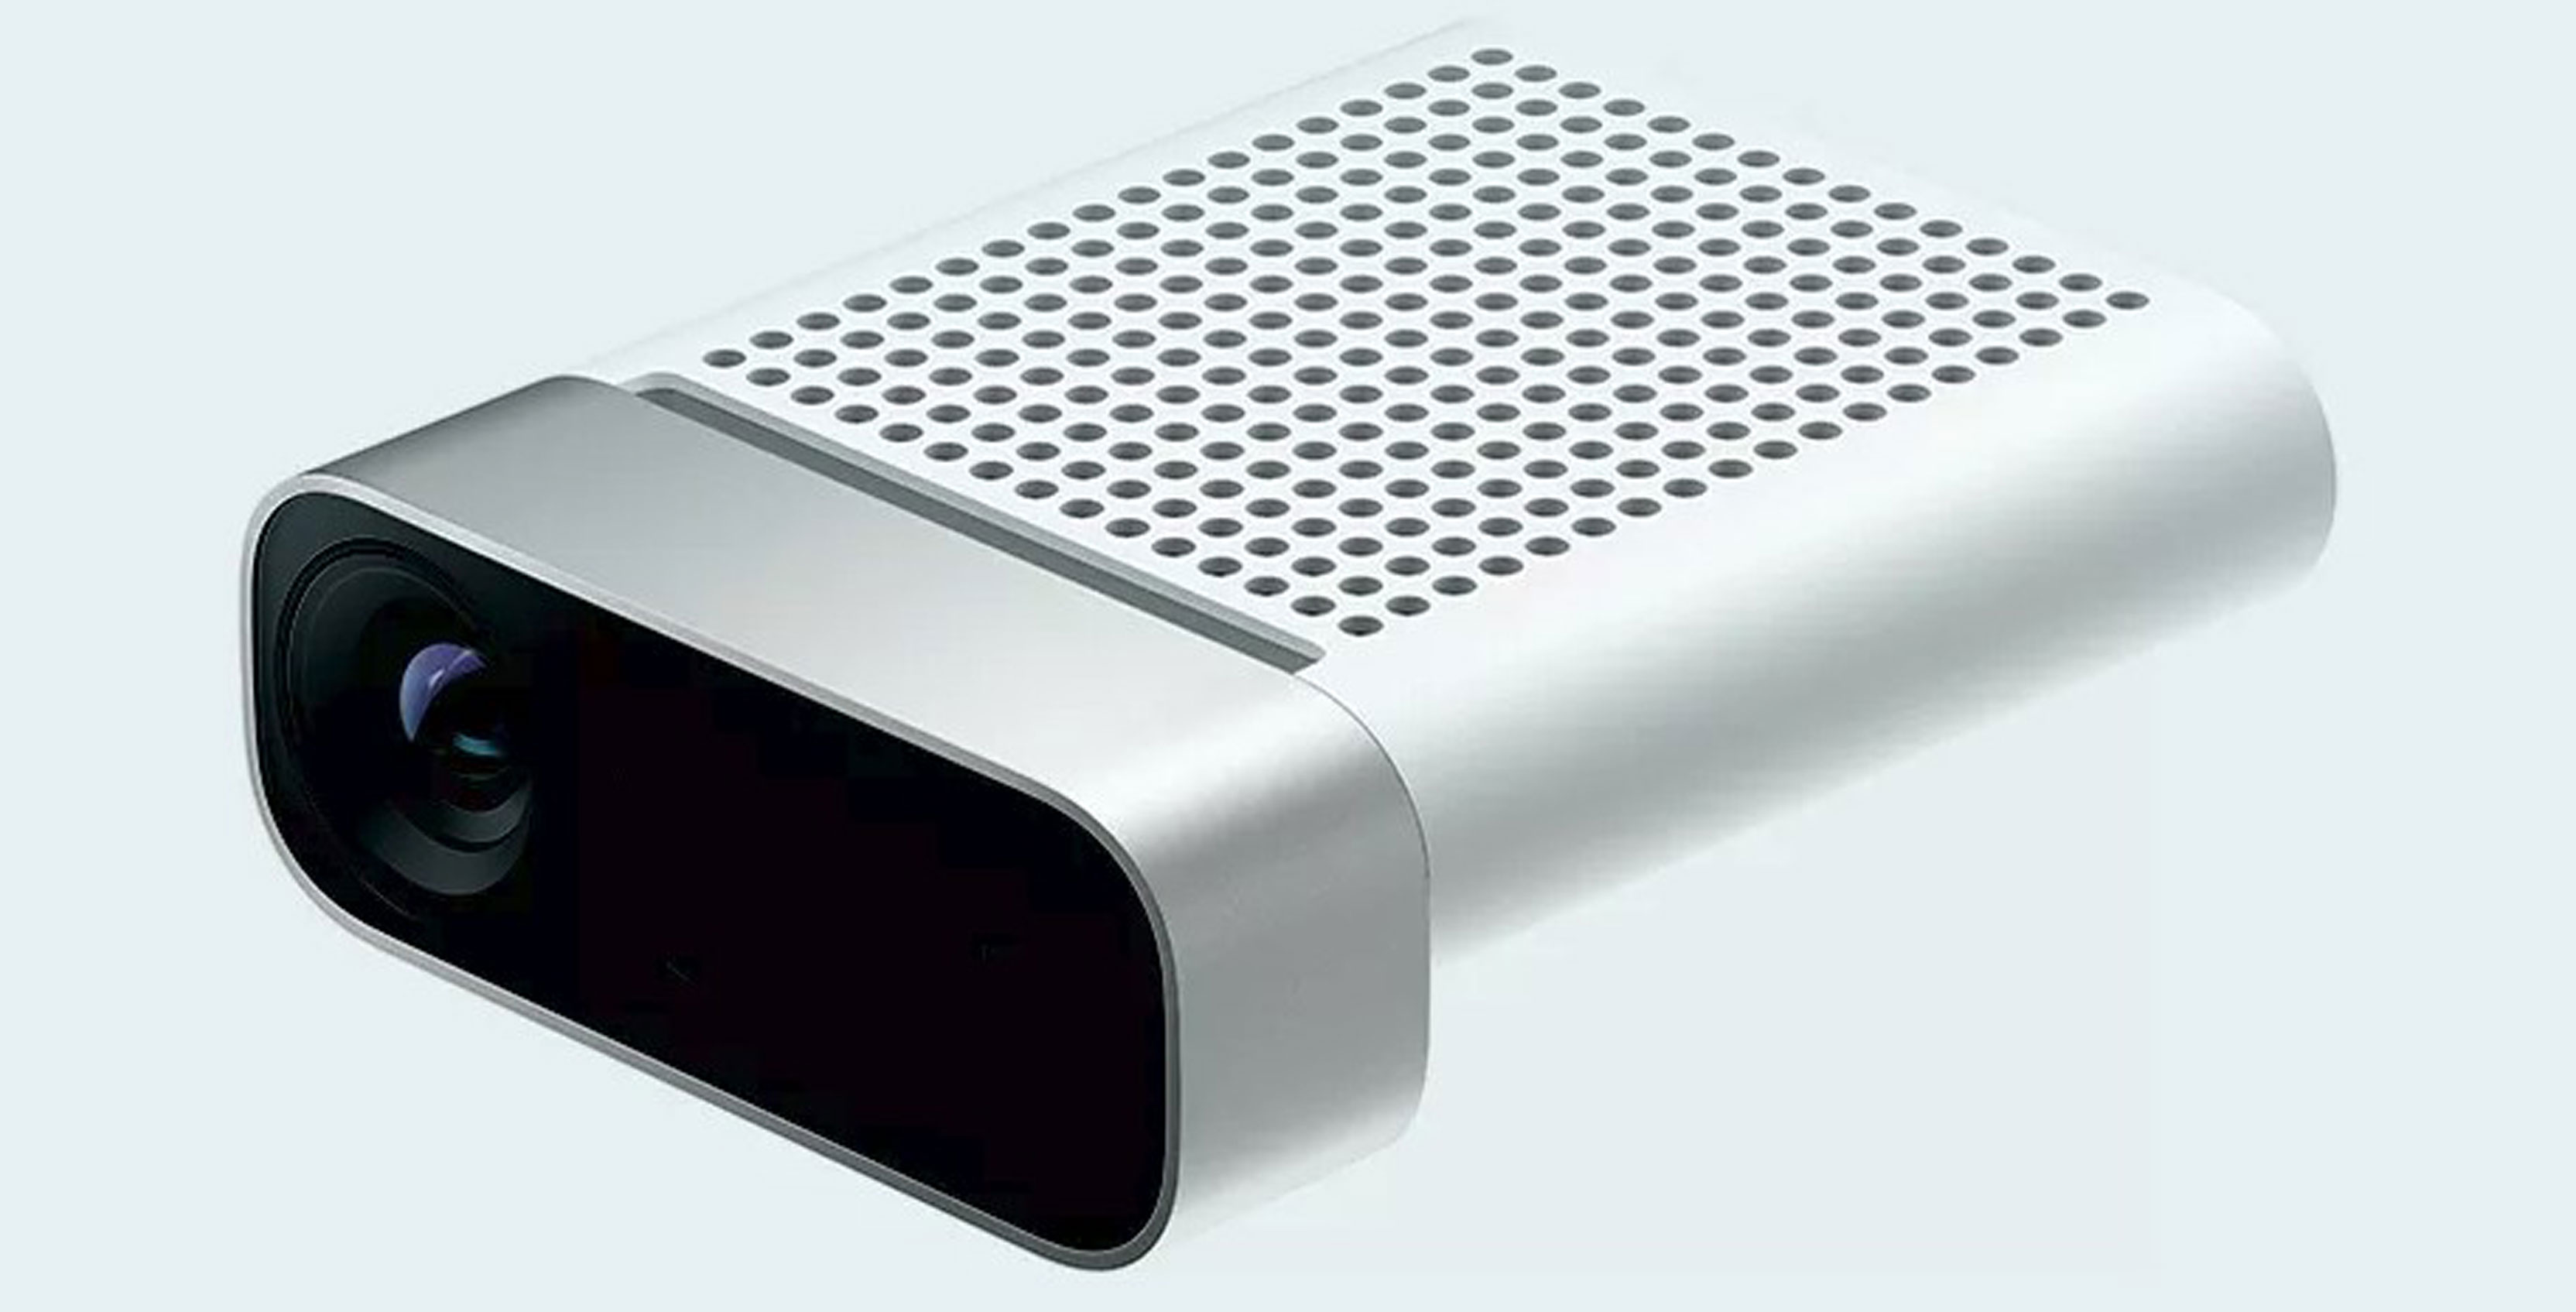 Azure Kinect
Kinect for Windows V2
Download and install the Kinect for Windows SDK 2.0
Download Kinect for Windows SDK 2.0 from Official Microsoft Download Center
After you install the SDK, connect your Kinect to your computer, make sure the power supply is connected, the usb cable only transfer data.
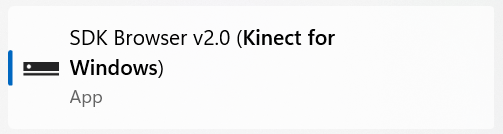
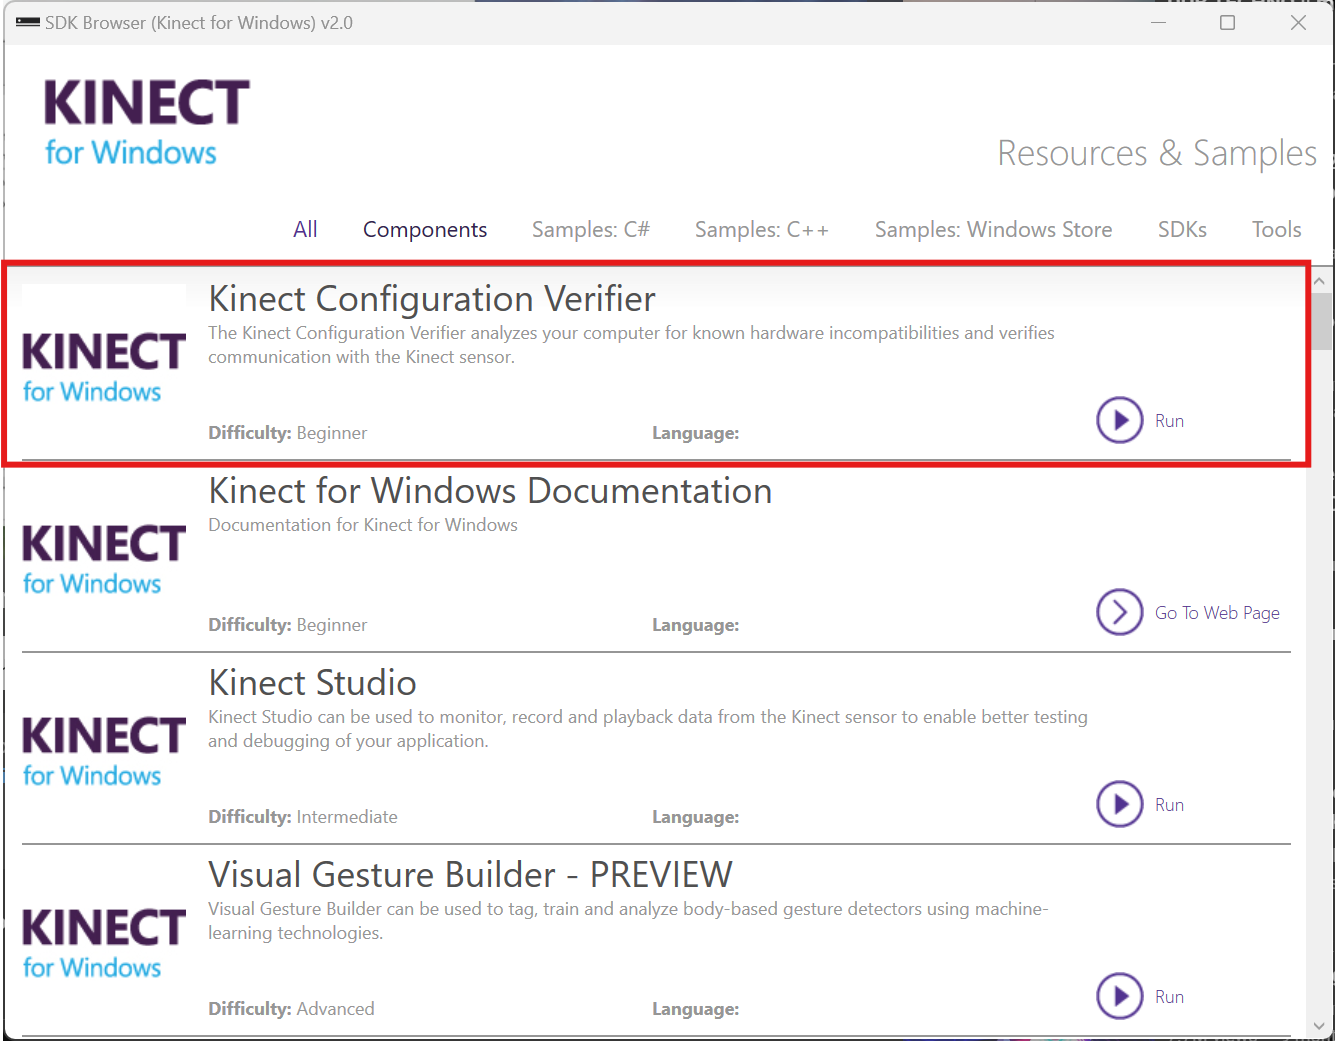
Head to SDK Browser v2.0 to find the SDKs and Documentation. You don’t need to touch the SDKs to use Kinect, but the installation is required for other application to run on it.
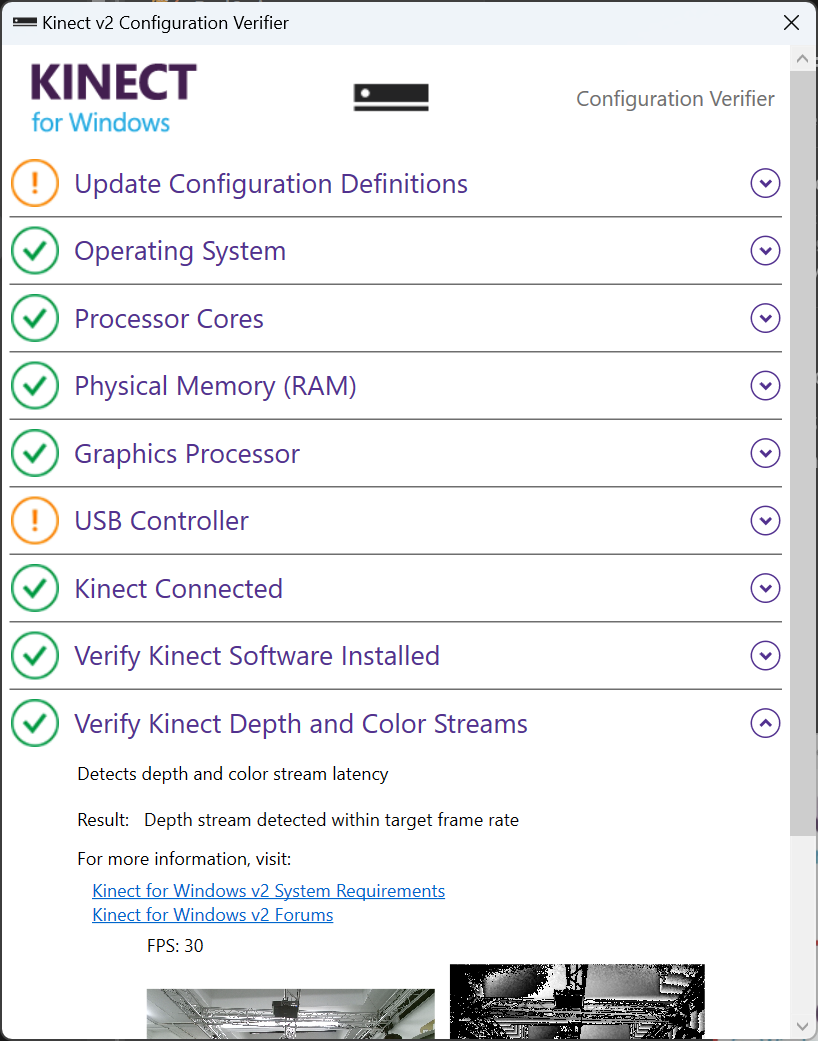
Use the Kinect Configuration Verifier to check if Kinect is working properly. It may take some time to run, if you can see the color and depth image in the last section, then everything is all set now.
You can view your live Kinect feed with Kinect Studio 2.0
Azure Kinect
Azure Kinect SDK can be found on GitHub, follow the instruction to download and install the latest version.
Connect Azure Kinect to your computer. Azure Kinect could be powered with a standalone power supply or directly from usb-c. Make sure you use the bundled usb-c cable or a quality cable that meets the power delivery and data speed requirement.
Verify the connection and view the live feed from Azure Kinect Viewer.
Troubleshooting
Kinect don’t show up as a device/ Couldn’t connect to the Kinect
- Check your usb connection
- Check if Kinect is connected to power
- Try a different usb cable that is known good for data and power
** The inferred light on Kinect only turns on when there’s application actively using the device
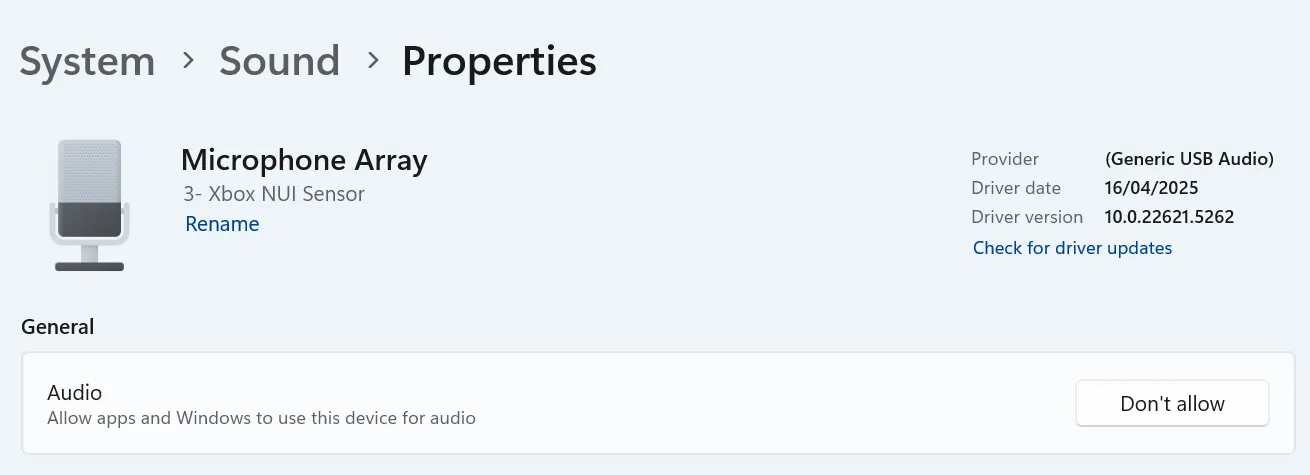
Kinect for Windows connects, but looses connection/reboot every couple minutes
Go to your system sound settings and find Microphone Array Xbox NUI Sensor. Make sure this device is allowed for audio. If not allowed, Kinect won’t initialize properly and try to reboot every minute.