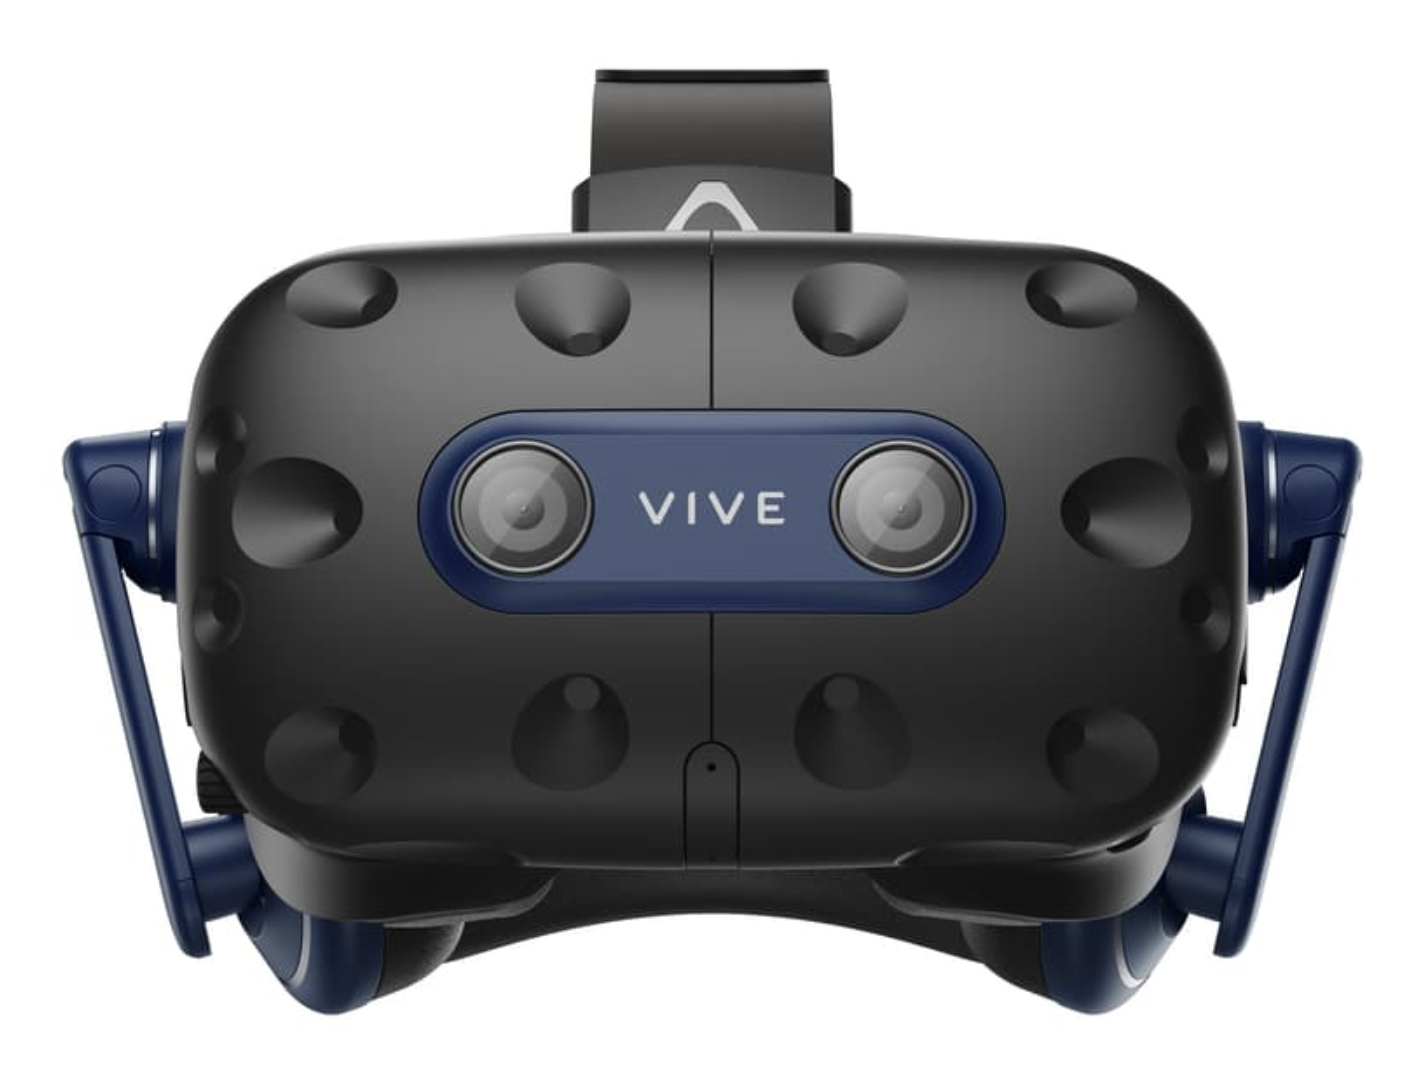
Using the VIVE Pro 2 Full Kit
 We got the VIVE Pro 2 headset and base stations, controllers (HTC Vive Controllers and VALVE INDEX Controllers), and trackers in the lab.
Setup
For the full official tutorial, please refer to: VIVE Pro 2 Setup Video
1. Hardware Connections & Power Check
Before powering on your PC: Ensure all devices are powered and connected
- Headset, controllers, Lighthouse base stations, and the Vive link box should all be connected and displaying a solid green light.
-
Link box connections:
- DisplayPort cable → Graphics card port
- USB 3.0 cable → PC USB port
- Power adapter → Mains socket (requires 9V/1.5A or above)
2. Software Setup
Essential Installations
-
Steam & SteamVR
- Download and install the Steam client.
- Search for and install SteamVR from your Steam library.
-
Room Tracking Configuration
- Open SteamVR > Room Setup
- Base stations should be mounted at a height of at least 2m, positioned diagonally across the play area.
- Controller pairing: Press and hold the system button until the LED flashes blue → complete pairing via the SteamVR interface.
3. Unreal Engine 5 Integration
Initial Project Setup
-
Create a New VR Project
- Template:
Games > Virtual Reality - Select
BlueprintandStarter Content(for quick testing) - Tip: Begin with a simple scene (e.g., an empty template) and gradually increase complexity.
- Template:
-
Enable Key Plugins
- Go to
Edit > Pluginsand enable the following:- OpenXR (recommended for SteamVR compatibility and future-proofing)
- OpenXR Hand Tracking
- OpenXR Vive Tracker (if using external trackers)
- SteamVR (required for the Vive Pro 2)
- Oculus VR (if Oculus headset compatibility is needed)
- VR Expansion Plugin (for advanced interaction features)
- Restart UE5 to apply changes.
- Go to
-
Optimise Project Settings
- Open
Edit > Project Settingsand adjust the following:- Rendering: Enable Forward Rendering and disable Mobile HDR.
-
XR Settings: Tick
Start in VRand enableMotion Controller Support.
- Open
These settings improve performance and ensure VR input responsiveness.
4. Testing & Troubleshooting
Launching VR Preview
- Click the dropdown next to the Play button (⚠️ not the default Play mode) and select VR Preview.
- Put on the headset to test real-time scene rendering.
❗ Common Issues & Checks
-
Device Not Detected:
- Confirm cables are securely connected and devices are powered.
- Restart SteamVR or the PC if necessary.
-
Tracking Issues:
- Ensure base stations are unobstructed and correctly positioned.
- Check for reflective surfaces or direct sunlight interfering with the sensors.
-
Performance Lag:
- Lower rendering resolution or disable unnecessary plugins.
- Update graphics drivers and Unreal Engine to the latest stable version.
With these steps completed, your HTC Vive Pro 2 should be ready for Unreal Engine 5.2+
