Blender Object Preparing
Fusion360 is recommened, and Blender for 3D Printing would be harder but not banned, here are some Key Considerations
- Use Manifold Geometry. Ensure the model is watertight—no holes, loose edges, or non-manifold geometry.
- Set Correct Units. Set the unit system to Metric and choose millimeters to match most slicers and printers. (Scene Properties > Units)
- Apply Scale & Transforms. Use Ctrl+A to apply Scale, Rotation, and Location before exporting.
- Model with Thickness. Avoid zero-thickness surfaces. All parts of your model must have physical volume.
- Normals Facing Outward Recalculate normals so all faces point outward. (Edit Mode > Select All > Shift+N)
- Check Wall Thickness. Thin parts may not print well. Minimum recommended wall thickness is usually 0.8mm to 1.2mm, depending on the printer.
- Avoid Too Much Detail. Overly fine details may not appear well on small prints.
- Use 3D Print Toolbox Add-on. Enable this built-in add-on: (Edit > Preferences > Add-ons (or Get Extensions) > Search: “3D Print Toolbox”) It helps detect non-manifold edges, intersecting faces, and other print issues. If you could't get it installed, please update your blender to a newer version (4.2+).https://extensions.blender.org/add-ons/print3d-toolbox/
- Export as STL, and name it use your slack name Use 3D Print Add-ons > Export > STL
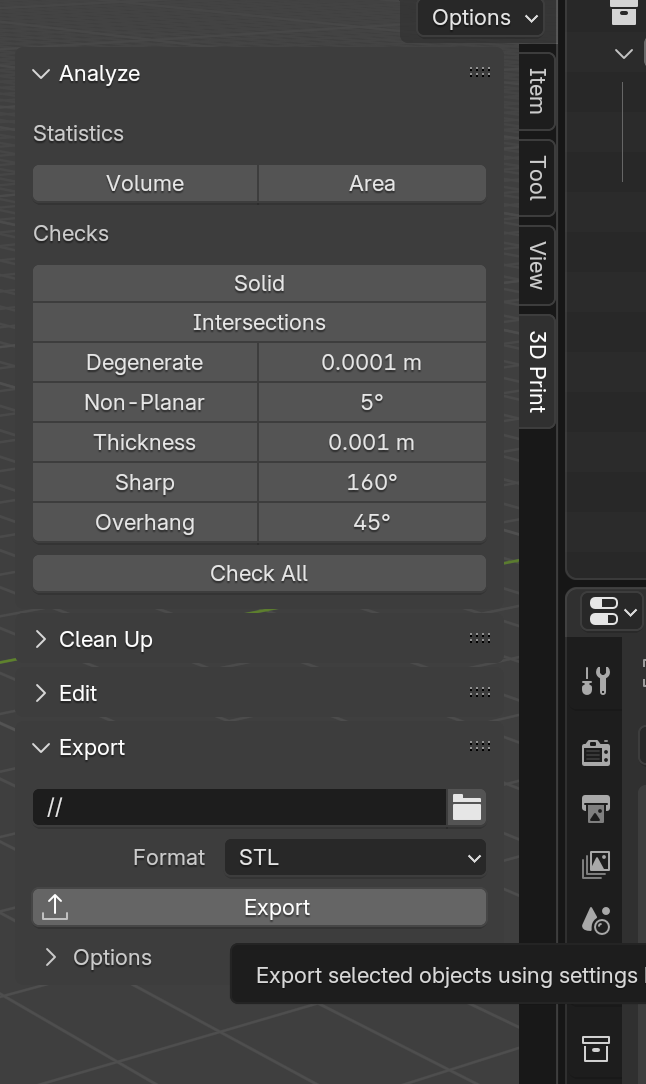
- Check “Selection Only” if you only want to export the active object.
- Test in Slicer Software, Import the STL into Cura to preview printability and generate G-code
