Creating a file in Illustrator
Although it's outside the scope of this guide to tell you how to use Adobe Illustrator, we'll cover preparing a simple file.
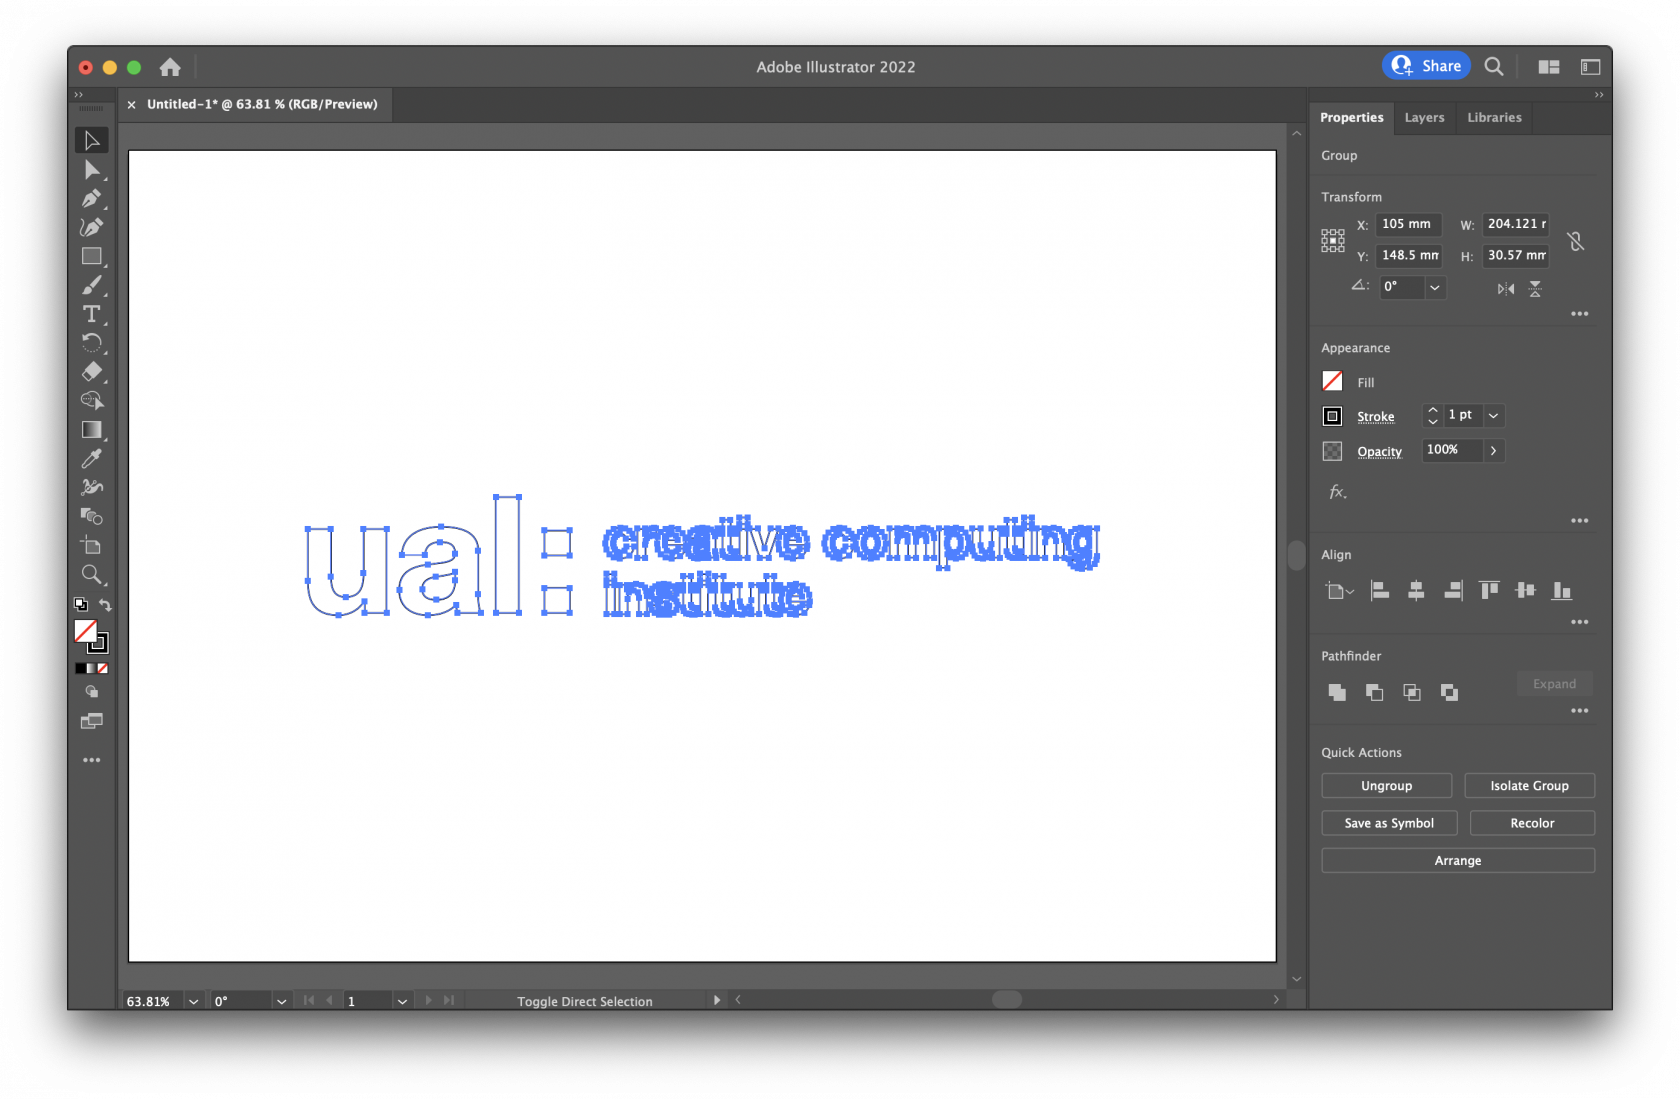
We're going to etch the UAL Creative Computing Institute logo, outline it with an engraved line, and then cut out a bounding box.
Step 1
The laser cutter can etch raster images, however to be able to cut out or engrave we need to provide vector lines which is why you will need to use software such as:
- Adobe Illustrator
- Corel Draw
- Affinity Designer
- Inkscape
- ❗️ Please don't export SVG from Fusion 360 for laser cutting
Here you can see we've created an Illustrator document in RGB colour mode (not CMYK) and added a vector of the CCI logo to the artboard:
Step 2
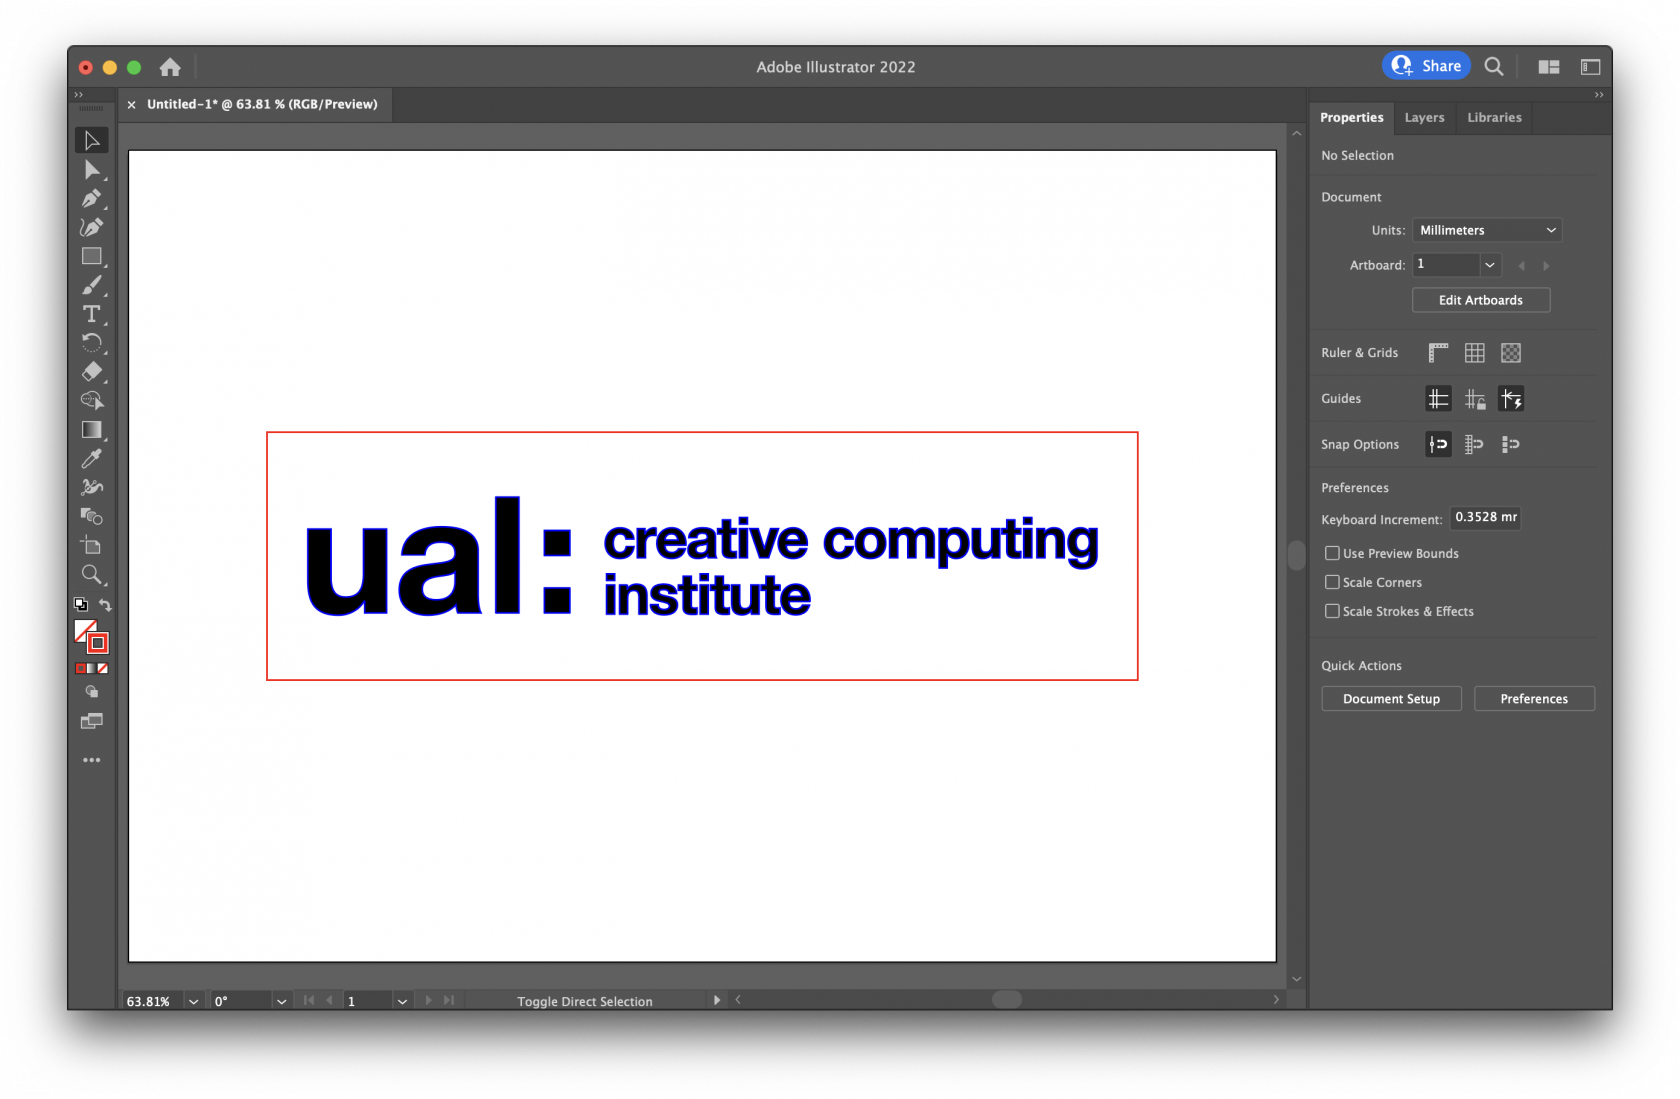
When preparing files for laser cutting with most machines you usually have to use specific colour and line thicknesses, and it's good practice to retain this with Trotec Ruby, however it is far more forgiving than older software.
As a general rule there are 3 types of action, and these are the colour fill and stroke settings for those actions:
Stroke: #ff0000 - RGB Red
Fill: None
Stroke: #0000ff - RGB Blue
Fill: None
Stroke: None
Fill: #000000 - RGB Black
By selecting these colours and strokes you will save yourself work later, if theres a mistake you can change it in the design step in Ruby.
Step 3
Now you need to save the file, Ruby will accept various formats including:
- AI
- JPG/JPEG
- PNG
- BMP
- SVG
- TSF
Save the file to your computer.