PE Design 11
PE Design 11 is Brothers software used for creating digital embroidery patterns. The interface is quite user friendly so use this guide as a pointer for how to get started!
The interface contains a few main sections, some with subsections:
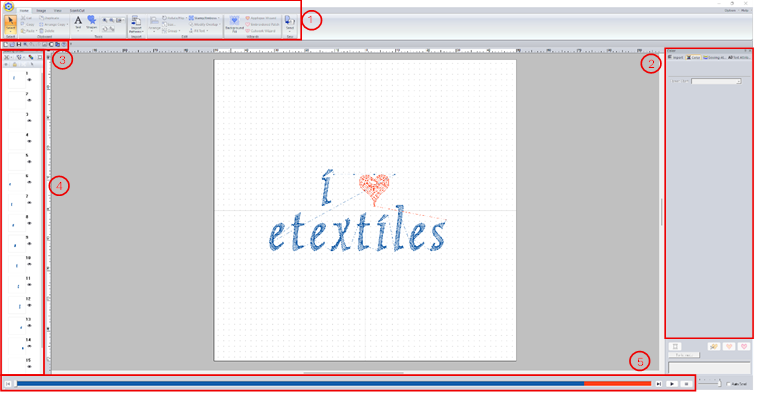
Ribbon
Home

Under the home tab you will find options for creating text and drawing simple shapes and lines. On the far right you will also have the option to send your file directly to the embroidery machine from this computer.
Image
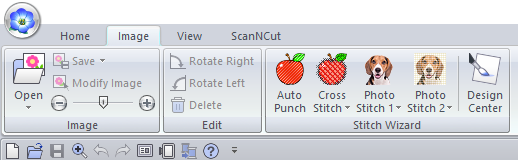
Under this tab you will find options for converting images into embroidery patterns. First import your image using the Open button the select one of the 'Stitich Wizard' modes. There are 5 differnt methods to choose from:
- Auto Punch
- Cross Stitch
- Photo Stitch 1
- Photo Stitch 2
- Design Center
Each will convert the image using a slightly different technique/style. The first four don't give much control over the specifics of the design whereas Design Center lets you go into more detail. It is, however, not very good at picking up thin lines so if you find it is not converting your image well, I would recommend having a go with Inkscape instead.
View

Under this tab you can change view options such as the preview mode. You can also add features such as a grid and can toggle whether the design snaps to it. This can be very useful when drawing the design yourself within the program.
Shape
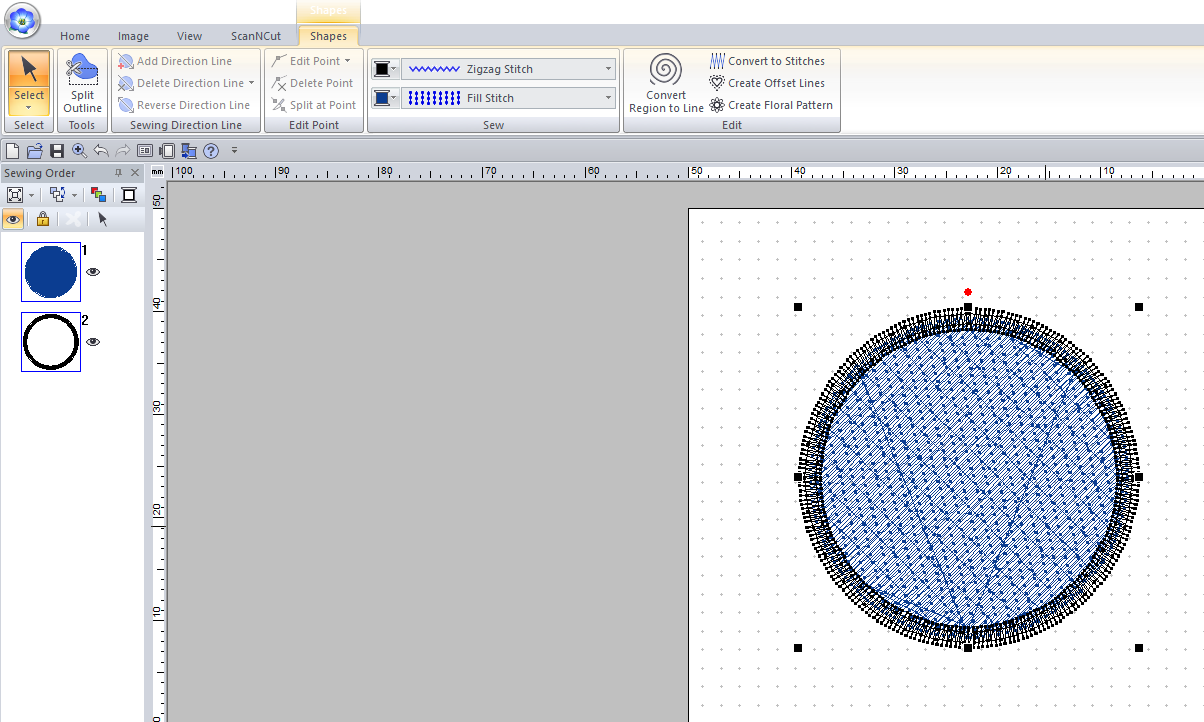
This tab allows you to edit any shapes that you add to the canvas. You can change options such as the type of stroke and fill stitches. This is something that will effect the appearance of your embroidery a fair amount, so is something you should definitely consider.