PE Design 11
PE Design 11 is Brothers software used for creating digital embroidery patterns. The interface is quite user friendly so use this guide as a pointer for how to get started! The full instruction manual can be found here.
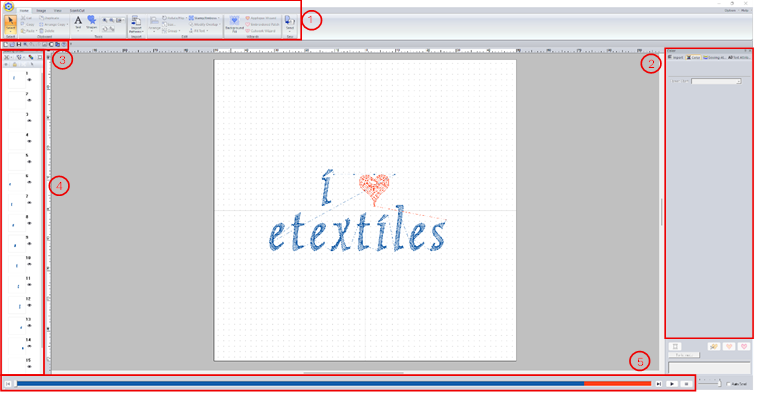
The interface contains a few main sections, some with subsections:
Ribbon
Home

Under the home tab you will find options for creating text and drawing simple shapes and lines. On the far right you will also have the option to send your file directly to the embroidery machine from this computer.
Image
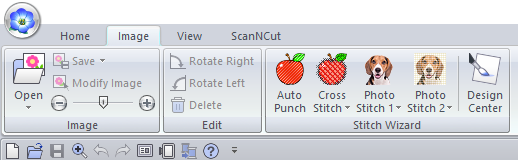
Under this tab you will find options for converting images into embroidery patterns. First import your image using the Open button the select one of the 'Stitich Wizard' modes. There are 5 differnt methods to choose from:
- Auto Punch
- Cross Stitch
- Photo Stitch 1
- Photo Stitch 2
- Design Center
Each will convert the image using a slightly different technique/style. The first four don't give much control over the specifics of the design whereas Design Center lets you go into more detail. It is, however, not very good at picking up thin lines so if you find it is not converting your image well, I would recommend having a go with Inkscape instead.
View

Under this tab you can change view options such as the preview mode. You can also add features such as a grid and can toggle whether the design snaps to it. This can be very useful when drawing the design yourself within the program.
Shape
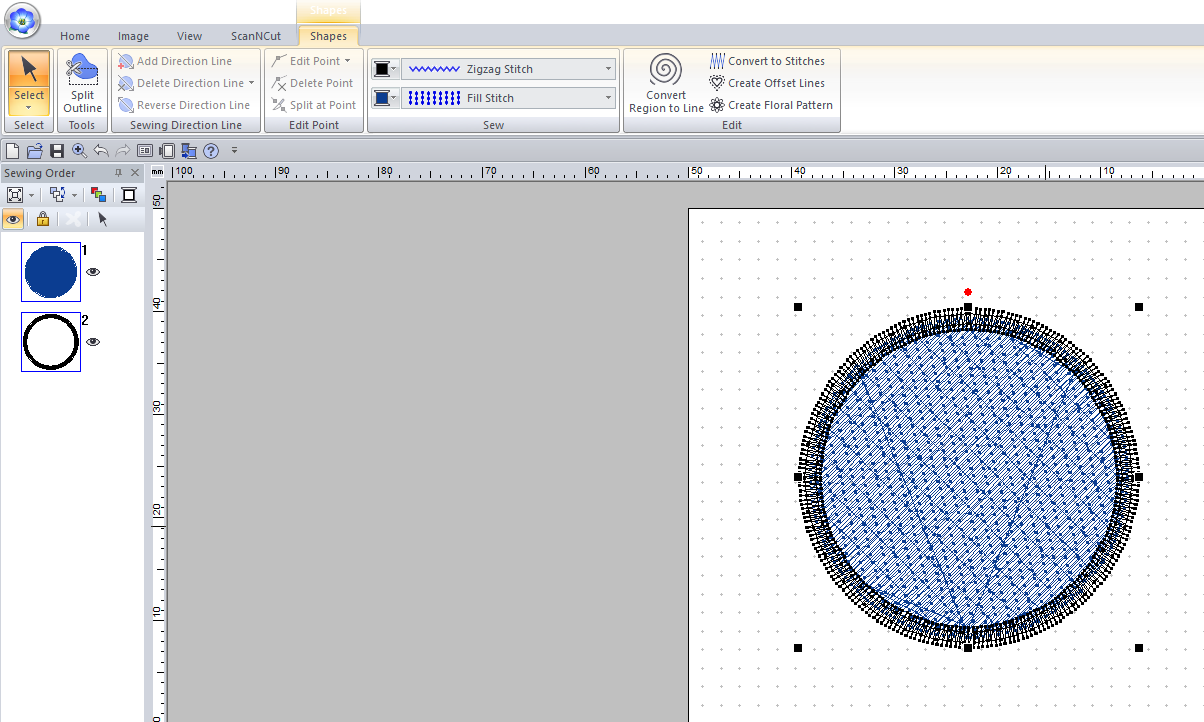
This tab allows you to edit any shapes that you add to the canvas. You can change options such as the type of stroke and fill stitches. This is something that will effect the appearance of your embroidery a fair amount, so is something you should definitely consider.
Text
Side pane
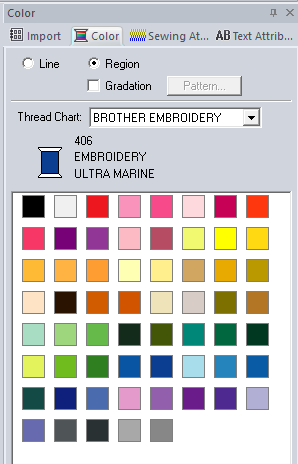
Colour attributes
This panel is used to change the preview colour of your design. As this software is made by Brother, the colour numbers will match up with the Brother threads that we have.
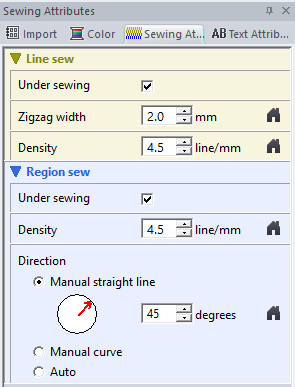
Sewing attributes
In this section we can change some attributes of the stitches such as density, width, and direction. For different fill types, there may be slightly different options in this section.
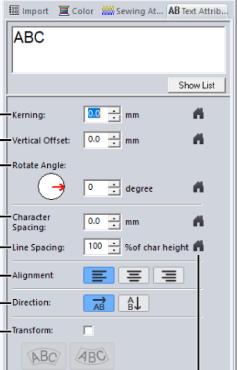
Text attributes
Here we can adjust specifics such as the kerning, character spacing, and text alignment. To get a new line when entering the text, press Ctrl+Enter.
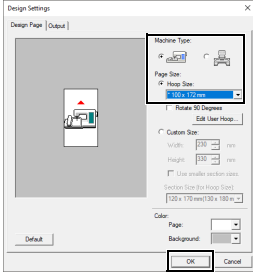
Quick access toolbar

Most of these are standard options (open, save, zoom, etc). The other one that is regularly is the design settings option (8th from the left), which can be used to change the size of the hoop you are designing for.
Sewing Order pane
This pane will show you the order in which the sections of your design will be sewn. A useful option is the optimise sewing order button (with the red, green, and blue squares) which will group together all parts in the same colour to make the sewing process more efficient.

Stitch simulator pane
This pane gives you an overview of the sections to be sewn. If you click the play button at the side, it will simulate the sewing process, allowing you to double check that everything is how you intended it to be.