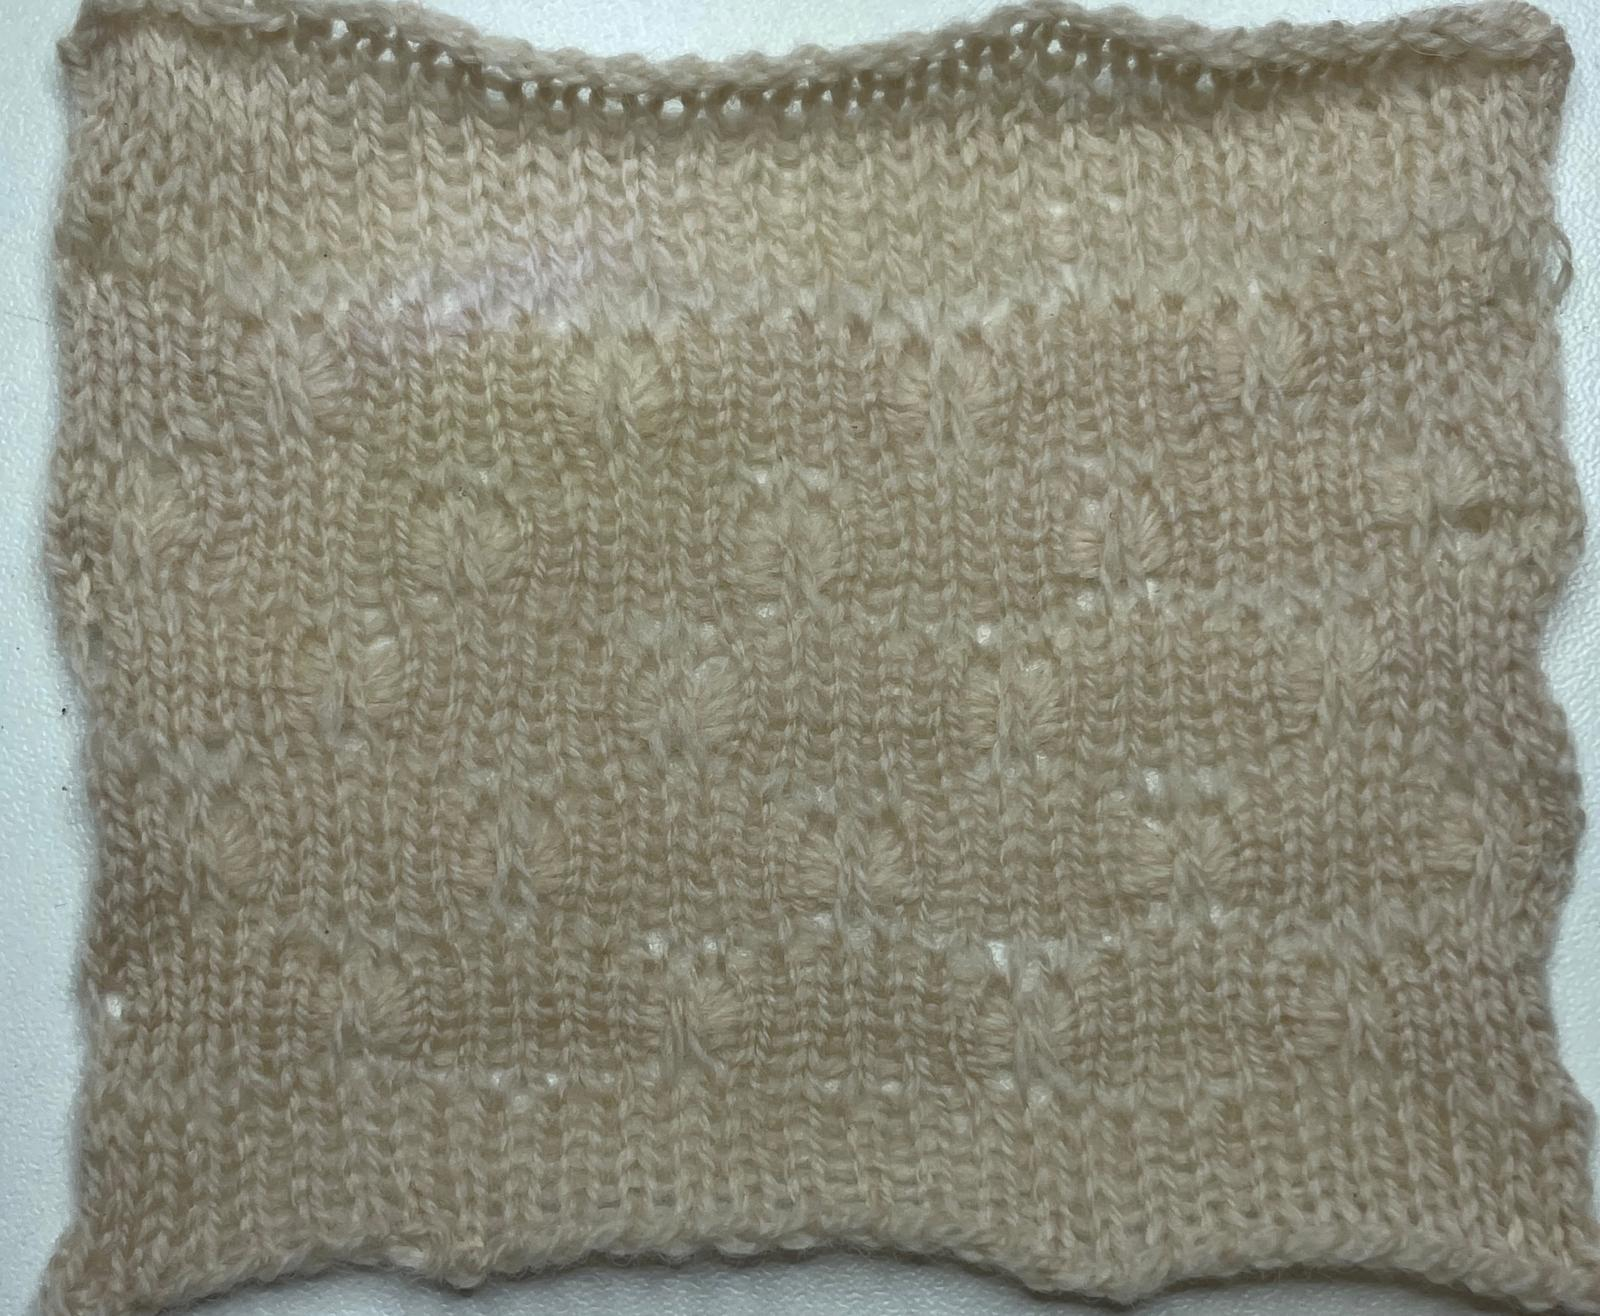
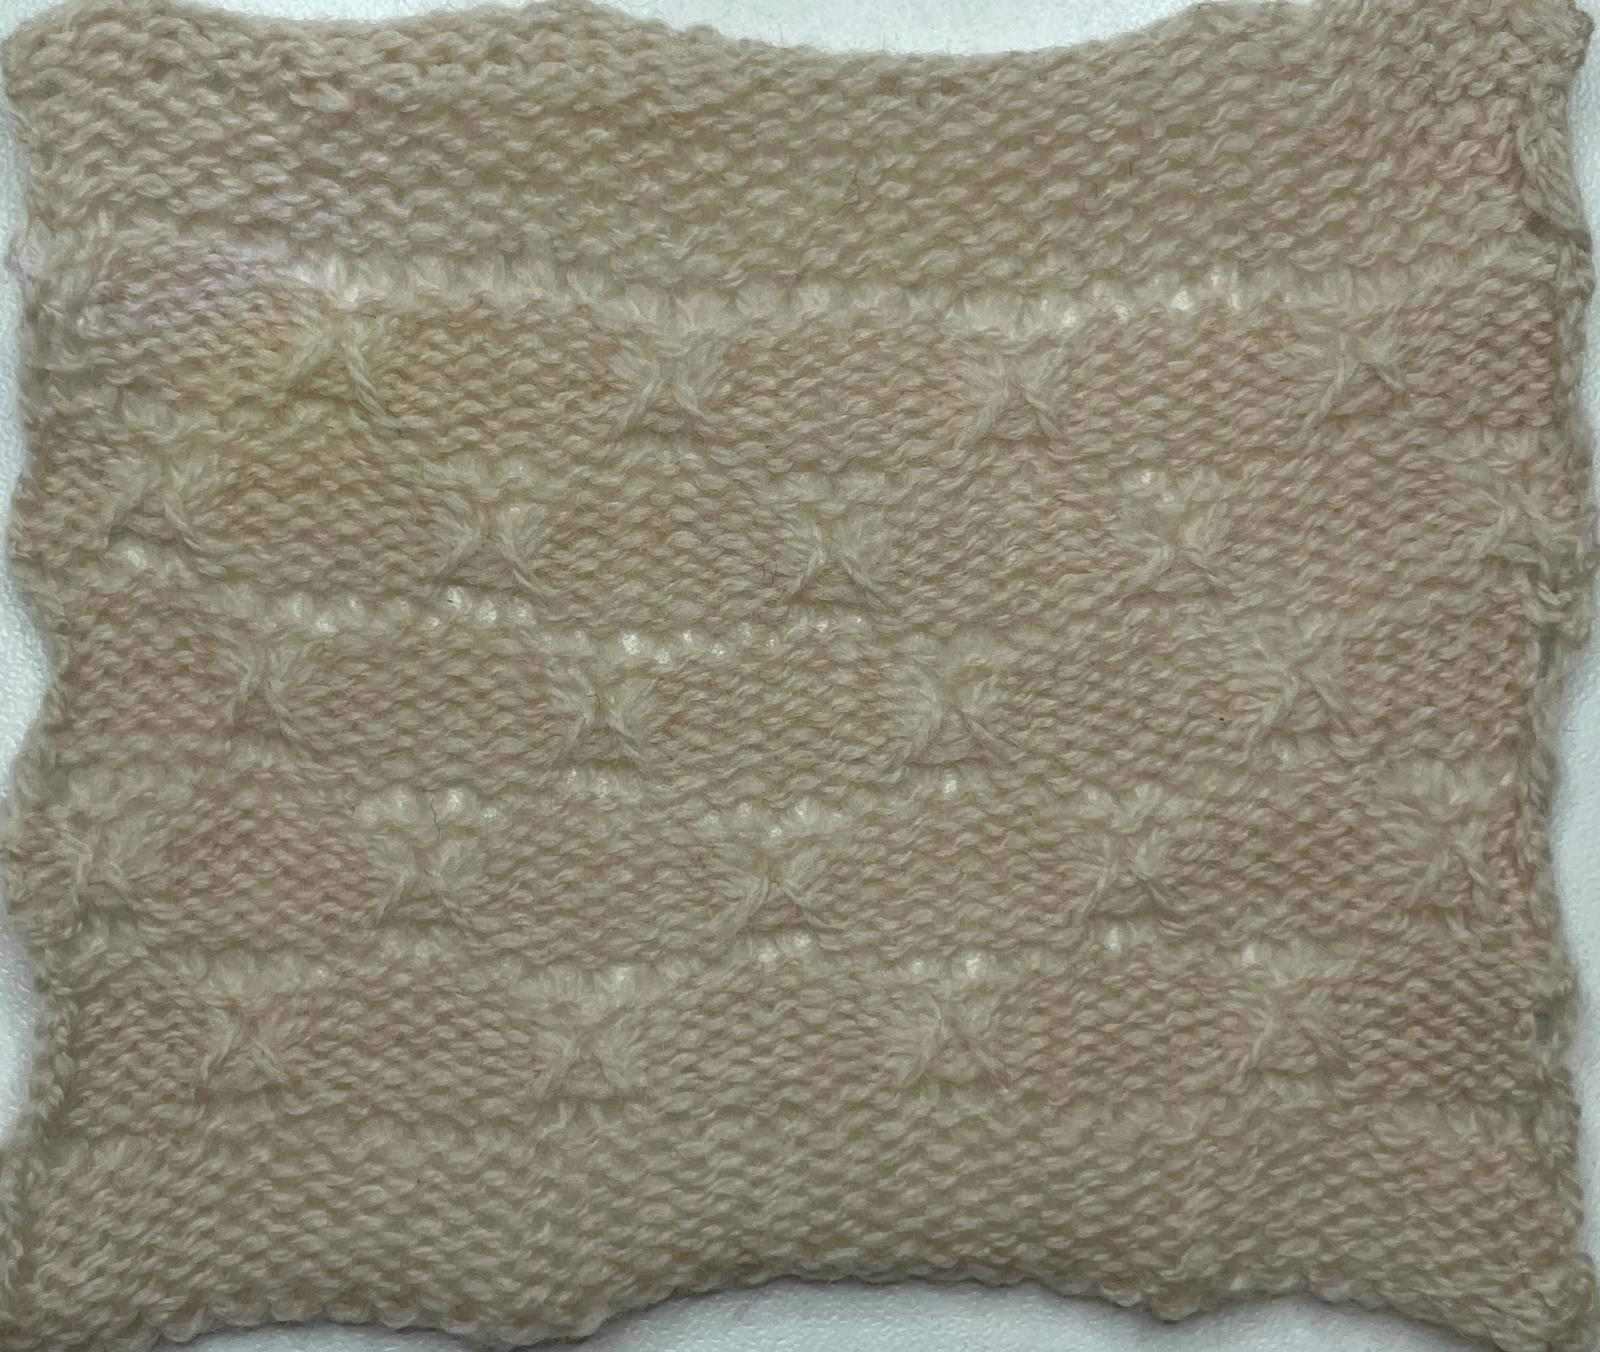
Tuck Stitch
Tuck stitch is a knitting technique that can add dimension and texture as well as interesting coloured patterns by 'tucking' stitches instead of knitting them.

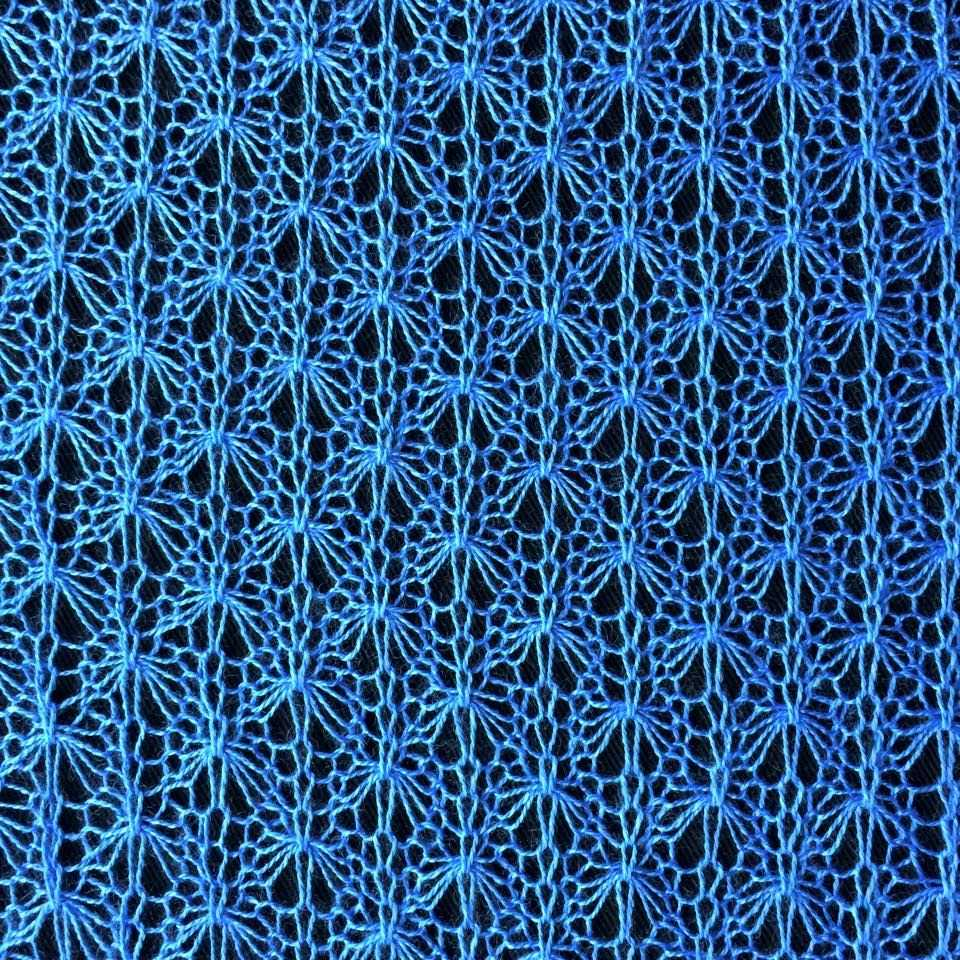

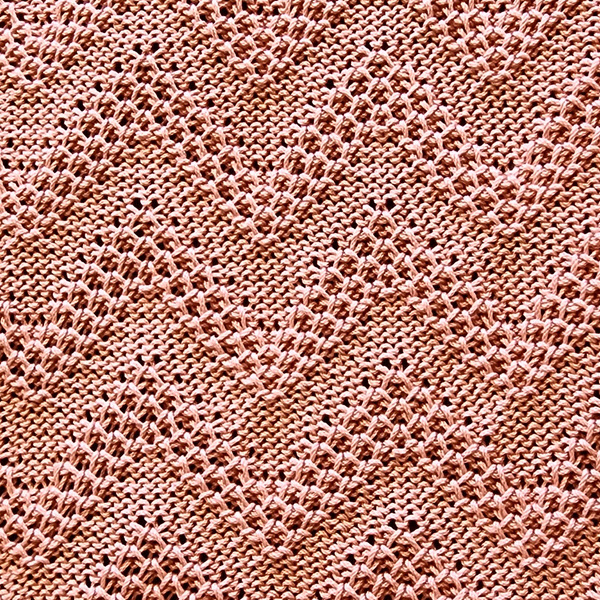

Compared to other techniques, such as fairisle, tucked swatches are often viewed from the reverse (or purl) side as this tcan have more visual interest.
The way that it work is that when a new row is knit, the tucked stitches are'tucked' onto the needle along with the stitch currently there (from the row below), instead of being knit. This elongates the previous rows stitch as it is held on the needle, with the tucked stitch behind it. In the diagram below, the centre stitch on the black row is the tucked stitch and the one below is the previous, held stitch.

Important things to note:
- You cannot have two tuck stitches directly next to each other
- There is a limit to how many tucked stitches you can have on top of each other as the held stitch must be stretch to cover all tucked stitches, which will bunch the fabric (though this bunching can also be used purposefully to create texture).
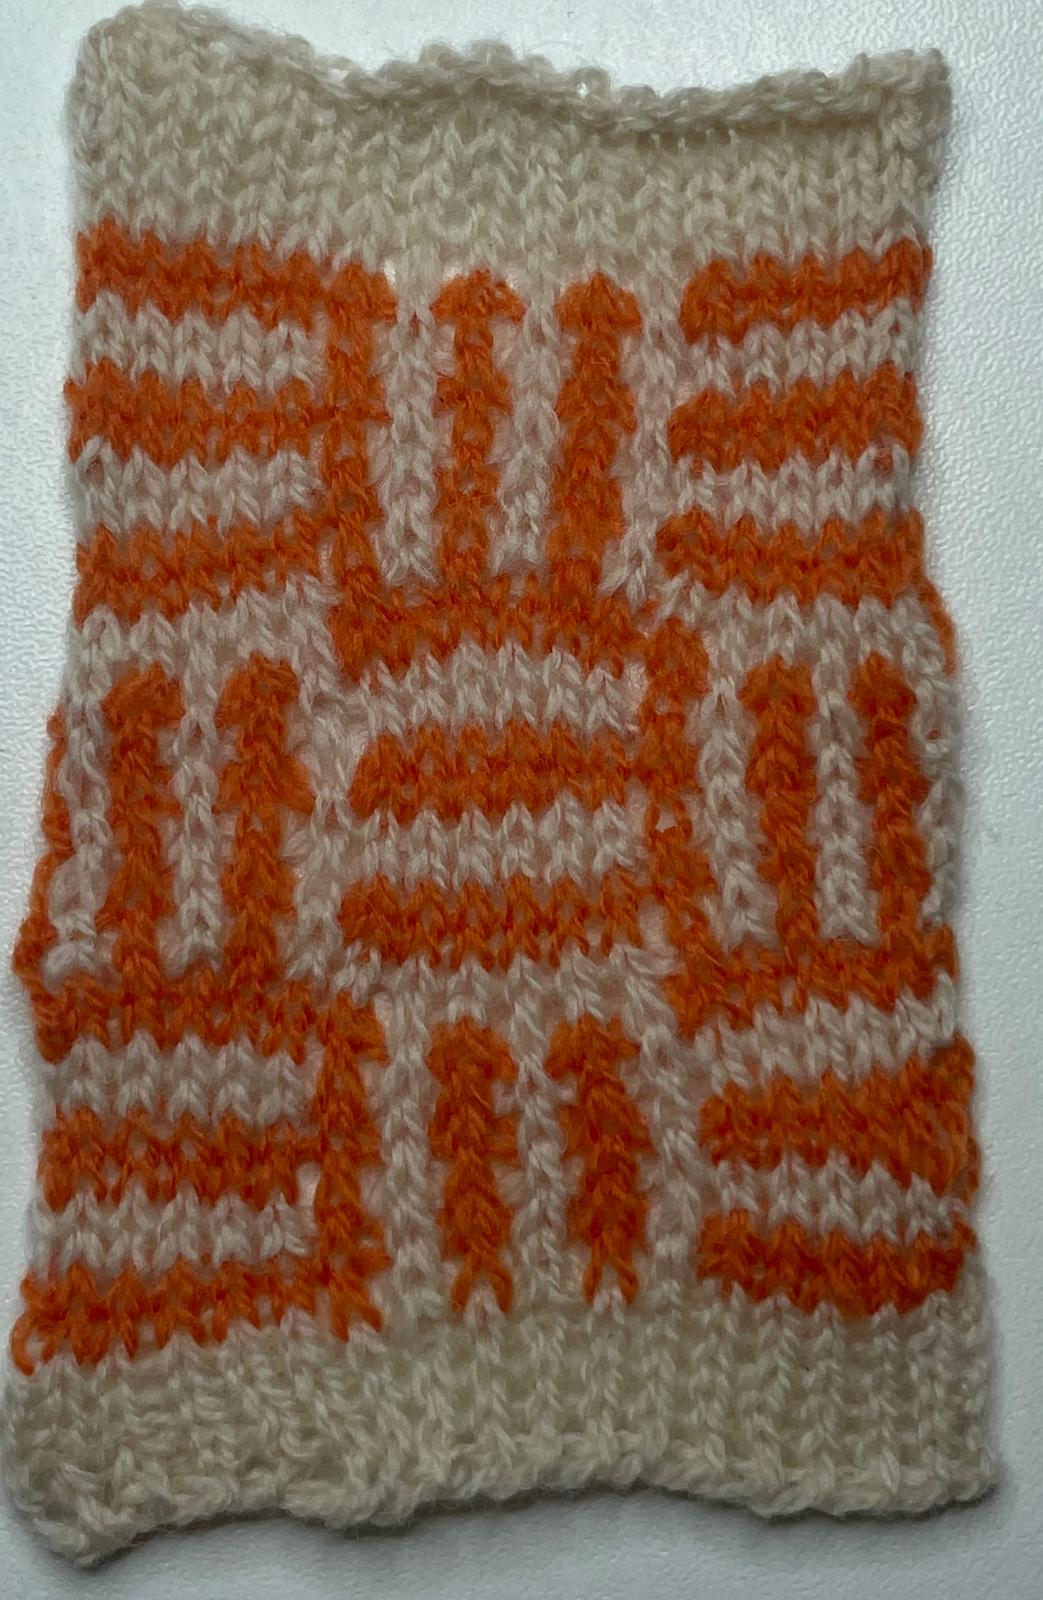
DesignaKnit Pattern Examples
Using DesignaKnit, you can create tuck stitch patterns. Let's look at some examples.
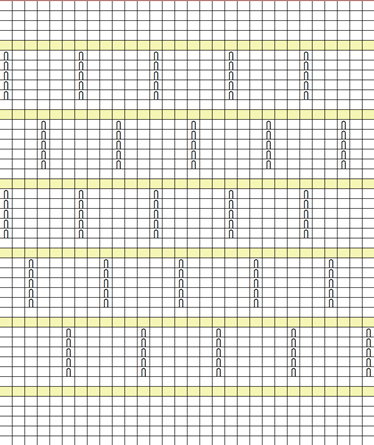
Vertical and horizontal stripes
To create this striped pattern, you need to change colour every two rows. To make this easier, you can use the automatic colour changer.
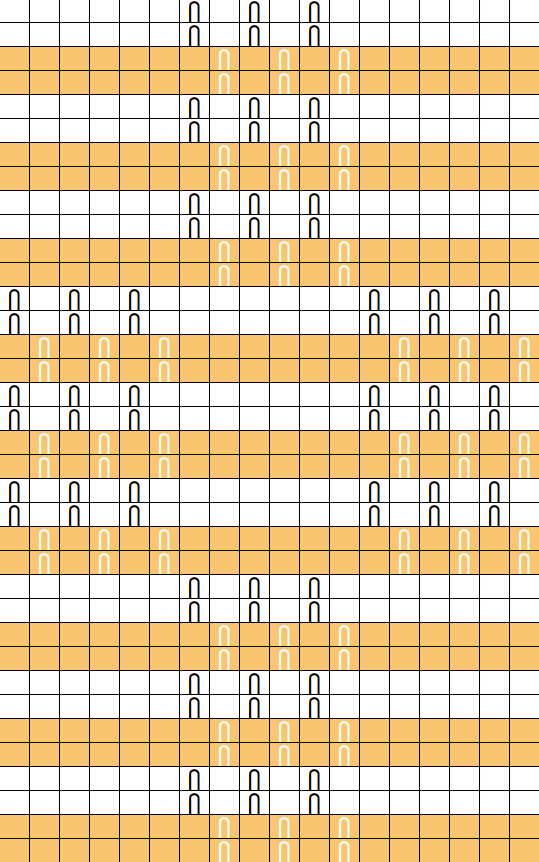
So let's think about how this above pattern works when it comes to colours. Each stitch that has a tuck symbol will take on the colour of the last non-tucked stitch below it, as this will be the held stitch. Therefore, we can see how those veritcal stripes are formed.
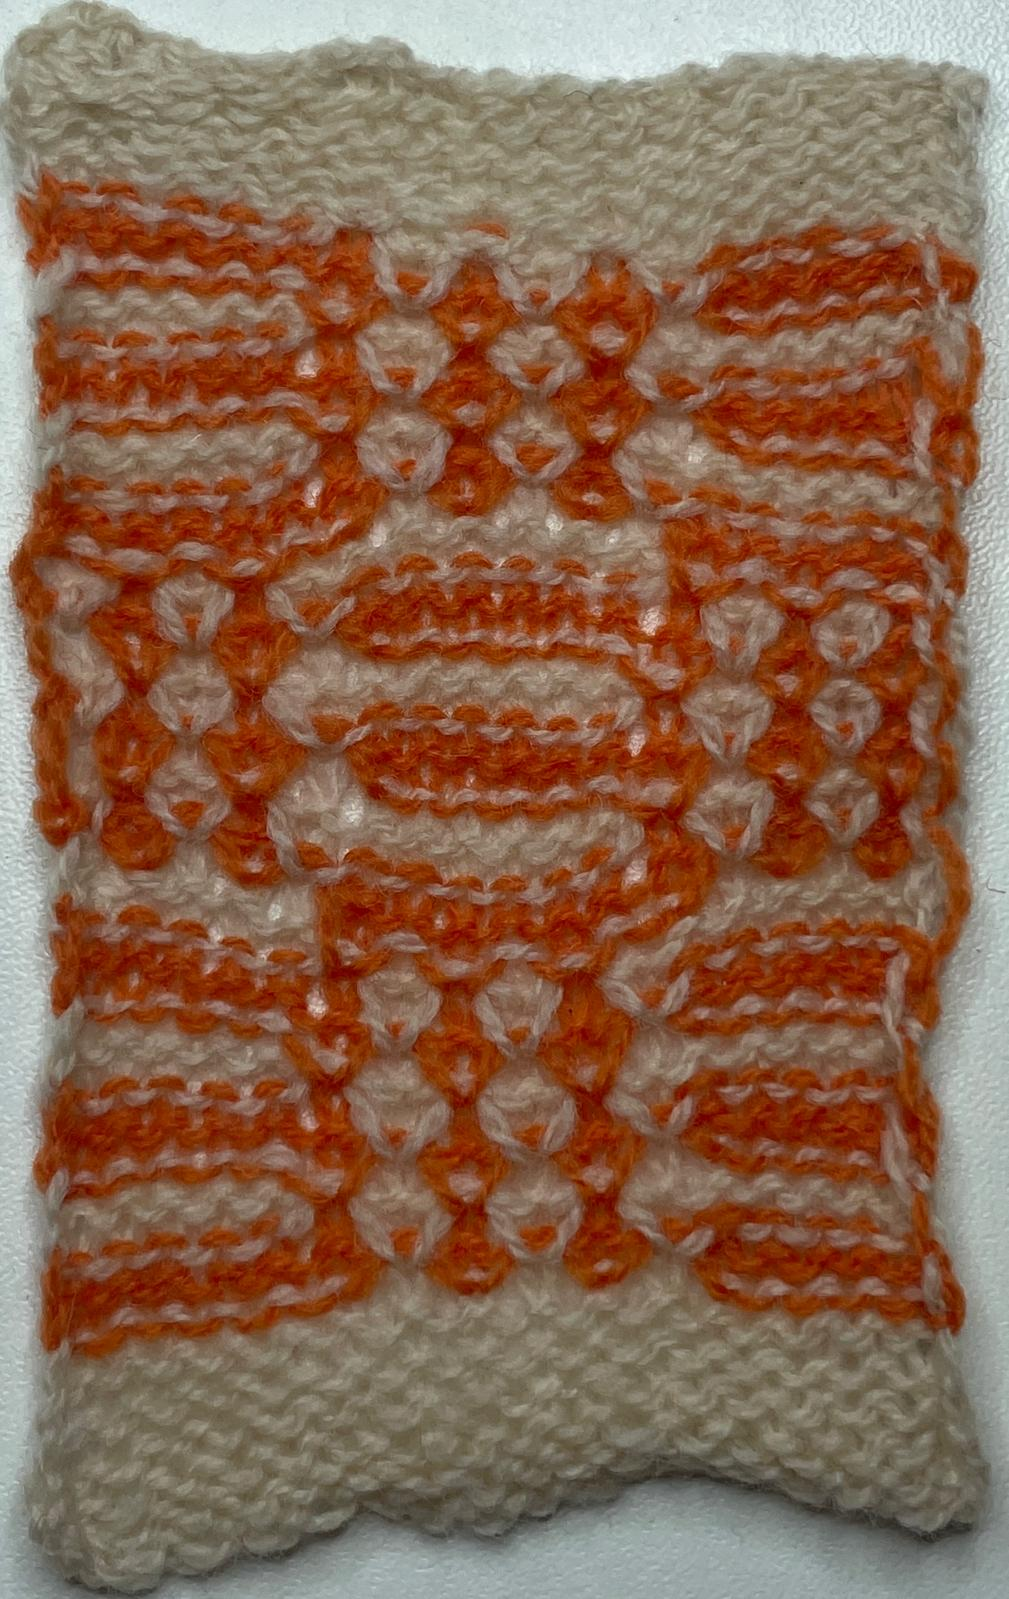
Stitch size changes