Vinyl Cutter
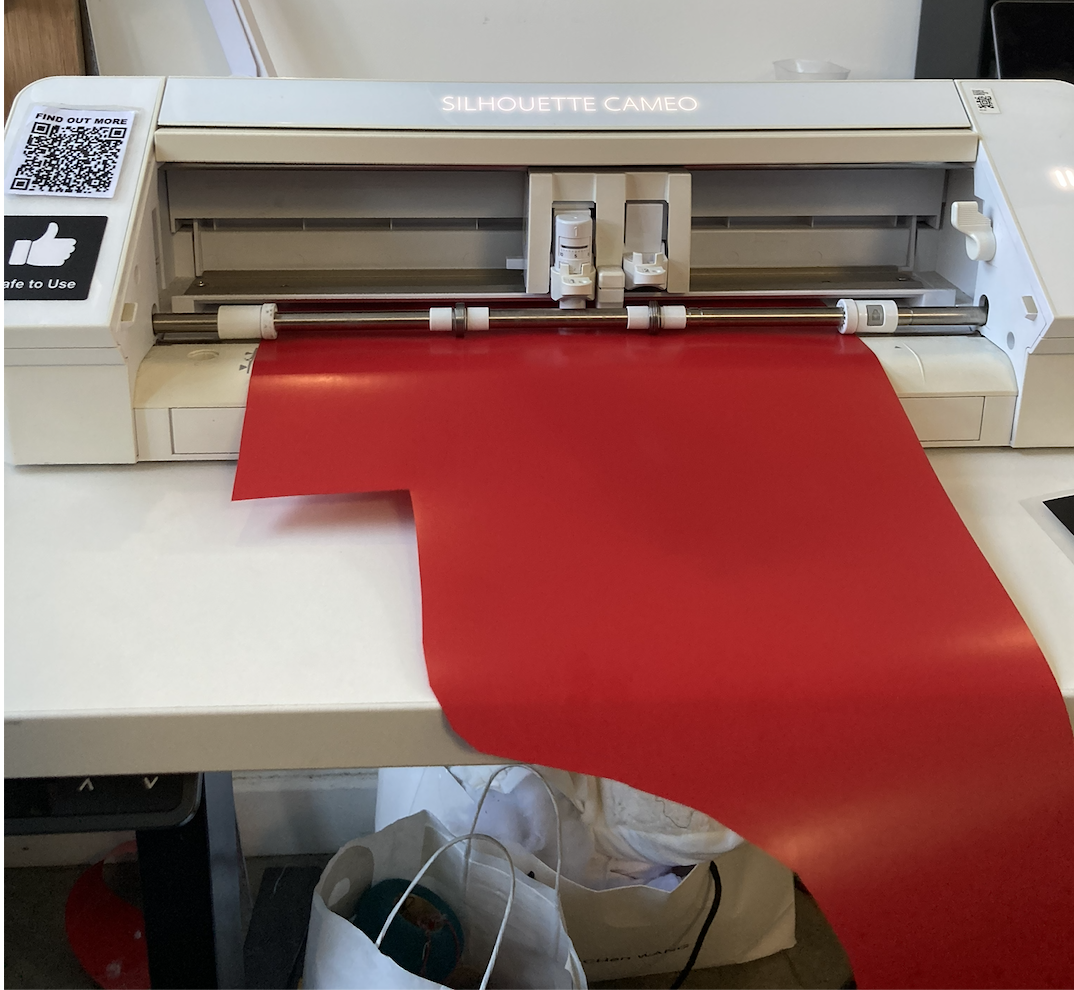
We have a Silhouette Cameo 4 vinyl cutter, which is used for cutting vinyl that can be stuck to walls and windows (e.g. for signs, gallery wall text), or to press onto t-shirts using the heat press. This machine works by dragging a small knife across a piece of vinyl, which is moved through the machine on rollers. It cuts out one colour at a time: to make designs using several colours requires some pre-planning and careful alignment (see the end of this pagebelow for more instructions).
There is no cost to using the vinyl cutter. Blades and a selection of vinyl colours are provided, with matt black and matt white being kept in stock most of the time. If you would like to use a lot of vinyl or a specific colour, please talk to Agnes, Rosie or Pete, and they can help you order your own.
 |
No induction required to use this equipment. However if you would like to be taught how to use it, please contact Rosie or Agnes. |
Usage
The machine can be used by creating a drawing and uploading it to the machine through a free piece of software called Silhouette Studio. This is similar to the kind of file you would use on the laser cutter -- a set of lines that tell the machine where you want to make cuts.
When considering your files, it's good to think about the machine's limitations. There's a limit to how much detail the vinyl cutter can cut out. While the machine can cut more finely and accurately than cutting by hand with scissors, it will still struggle with details smaller than about 3mm.
Vector files
Making a vector file will give you precise control over a drawing. Lots of software exists that can make vector files. Most CCI students use one of the following:
- Adobe Illustrator (this costs a subscription fee, though it is cheaper for UAL students)
- Inkscape (free)
- Figma (free, with paid features)
Silhouette studio imports files in a DXF format, which can be exported directly from Illustrator. If you are using software like Inkscape or Figma to create your files, you will need to export to SVG (which is a more common vector format), and then convert to DXF, using an online tool like SVG to DXF converter. We also have a license for Silhouette CONNECT software available to enable direct cutting from Adobe Illustrator or CorelDRAW if necessary.
AI Generated files: In the past, students have had lots of issues with files generated using AI tools like Canva. These tools do not always do a good job of creating vector files, and can create some weird issues. It's almost always quicker to try and make files yourself. If you do want to use these tools, make a raster file and then trace it using the instructions below.
Tracing raster files
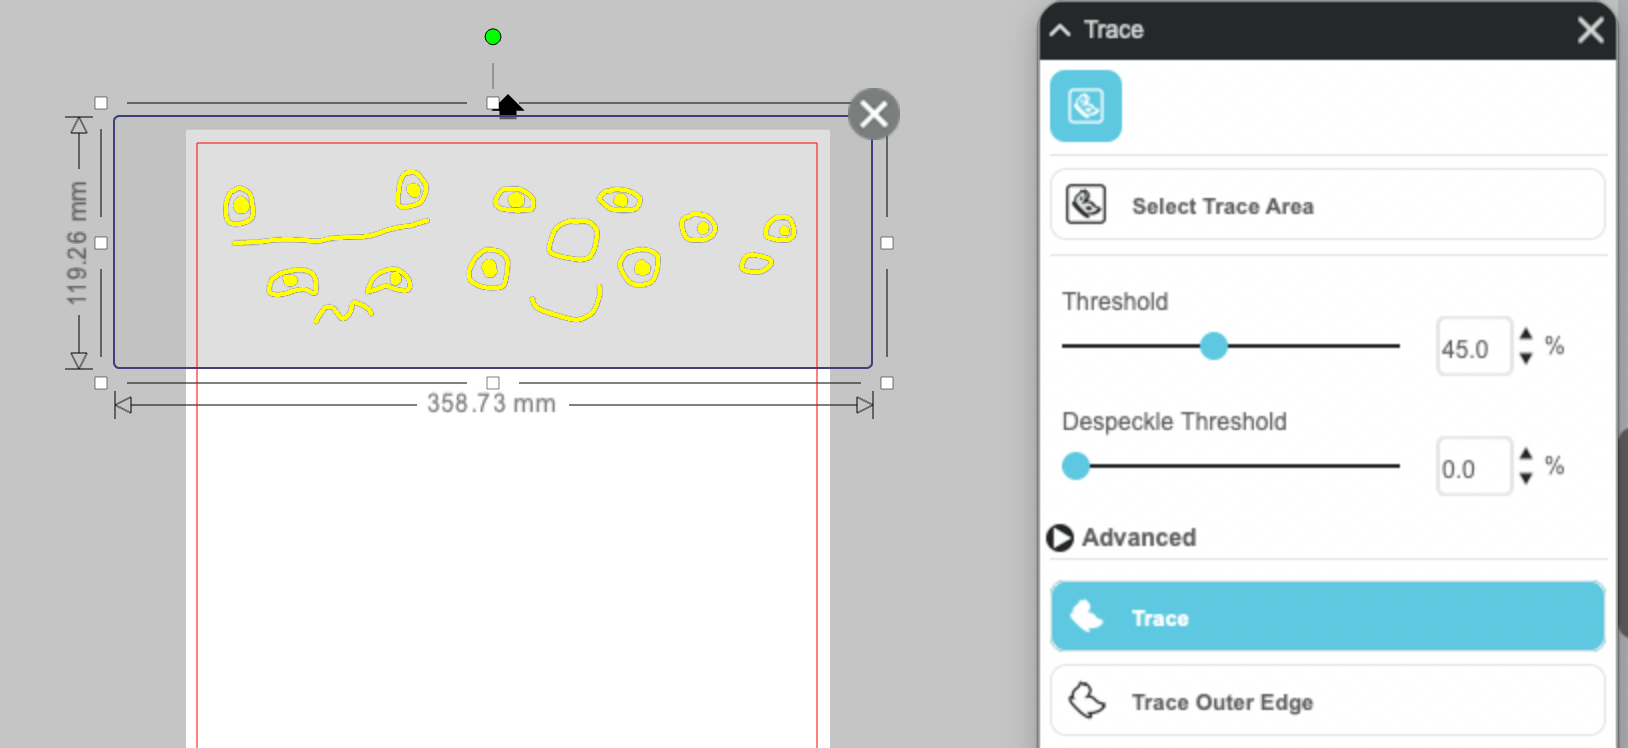
To use a pixel-based file like a PNG or JPG, you will need to trace this to tell the machine which lines it should cut to make the shape that you want. To use the tracing tool, first use the file menu to open the image you want to cut out. Simple black-and-white images will work best for this. Select the 'trace' option in the menu bar on the right hand side. This has several settings that you can change. Click 'Select Trace Area', draw a box around the part of the drawing you want to trace, and then click 'Trace'.
You can also do this in Illustrator and Inkscape! See this tutorial for more details.
Using Silhouette Studio
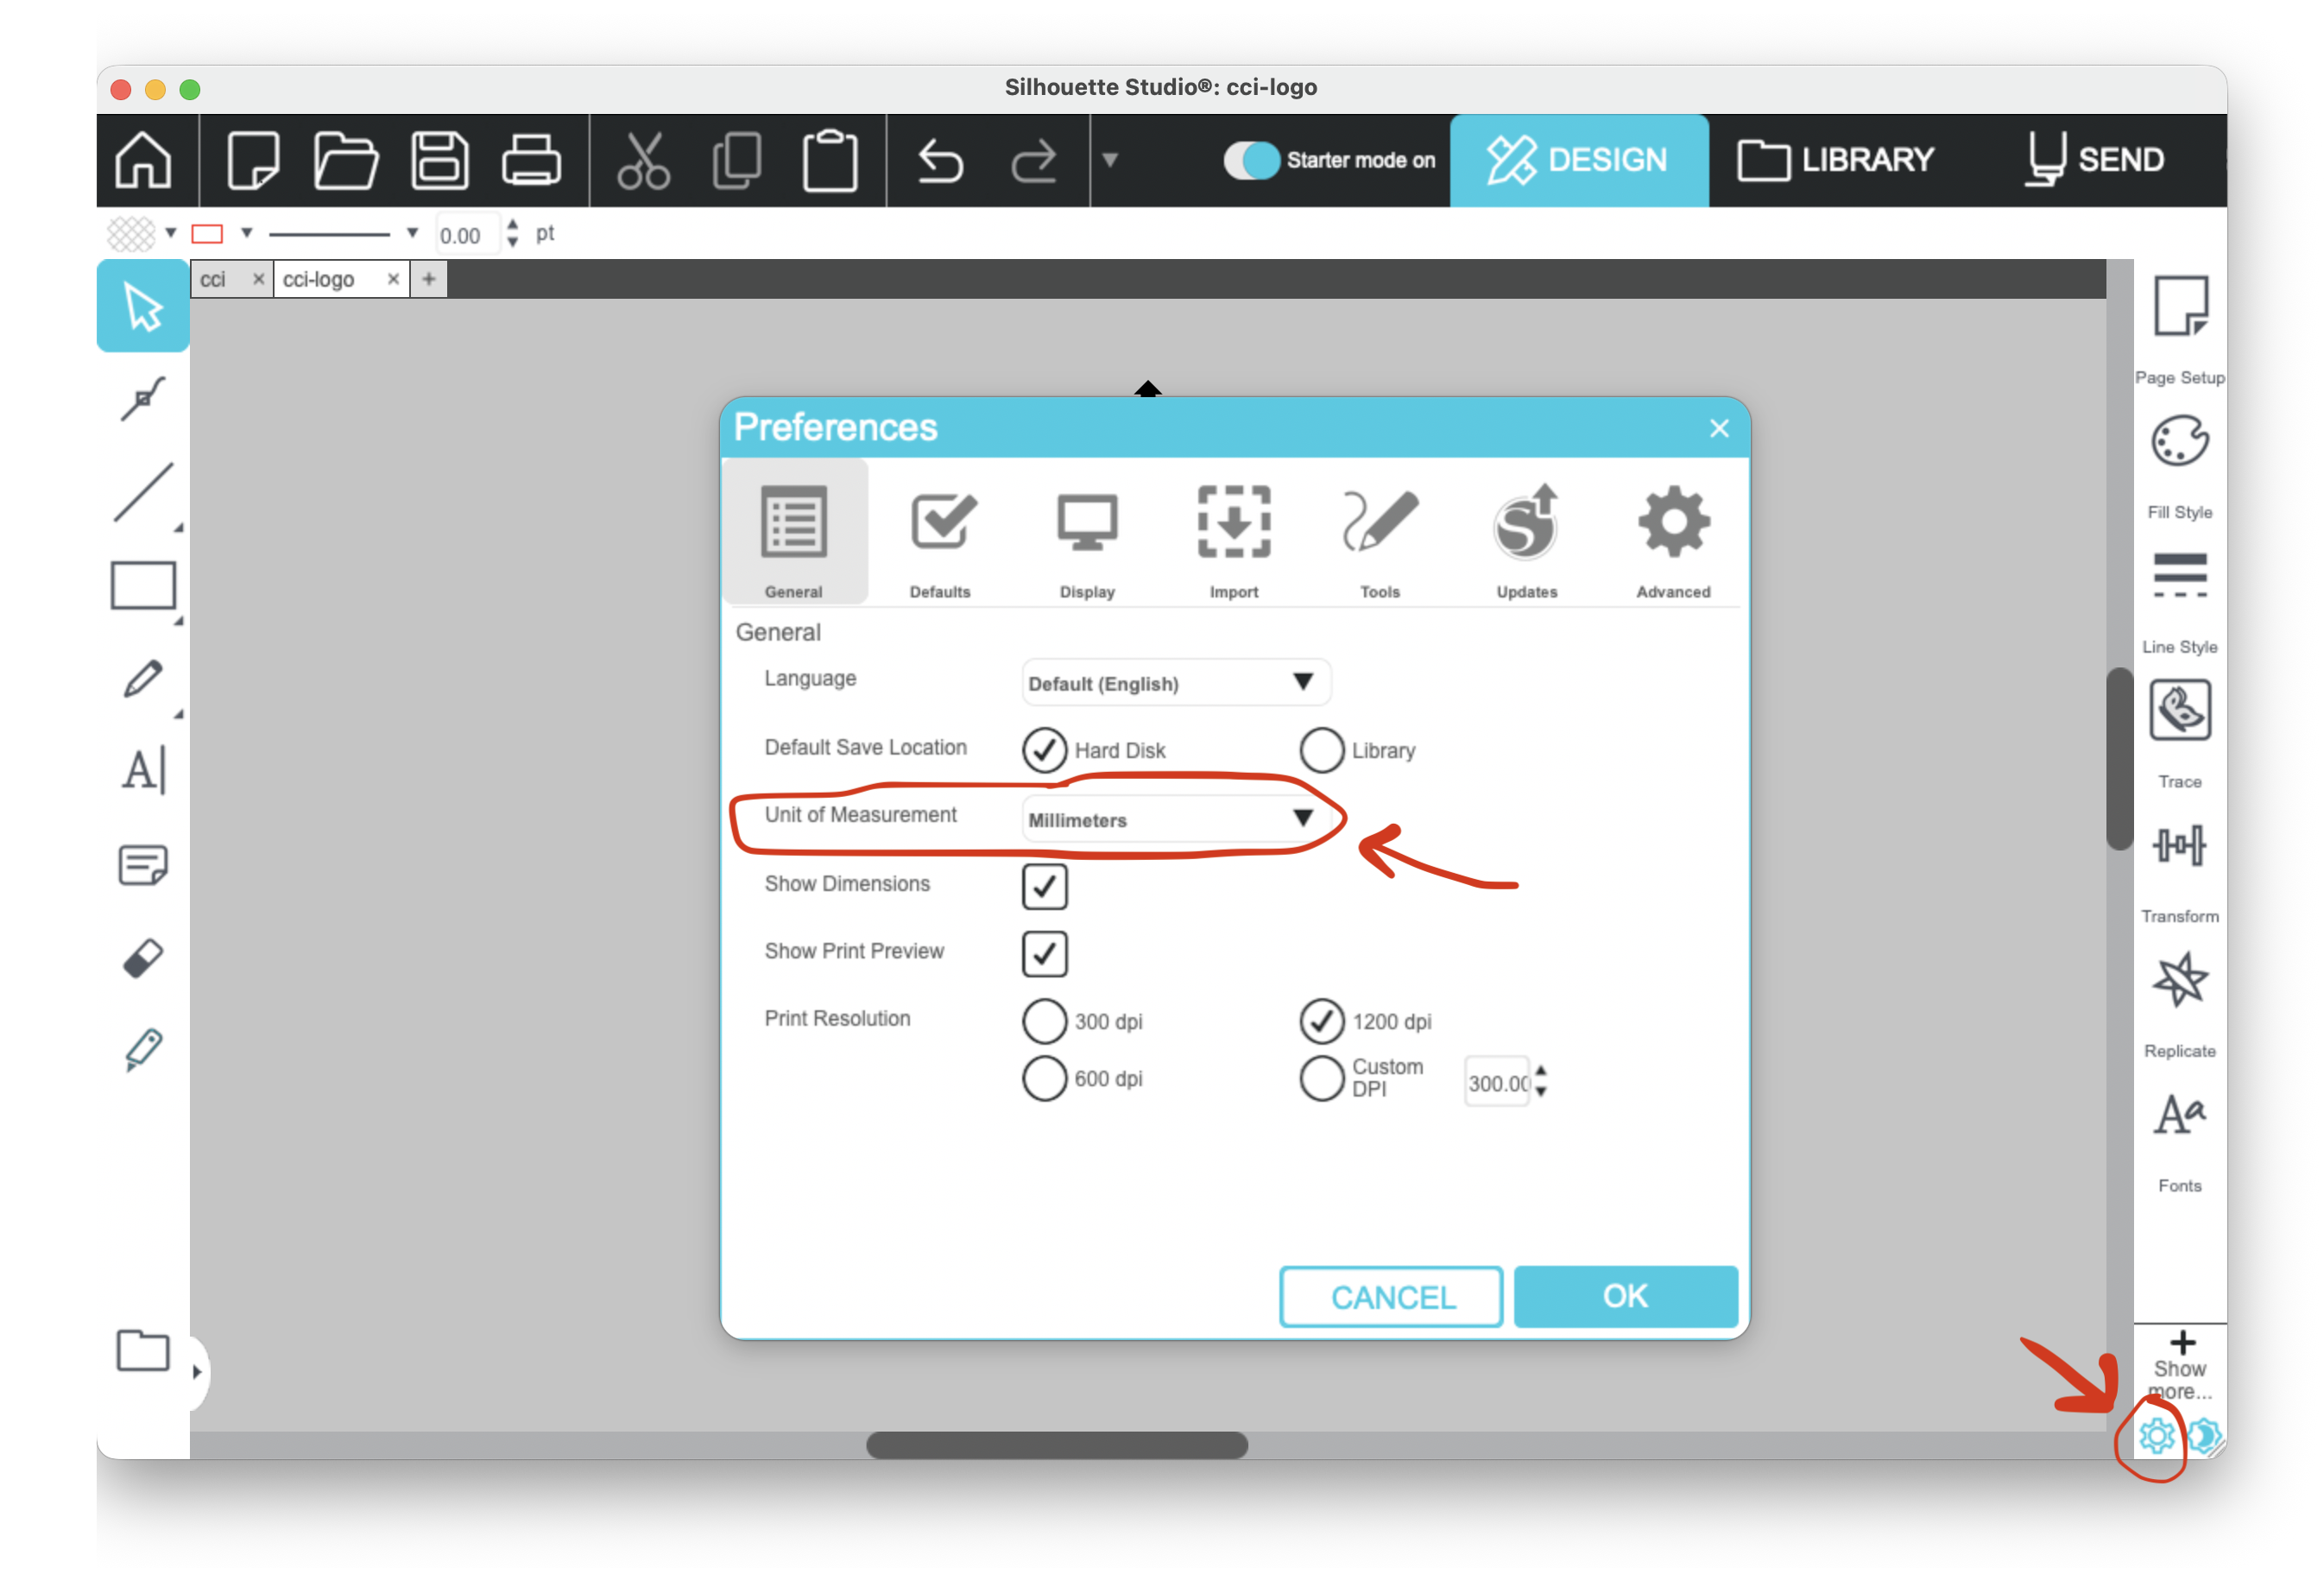
The first time you open Silhouette Studio, you will notice the units are in inches. To change these to mm, click the cog wheel icon in the bottom right hand corner to open the preferences menu. In 'Page Setup', the machine selected should automatically be Cameo 4.
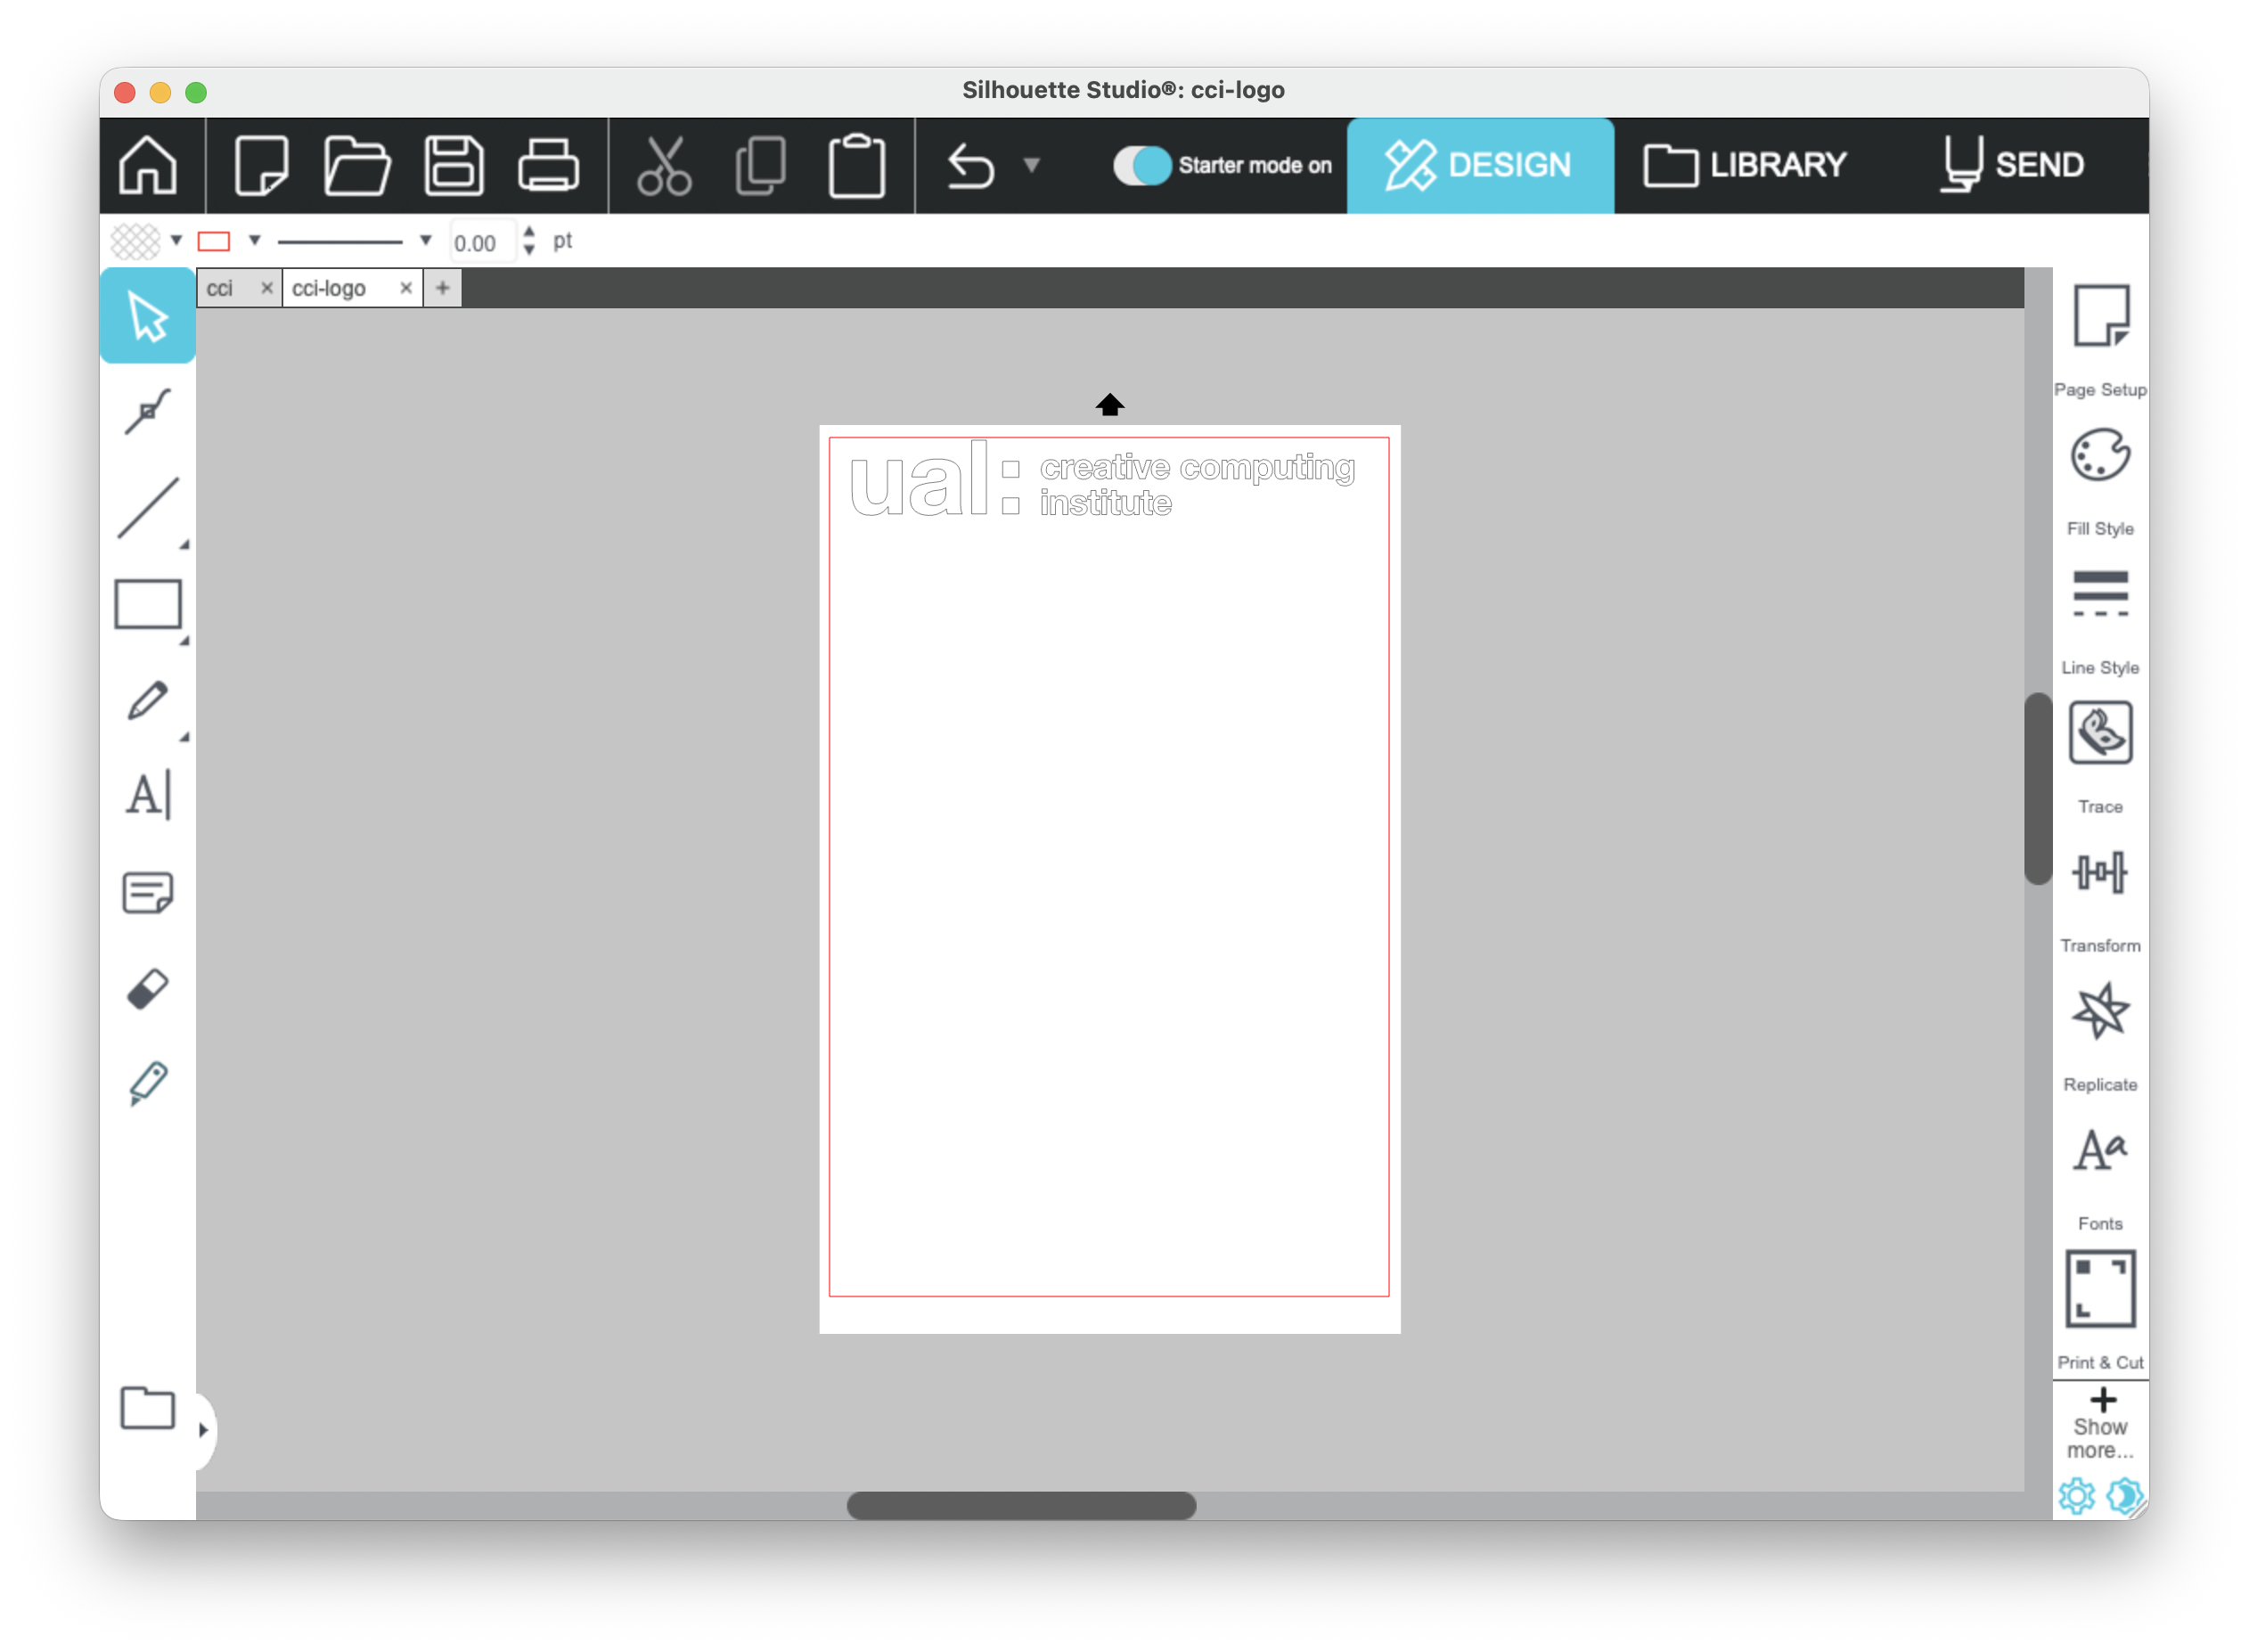
To open your design in the software, click to the 'design' tab, and select 'open' from the file menu. This should open a line drawing in the canvas. Select and drag the file you are cutting to the top of the 'page', making sure the lines of your design stay inside the red box. The top of the canvas is the part that will be fed into the machine, so doing this minimises waste. The red box around the canvas isn't cut out -- it just shows the borders of your design. Click on some parts of your design to check they're as you want -- sometimes vector files can have multiple lines where you only want one.
When you are happy with the placement of your design, you can save it (this will save as a V3 file, with the ending .studio3, that will save things like the placement of your design). To run the design on the machine, click the tab entitled 'Send'.
If you are cutting vinyl to go on a t-shirt, you need to select 'mirror design', or your design will be back to front. If you are cutting vinyl to stick to the wall, make sure it is not selected!
Loading Vinyl Into the Cutter
Check your vinyl type before cutting! We stock both heat transfer vinyl (HTV, for t-shirts) and wall/window vinyl (for making stickers and wall texts). These can look very similar. To tell them apart, if you peel off a corner from the acetate, wall vinyl will be sticky, and HTV will not be. If you're unsure, ask a technician!
Vinyl that is wider than the 330mm width that can fit onto the machine will need to be cut into a smaller section! Vinyl narrower than the 310mm needed to load onto both rollers will need to be mounted on an adhesive mat, or it will get stuck on the machine and won't cut properly.
Weeding
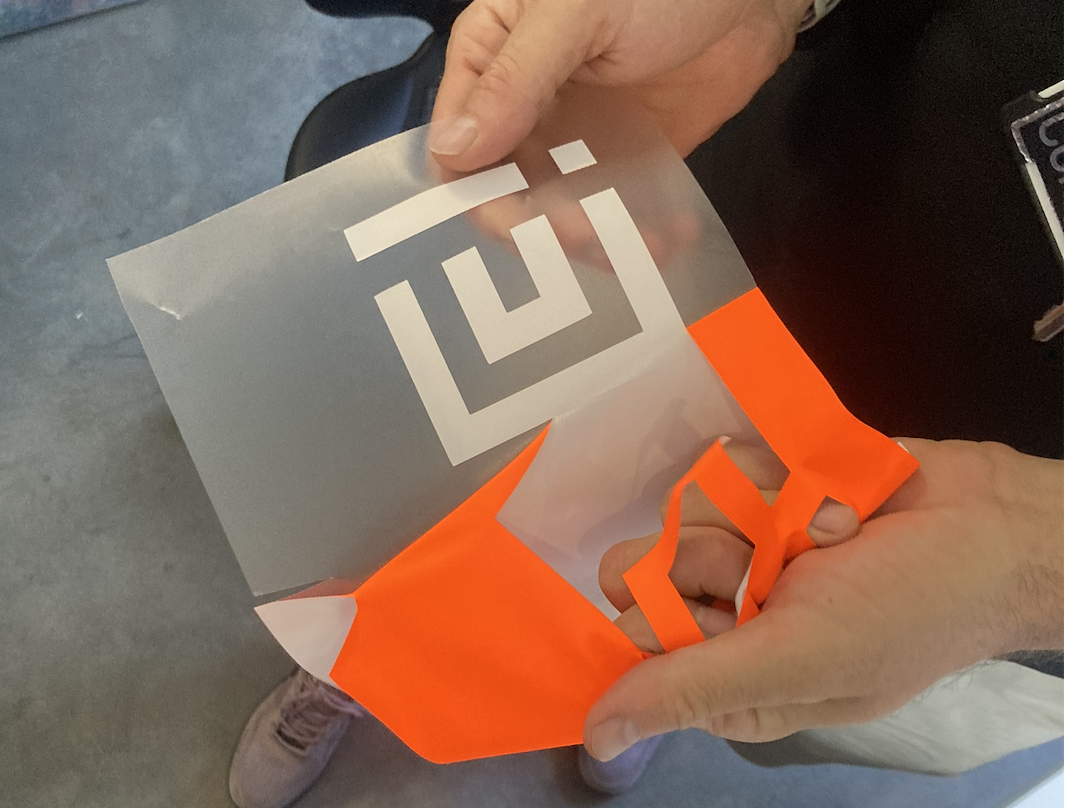
Once the vinyl is cut, it needs to be 'weeded' -- where the section of vinyl that you don't want is pulled away, leaving the parts that you want to keep and stick to something else. The best way to do this is by pulling up a corner of the area you want to remove -- if your designs are delicate or intricate, you might want to use a needle or a picking tool to help!
At the end of the weeding process, you should be left with the part of the design you want to transfer stuck to the acetate, like Pete in the picture below. If you're making a t-shirt, see these instructions for how to proceed.

Wall Vinyl and Transfer Tape
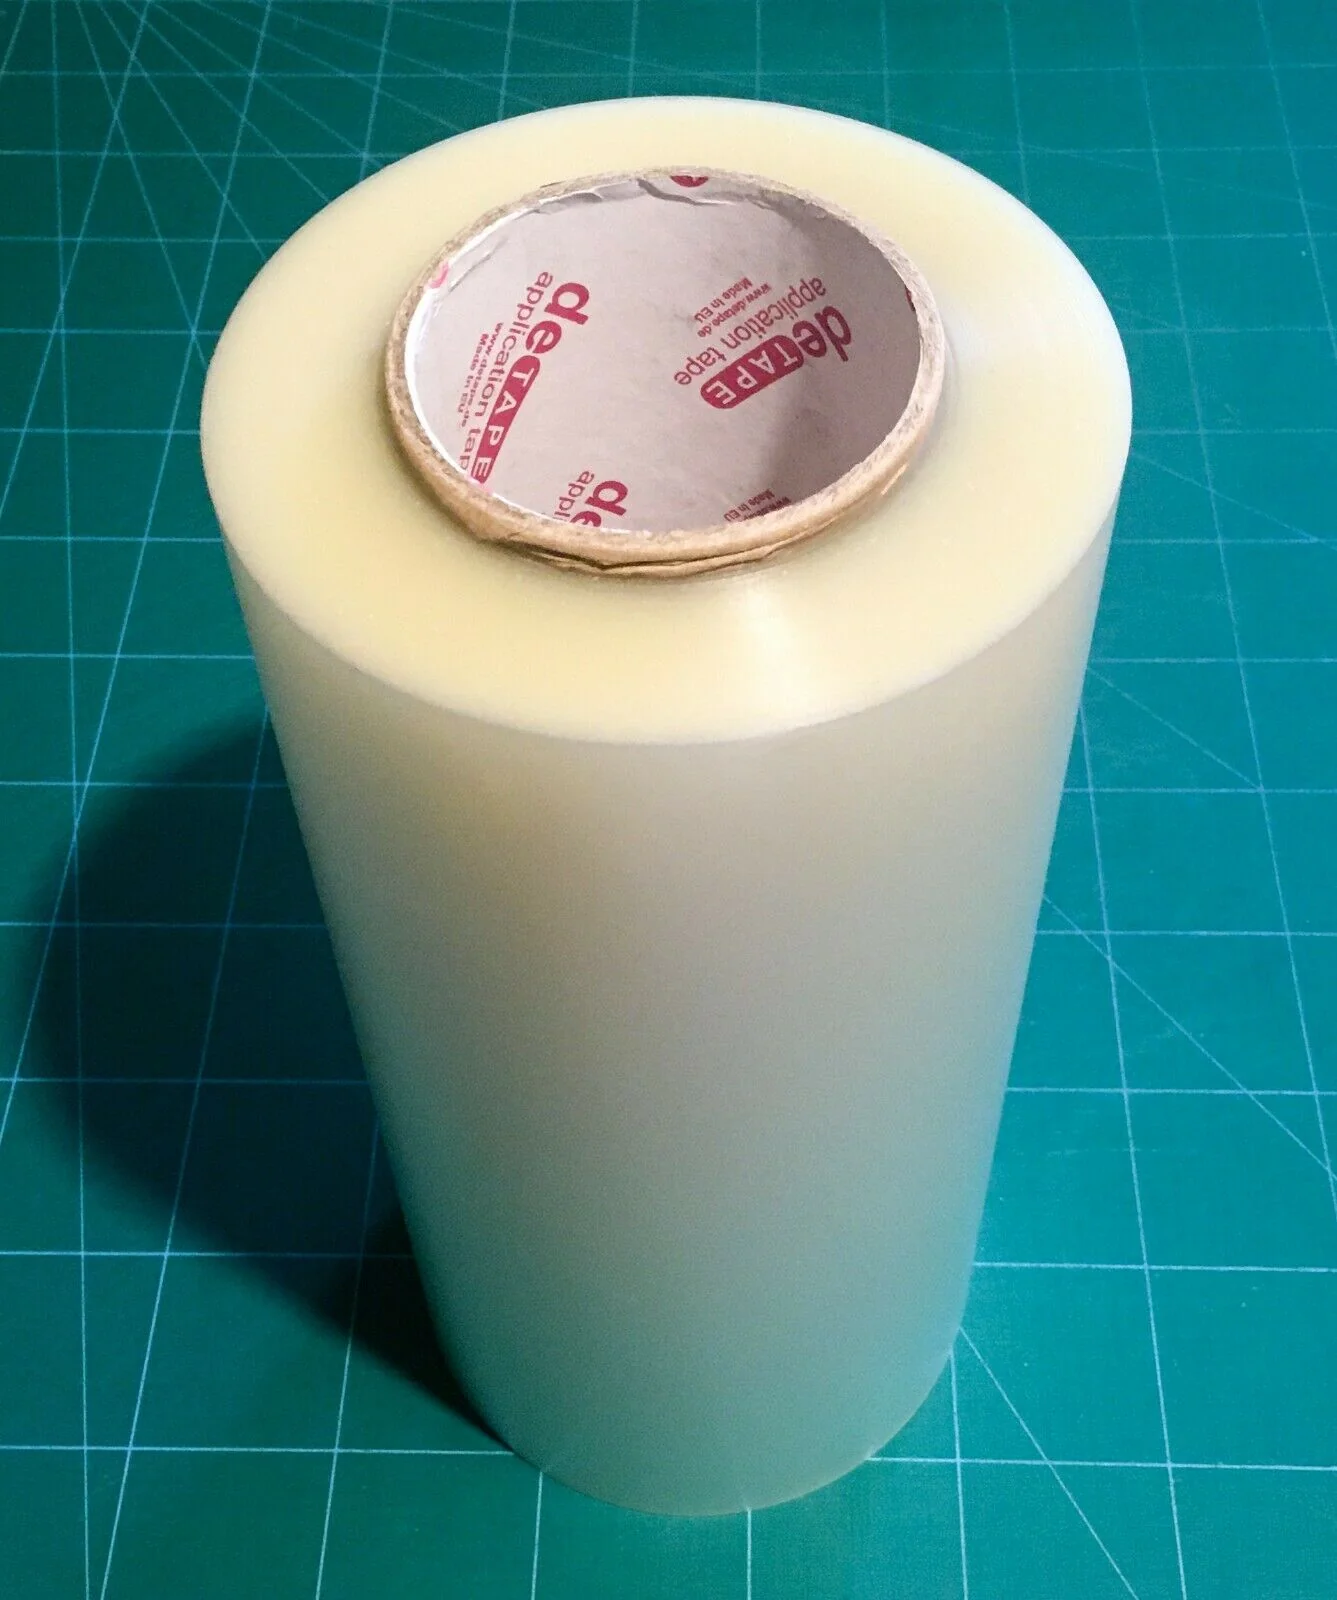
There is a 2-stage process to take wall vinyl designs and mount them on what you want to stick them to. The first stage is to transfer the designs onto a piece of sticky plastic, called 'transfer tape'. This will lift your design off of the acetate and expose the sticky side, so it can be stuck onto the wall without losing its shape.
2-colour designs
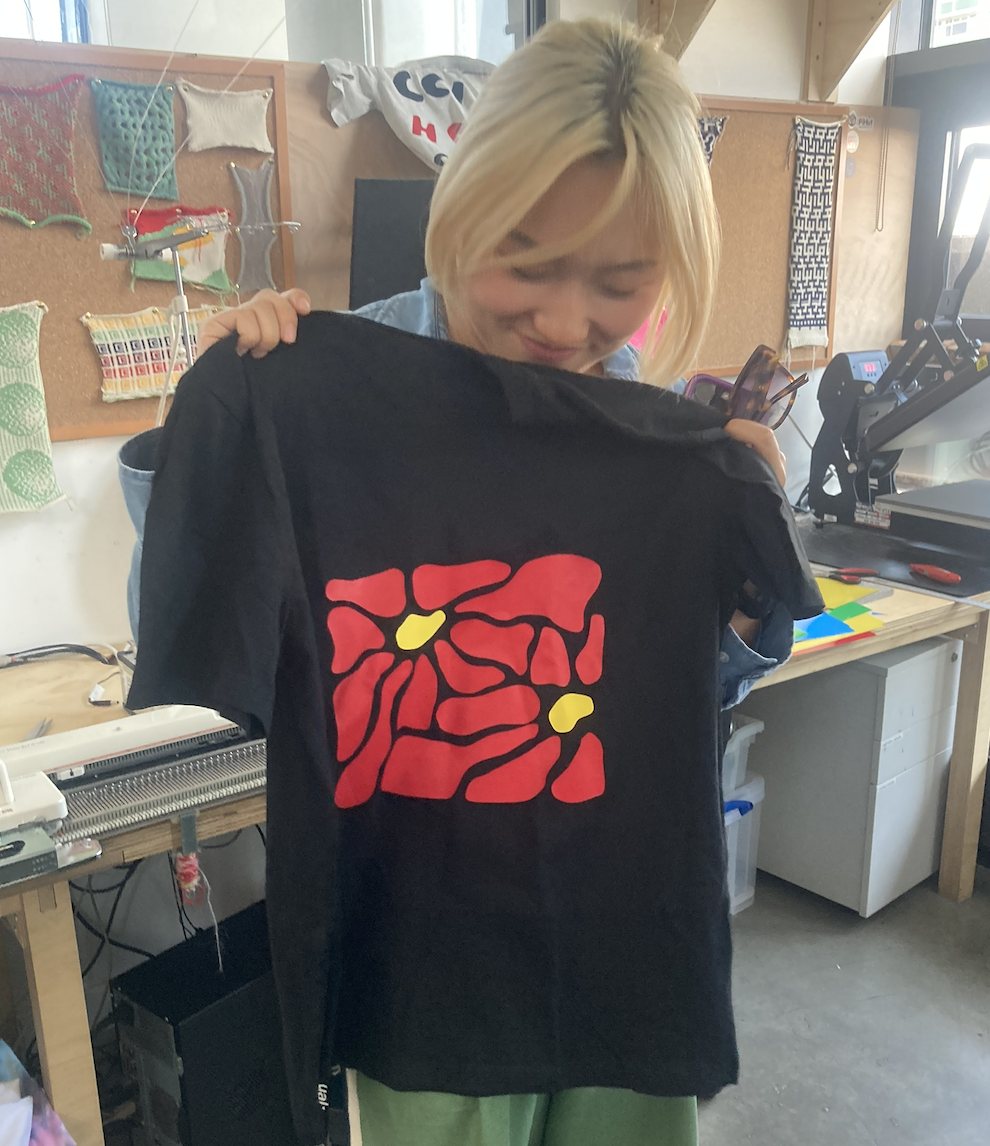
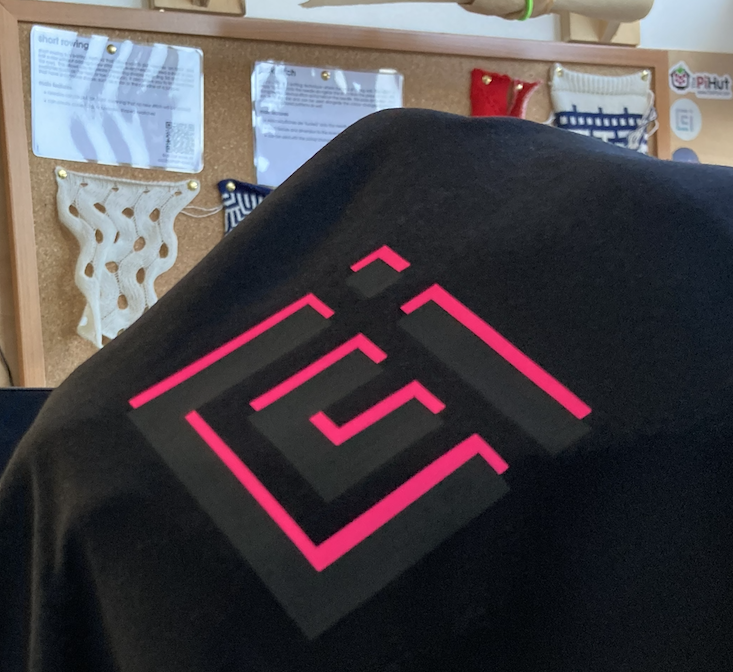
To make multicoloured vinyl designs, colours must be cut separately and then aligned afterwards. This can be done either by eye, or by cutting 'registration marks' in the corners of a design that are then removed afterward.
For small designs, a 'shadow' effect can be created by laying the same designs on top of ones created in a different colour. These are quick to make and allow for more experimentation.
Cutting Things That Aren't Vinyl
The Cameo can be used with a range of different materials, including fake leather, card and paper. We haven't tried a lot of these, but are happy for you to test them out! Our advice would be to try out
Gallery
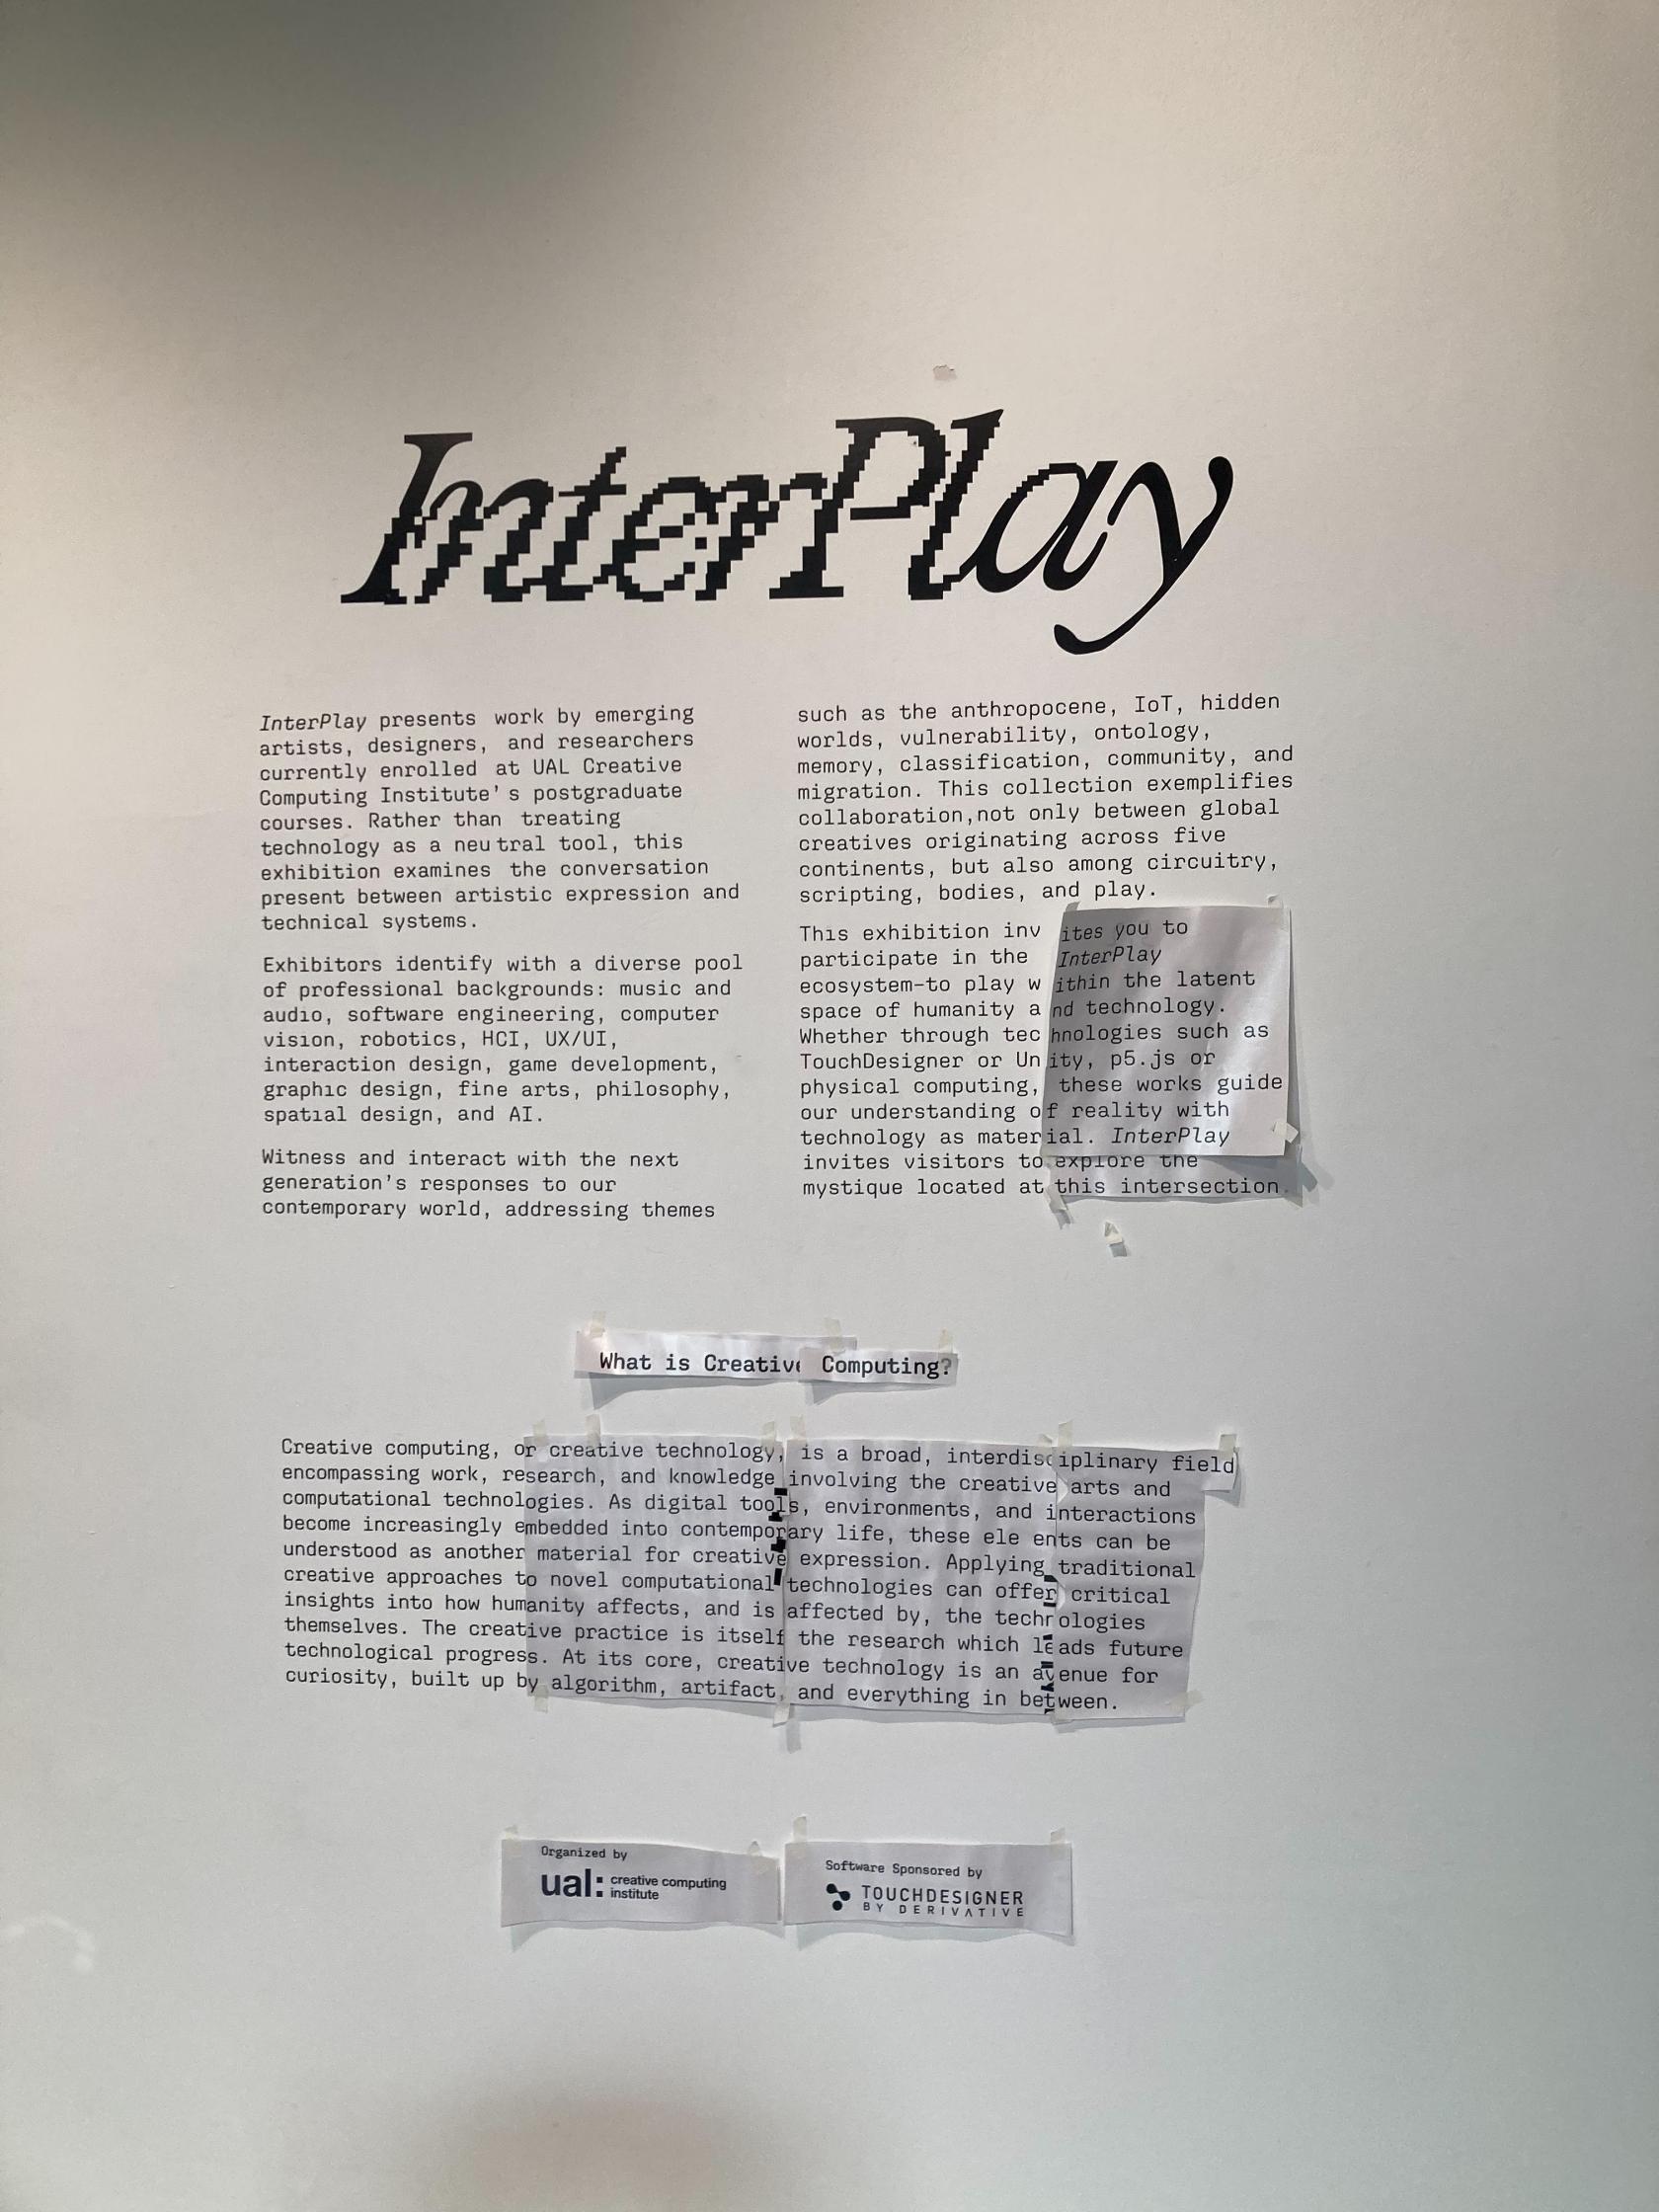
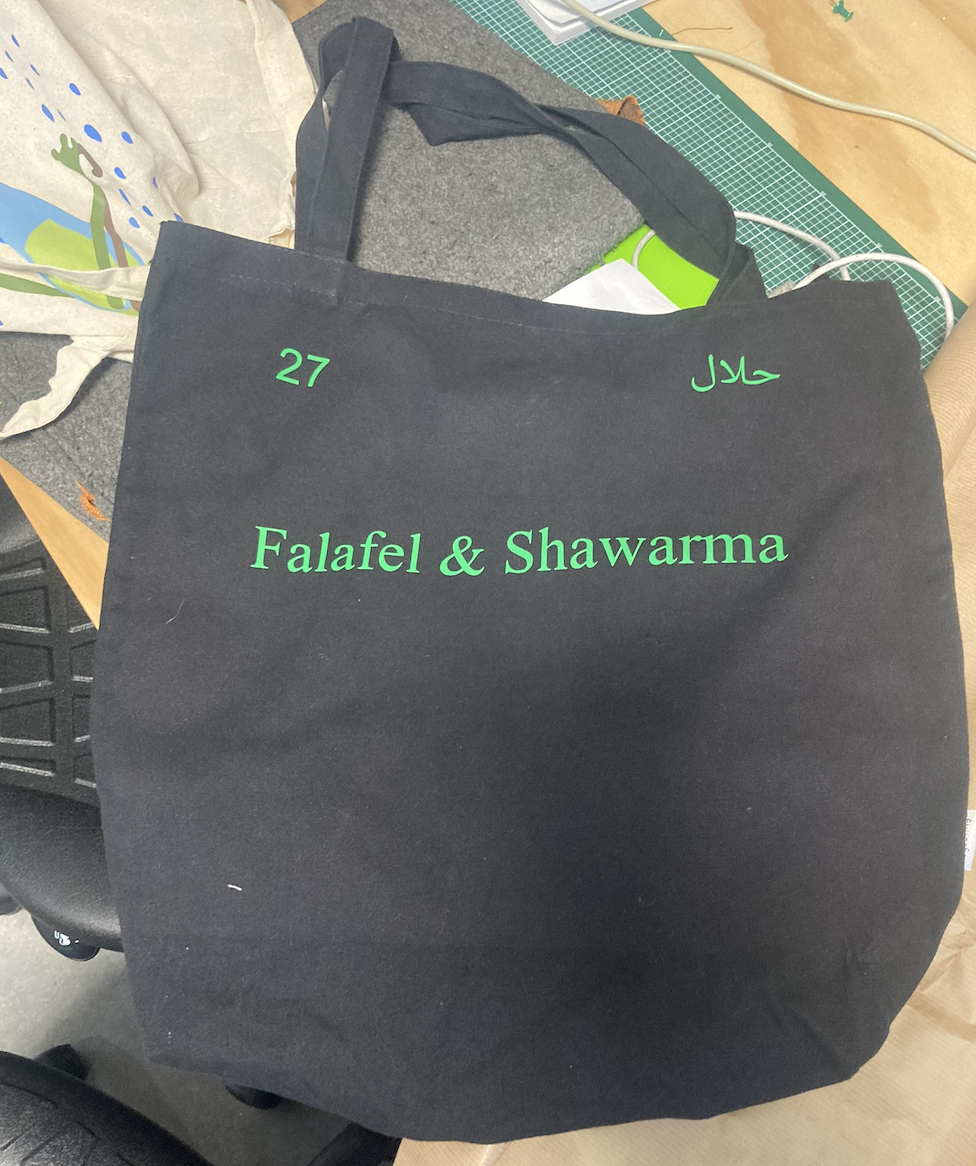
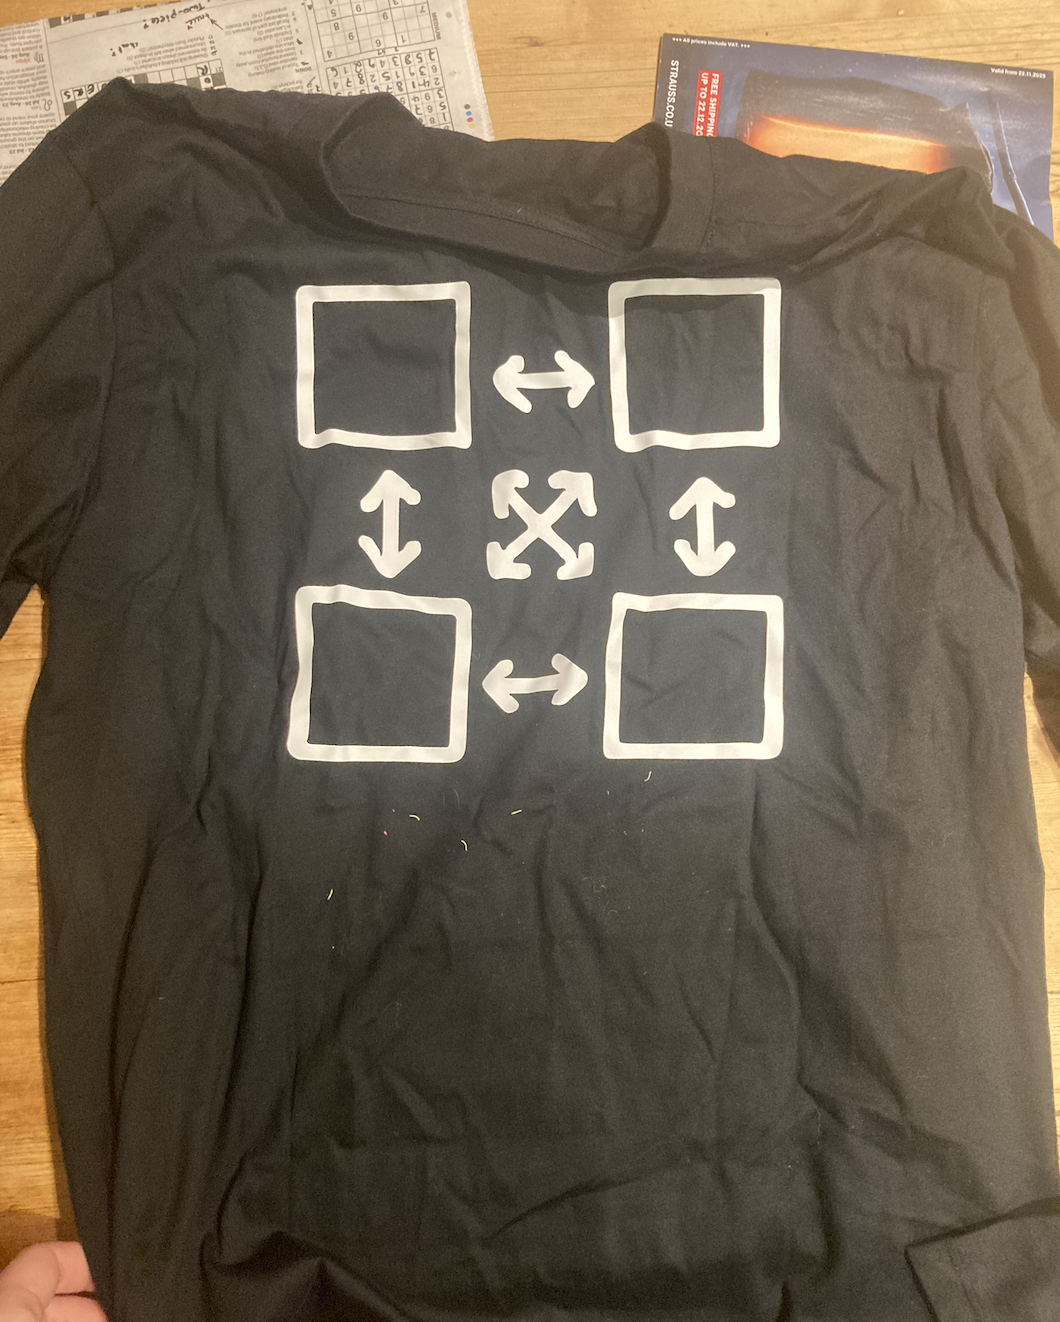
Here's a few items that have been made on the CCI's vinyl cutter: