Adding a Processing Library
Processing libraries allow us to use code other people have written within the Processing environment -- these can be really useful when experimenting with more complex projects, and can save a lot of rewriting code. There are some 'core' processing libraries that don't need to be manually installed, but people can also write their own -- these are called 'Contributed Libraries', and these do need to be installed by you in order to be used.
One that we use in the CCI is Pembroider (which I'll use as the example for this tutorial), that generates embroidery designs, but the same principle applies to all Processing libraries (the Processing website has a searchable index of both core and contributed libraries).
Setup
Make sure you have processing installed, and that the version of processing you're using matches the version specified by the library. To find your version of processing, open up the Processing app and select 'About Processing' from the main menu.
Next, download the library. If it's a library distributed via Github, this might be found in the 'releases' section on the right hand side of the window, though for Pembroider it's just linked in the README page. If multiple versions are offered, select the one that matches your version of Processing.
Find the 'Processing' folder
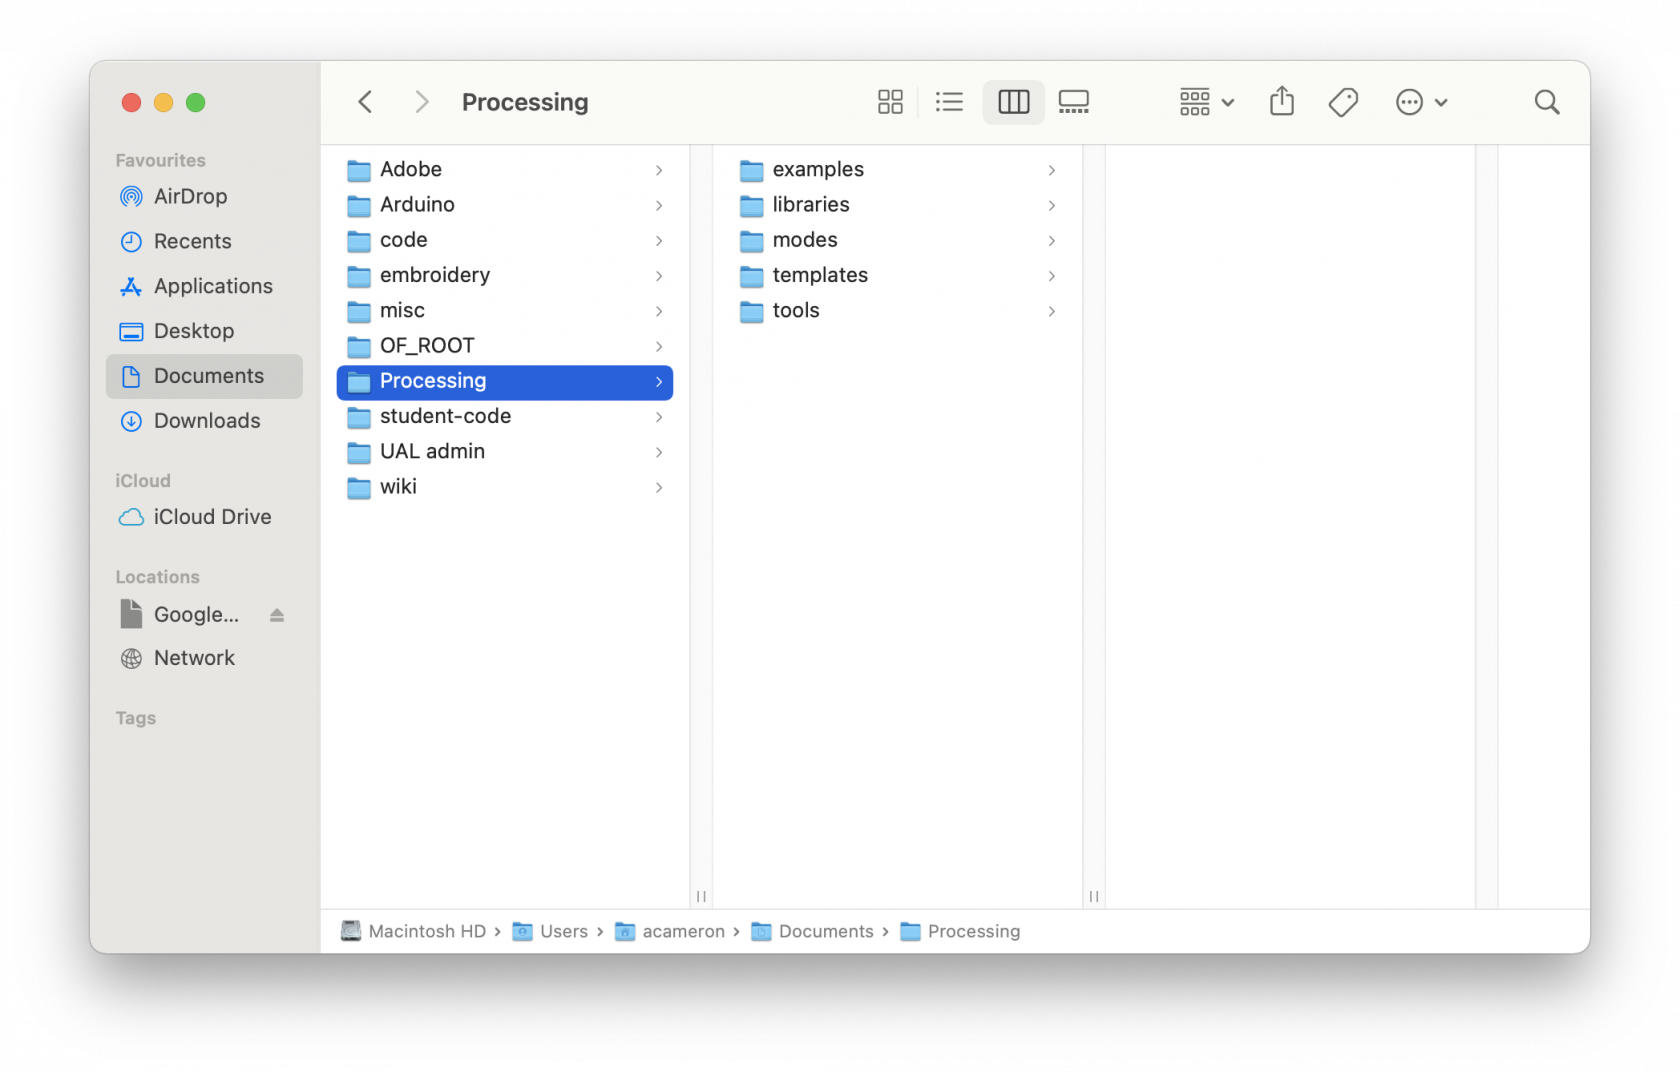
When you install and open Processing on your computer, it should automatically create a folder called 'Processing' in your Documents folder (unless you tell it otherwise), on either Windows or Mac. If you aren't able to locate it, take a look in your home folder (one up from Documents), or search 'Processing' on your filesystem.
When you open it up, the contents should look like this:
Open up the folder called 'libraries'


