How to book a space using ORB
During COVID-19 you can book a desk to work at, this is to enable us to monitor capacity for safety and to help with NHS Track and Trace.
Step 1 - Login
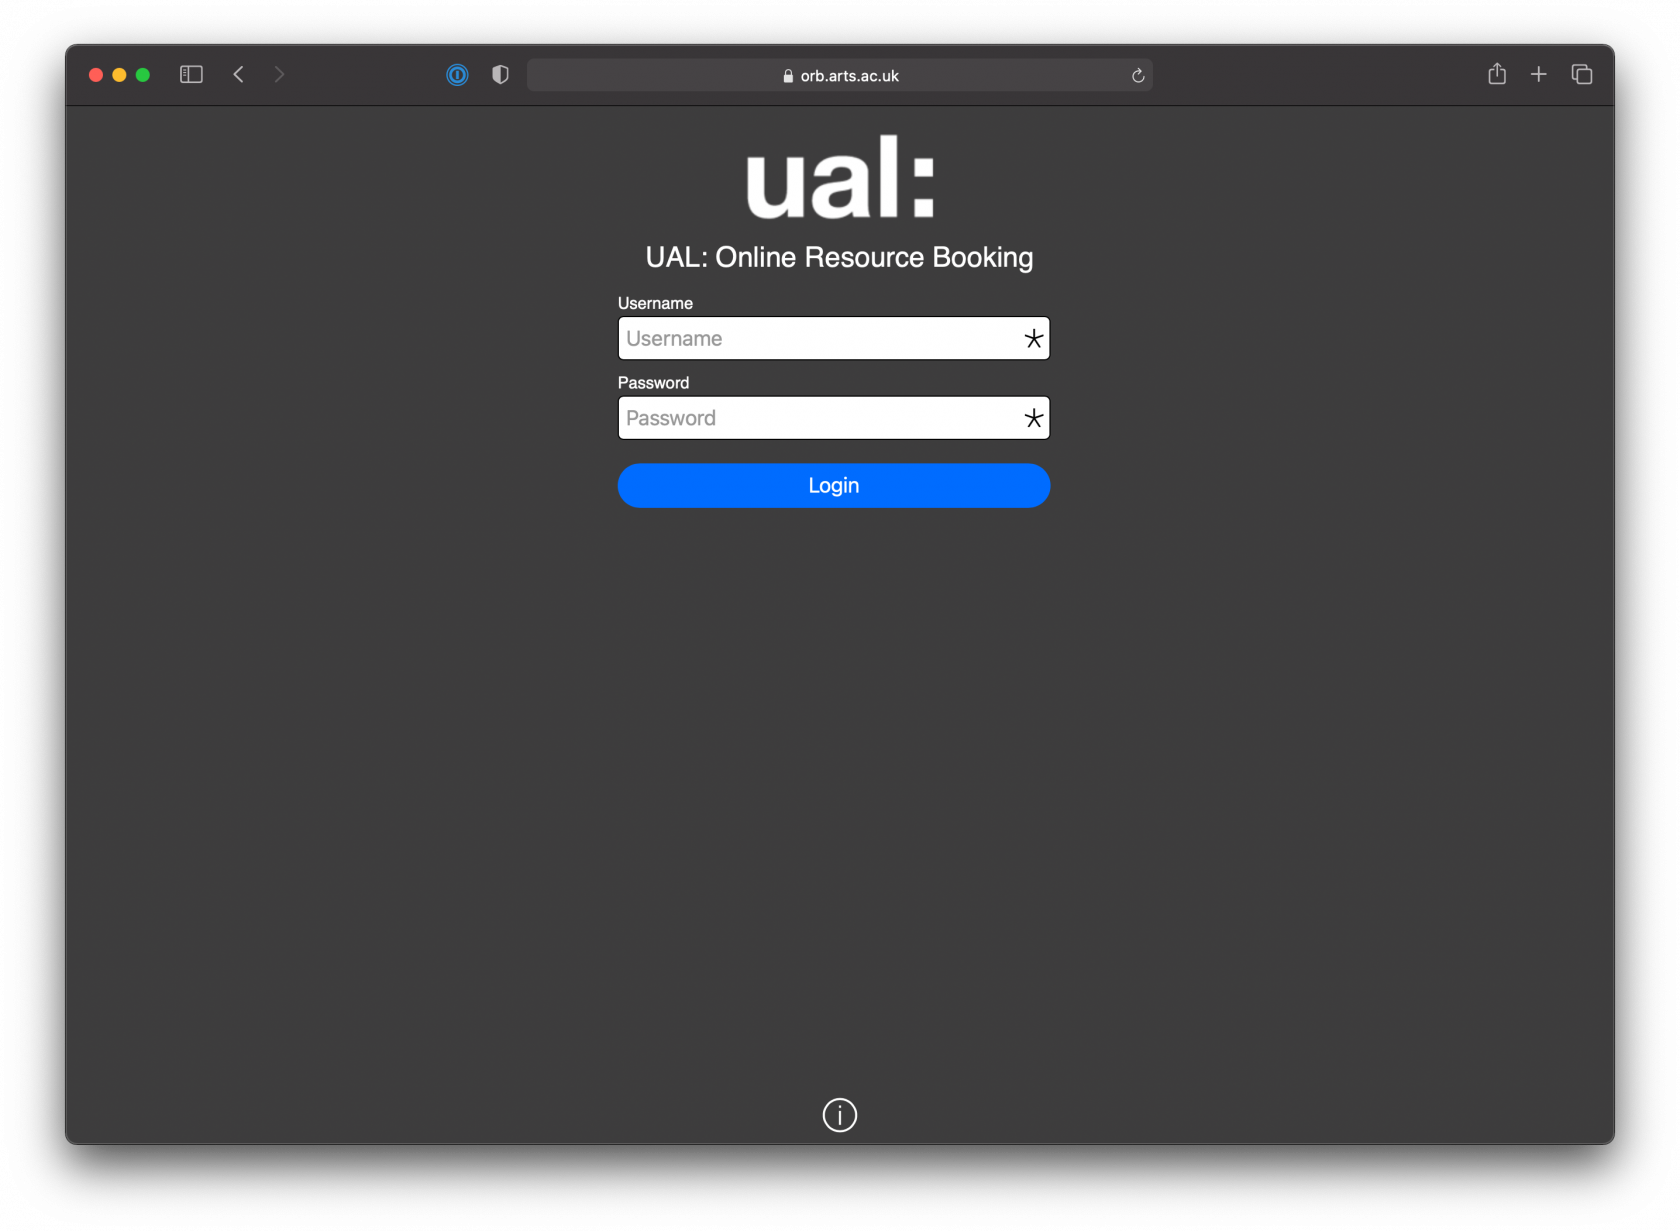
guideLoginon how to orb.arts.ac.uk with your usual UAL login (yourto student number as your username).ORB.
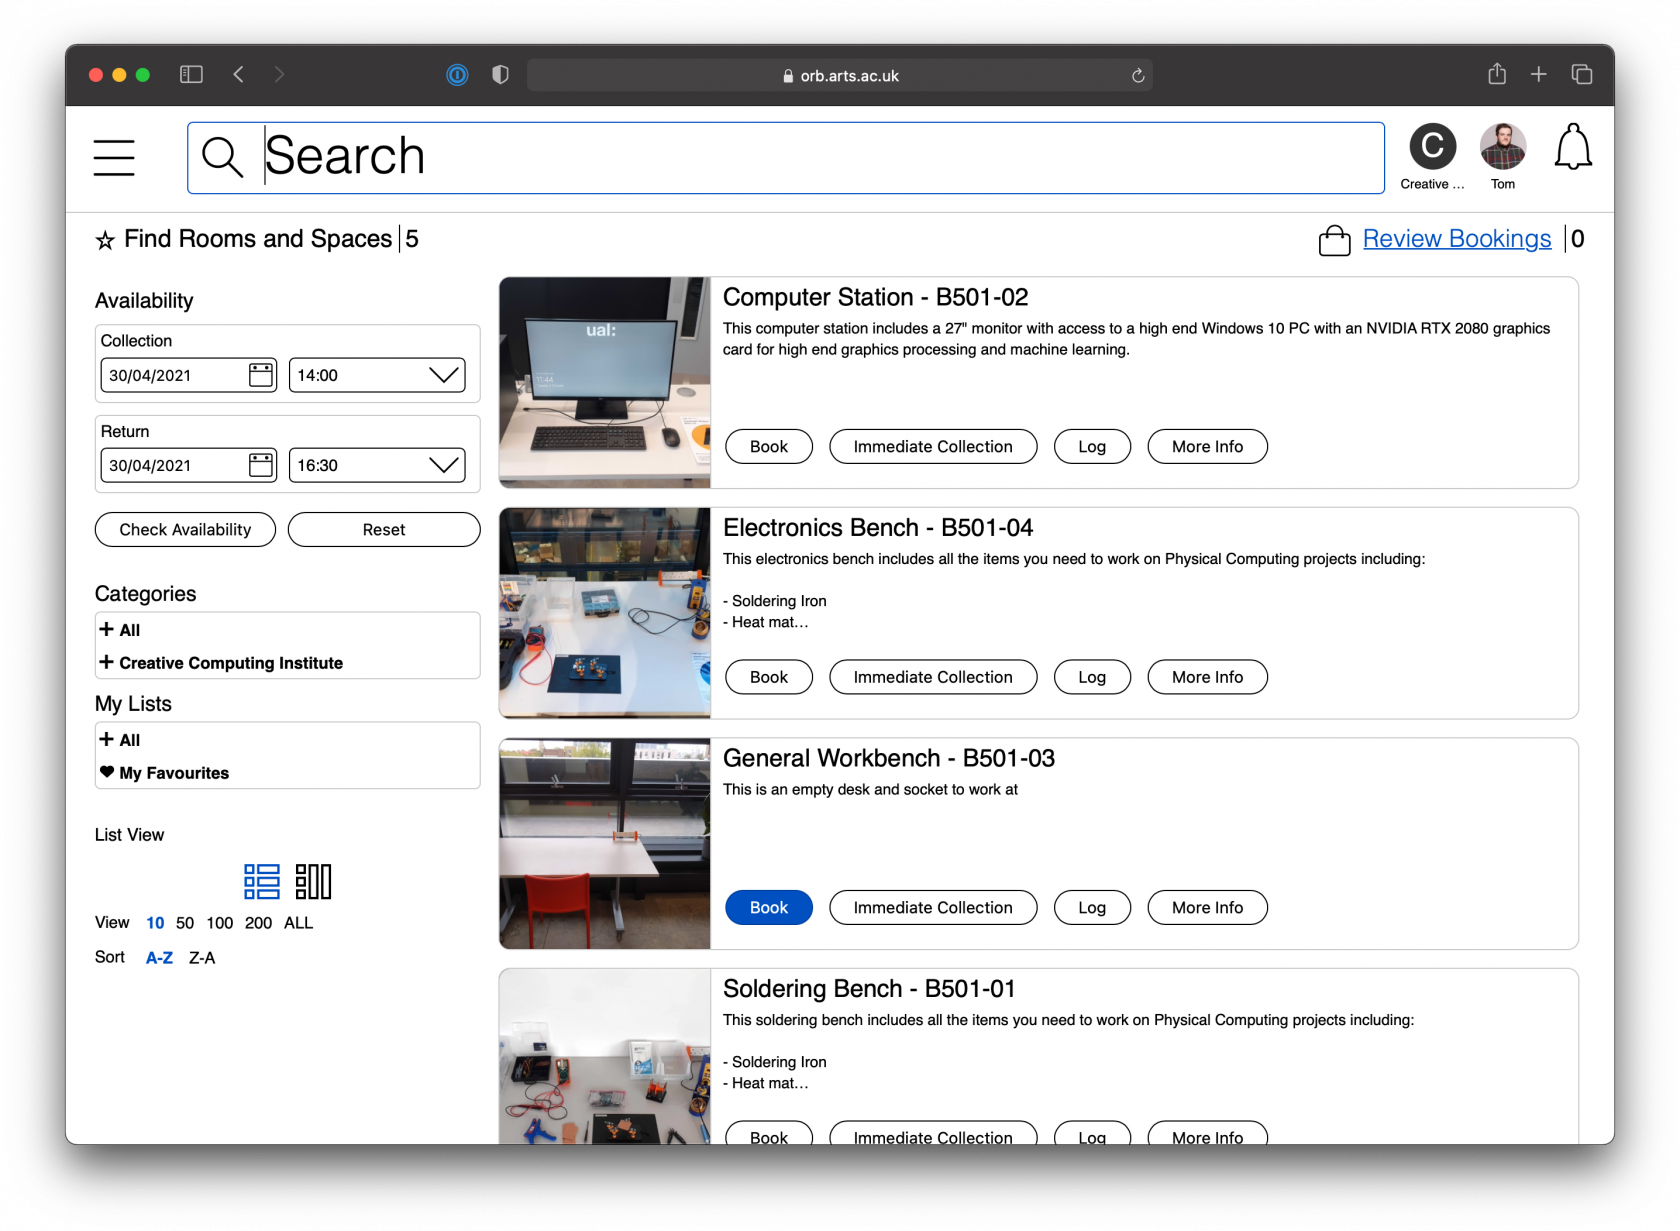
Step 2 - FindCheck Roomsyour and Spacesstore
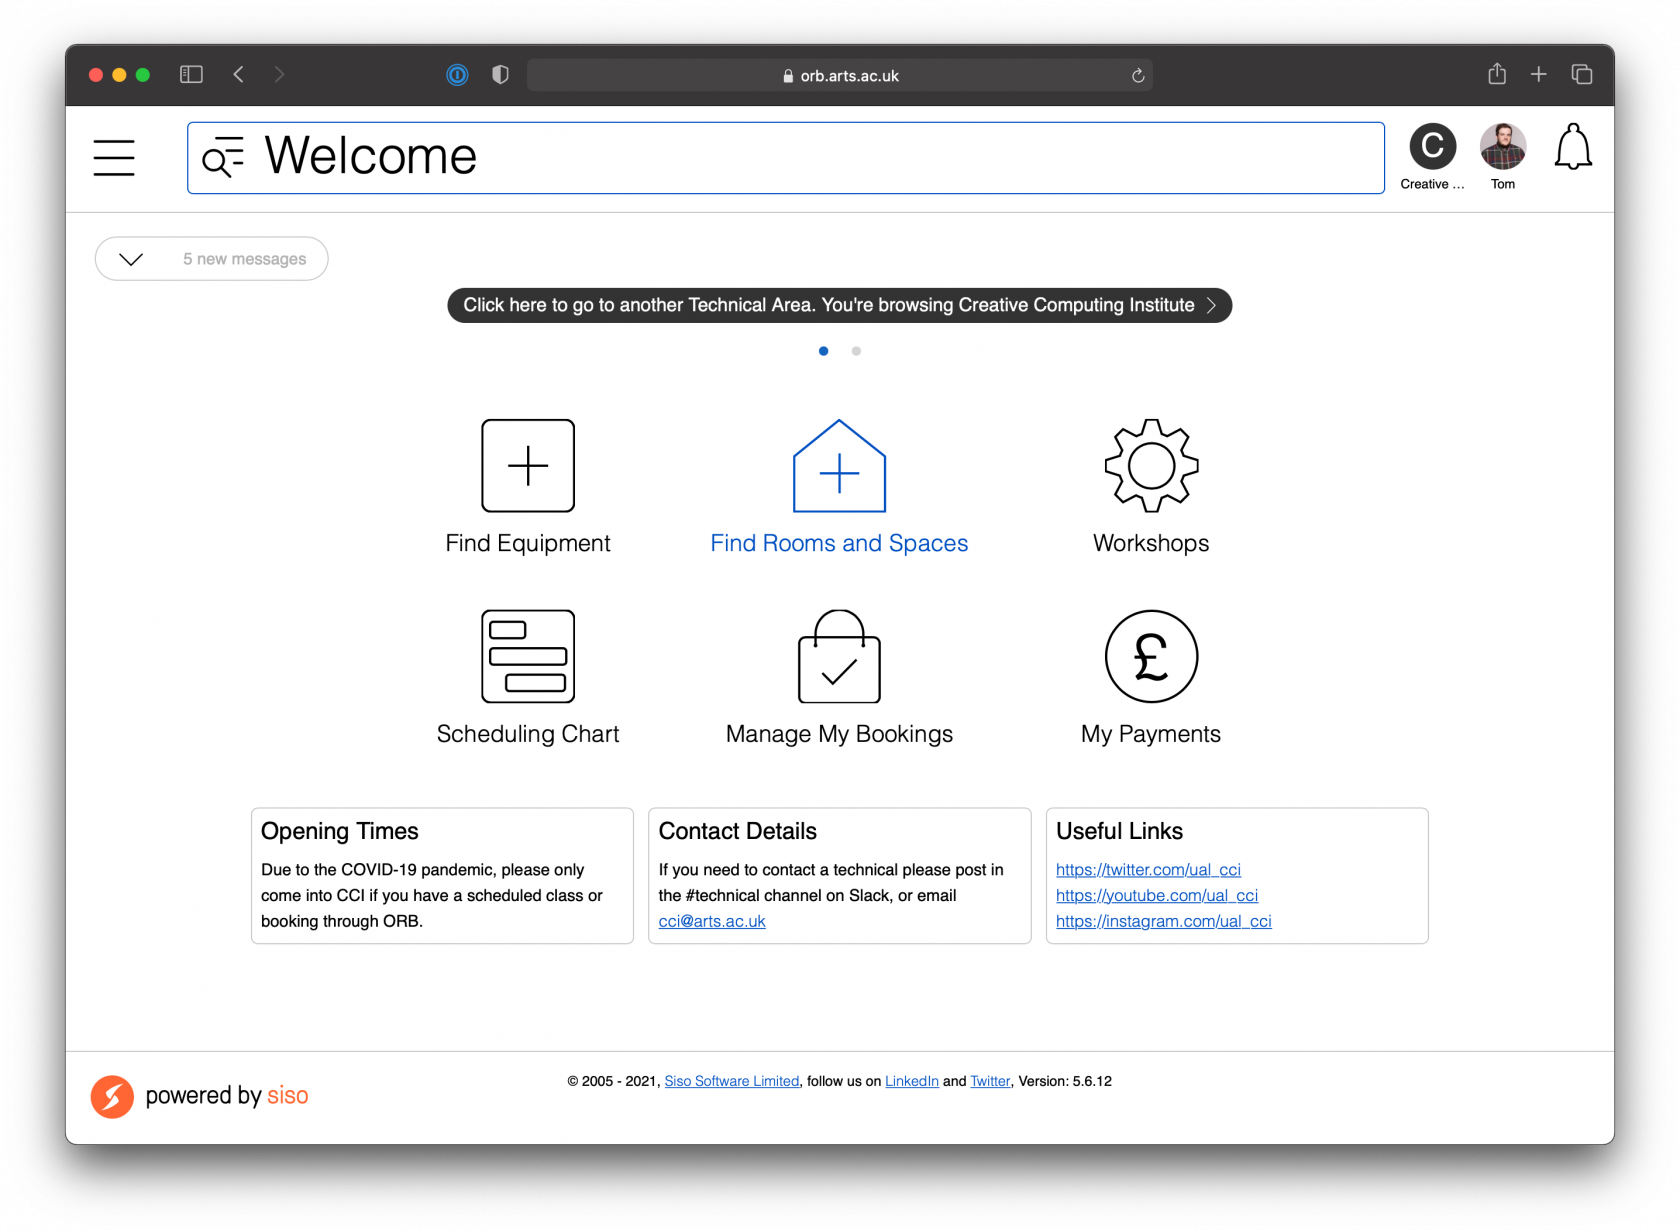
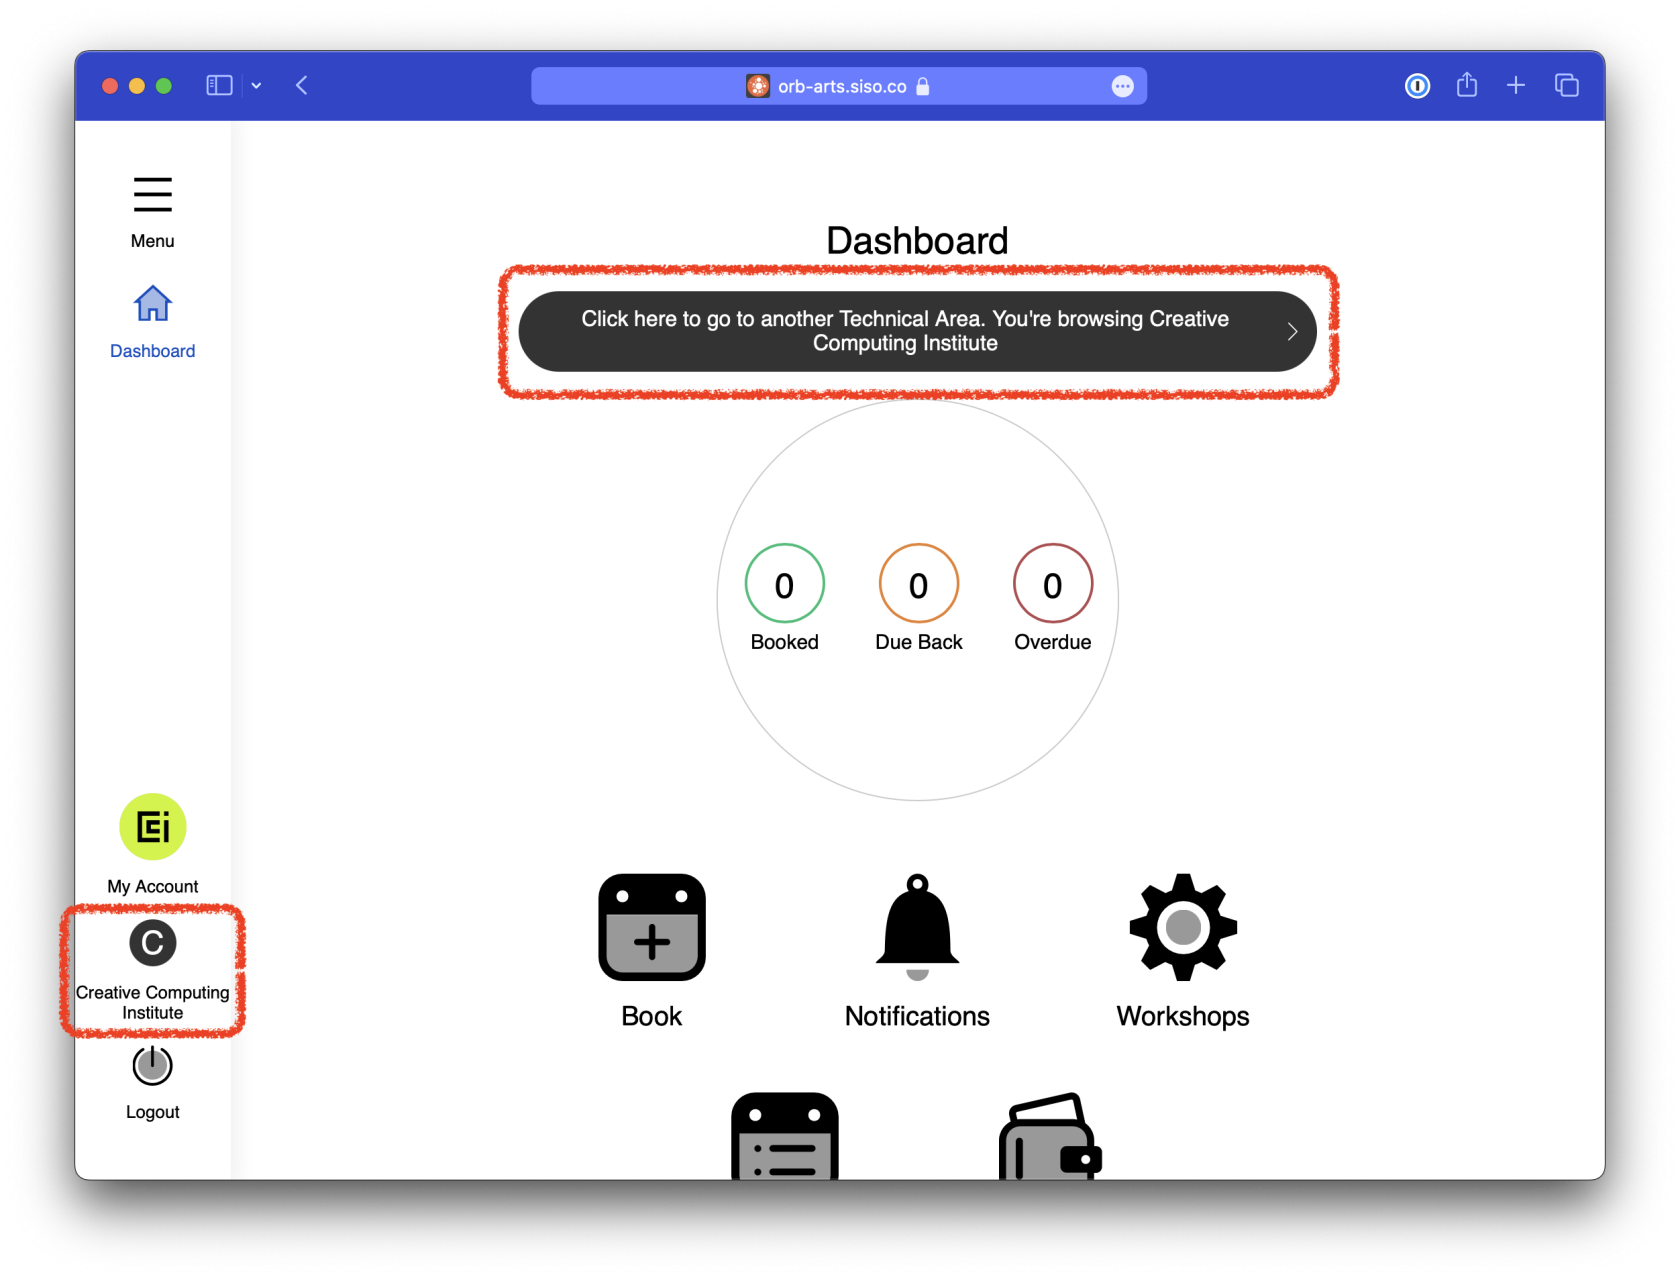
On the home screen makeMake sure thatyou are in the topCreative rightComputing cornerInstitute andstore.
You middlewill ofalways the screen it sayssee "Creative Computing Institute" on the sidebar, and thatfrom "Youthe areDashboard, browsingit Creativewill Computingalso Institute".be at the top.
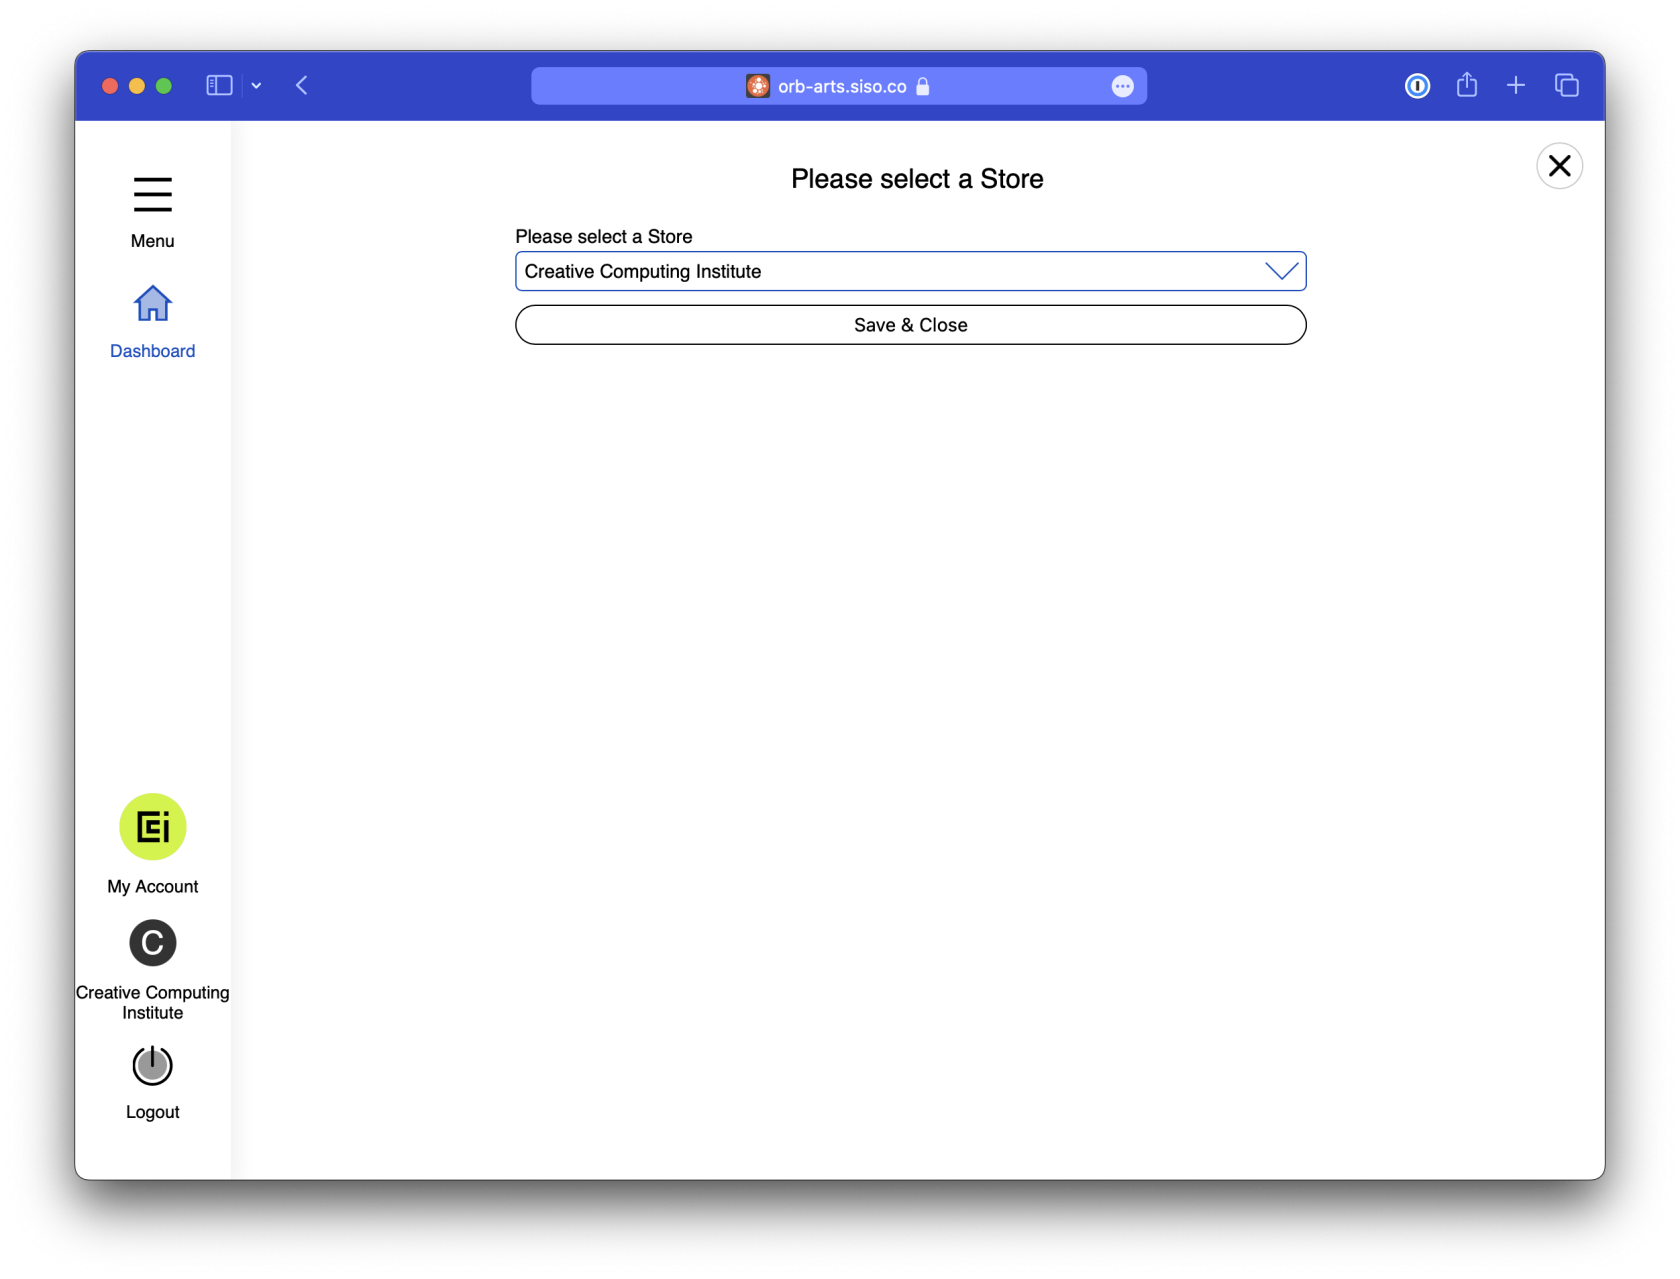
How to change stores
You can change stores by clicking on either of these locations. On the next screen, select the store and press "Save & Close."
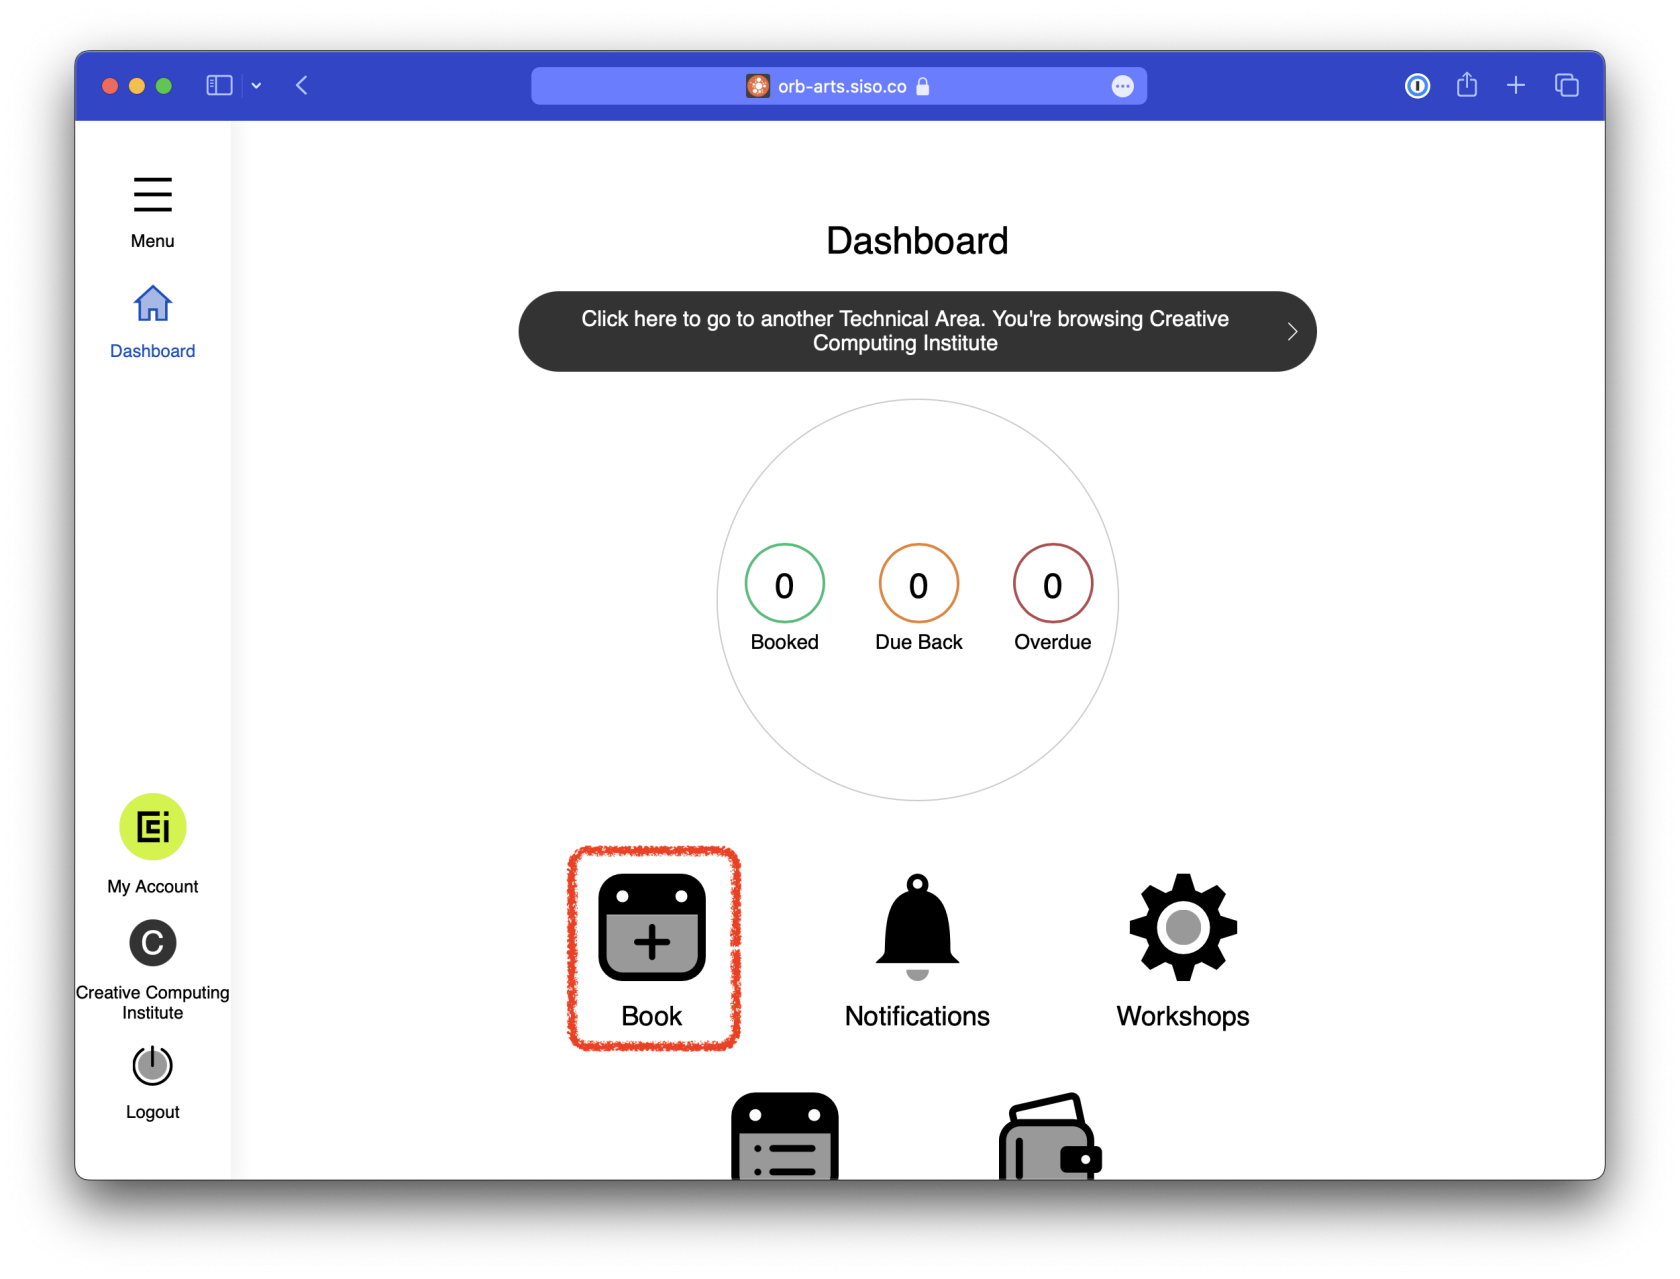
Step 3 -– Select a room typeBook
SelectFrom the typeDashboard, of workspacewhen you wantfirst tolog book andin, click "Book".:
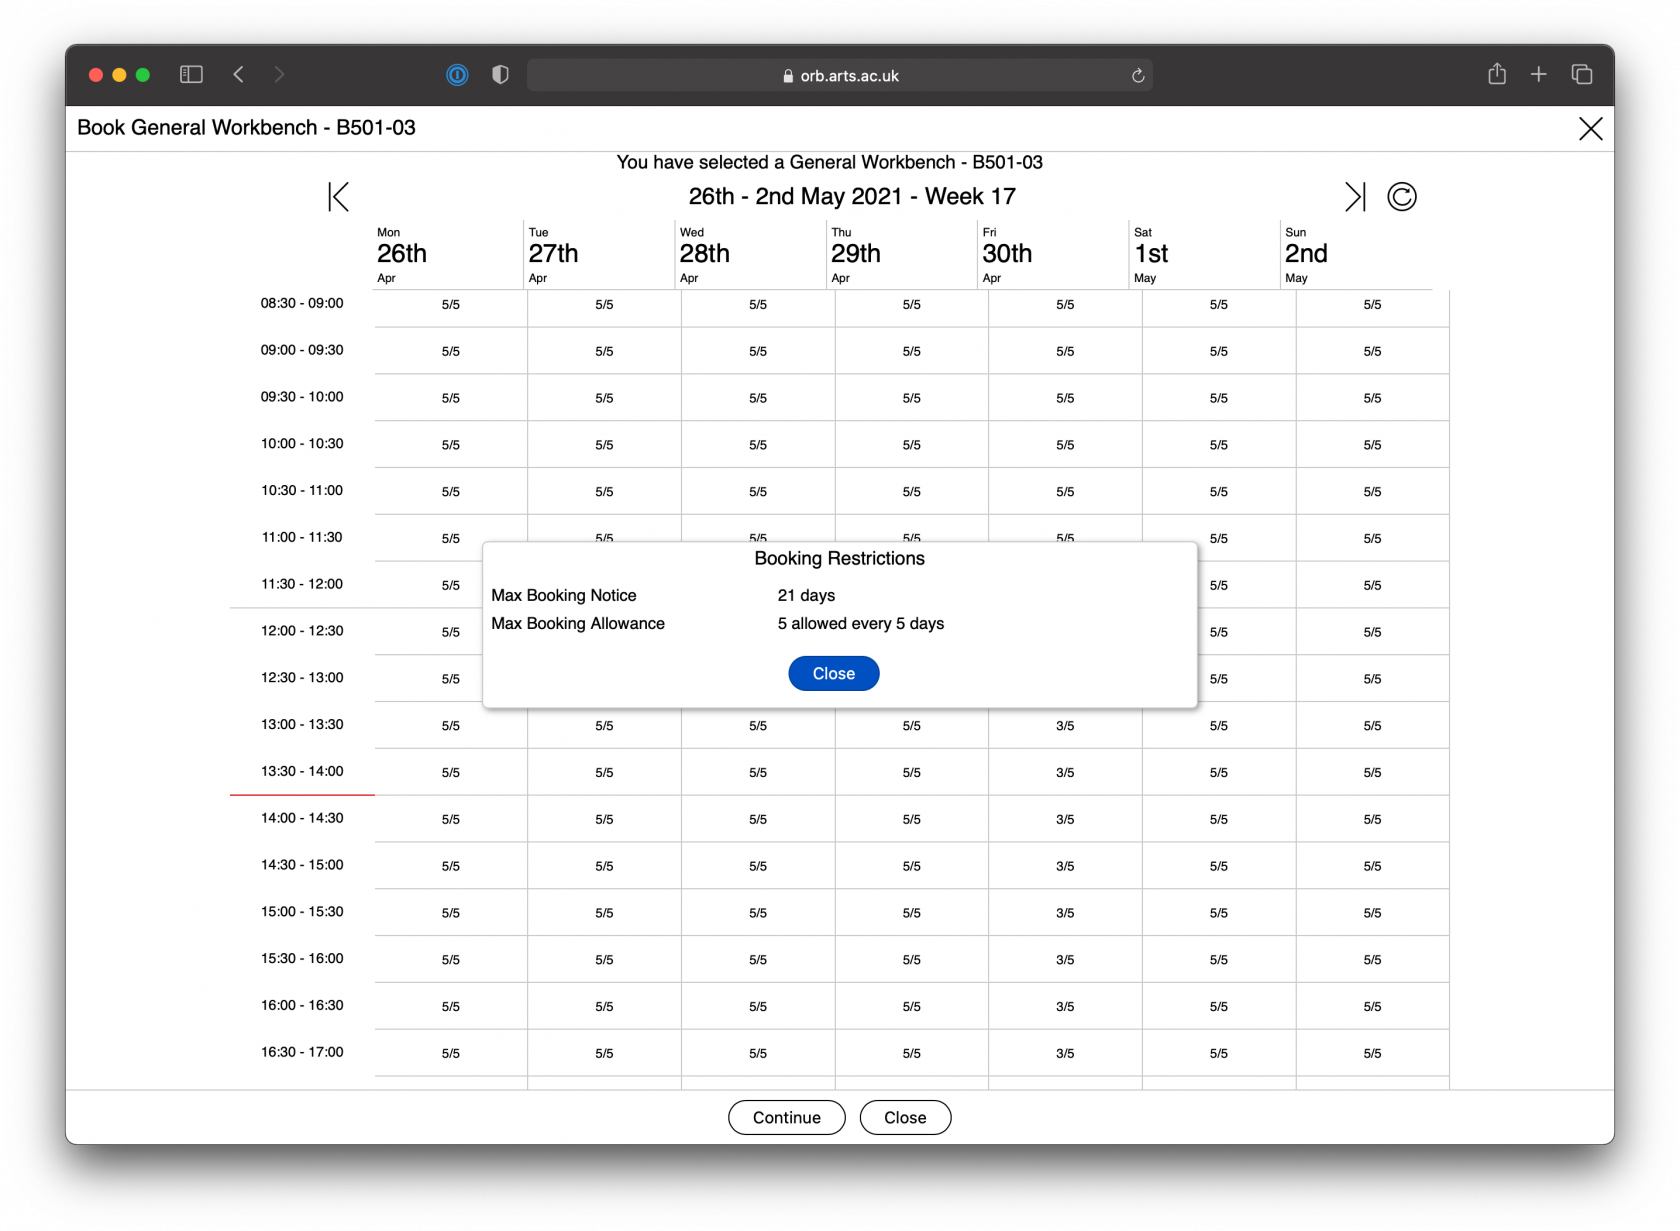
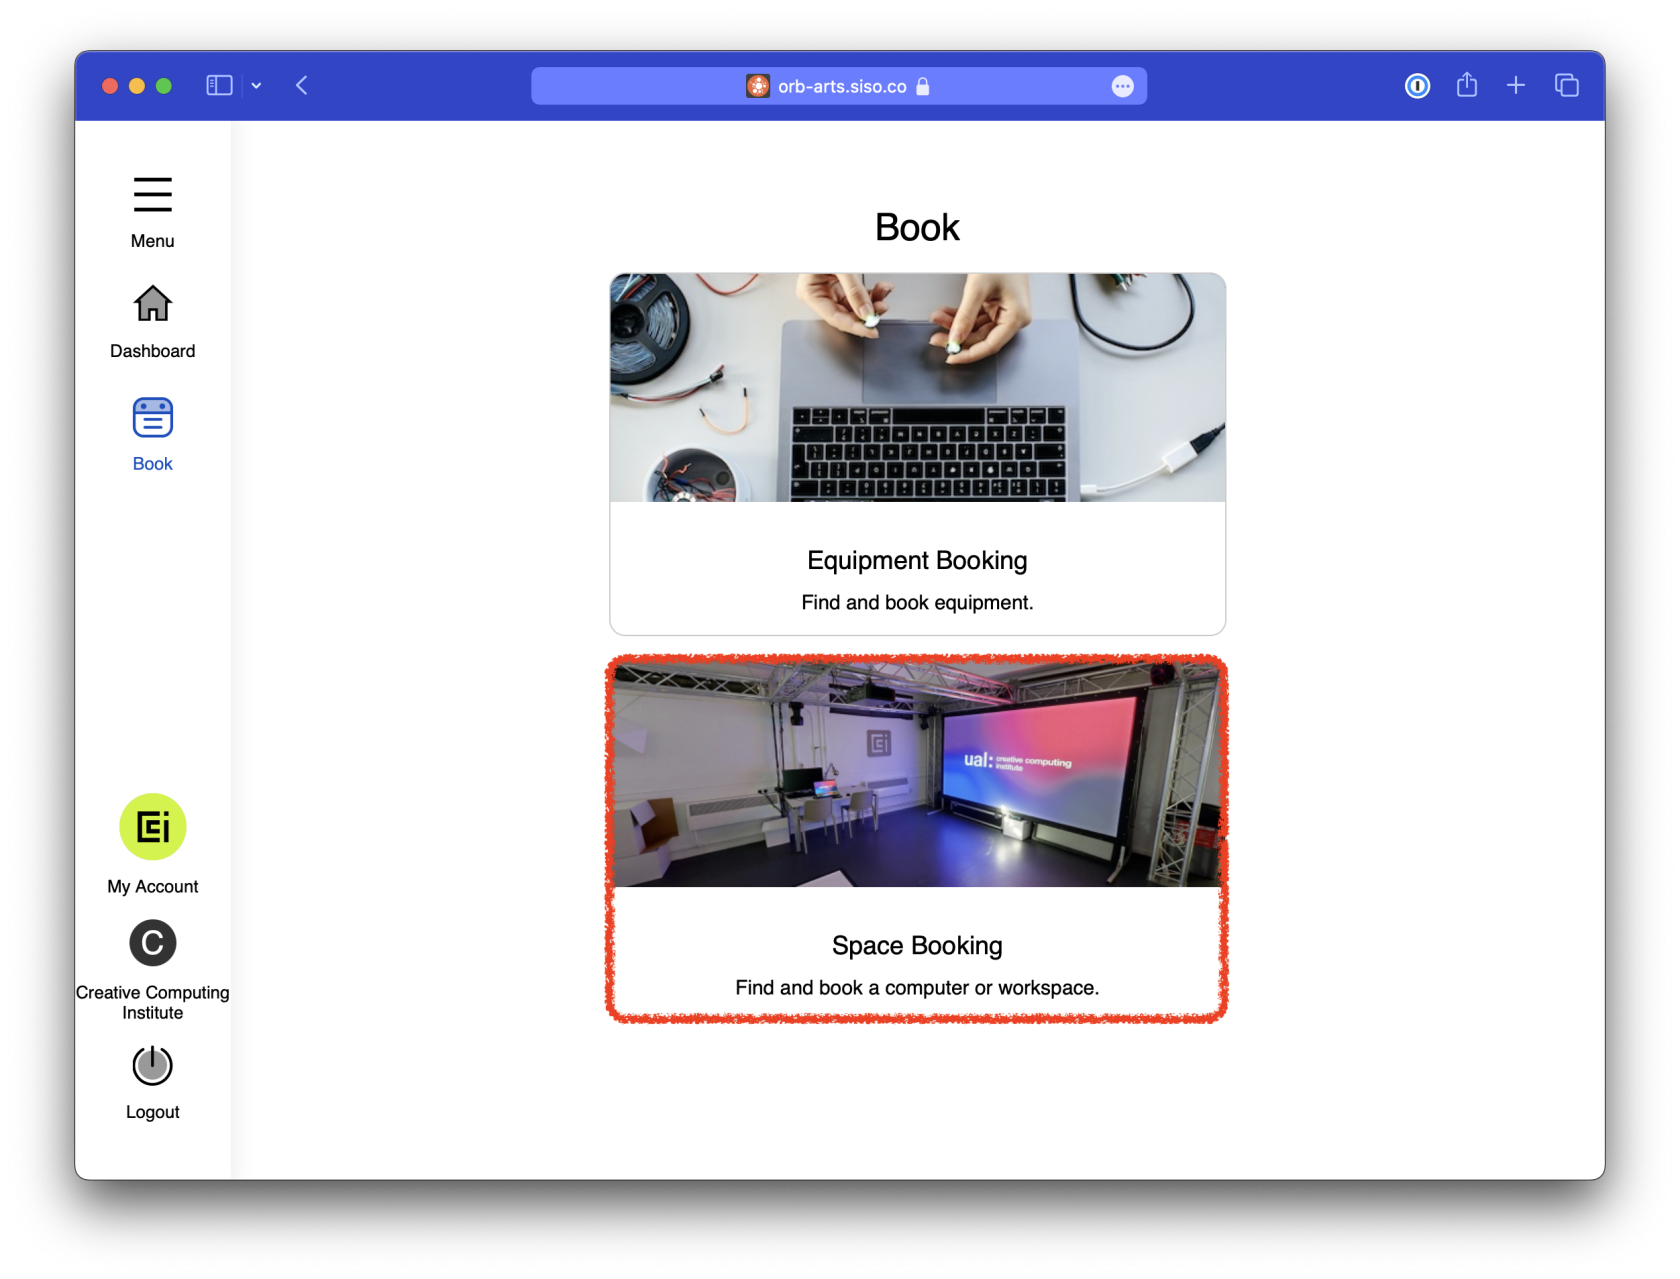
Step 4 -– AcknowlegeSpace booking restrctionsBooking
In this exampleFrom the resctrictionsnext allowscreen, youselect to"Space book up to 21 days in advanced of the current date, and up to 5 times in ever 5 days (i.e. once per day), restrictions may vary to manage demand or for safety reasons such as COVID quarantining between users.Booking":
Click "Close" to move on.
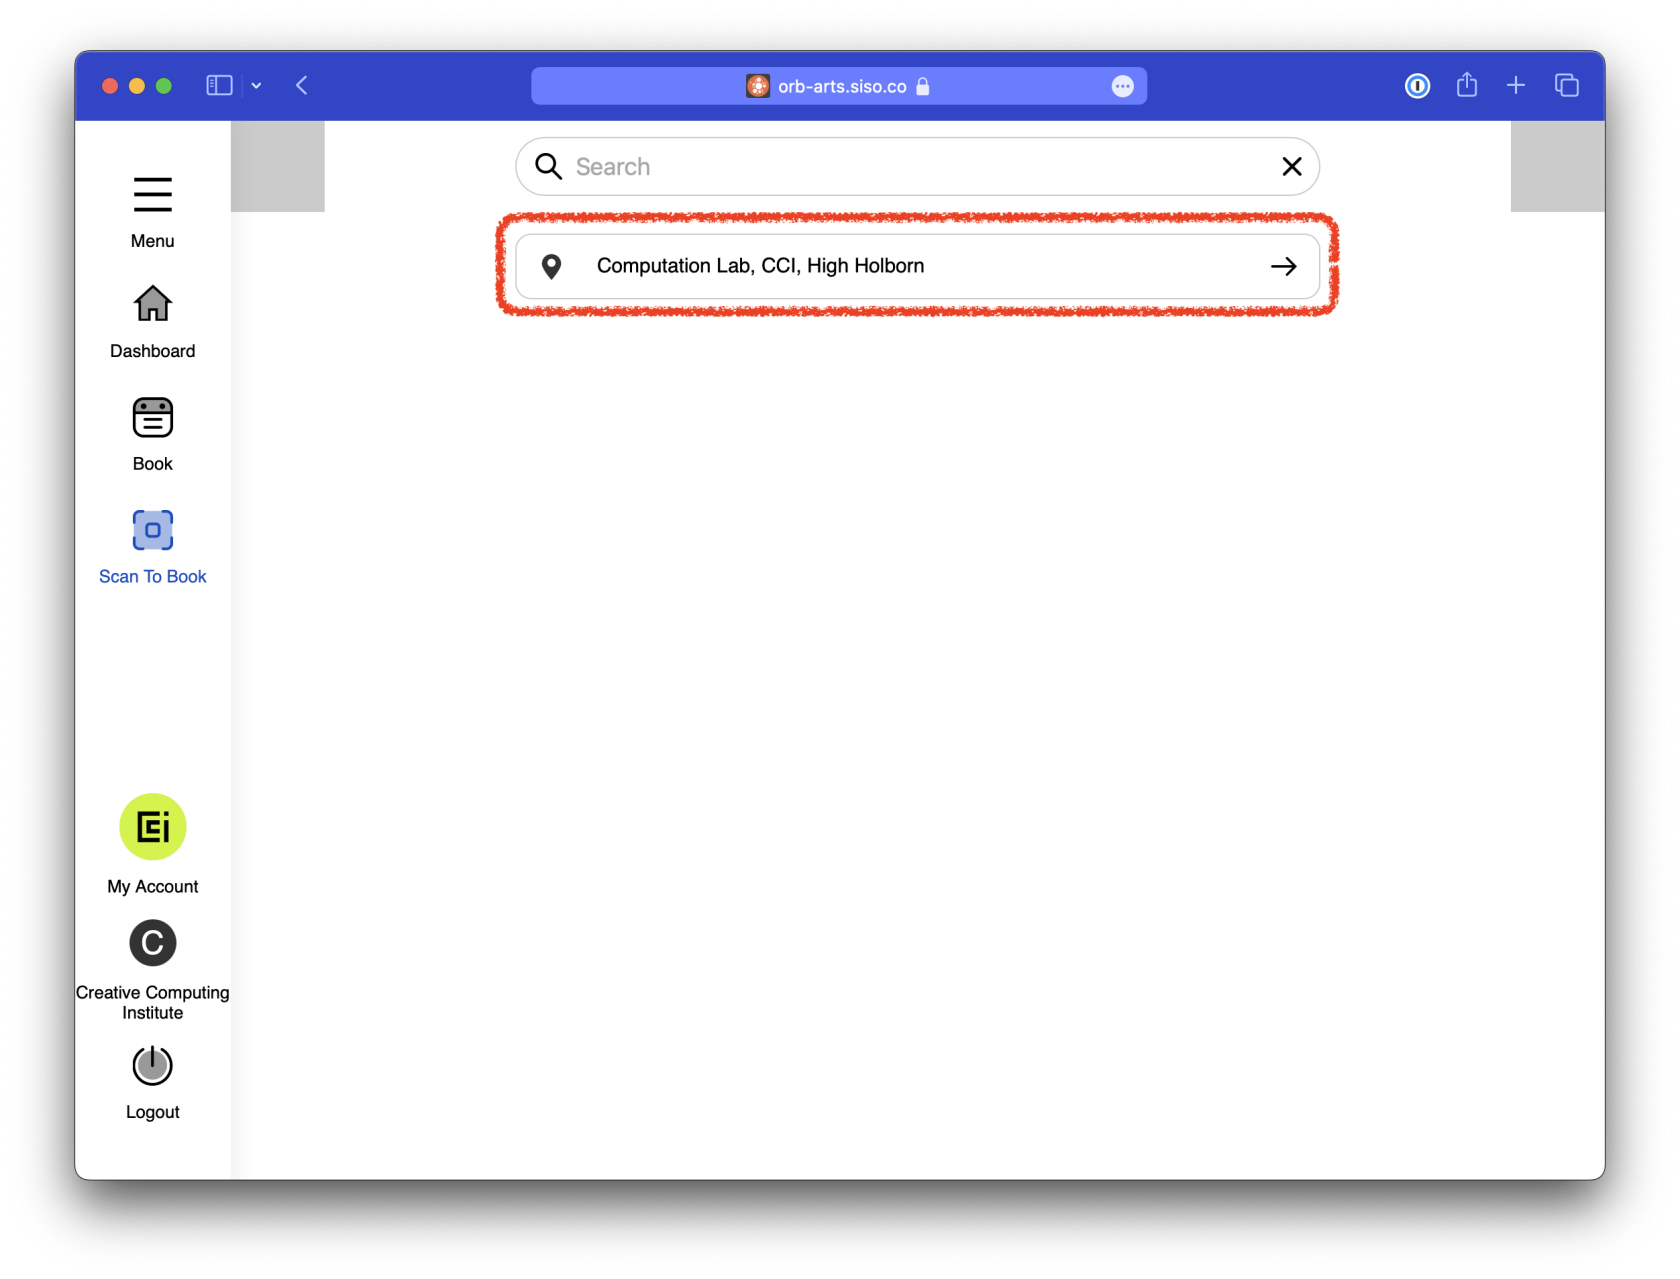
Step 5 -– Pick your resource
Now you can pick from a datelist of Technical Resources; not all spaces are bookable; some are just first come, first served.
Step 6 – Booking
Step 6A – Acknowledge the information pop-up
When you view the resource, you may be presented with a pop-up with important information about the resource, read it then close the box:

Step 6B – Select a resource
There are 2 ways to pick your resource. By default, you will see the "Asset List," which is a scrollable list of resources and timetimes for a given day.
NavigateIn most spaces, you can also switch to the day"Floor Plan" view, select a specific resource and timethen yousee wantits to book, click the first cell in the tableavailability for the startgiven ofday.
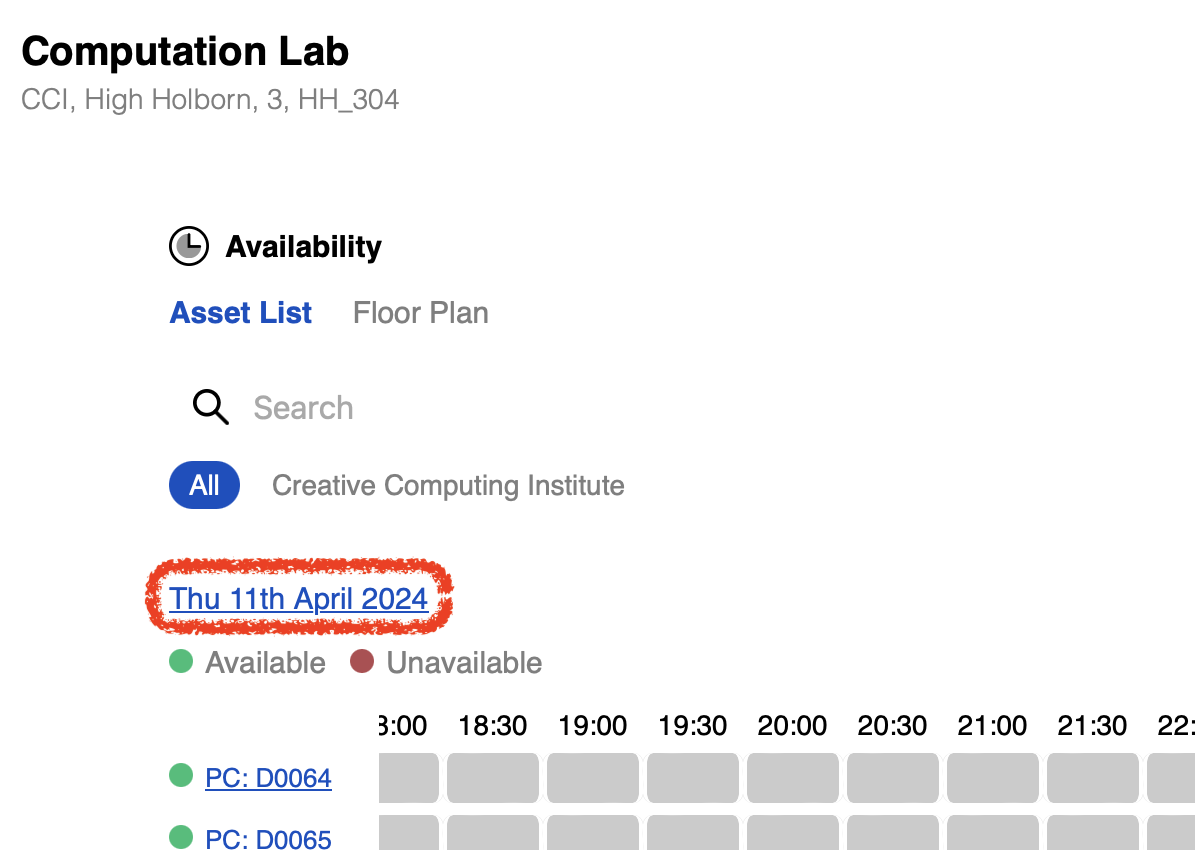
Step booking6C and– thenSelecting a day
You can click on the endblue underlined date to change to another day, by default, it will show the current date:
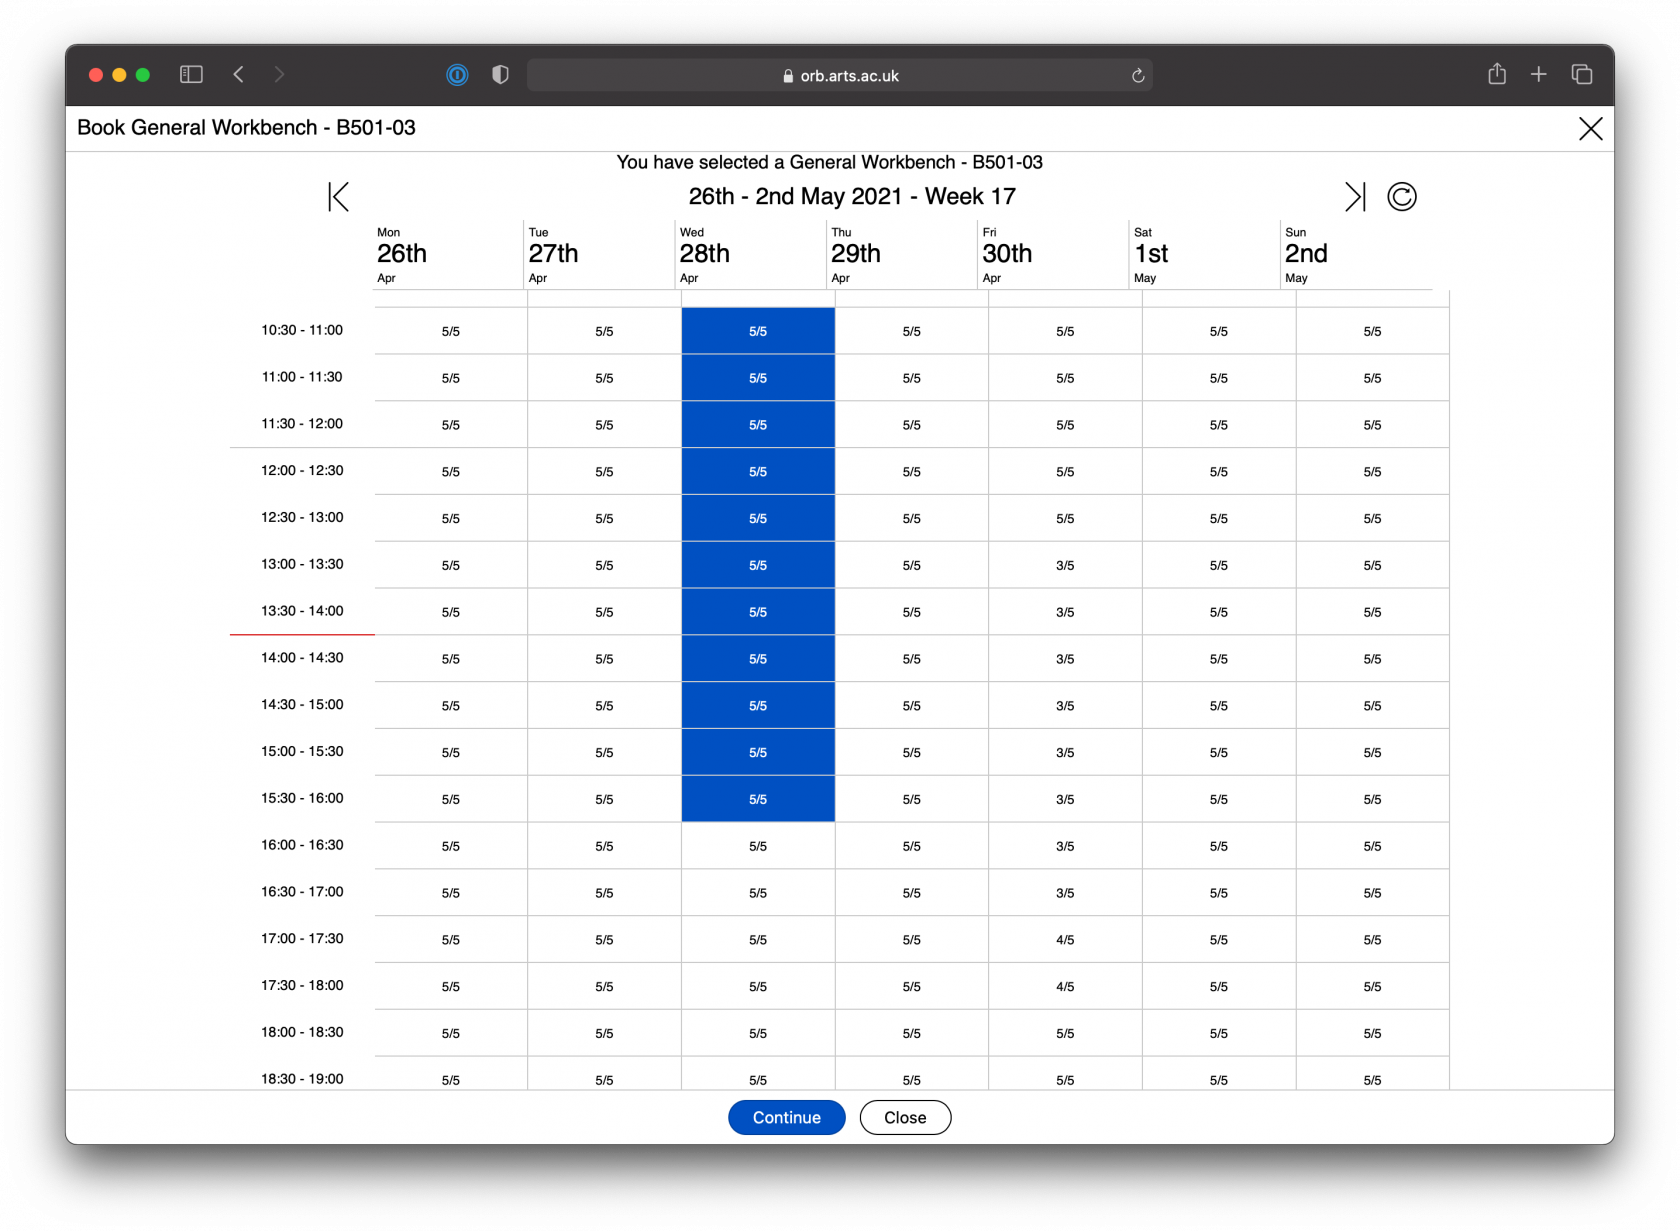
Step 6D – Selecting a time byrange
You thecan last cell indrag the time range youaround wantleft and right by pressing and holding; this can be confusing on a computer as it doesn't scroll left and right with your mouse or trackpad.
To select a time, click one on the start time, scroll (drag) to book,the thenend time, and again click "Continue".
on that. The assettime will be greyed out at times that aren't available such as holidays, weekends and outside of hours, andhighlighted in someblue:
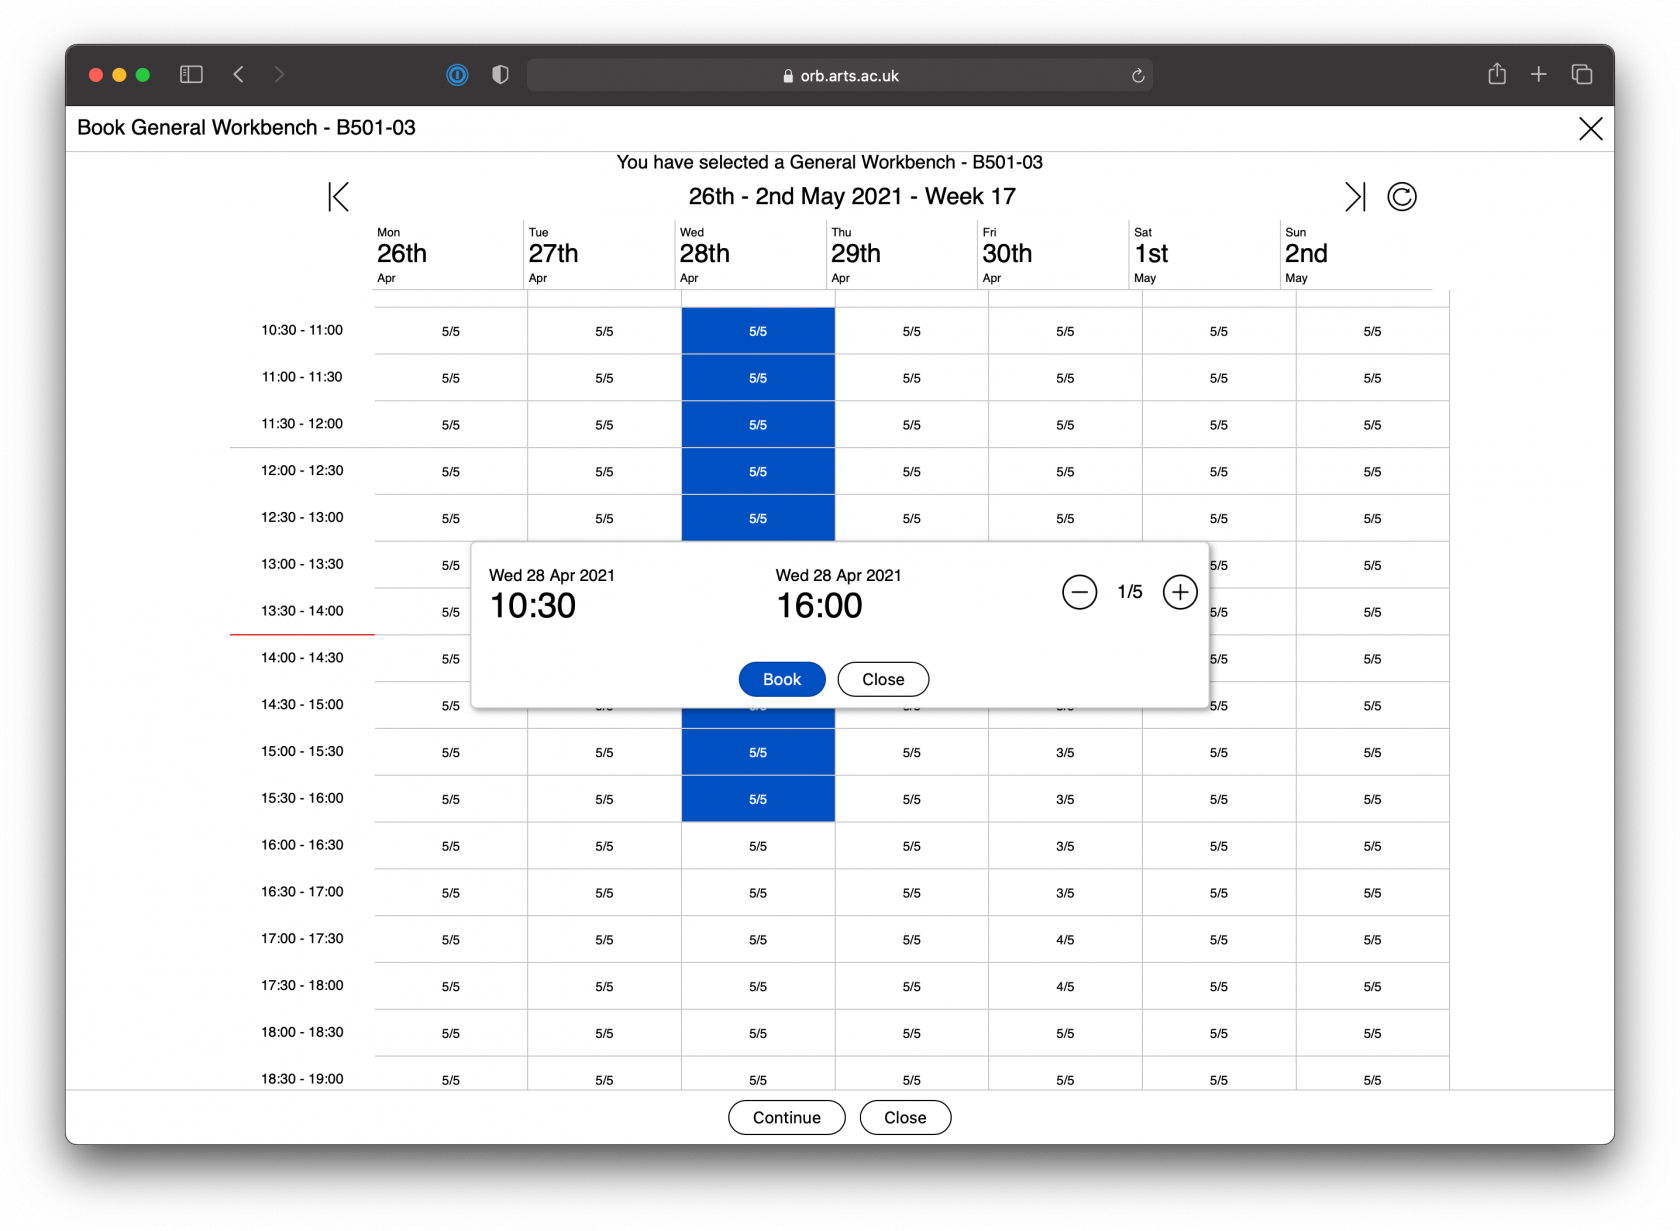
Step with6E show– x/yConfirm
If is that thereyou are x number of spaces out of a total of y. For example 3/5 means there are 3 spaces avilable out of a total of 5 spaces of this type.
Step 6 - Confirm booking
Confirmon the startAsset andList, endpress dateBook andafter you've selected the time.
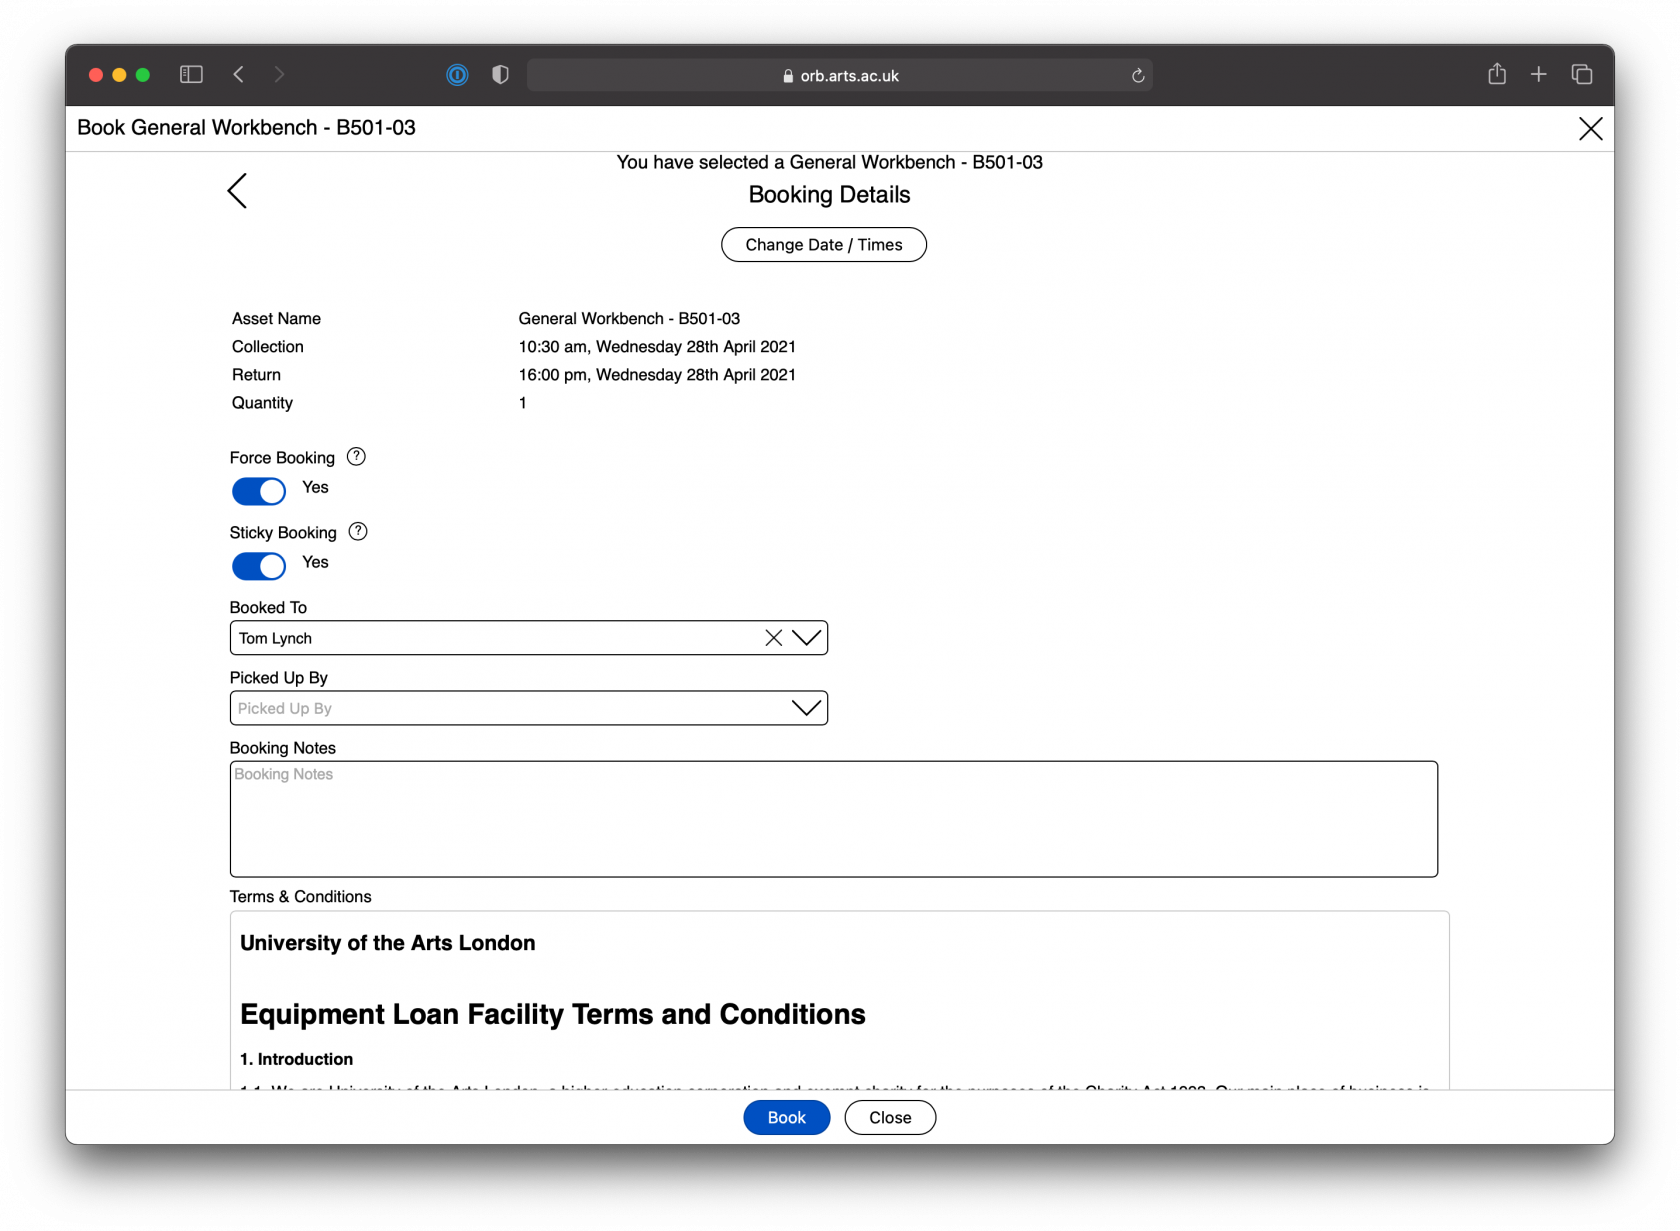
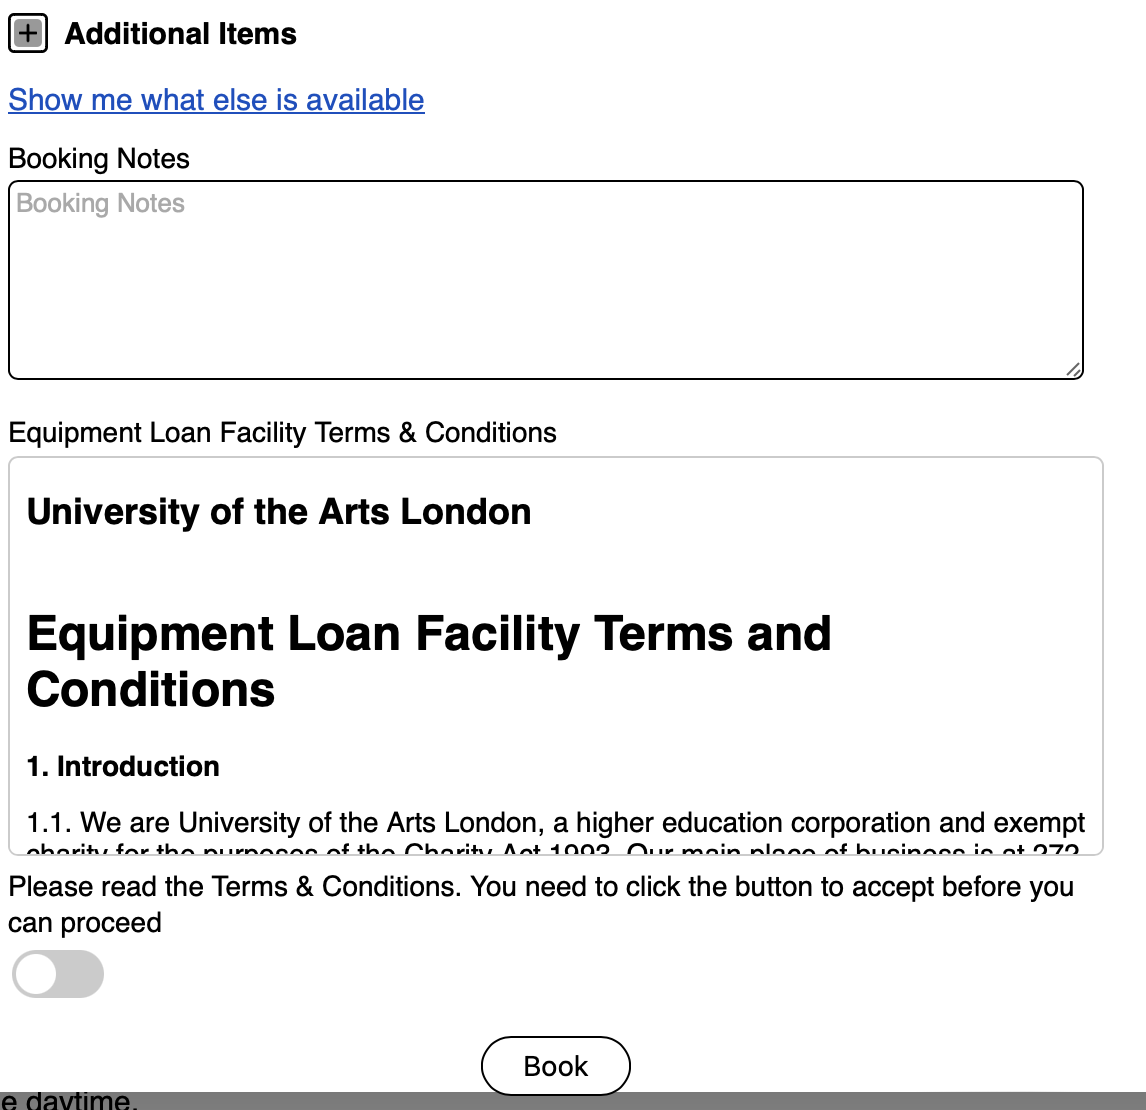
Stepmust 7now -read Finaliseand booking
agree Readto the termsORB Terms and conditions, accept and press "Book" to finalise the booking.Conditions:
Step 8
6F – Errors
AlwaysEach makeresource surehas youa arrivedifferent onset timeof otherwiserules, for how near your booking mightcan bebe, cancelledhow bymany staffyou can book at once, and for otherhow students,long.
If your booking violates these rules, you'll get an error explaining that and will need to adjust accordingly:

Step 6G – Finished
You'll get a green tick confirming your booking.
More information about the resource
In the Asset List, you can click the blue underlined resource names to create a focused timeline and a picture of the item.
This is the same as clicking on the item in the Floor Plan view:
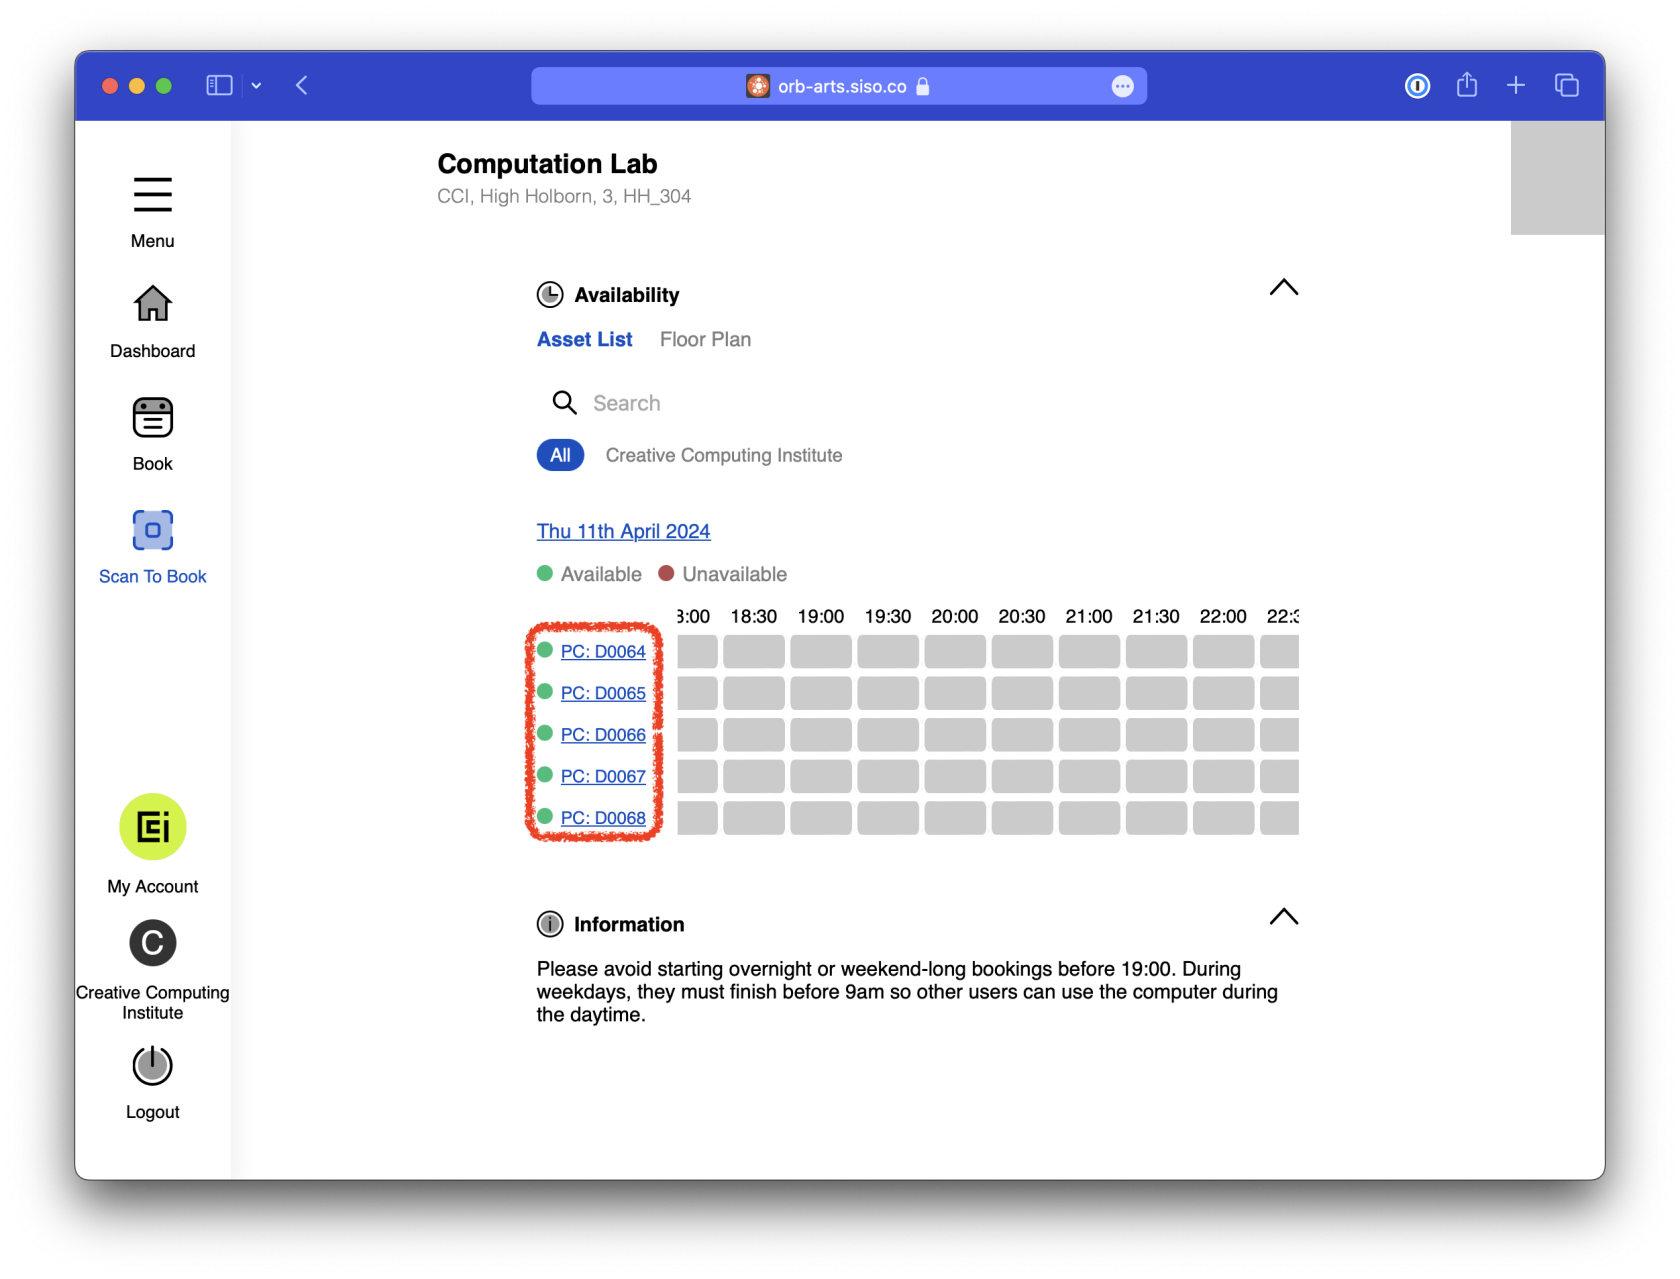
From here, if you can'tclick arrivethe toname avoidagain blockingin othersORB, fromit usingwill abring space.up even more information about the item:
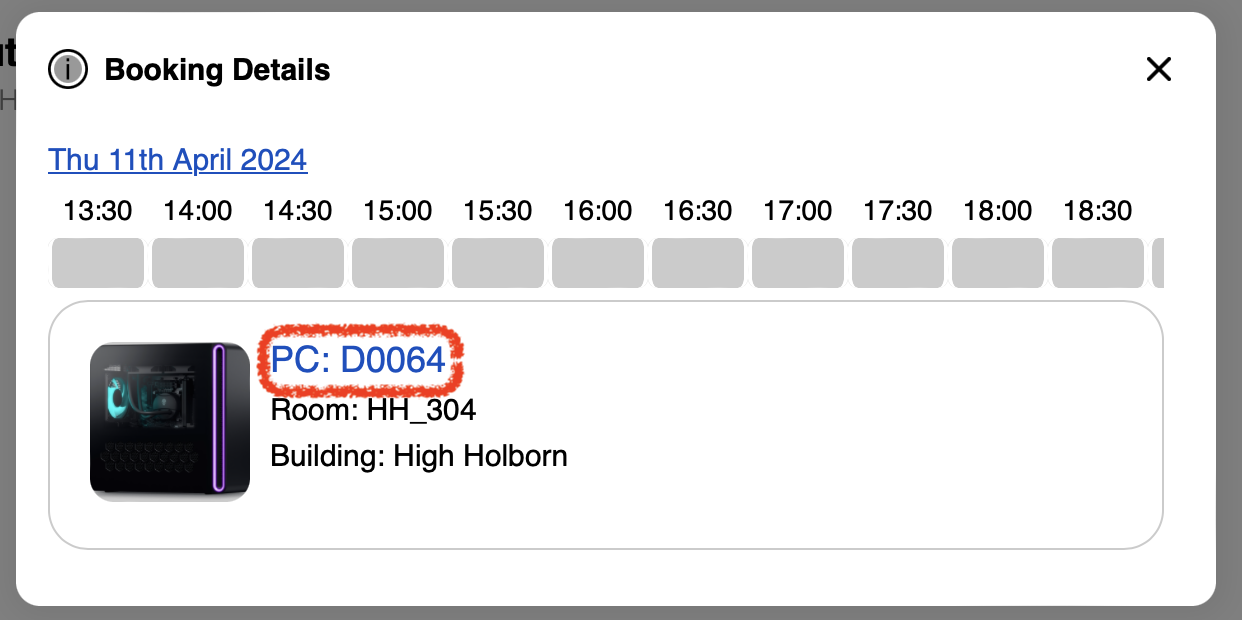
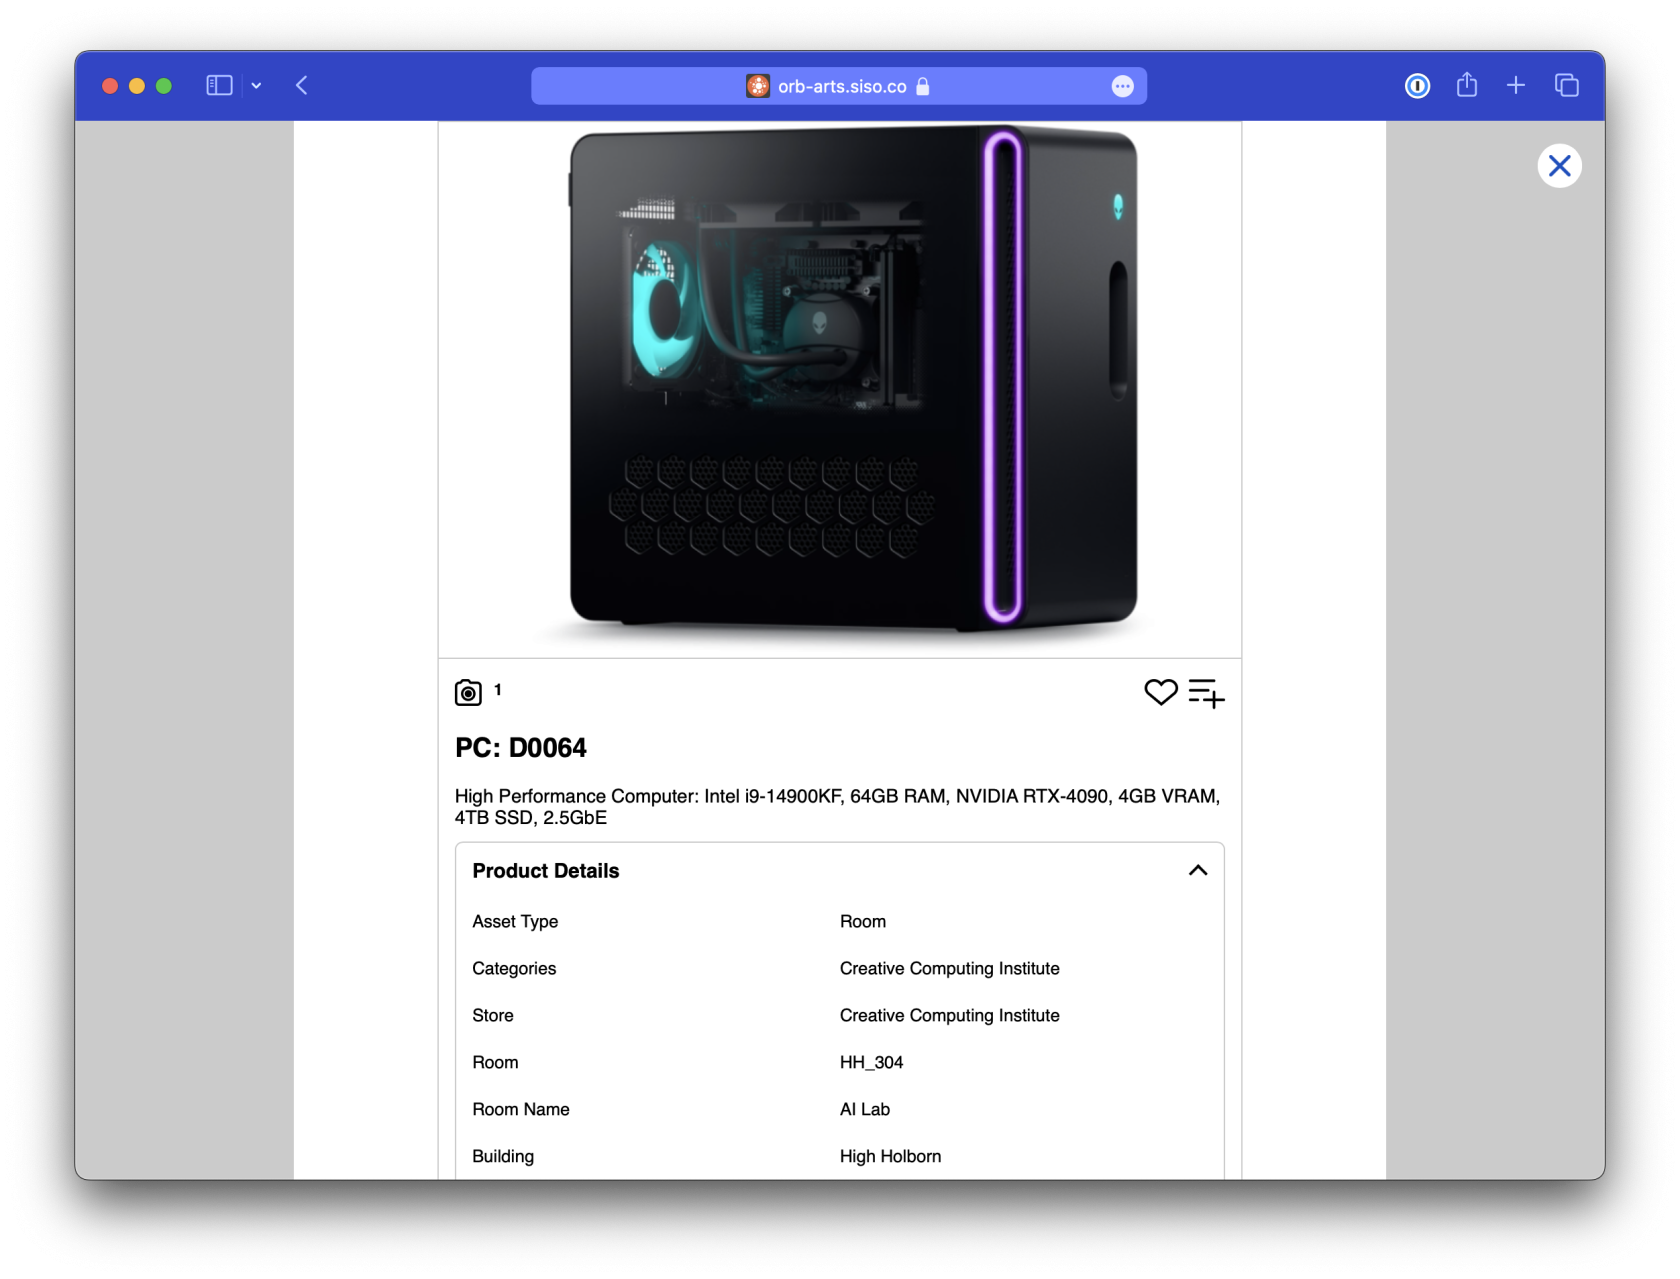
Which looks like this:
