How to send data between Unity and Arduino
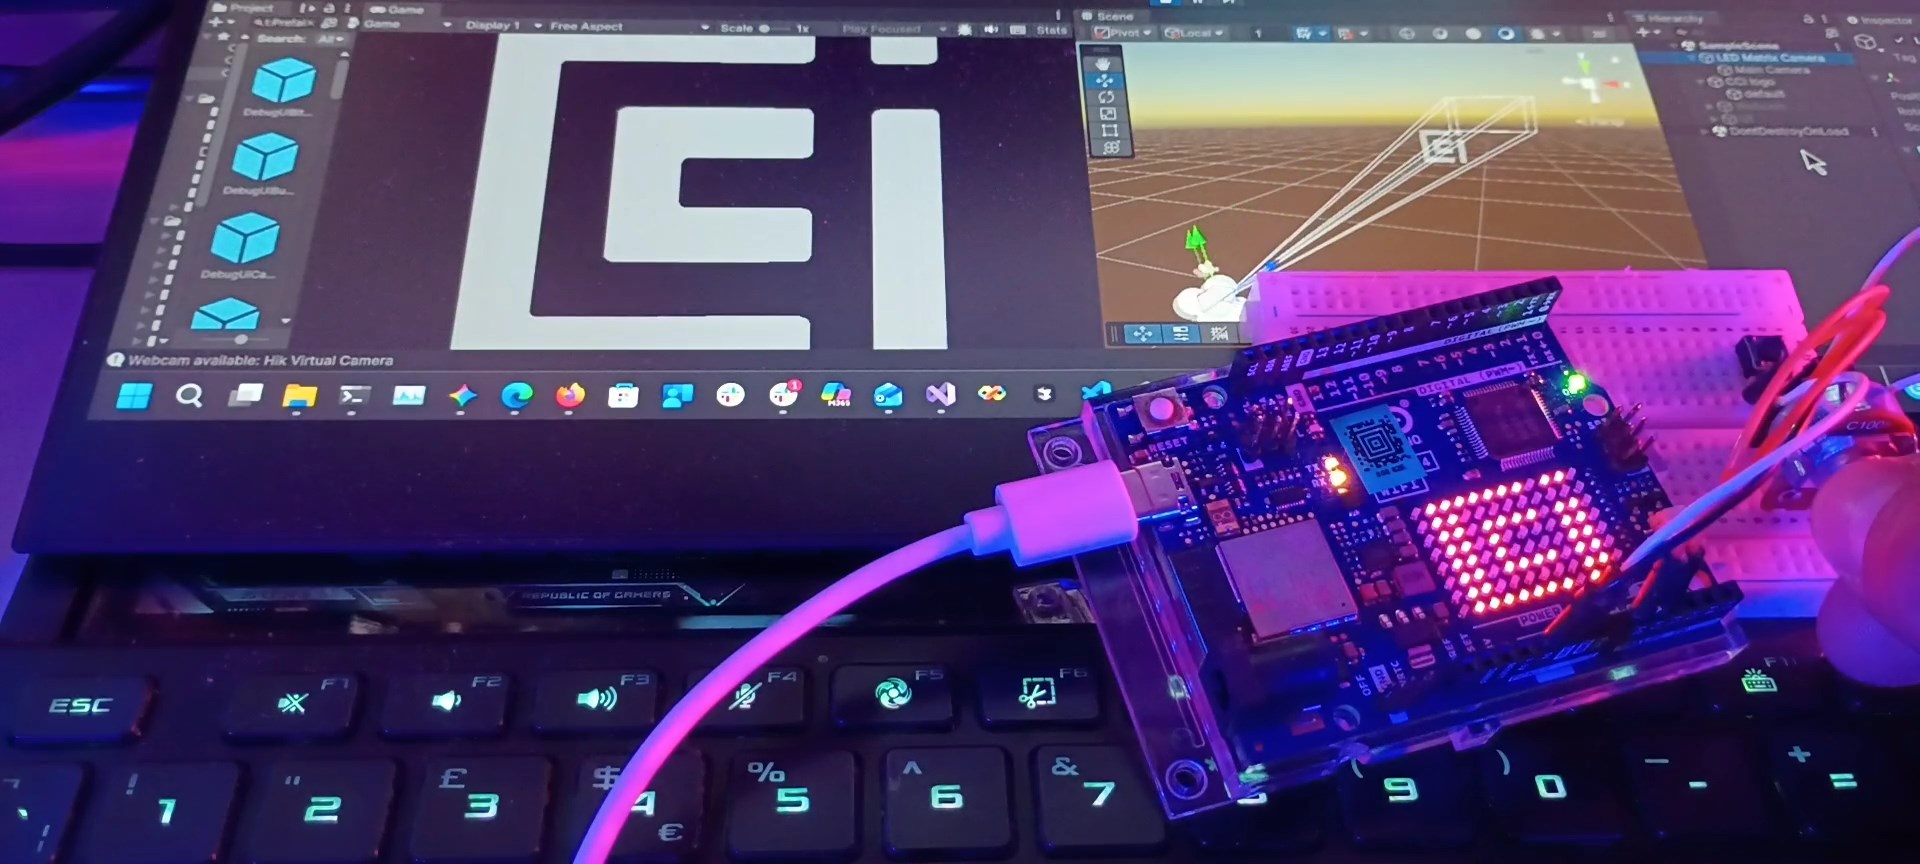
Using the Serial Port in Unity Game Engine
Sending data back and forth between Unity and your Arduino is relatively straightforward!
Unity uses the C# programming language, which has built-in support for serial communication. It all works very similarly to other languages like P5, Processing or Python.
You can hook up sensors and buttons as input for your Unity project - or vice versa: control LEDs, motors or other physical things from right inside Unity!
There are Unity plugins for serial communication, but you don't necessarily need them!
This article will show you how to send data back and forth between your computer and Arduino.
Step 1: Open the serial port connection
Important Setup in Unity
Before you start, you must enable serial ports in Unity:
- Go to Edit > Project Settings > Player.
- Under Other Settings, find Api Compatibility Level.
- Change it from .NET Standard 2.1 to .NET Framework.
When your Arduino is plugged into your computer using the USB cable, you can open the serial port connection like this:
Arduino code:
Just put this code somewhere in your setup() function. It will run once and initialize the connection.
  // Initialize serial communication
  Serial.begin(9600); // 9600 is the speed in bytes per second.

  // You can also choose 19200, 38400, 57600, and 115200 bps for faster data transfer.

  // wait for serial port to connect.
  while (!Serial) {
     ;   // do nothing; just keep looping until we have a connection!
  }
Unity C# code:
On the computer side there might be more than one serial port available, as there might be multiple devices plugged in.
Therefore, to connect to your Arduino, you will first need to find out which of the serial ports to connect to.
// Put this at the very top of your C# script, to enable use of Serial Ports:
using System.IO.Ports;
// Put this inside your class; e.g. just above the Start() function
// so you will be able to access it from anywhere in your script:
private SerialPort serial;
// To get a list of available ports, put this, for example, inside your Start() function:<br>
string[] portNames = SerialPort.GetPortNames();

// you can list the available port names in Unity's console like this:
foreach (string portName in portNames)
{
    Debug.Log(portName);
}
// Once you know which port you want to connect to, add this code to start the connection:

serial = new SerialPort(portName, 9600);  // change 'portName' to the port your Arduino is connected to.
                                          // make sure to choose the same speed as in your Arduino code.

// some settings to make it all work reliably:
serial.Parity = Parity.None;
serial.DataBits = 8;
serial.StopBits = StopBits.One;
serial.RtsEnable = true; // needed for two-way communication
serial.DtrEnable = true; // needed for two-way communication

serial.Open(); // open up the connection!
You should now ready to send data back and forth!!
Sending / receiving data
Step 2a:
The Easy Waytm:Way™: sending all data as text (strings)
Serial communication basically sends one byte at a time, at a pretty decent speed.
A byte can be one character (e.g. one letter), one Boolean value (true/false) or a one byte number (0-255).
Integers and floating point numbers consist of multiple bytes, so sending those becomesis a tiny bitslightly more involved,involved. asYou you'llwould need to break them up into multiple bytes and recombine them after receiving.
Thankfully - to keep things simple, we can just send any type of data as text!text instead!
We can then convert the messages back into numbers or booleans after receiving them (on either side; Arduino or laptop)computer).
Both Arduino and C#/Unity have functions built-in functions to doachieve this.
WhenWe sending numbers or other data as strings, wedo need to know when each incomingseparate message ends - especially when sending the values over continuously.
The simplest way to do that is to send each value as one line of text.text, and read them one line at a time on the other side.
In C#, you can use SerialPort.WriteLine(string text) to send, or SerialPort.ReadLine() to receive aone stringline of text.
WriteLine adds the end-of-line character ('\n') to indicate the end of the message / line.
ReadLine will read from the serial connection until it encounters that character, so it knows that is the end of the message.line.
On the Arduino side, you can use similar functions:
Serial. - sends one line of textprintLn(println(string text)
Serial.readStringUntil('\n') - reads incoming text until the end of the line.
Below is some example code for sending / receiving different types of data.
Step 2b: The Efficient Way: sending any data as bytes
things that can go wrong:
- timeout
- not reading until end of message
- port busy
- wrong port
Sending multiple values at a time (e.g. sensor value + button value + game state, etc.) Sending arrays
A note about threading
-
set backend to .NET instead of Mono (or IL2CPP)
-
Initialize, configure and open the serial port
-
Send and receive data
-
converting strings / bytes / ints / floats
-
write vs. writeLine/println vs. read / readLine
print("Hello, world!")
for i in range(10):
    print(i)
References
- Arduino Serial Reference
- C# SerialPort Reference
Some great resources with more extensive information:
- https://sirwilliam.hashnode.dev/serial-communication-between-arduino-and-unity-3d
- https://www.xanthium.in/serial-port-communication-programming-arduino-raspberry-pi-using-csharp-on-windows#rts
Libraries / packages / scripts
- https://dyadica.co.uk/blog/unity3d-serialport-script/
- https://github.com/dwilches/Ardity