Electronics Fabrication Tips, Tools and Resources
Here at the CCI, only a few courses require students to go beyond breadboard prototyping of circuits, and in lots of cases this can be all you need to develop your prototypes. However, for students that are interested in developing their hardware work, either to make permanent installations, to make work for others, to make wearables, or just to have more reliable circuits, there are a lot of useful tips and tricks that can make your life a lot easier!
These notes were written by Agnes for a Technical Skills Workshop. This guide is written in order of the stage of prototyping -- normally to make a new circuit I'd go through all of these!
1. Better Breadboarding
Often, the first step when prototyping is to work out the circuit on a breadboard. One of the first things I'd recommend doing is to use solid-core wire rather than header wire on the breadboard -- it makes it a lot easier to see what's going on.
Rules:
- always use the power rails -- use red for the positive voltage, black for ground
- always connect all the grounds in your circuit together
- use solid core wire rather than headers to connect components together -- you can mould this onto the board, and it makes it much easier to see what's going on
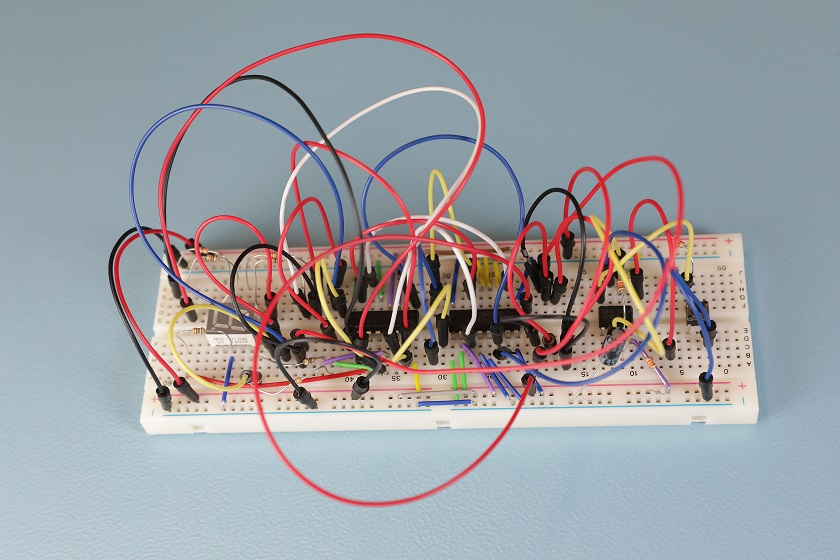
bad: spaghetti
good: some kind of other much more legible pasta shape

