How to soldering properly
For the beginner who just started physical computing, there is always an unavoidable challenge - "How to solder?" On this page, we will try to show you the basic knowledge of how to solder, what equipment we have, and what the general process you can do in CCI.
If you wanna learn more details, Adafruite has a nice instruction Adafruit Guide To Excellent Soldering
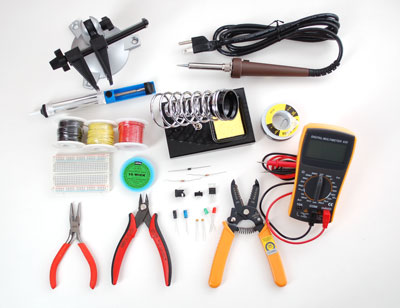
Tools you can find in CCI
|  |
 |
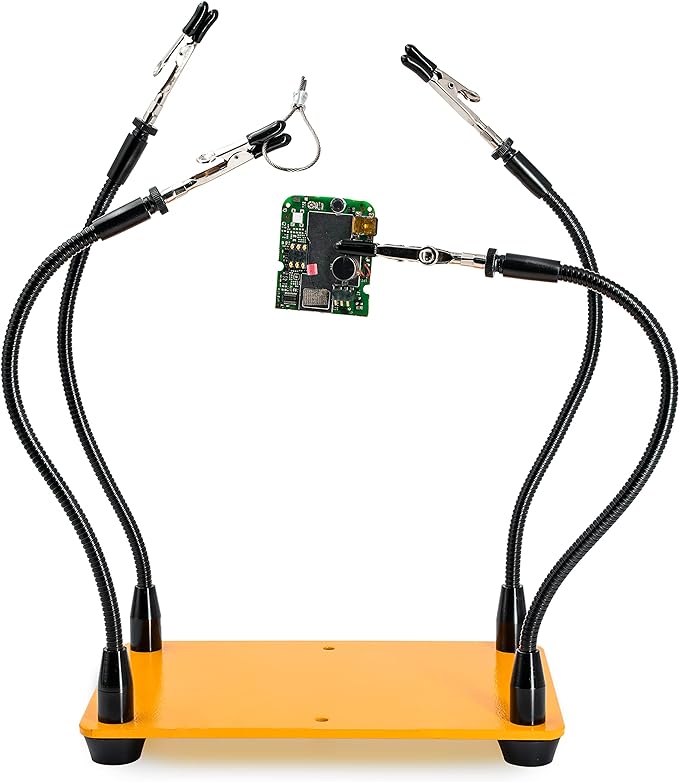
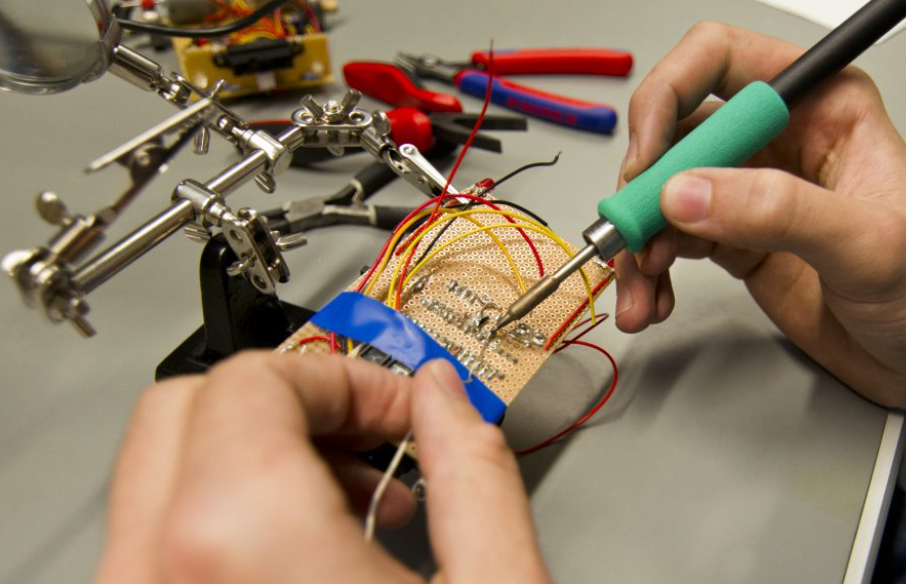
| Third hand Grip your pieces while you soldering |
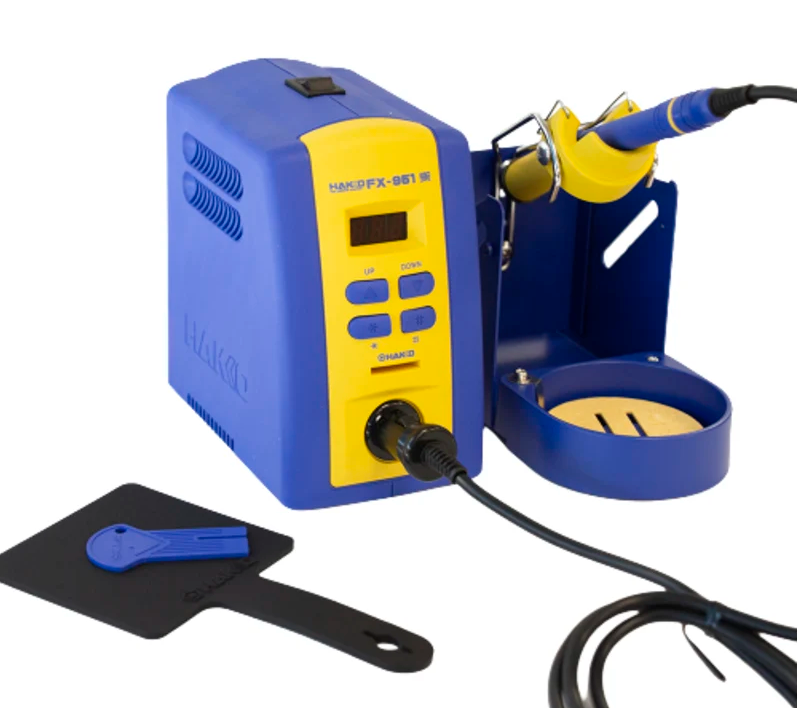
Soldering Iron Professional-style temperature-controlled iron |
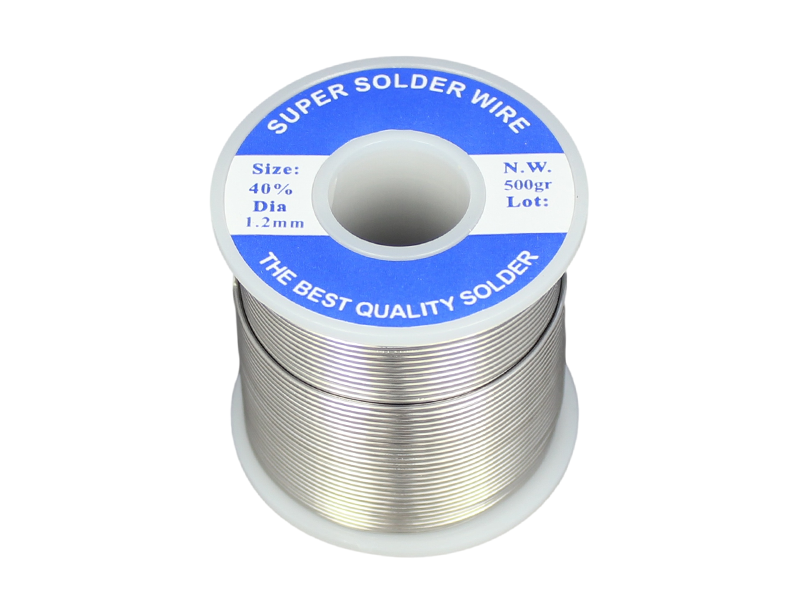
Solder |
 |
 |
 |
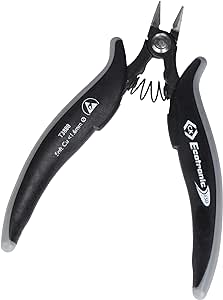
| Snip Trim leads after soldering / Pre-cut the plastic part before the desoldering |
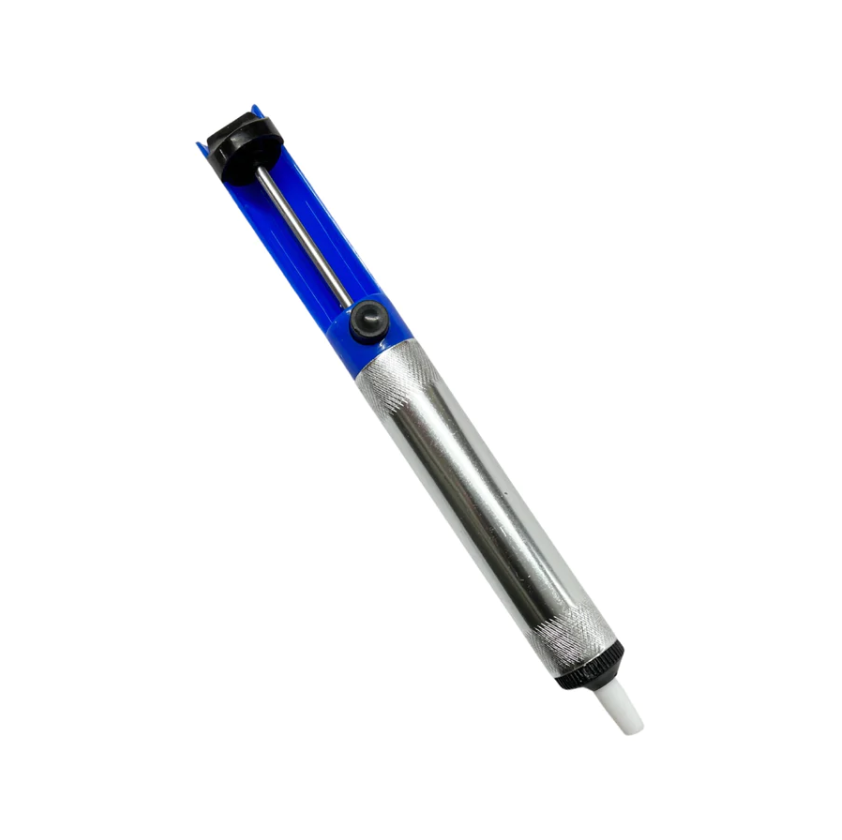
Soldering Sucker Remove excess solder / Des-older a joint |
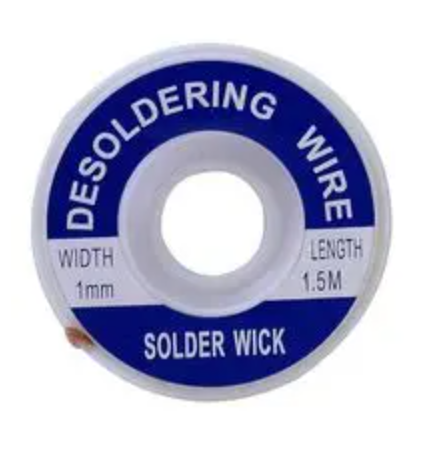
Solder Wick Clean excess solder / Soak up the molten solder |
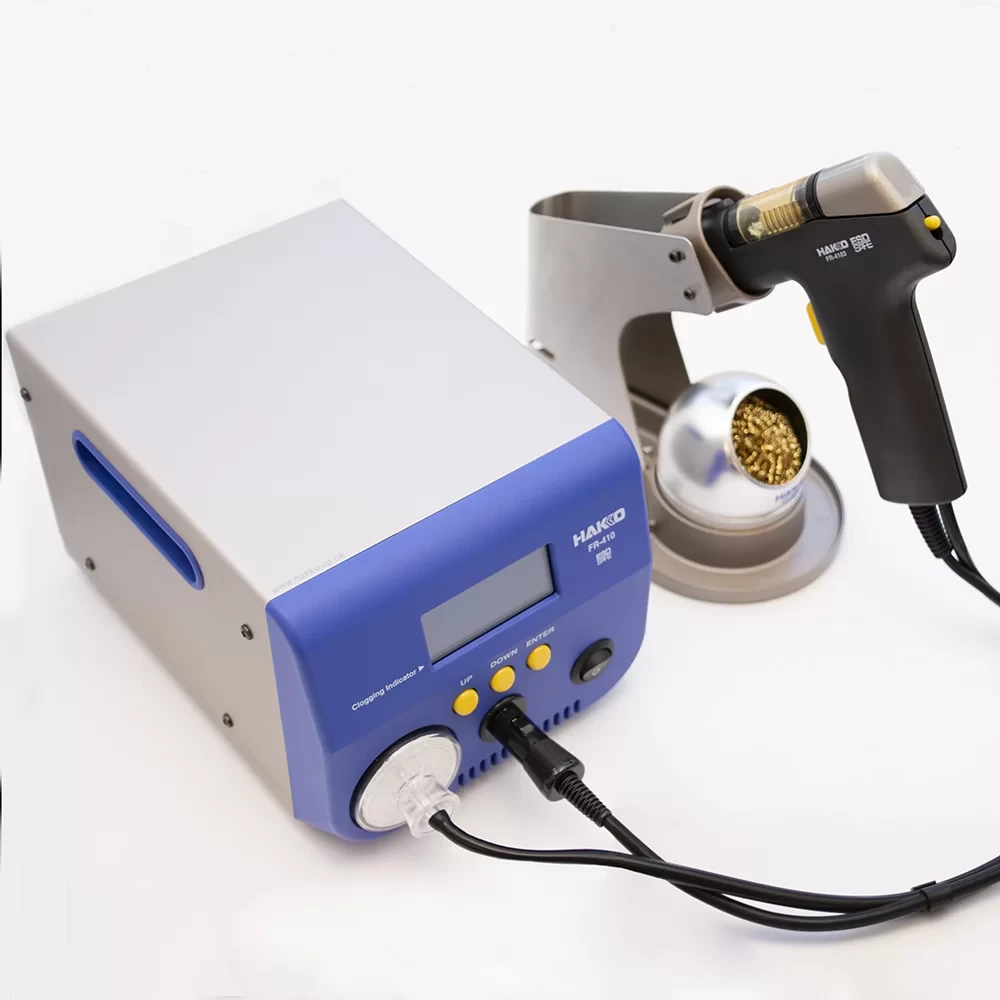 |
 | Desoldering gun Remove molten solder from a joint. |
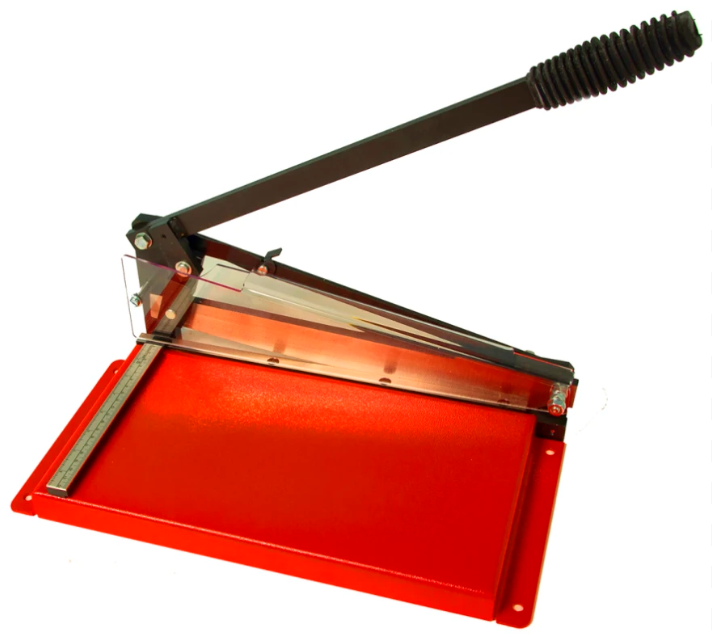
PCB Guillotine Cut the PCB board |
If you want to know more about the tools, here is another video about handheld tools for electronics.
Preparation
- Wear the PPE (Personal Protective Equipment)/Safty goggles (You can find them in the draw under the electronics benches)
- Turn on the soldering iron (You will hear the bib sound when it reaches the state temperature), clean it, and tin the tip
- Make sure the joints are clean
- Immobilize the joint
- Steady the board
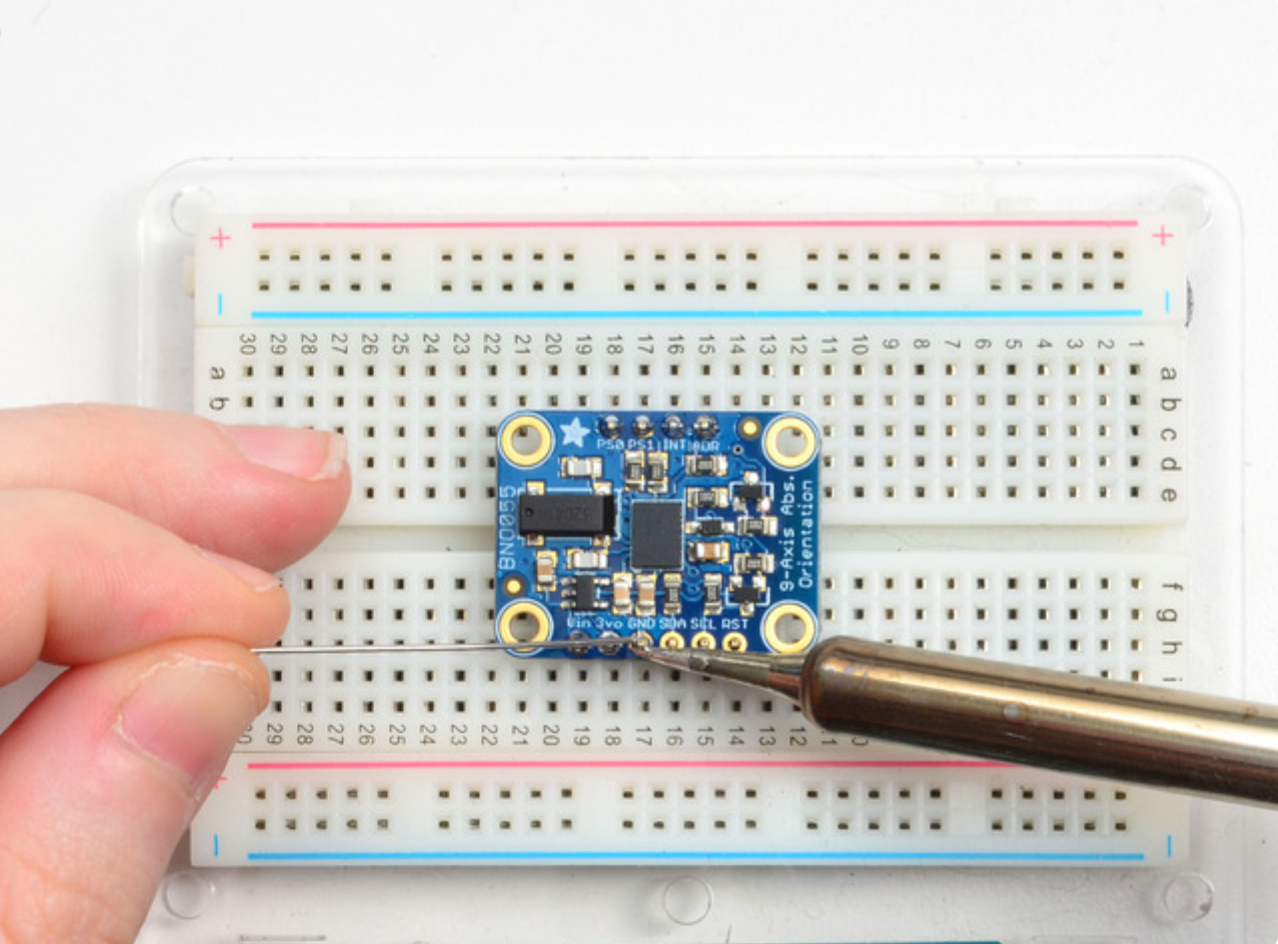
- Breadboard
For the new chips, you might need the assistance of a breadboard. Cut the right amount of pins and insert them into the board - Long Pins Down
- Stripboard/Portboard
It's better to draw a diagram before you start, which could easily figure out how much stripboard you need (Don't waste!) and you can cut the board down to the size by the PCB Guillotine.
For the stripboard and protoboard, you need a third hand to provide the board moving around while soldering.
- Breadboard
How to solder
Once all of the components are immobilized, you are ready to soldering. It only takes 4 easy steps to get a nice solder joint. Here is a video for "How to soldering properly!"
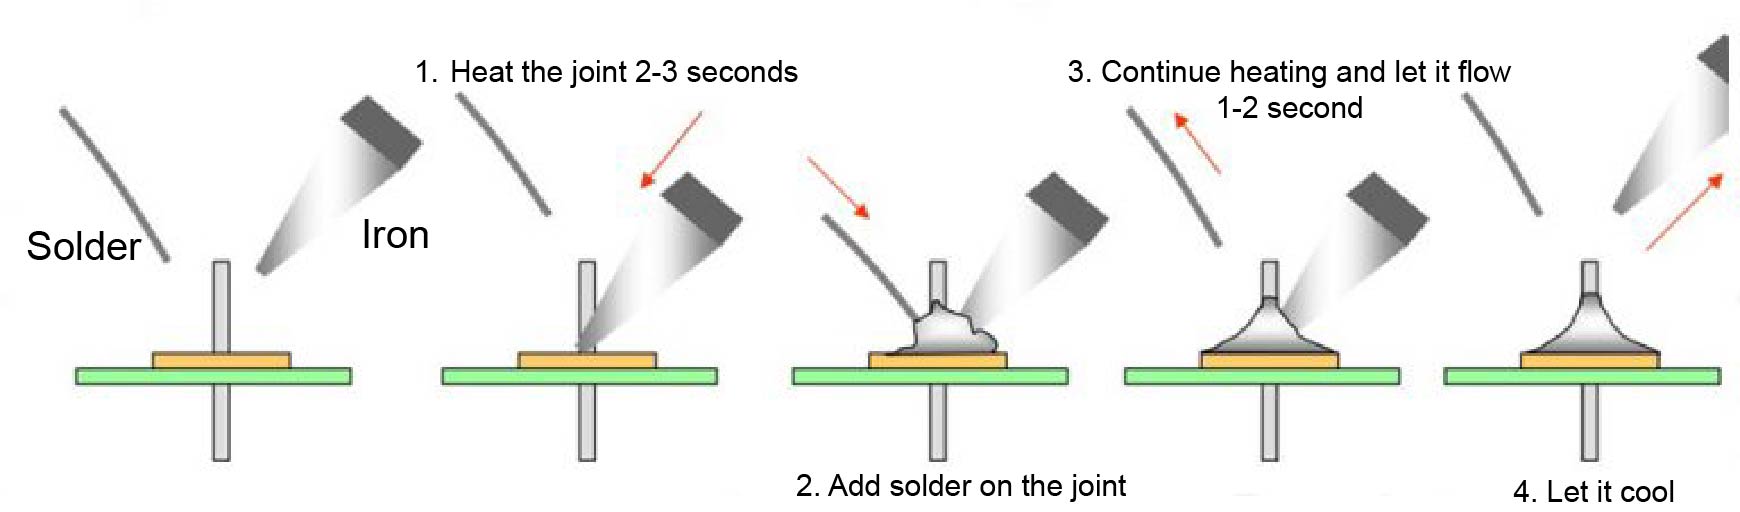
Example of Soldering Joints
A good soldering joint should be:
- Smooth, bright and Clean
- Neat concave fillet
- Complete, solid solder wetting
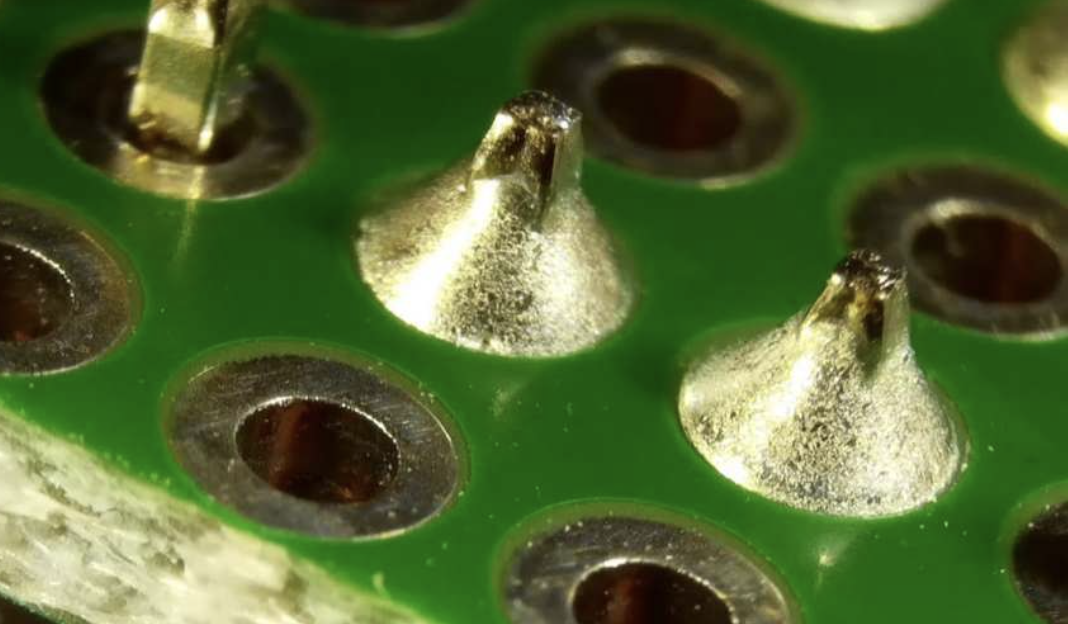
Solder wetting refers to the stage in the process where the solder metal bonds with the metal surfaces on the printed circuit board (PCB) or component. This process involves the solder transitioning into a molten, fluid state, allowing it to properly adhere to the component for creating an effective solder joint.
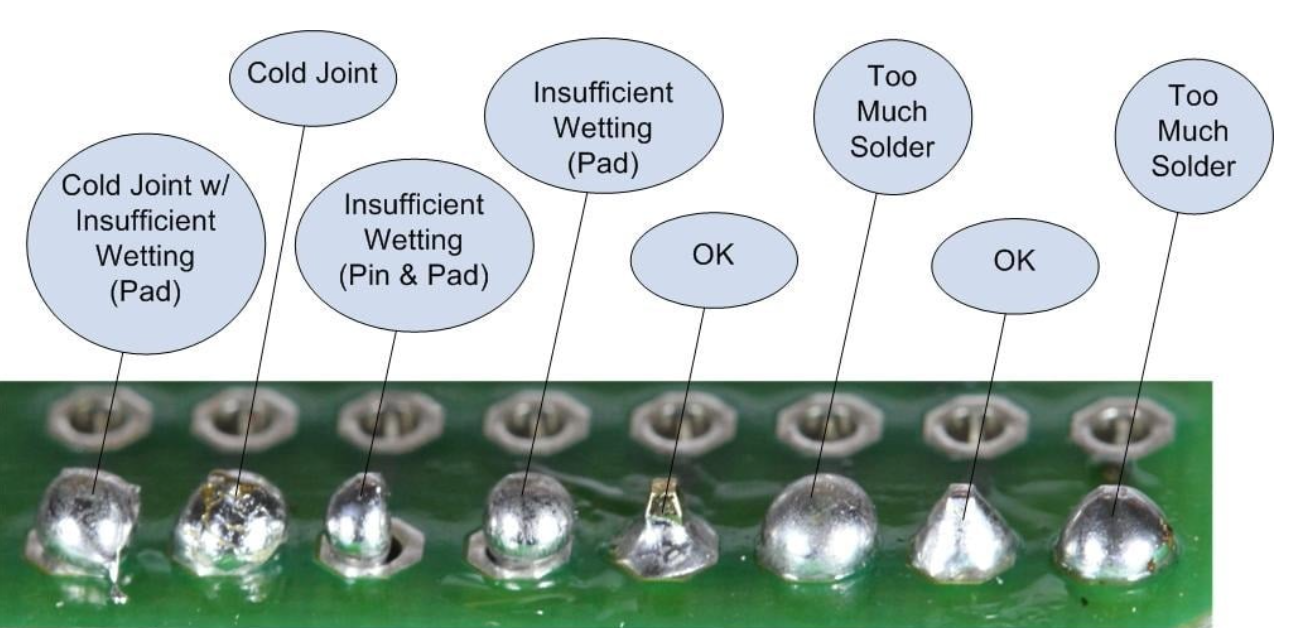
Here are some common soldering problems while you are soldering
Check the Connection with the Multimeter
Switch the multimeter to the buzzer Molde, which helps you test the continuity of your circuit. If you heard the buzzer sound, it means the two parts attached to your probe are connected.
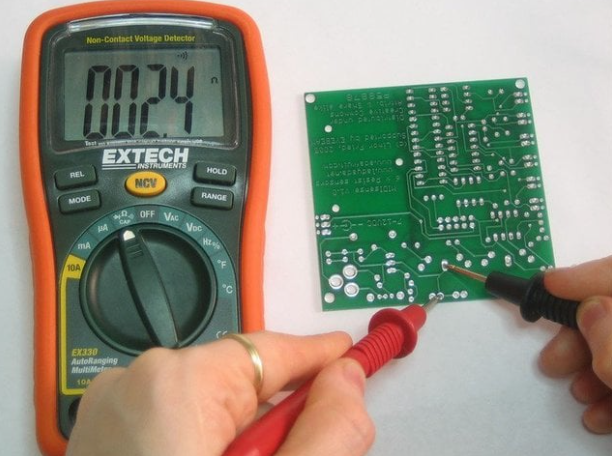
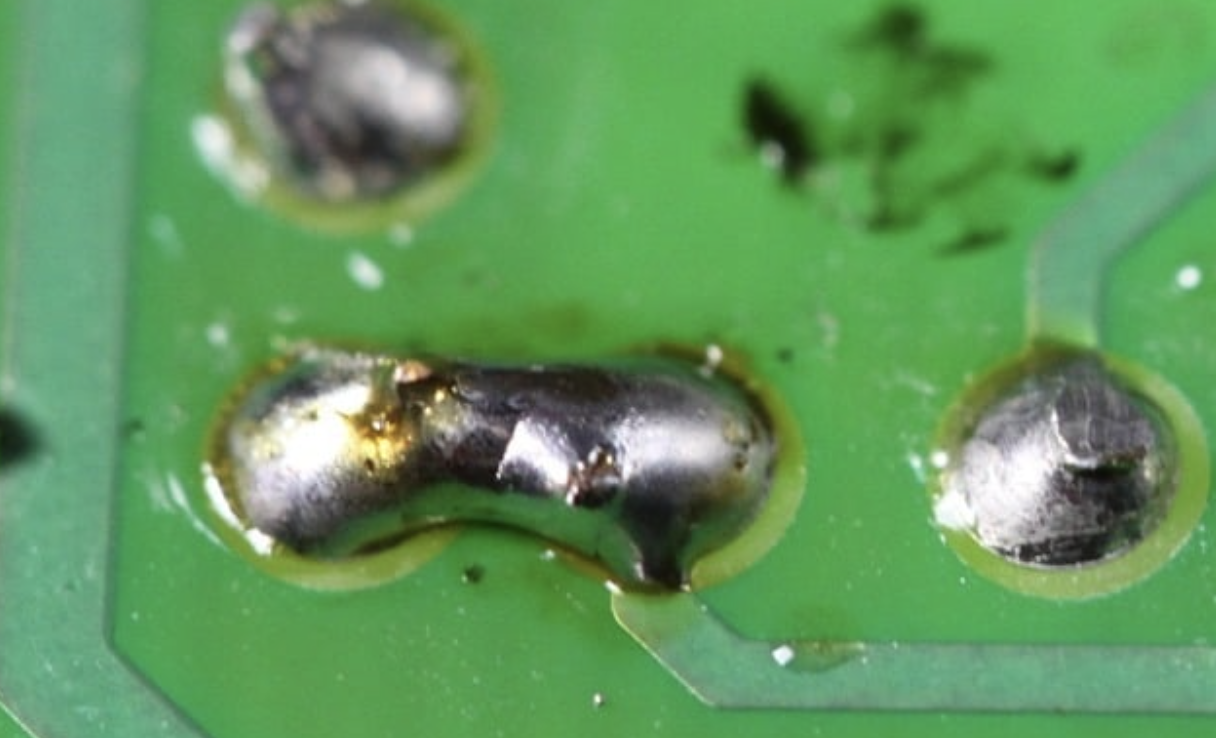
However, you don't want some extra continuity in your circuit, such as -- solder bridge, which might cause a short circuit and damage your work.
Make Sure there is no short circuit on your board before you power it!
This is what Solder bridge looks like