Using UR5e with 2F-85 adaptive gripper
Safety guidelines
This robot requires an induction before you use it for the first time. If you haven't completed this induction, please contact Rohit Ramesh Thampy on slack.
- Please remove any loose jewelry or clothing before working with this robot.
- If you have long hair, please secure it using a hair tie.
- Do not place your hands or fingers on the joints of the robot or in between the robotiq gripper.
- When testing your program, switch the robot into reduced mode and decrease your speed to 50% and run it. If the robot is running without any collisions, increase the speed by 10%. Repeat this process till you reach 80% speed without any collisions. Once you have reached 80% you can switch the robot back to Normal mode and run it at 90% and 100% speed.
- If you make any significant changes to your robot program such as adding a new waypoint, move command, velocity or acceleration change, follow
4). - When a robot program is running, ensure that you are outside region marked with red tape.
What is it?
UR5e
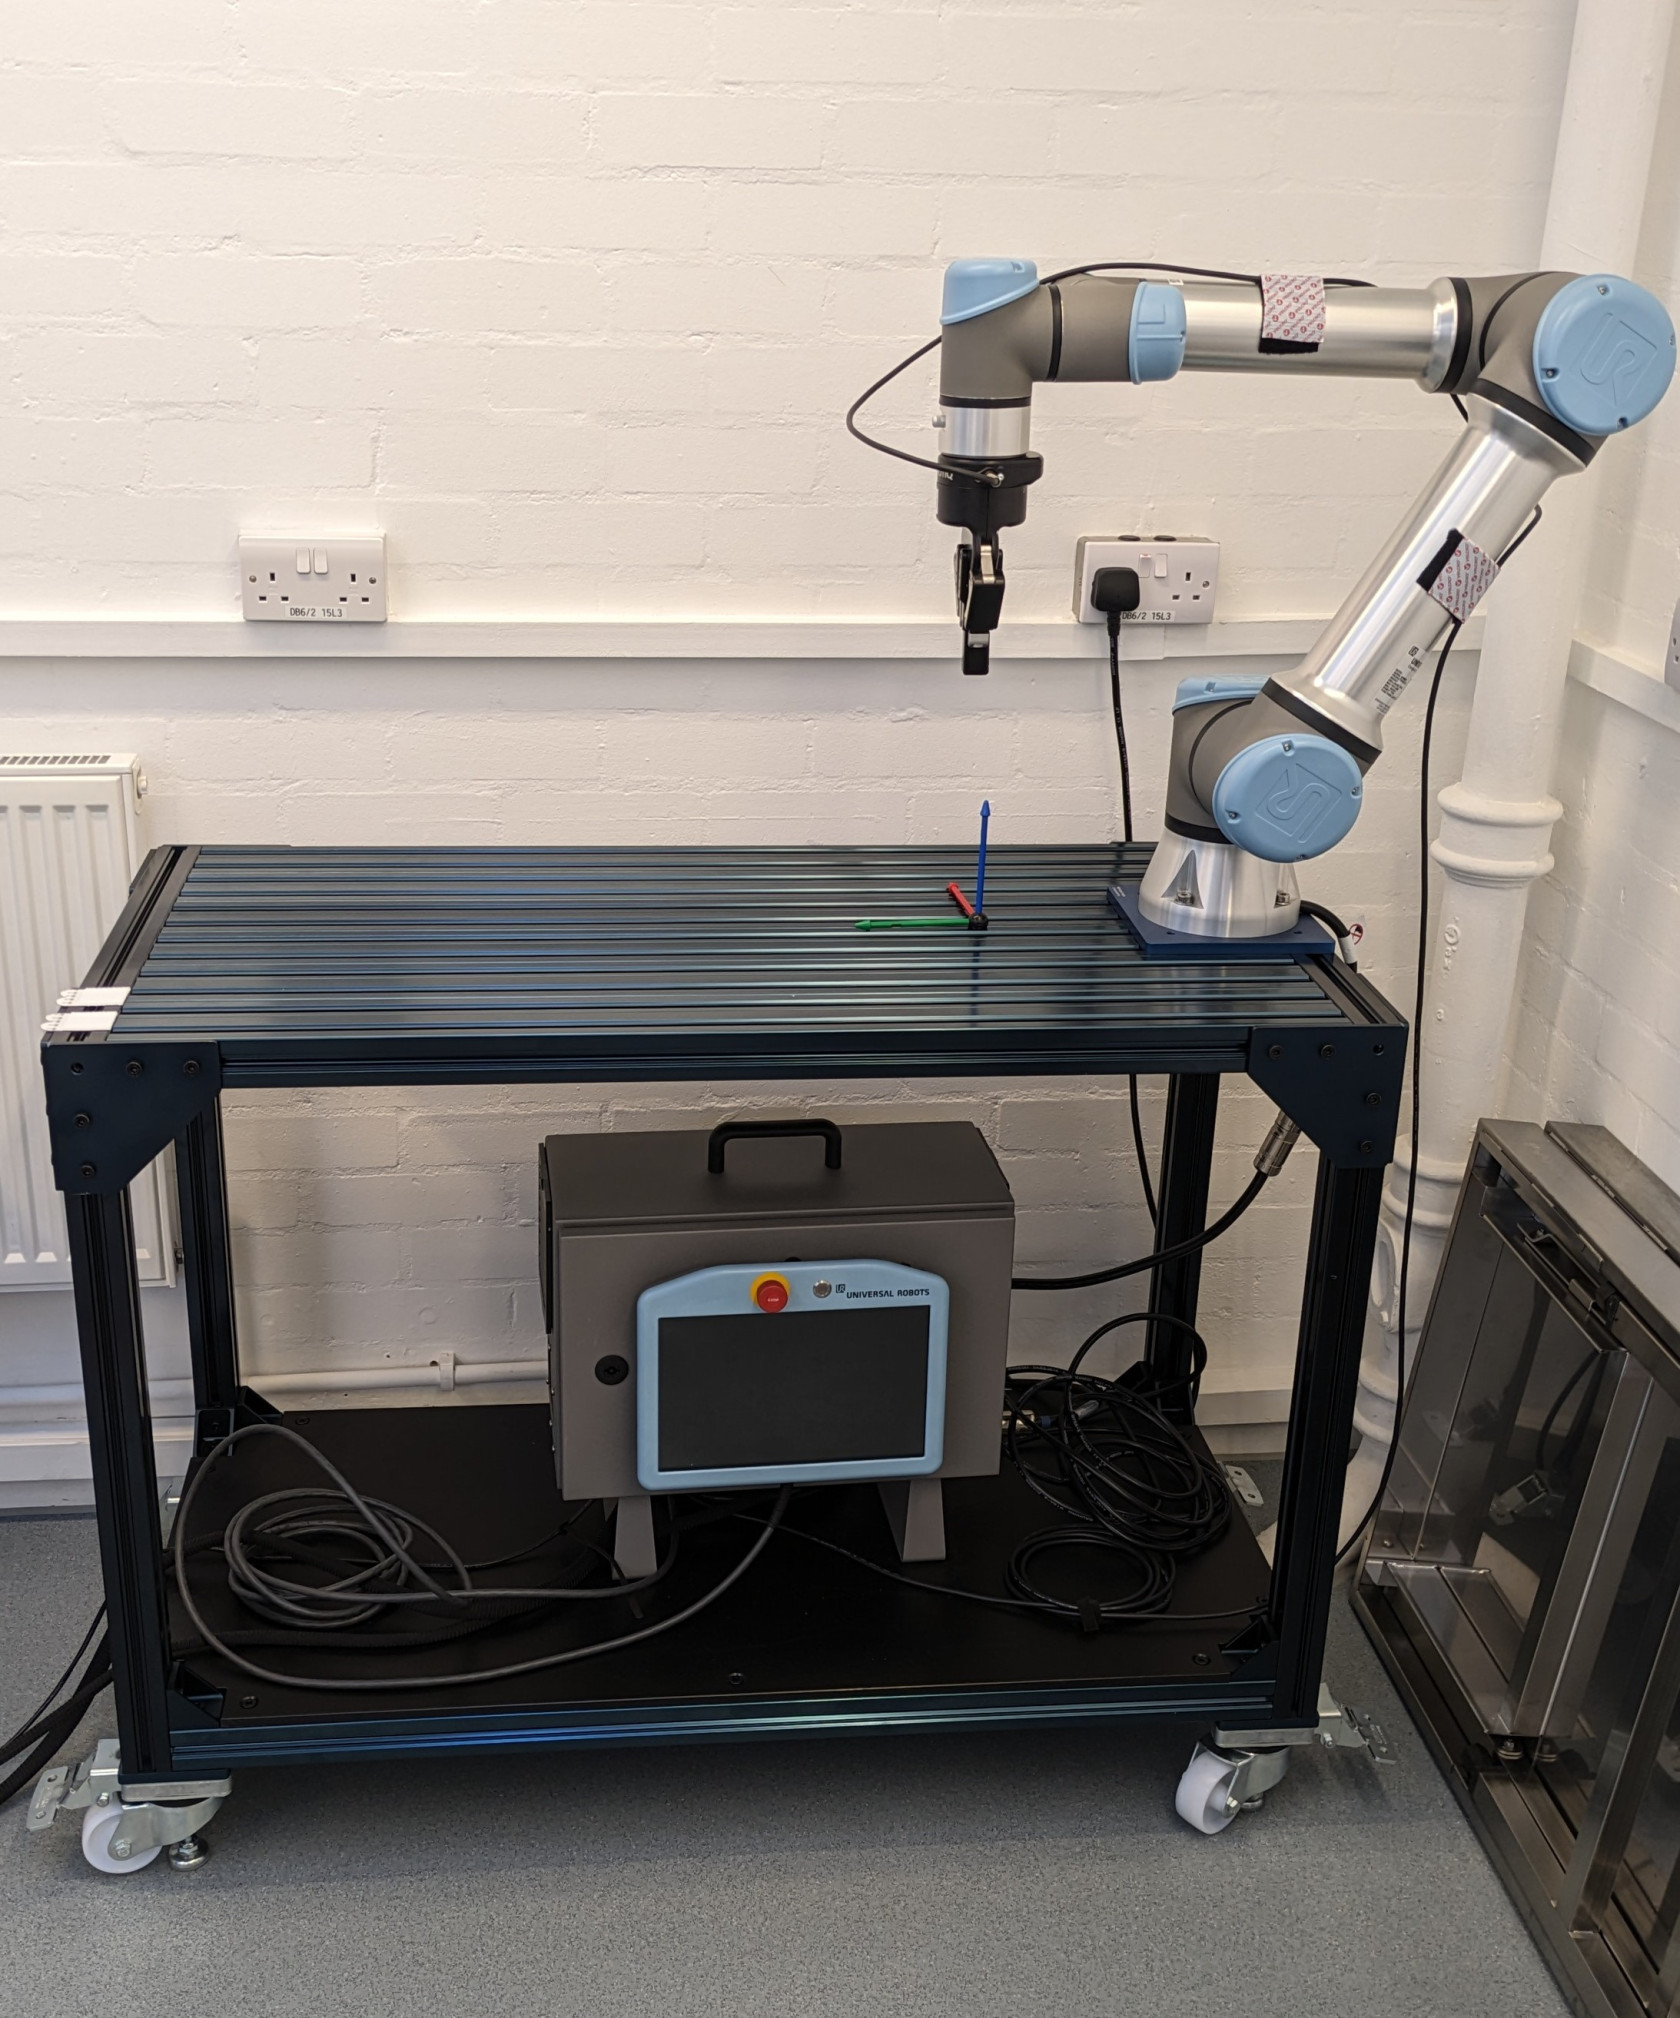
The UR5e by Universal Robots is a 6 Degree of freedom robotic arm. It is the gold standard for collaborative robots in the industry as it is designed to work alongside humans.
Robotiq 2F-85 adaptive gripper
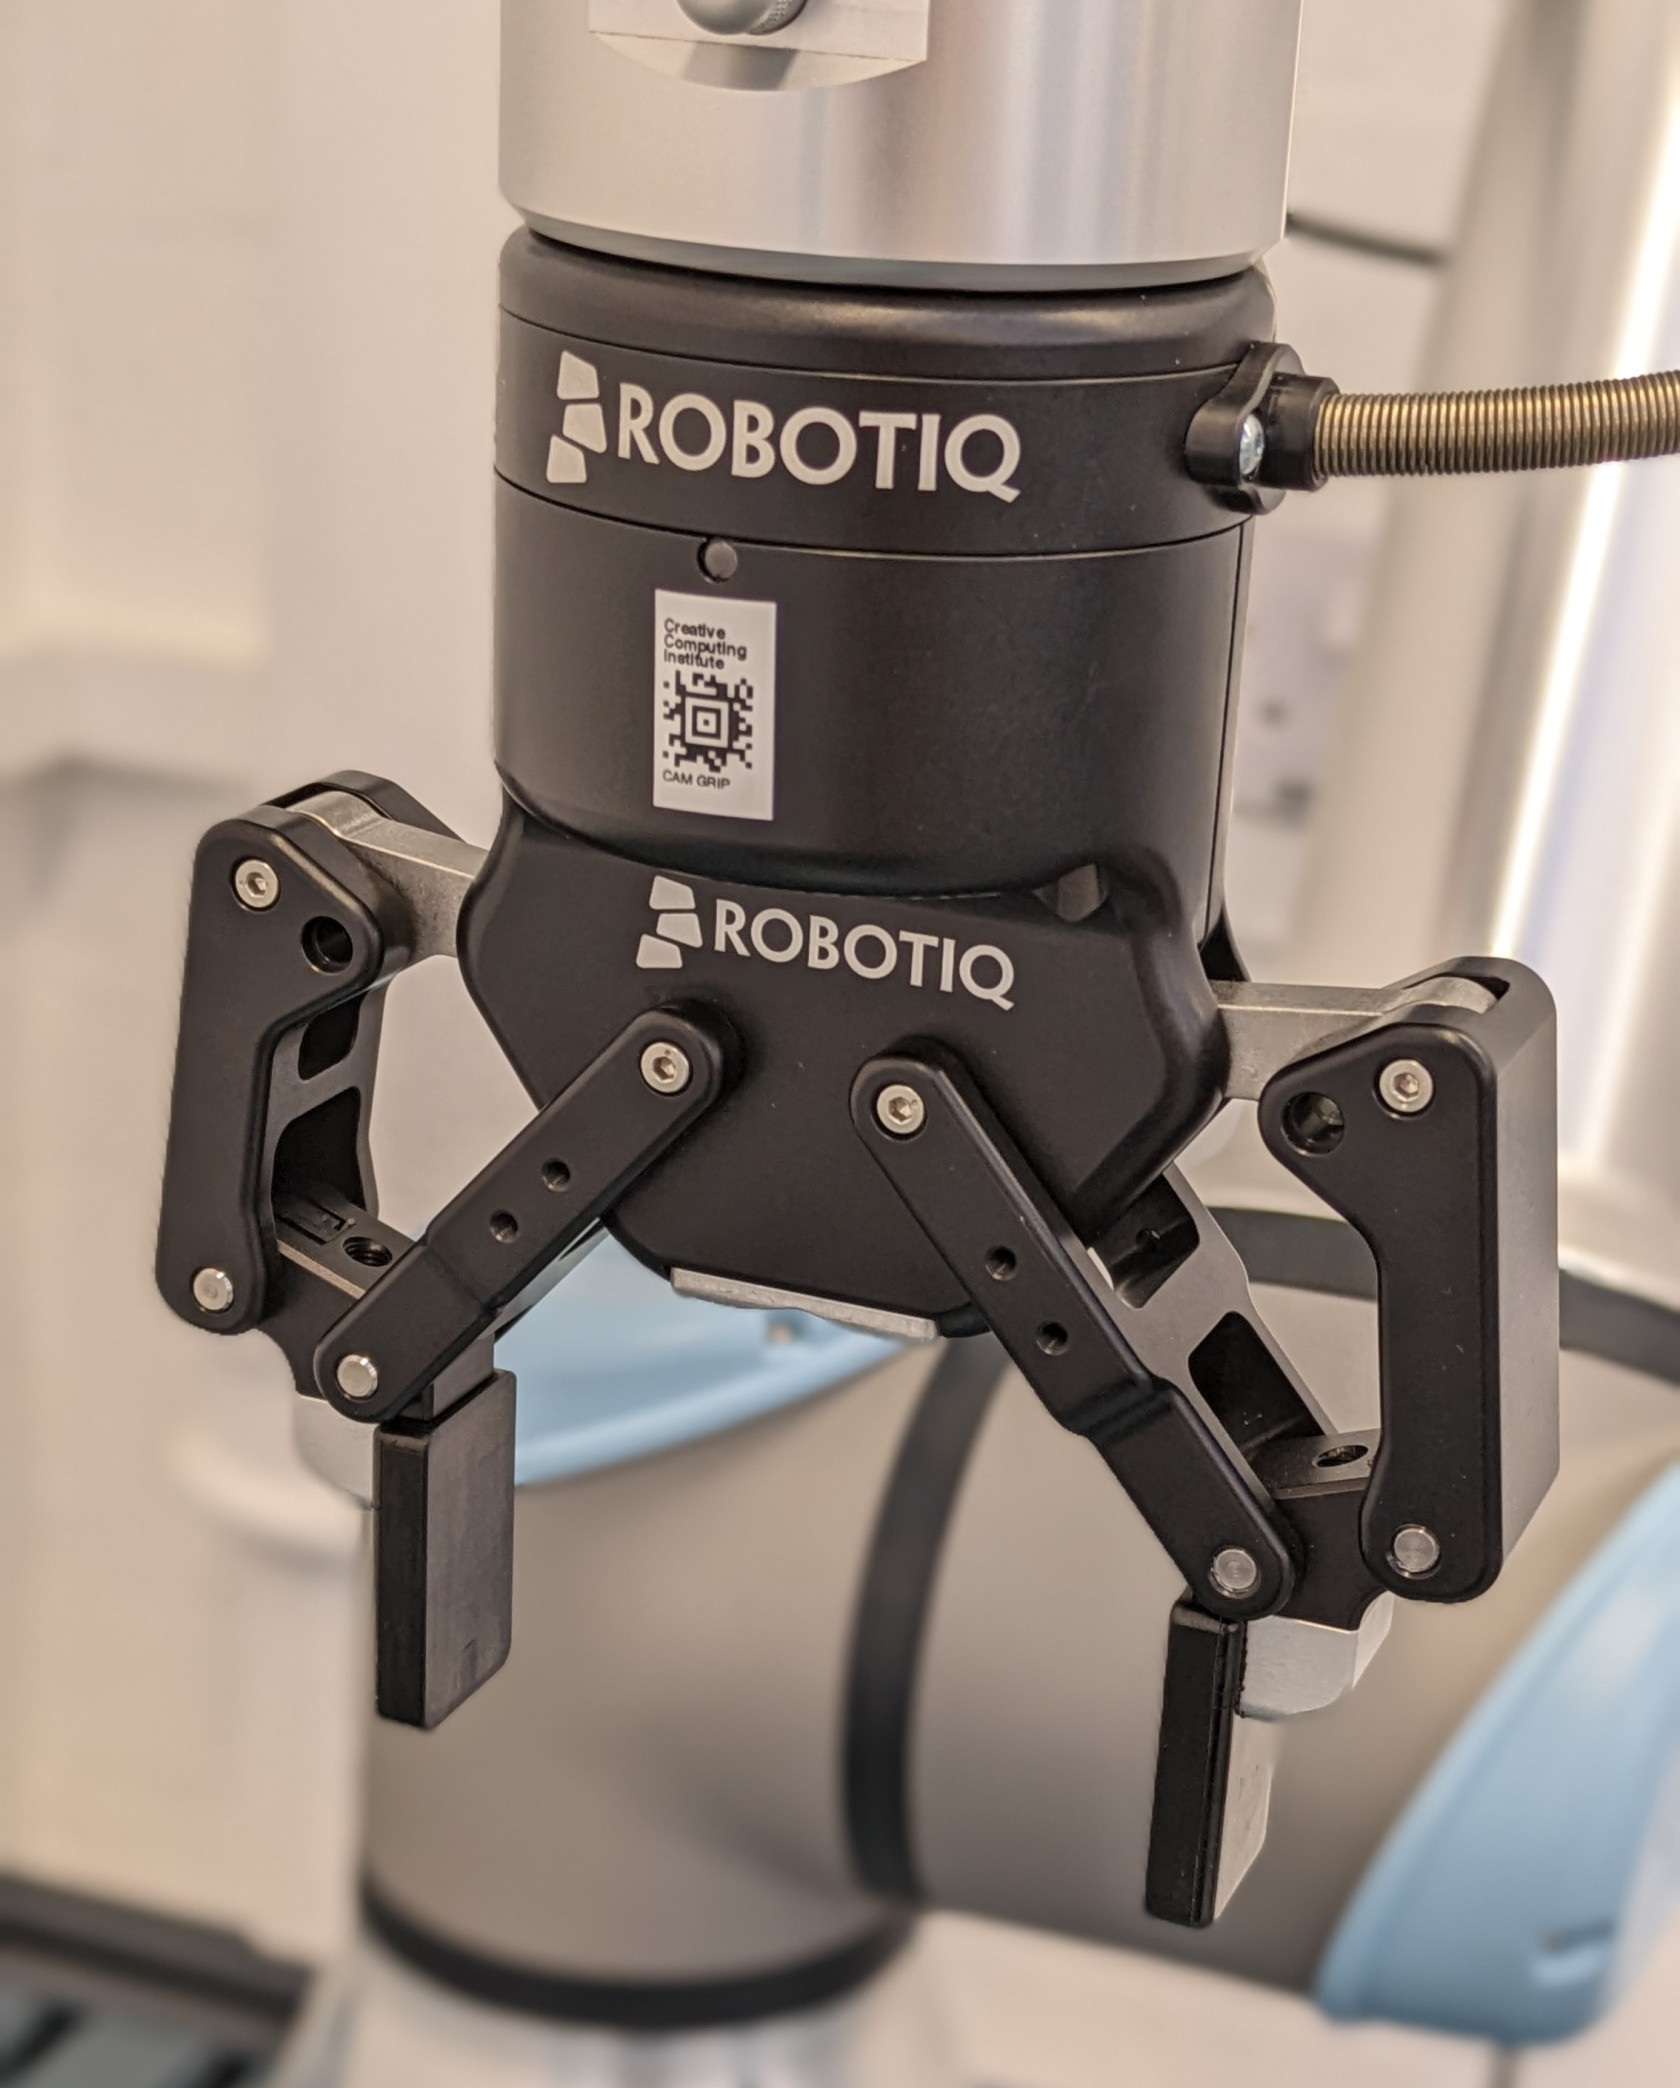
The 2F-85 adaptive gripper by Robotiq is an end-effector that is commonly used with robotic arms such as the UR5e. But the 2F-85 that we have at the robotics lab is rather special as it comes with a camera module as well.
What can it do?
The UR5e on its own is not of much use as it is a robotics platform and we as the user need to define an application to make it useful.
For example, since we have the 2F-85 gripper attached and setup on the robot arm we can now program it to carry on applications such moving objects around the workspace of the robot or carry out a repetitive process such as pick and place.
If you'd like, you can also design and attach your own end-effector to the robot which could give it a new capability!
The bottom line is, if you need to do something which requires repeatability, precision and accuracy, this robot might be able to to help you out.
Getting started
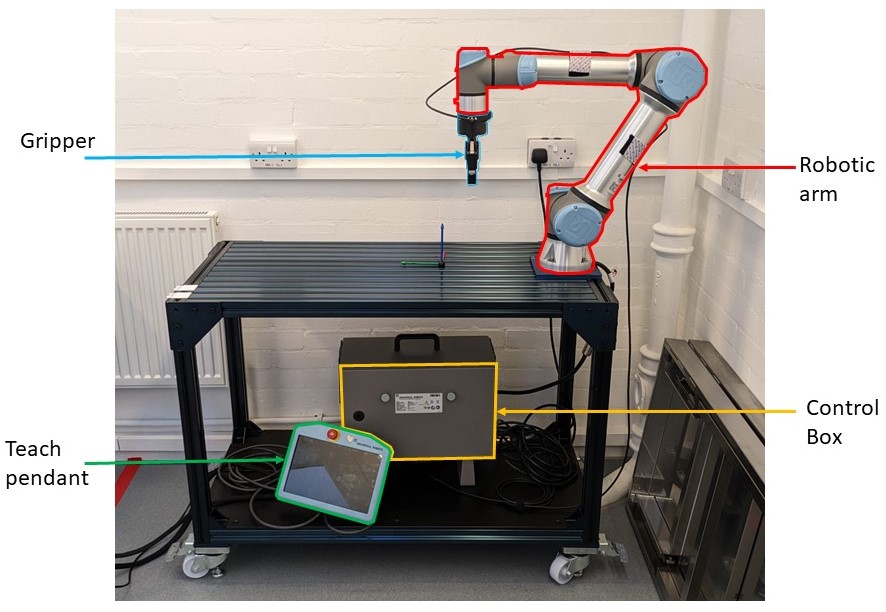
Core components of the UR5e
- The robotic arm
- The control box
- The teach pendant
- The gripper
Power on/off
Power on
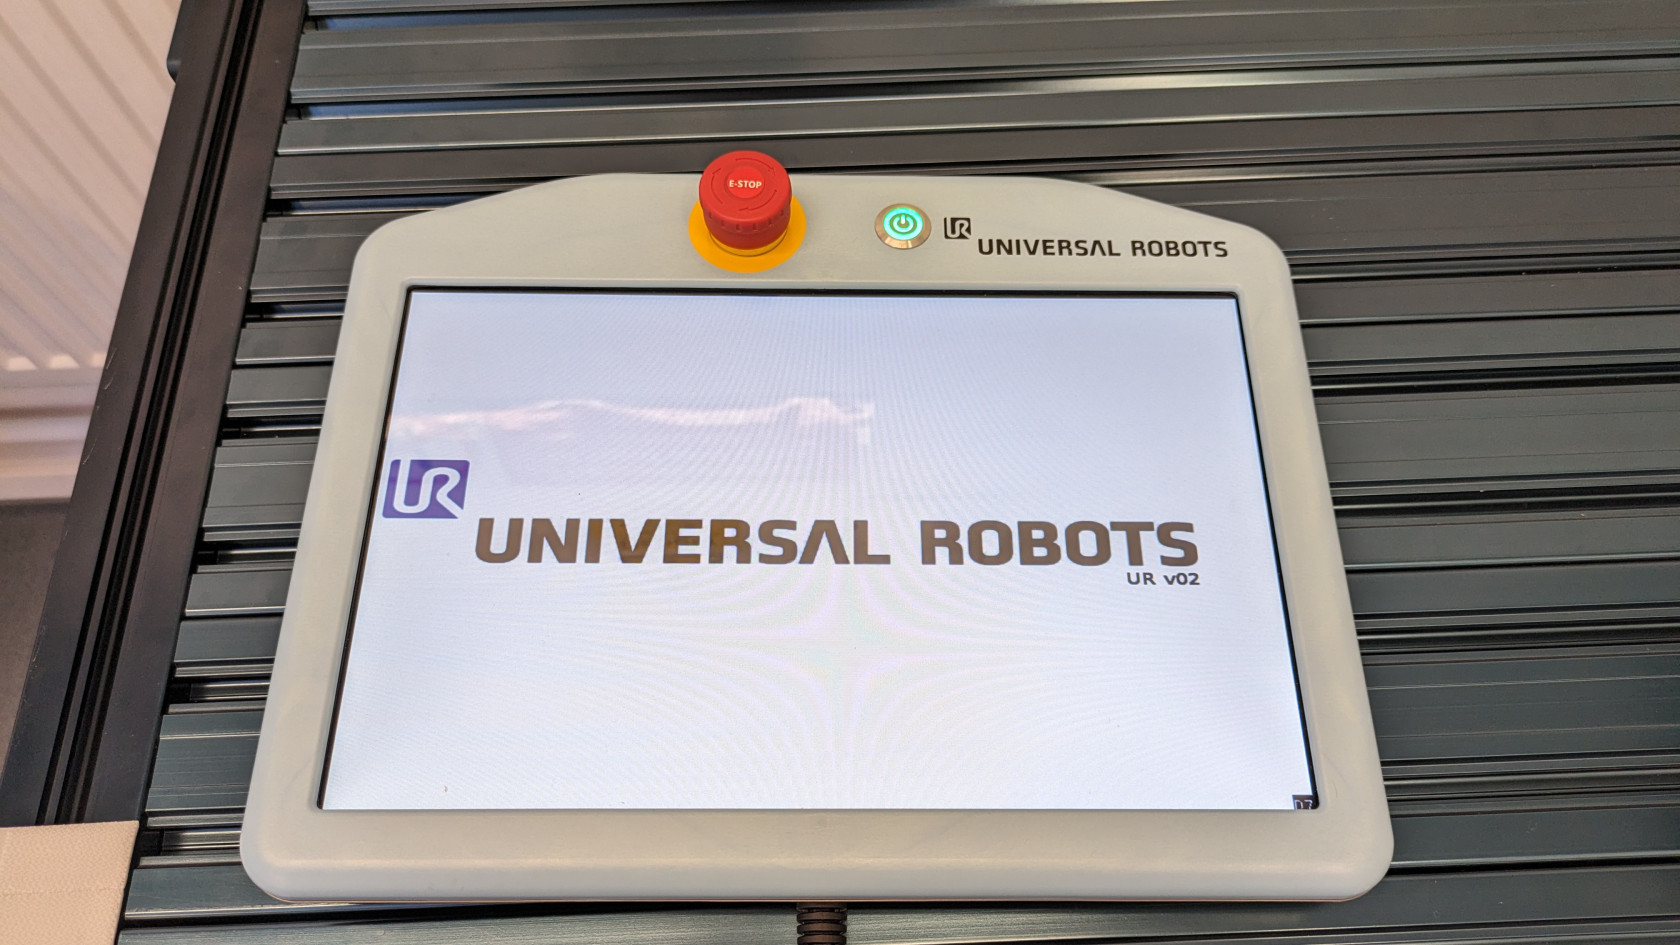
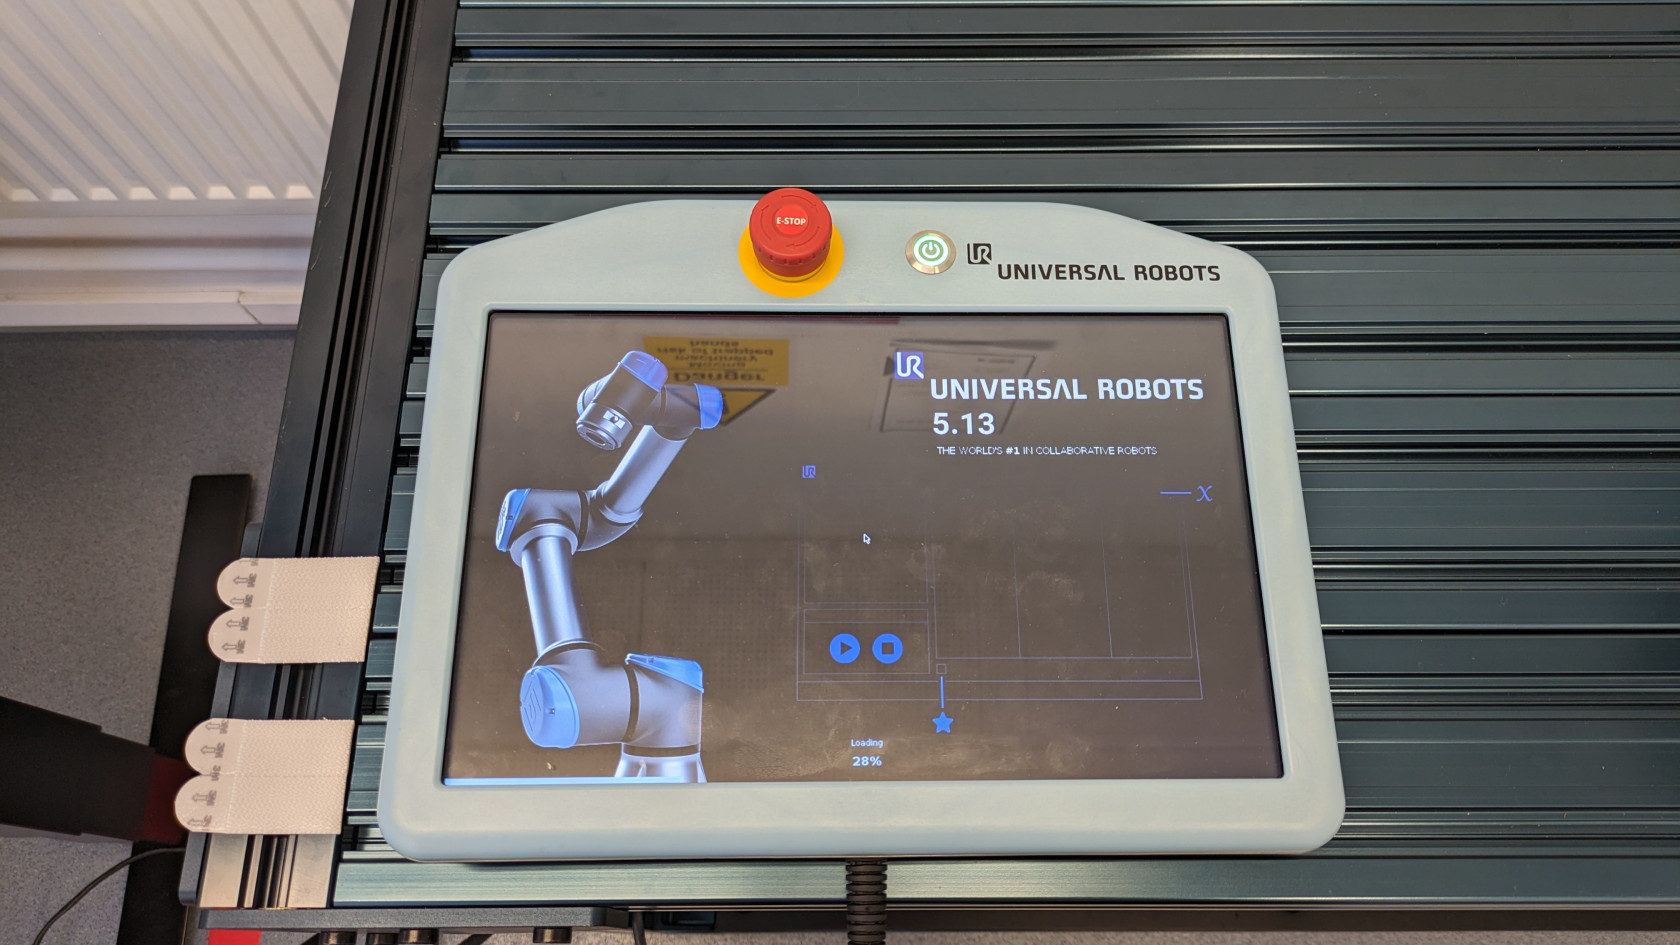
- To power on the robot press down on the power button located at the top of the teach pendant. You will notice that the LED within the power button turns green and after a couple of seconds you will see the Universal Robots logo as shown below.
- The screen will then change to a loading screen as shown below and it will take a couple of minutes to load completely.
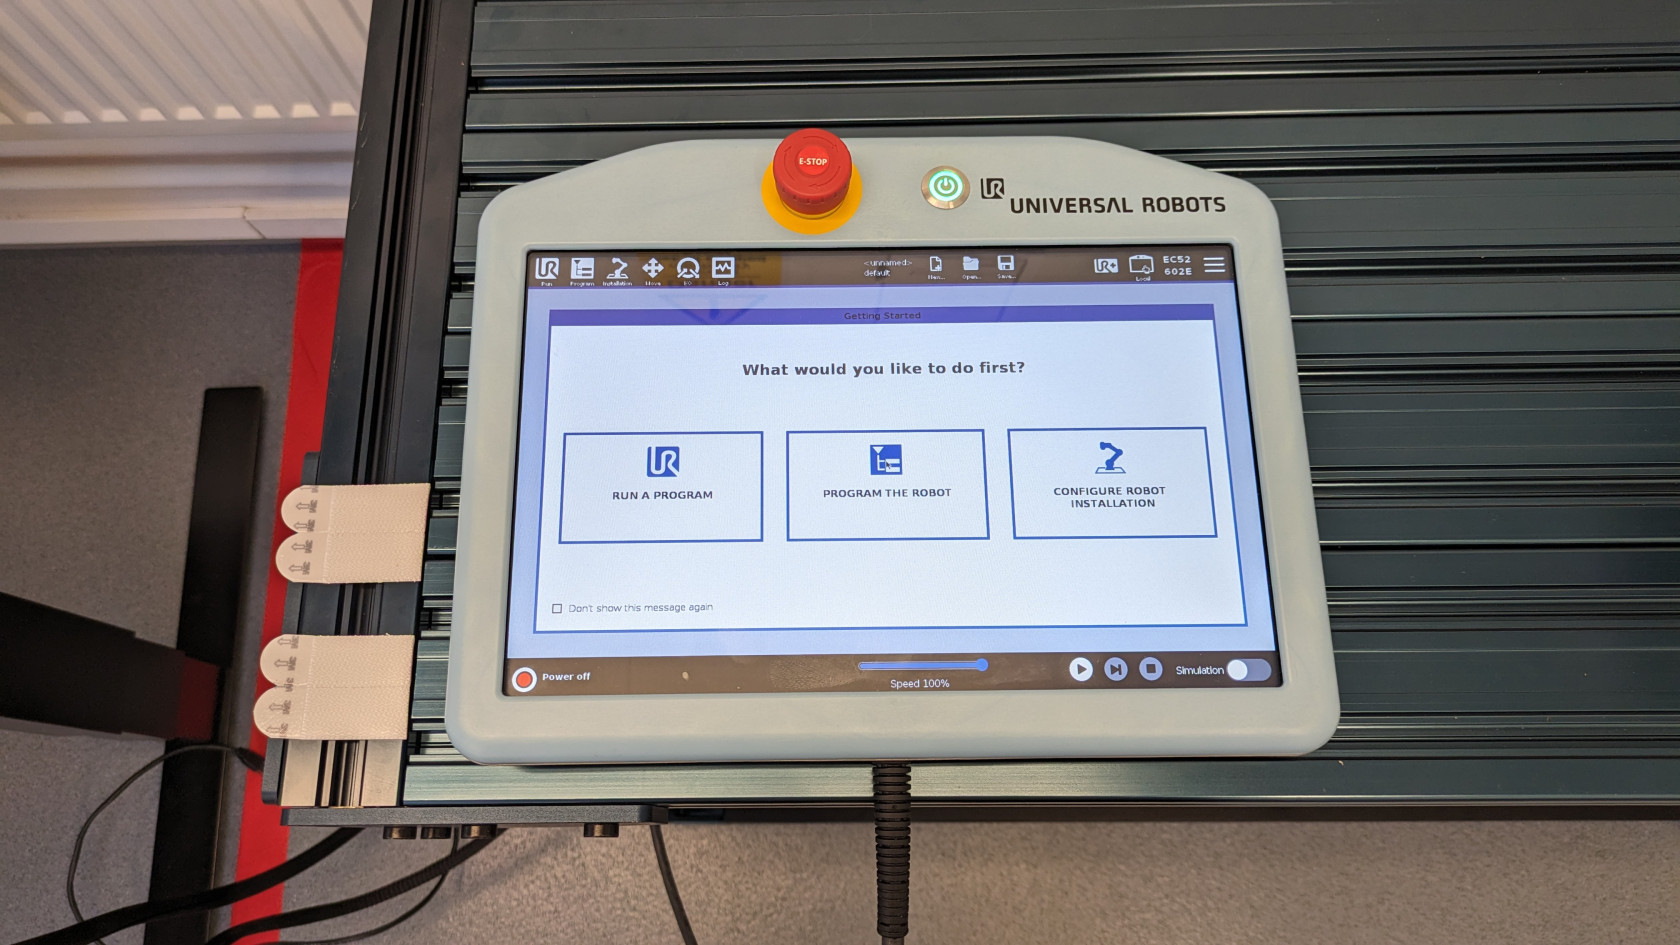
- Once the loading in complete you will see a getting started screen as shown below. At this stage only the control box has booted up but robot arm itself is not powered on.
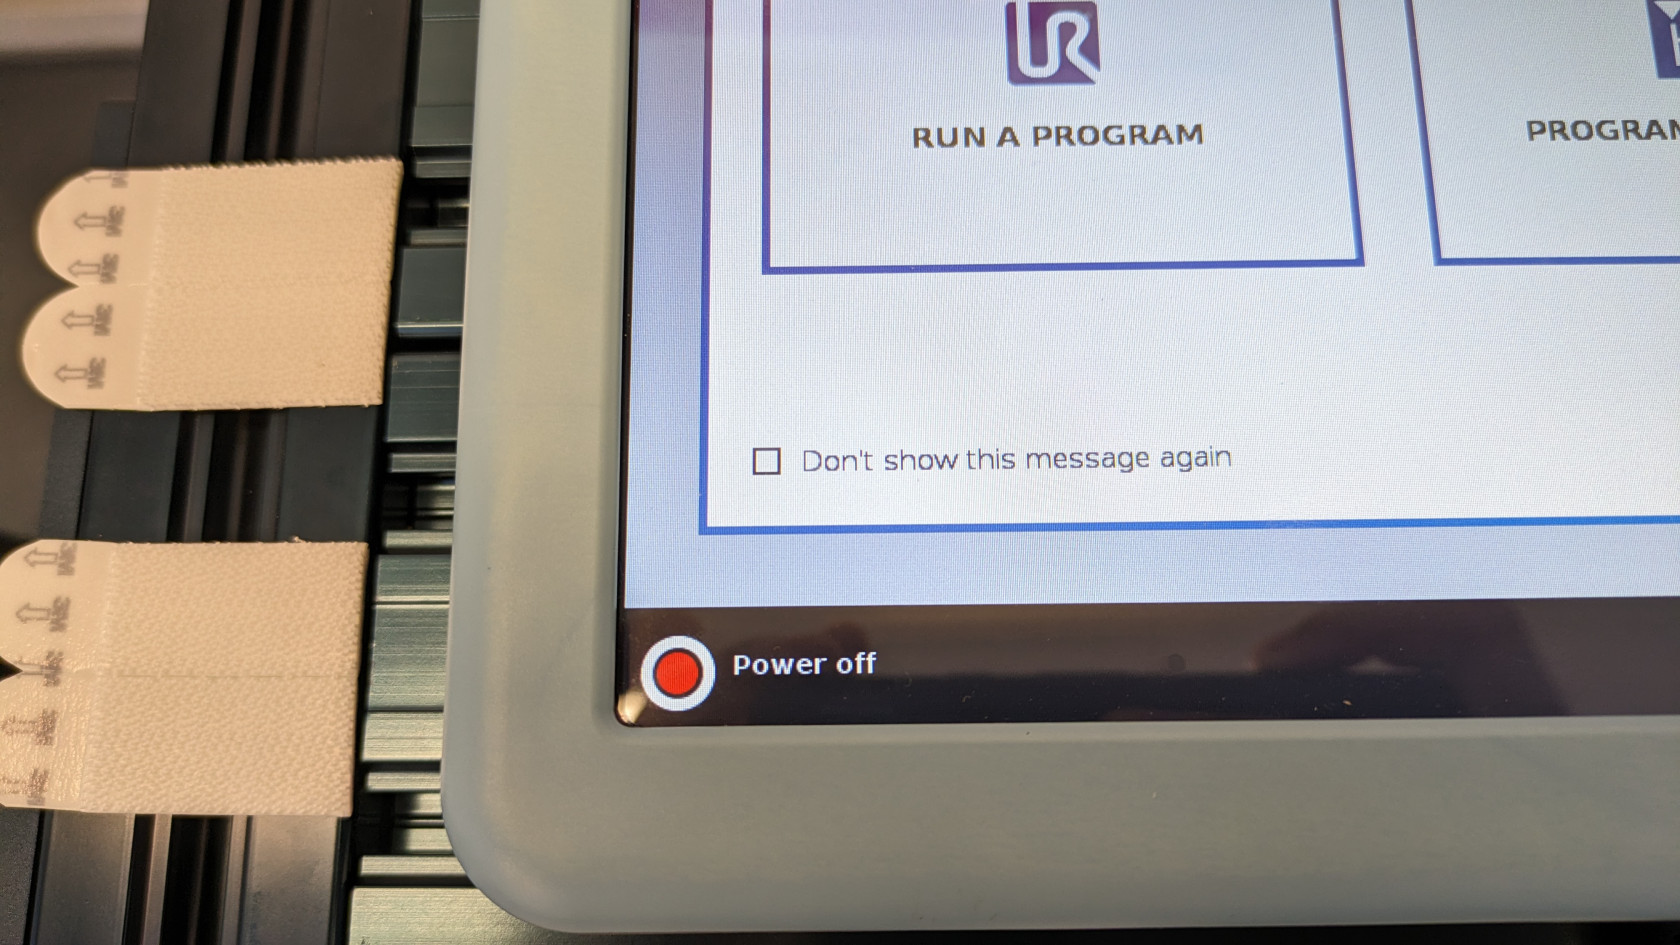
- To power on the robot arm, click on the red button that is located at the bottom left corner of the screen.
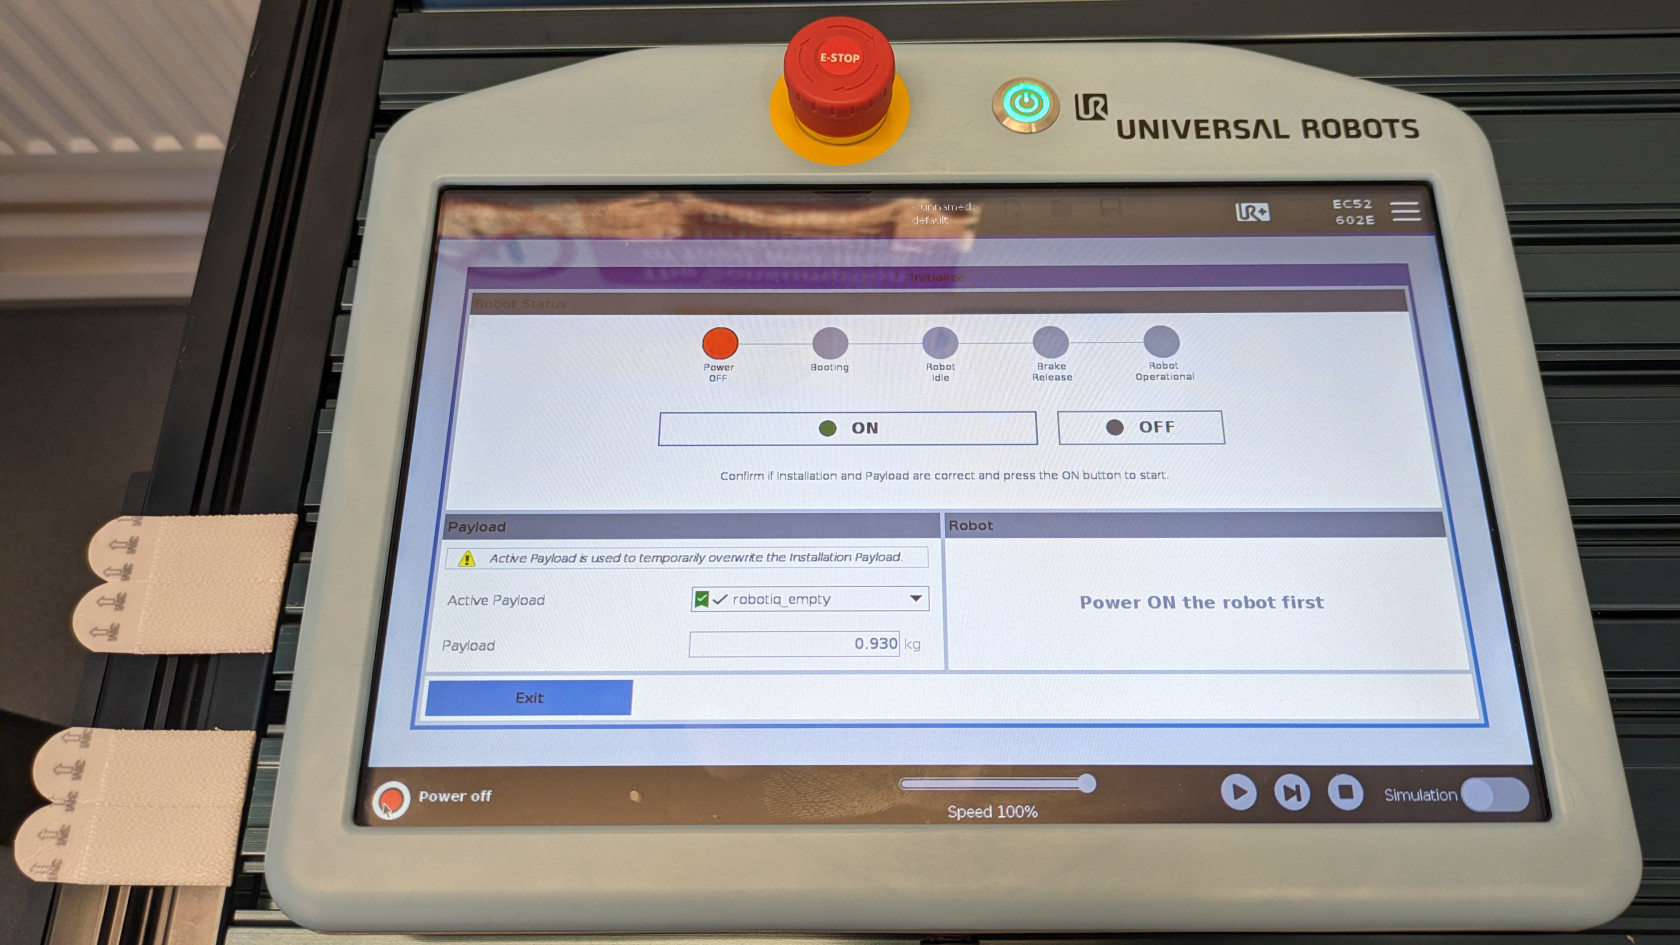
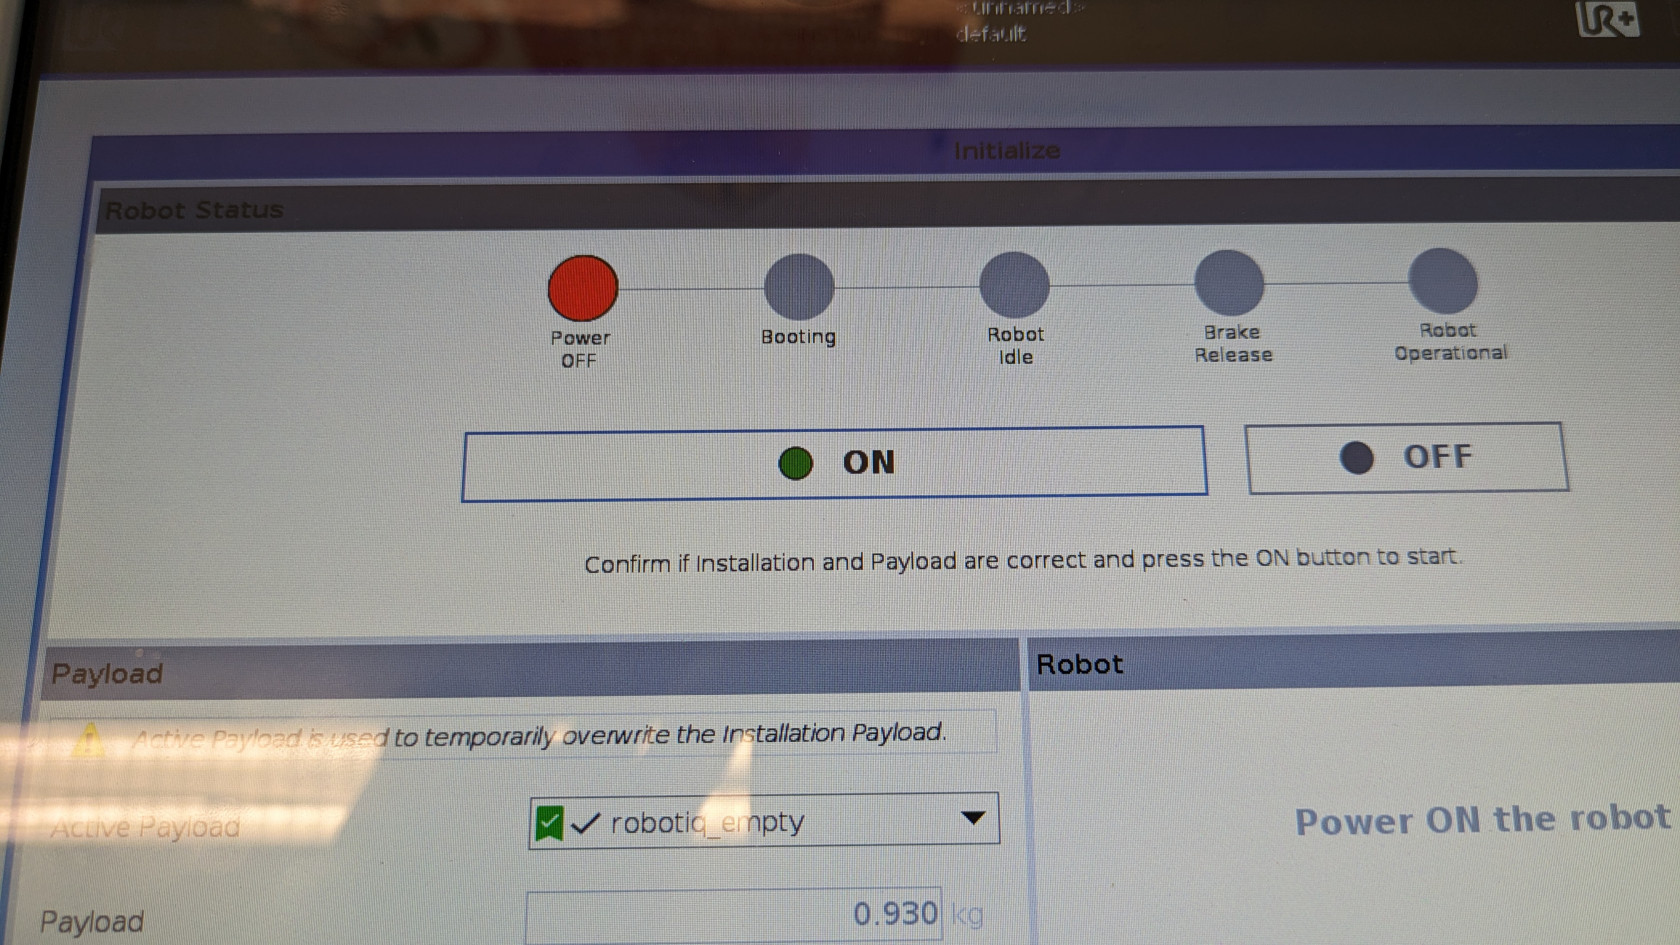
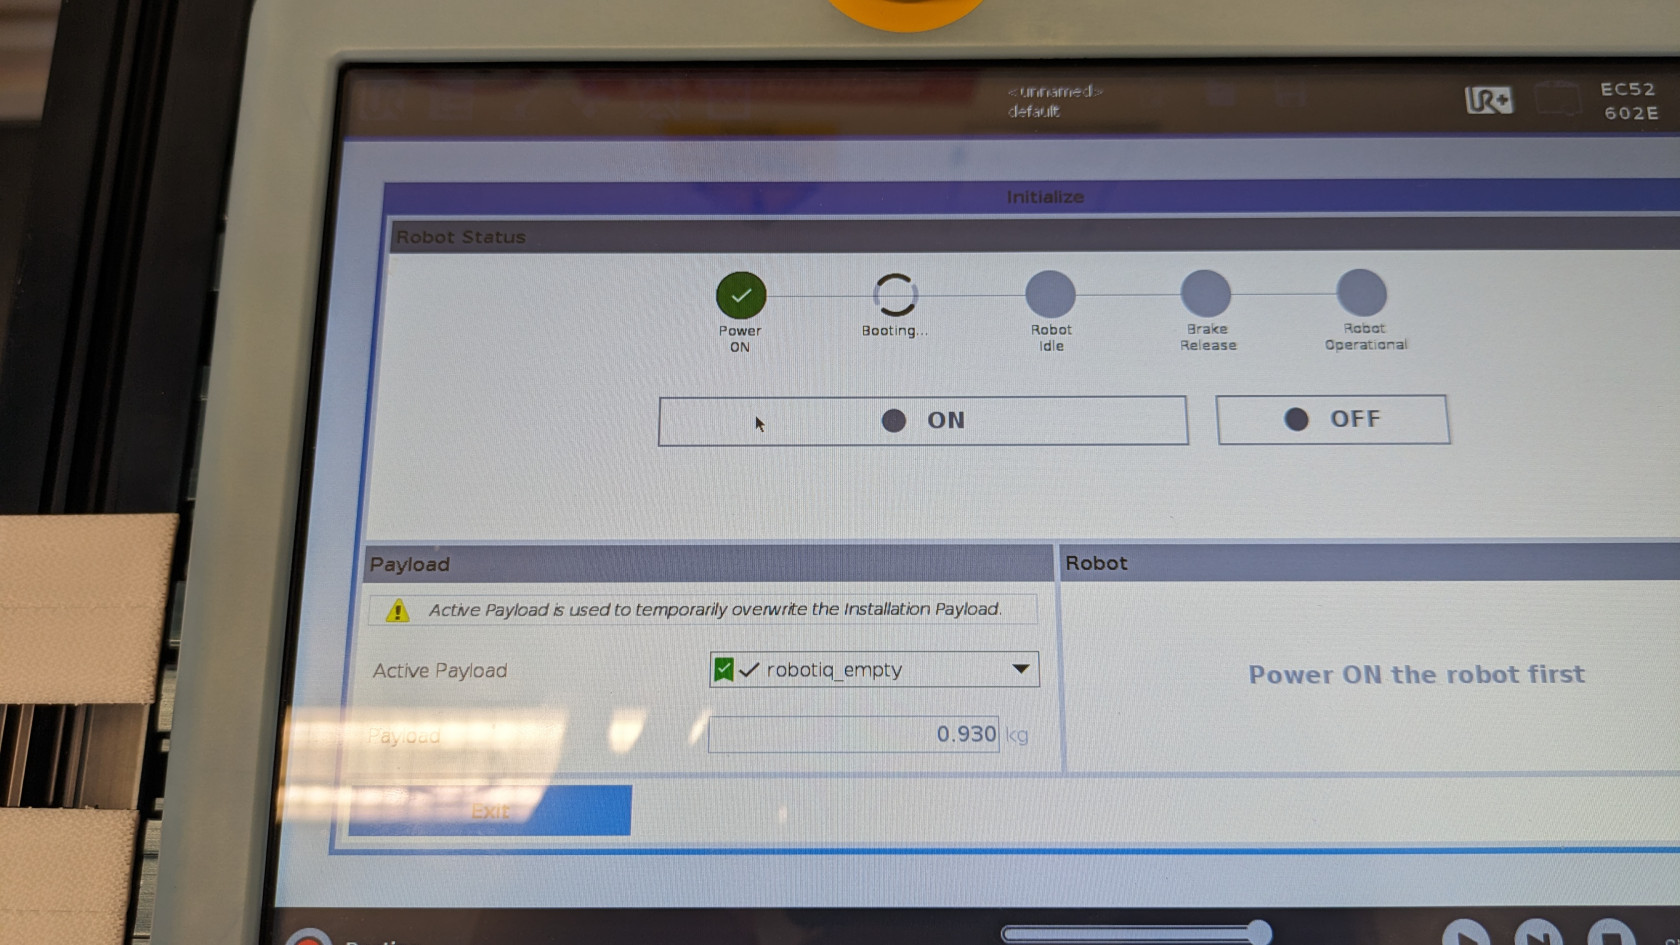
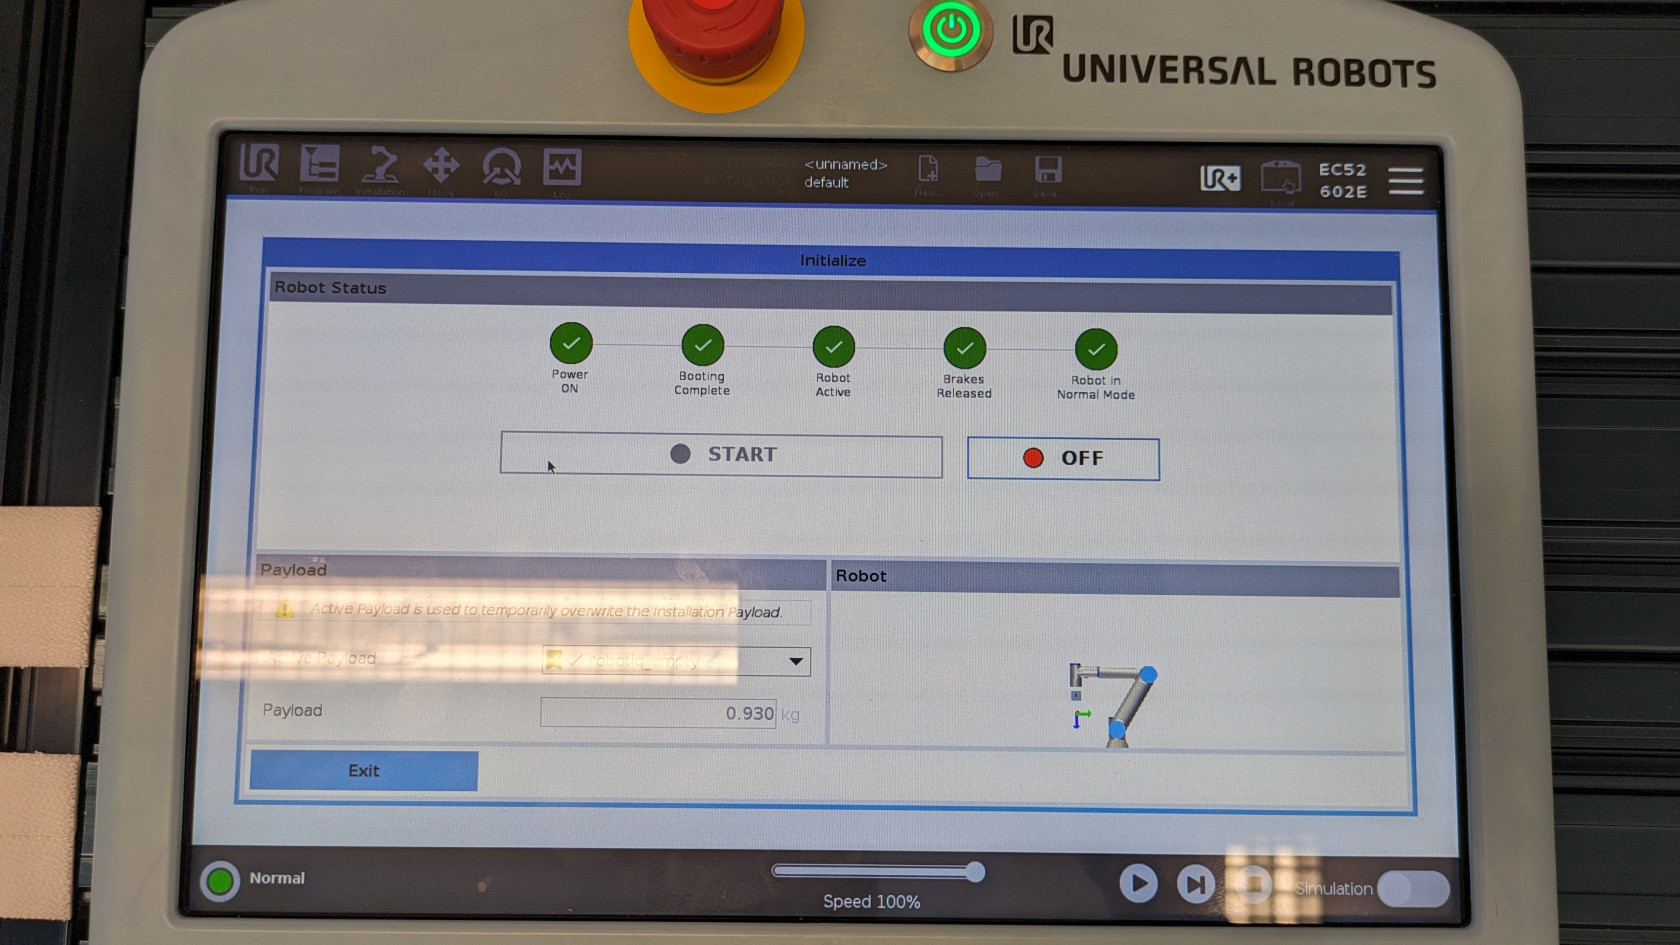
- You will get a pop up screen as shown below and within the pop up screen, click on the "ON" button. You will notice that the circles with the status will change to green and the status will change as well.
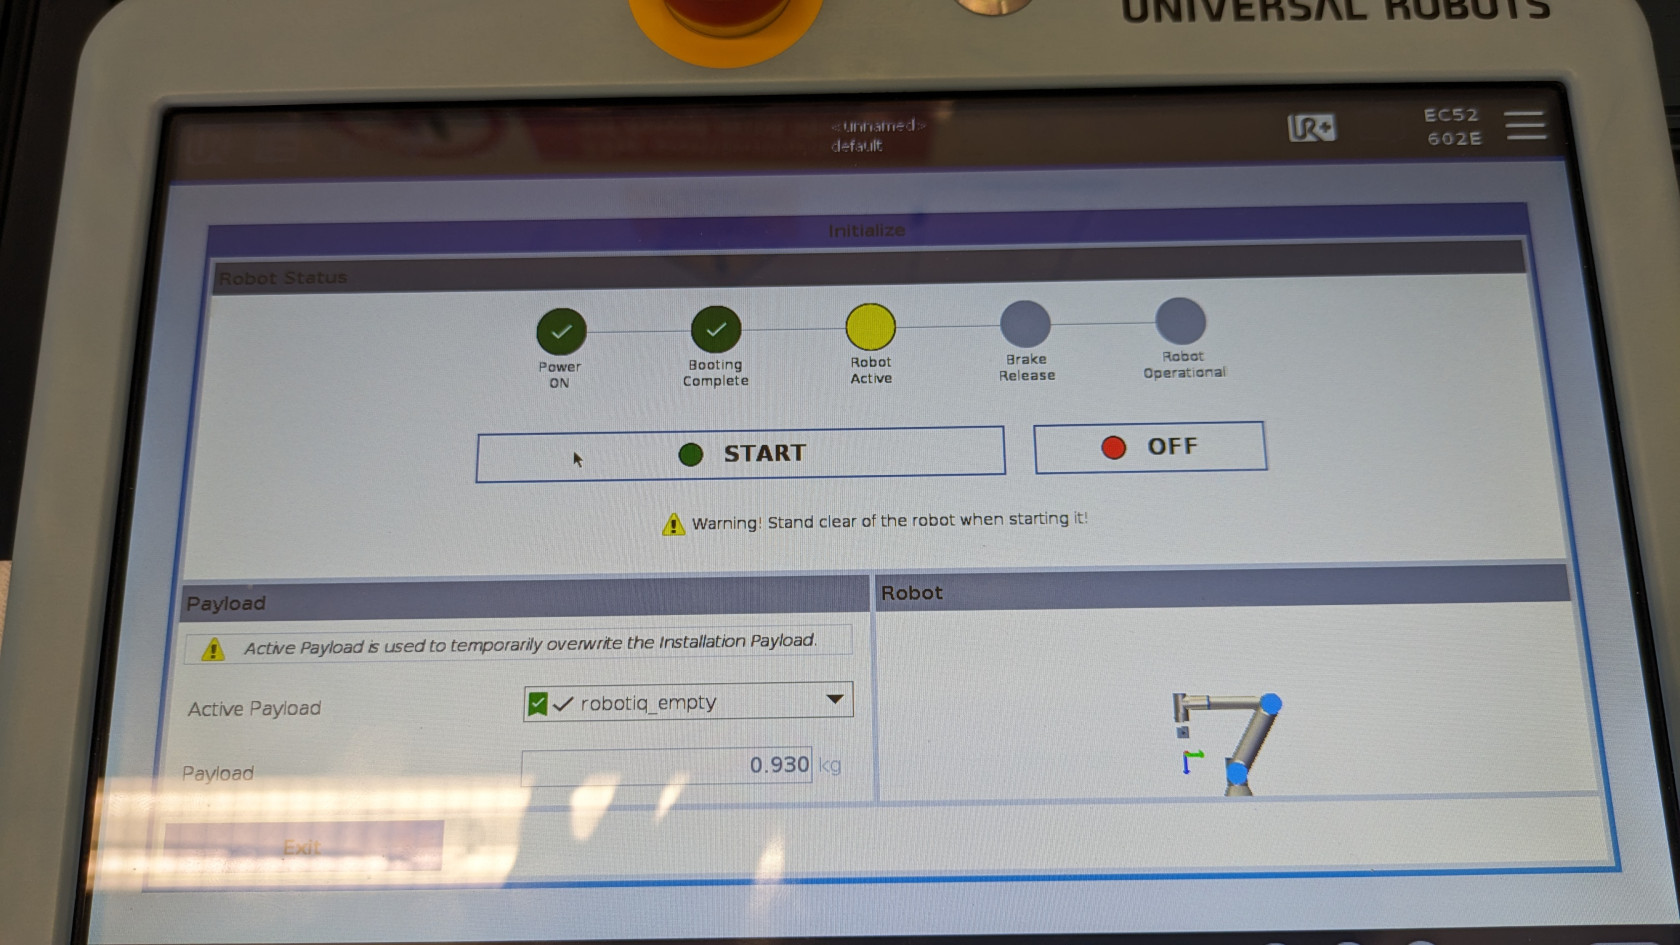
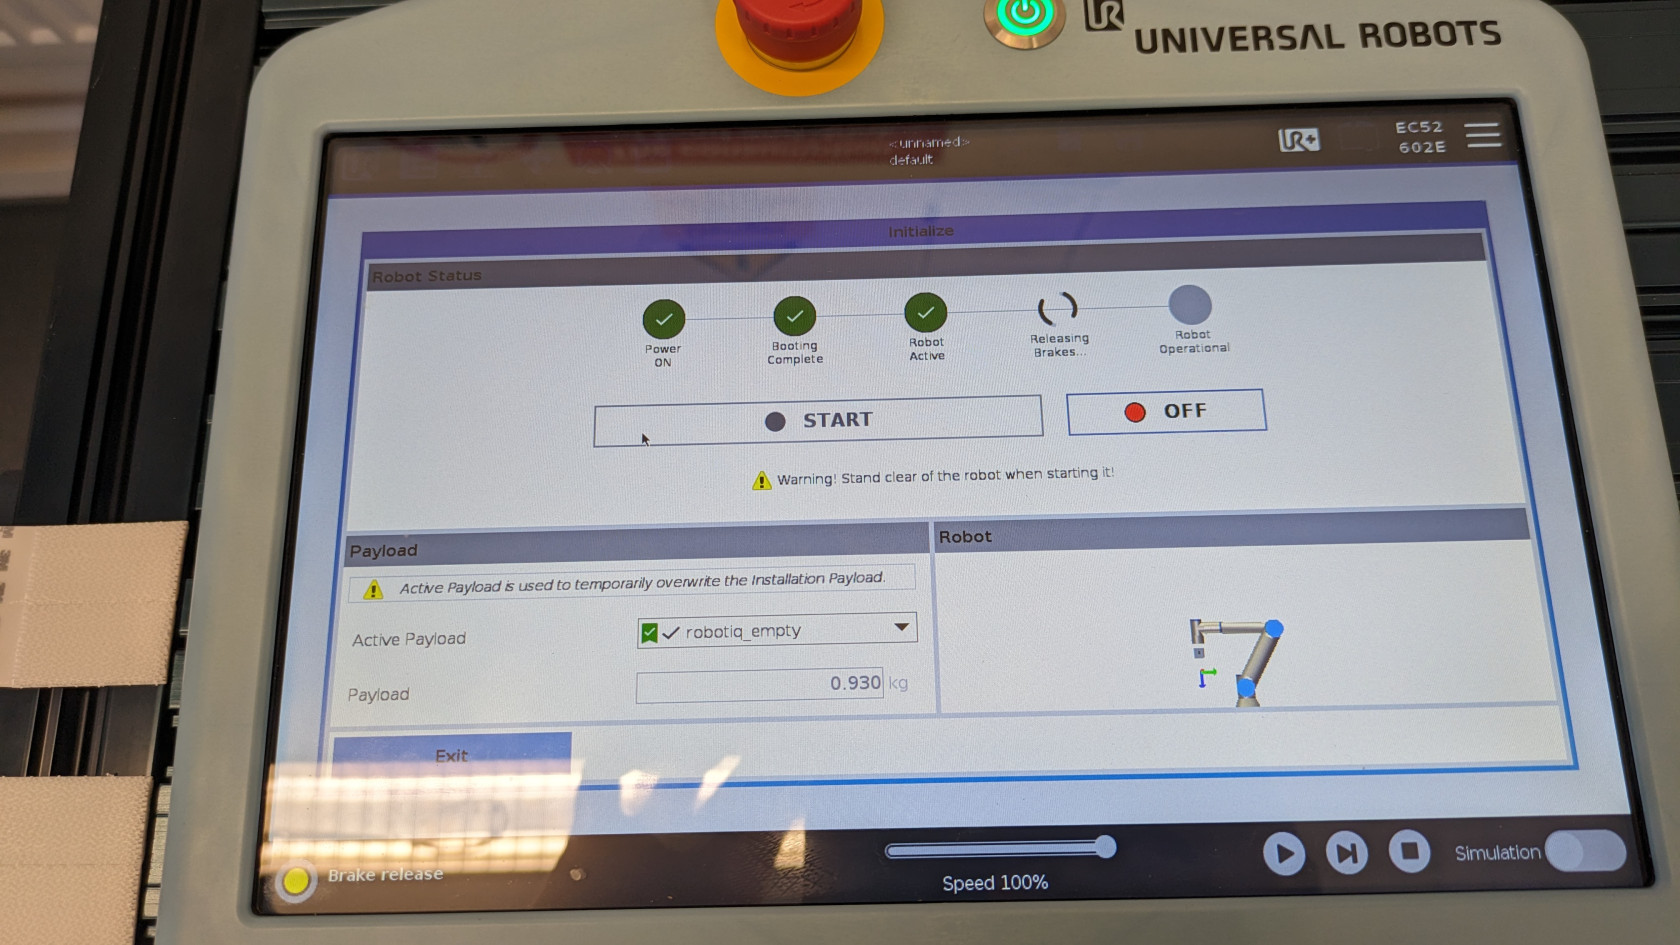
- After a couple of seconds, you should see that the "ON" button would have been replaced with the "START" button. Now, click on the "START" button, you will hear some clicking noises coming from the robot arm, which indicates the breaks of the robot arm are being released.
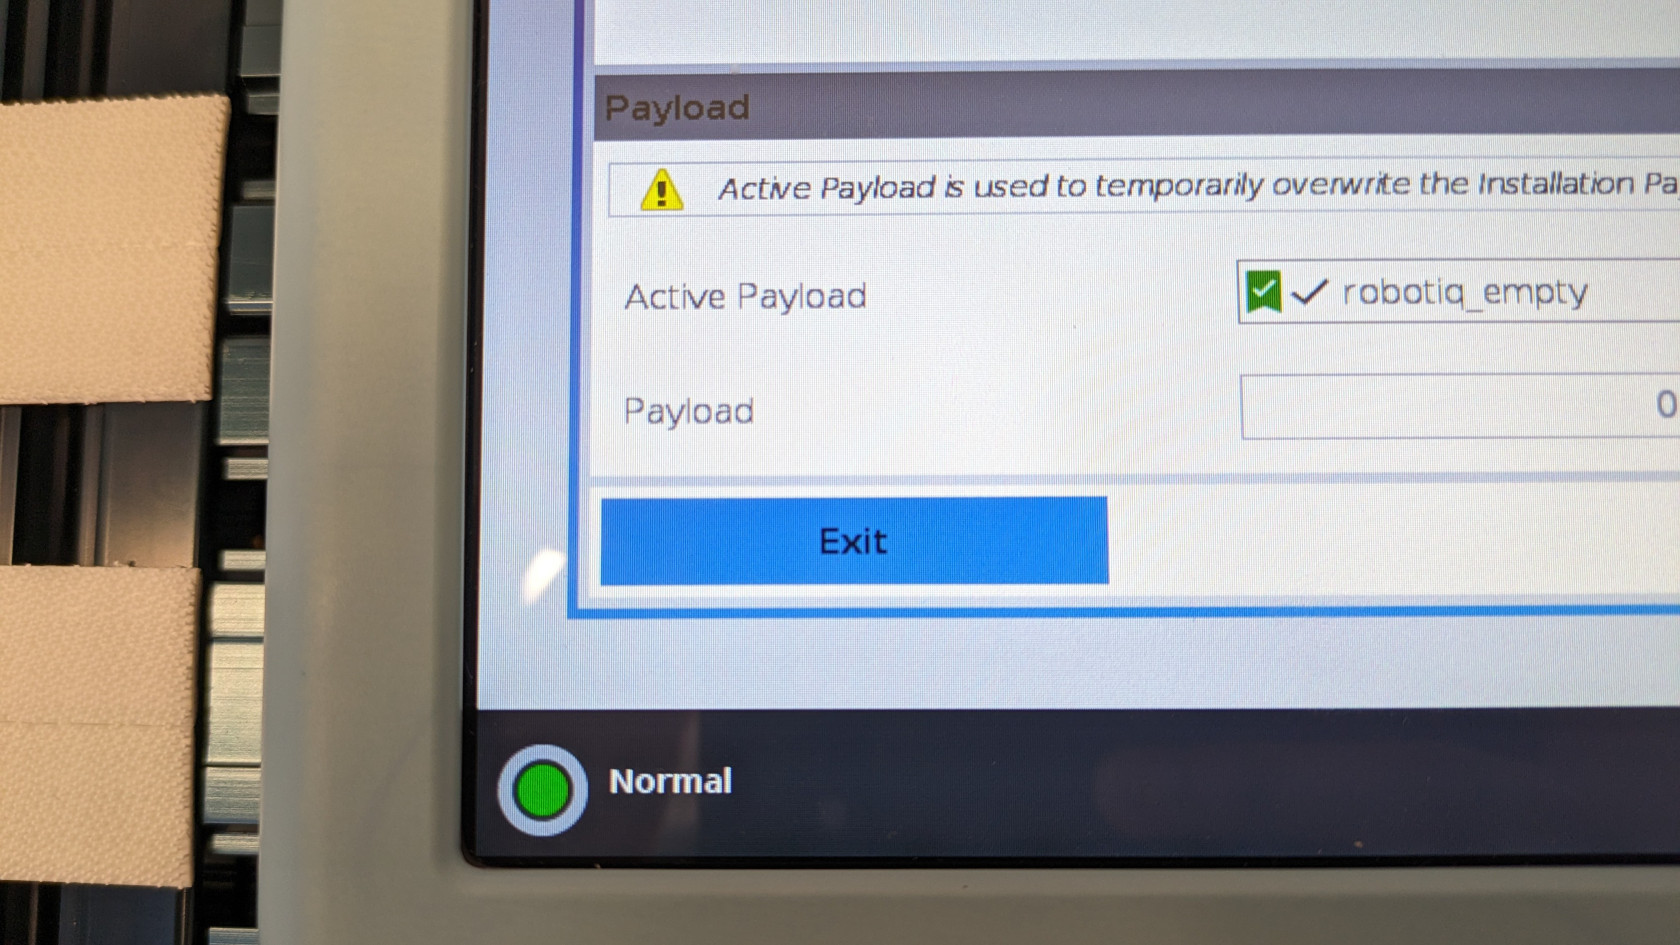
- If everything goes well, you will see that all the circles will be green and if you look over to the bottom left corner of the teach pendant, the red button we initially clicked is now green and it will also say "Normal" next to it.
- Now you can exit this screen by clicking on the "EXIT" button located at the bottom left of the screen.
Power off
To power off the robot, press down on the power button that is located at the top of the teach pendant and then select "Power off" on the pop up. If you were working on a program and want to save it click on "save program" otherwise click "Discard".

