How to prepare files in Trotec Ruby and Adobe Illustrator
This guide will step you through how to use Trotec Ruby and a vector drawing like Adobe Illustrator to prepare a design for laser cutting.
Safety Induction Required
Anyone wishing to use the Laser Cutter in B401B is required to attend a safety induction led by one of the CCI technical staff.
Preparing files for laser cutting is relatively straight forward, and some simple projects can even be made using just the tools built into Ruby.
Adobe Illustrator
This guide will not go into depth about the use of Adobe Illustrator, you can learn about how to use it on LinkedIn Learing which is free to all UAL students and staff.
Security Certificate
You will need administrative privilages to run this process
Before you can login and access the laser cutter you must install the security certificate to ensure that access to the web interface is not blocked by browser security requirements.
Login
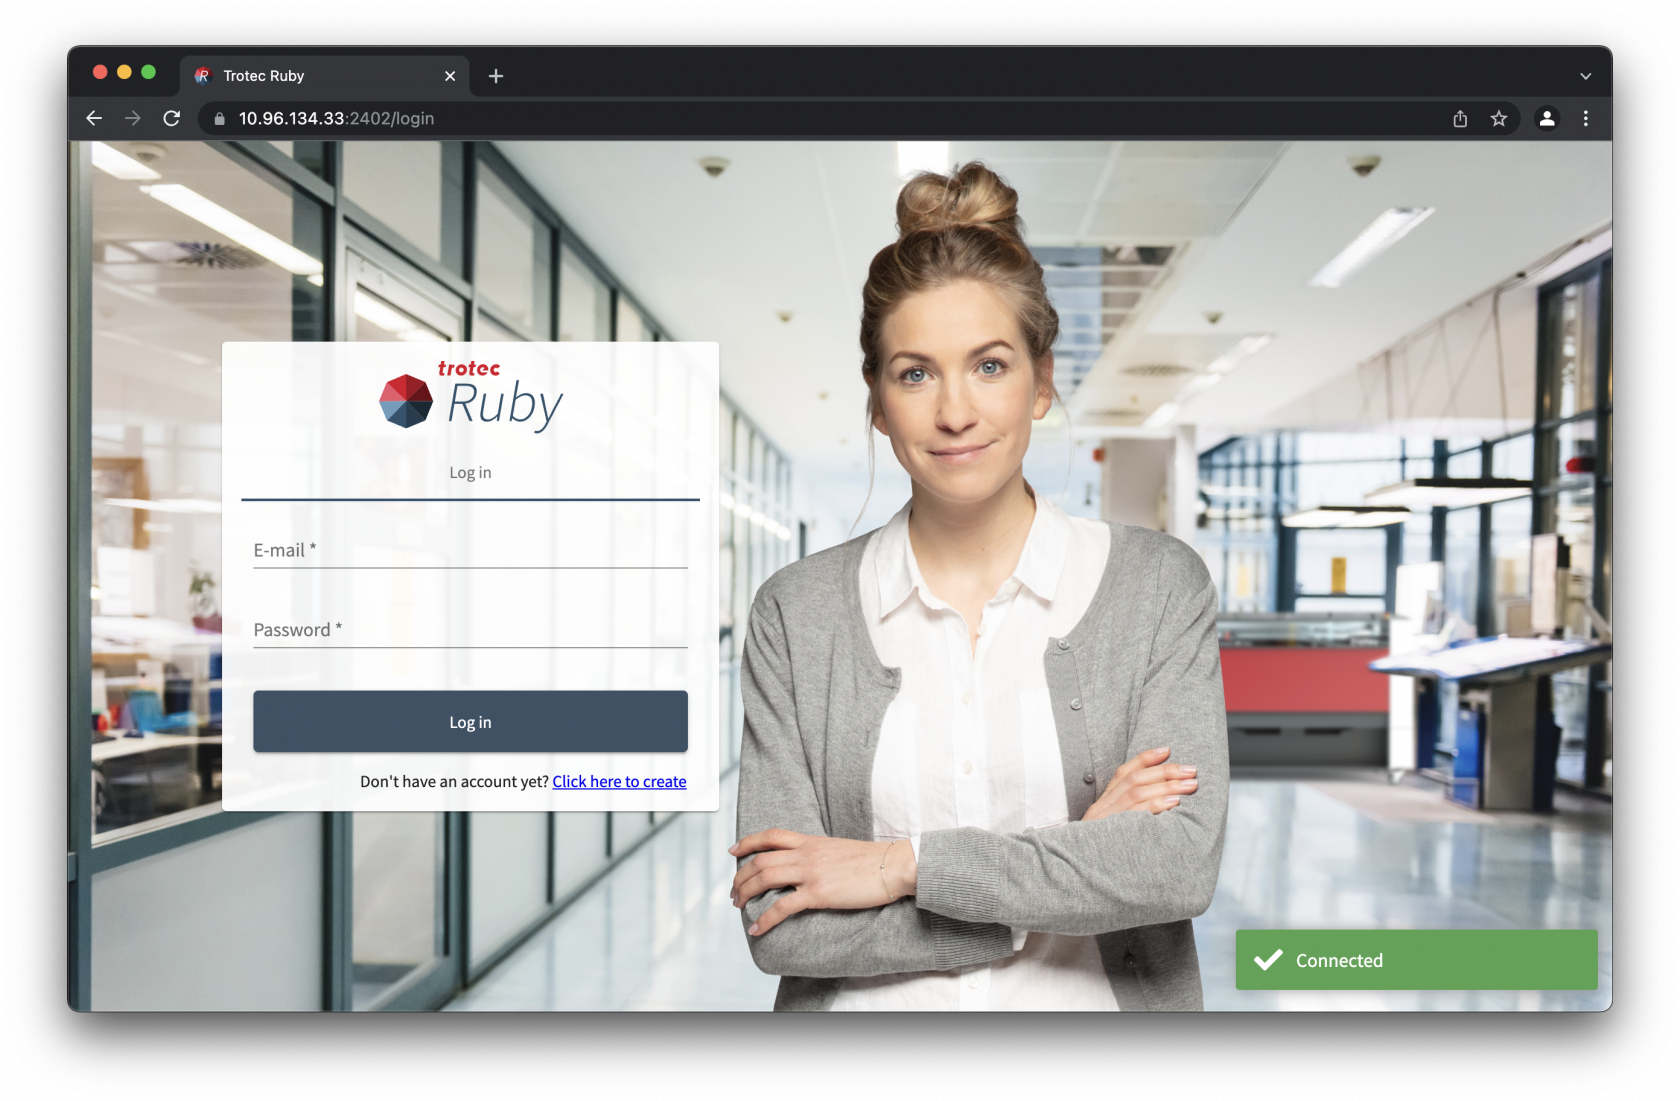
Trotec Ruby is only supported in Google Chrome and Microsoft Edge browsers at this time, to use the laser cutter after being inducted you will be provided with a username (email address) and password.
To access the login screen open the browser and go to https://10.96.134.33:2402.
Interface overview
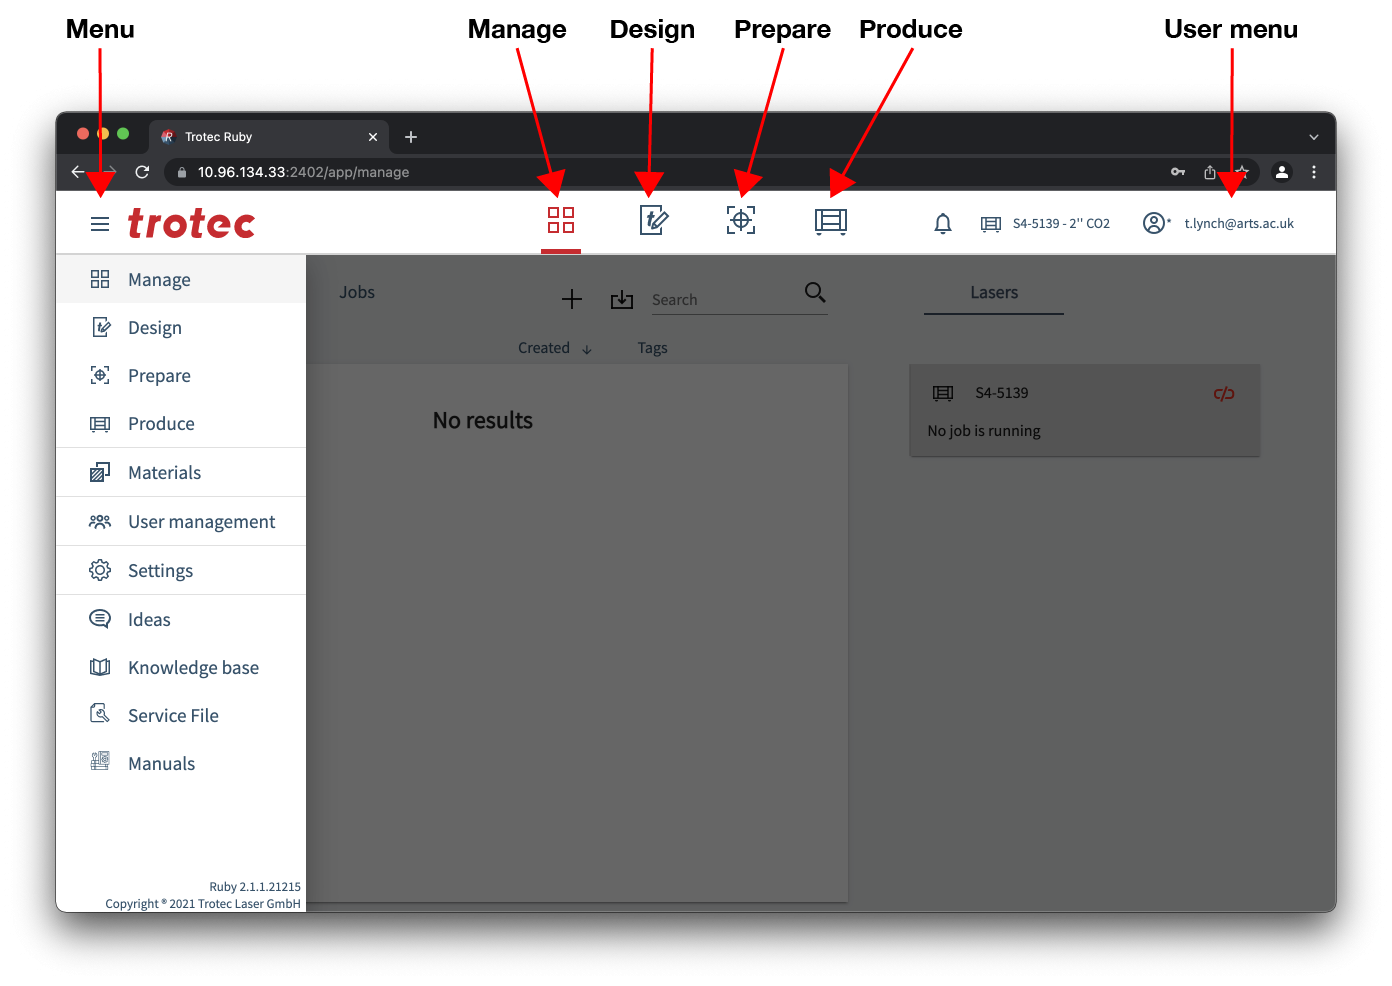
The interface to Ruby is very similar to many web applications, the consistent element is a top bar.
Top bar
- Trotec logo / hamburger menu - This exposes the side bar menu with advanced options, the most useful being the materials database.
- Manage - This is where you can upload, download and manage designs and jobs.
- Design - This is where you edit the active design.
- Prepare - This is where you can place one or more designs onto the laser cutter bed for cutting.
- Produce – This is where you can control the job queue and monitor progress of the active job.
- User menu - This is where you can change your password and logout.
Sidebar
- Manage, Design, Prepare and Produce - These are repeated from the top bar.
- Materials - This is where you can view, create, edit and delete material and settings.
- User management - This is for administrators only, do not enter this area.
- Settings - This is for administrators only, do not enter this area.
- Ideas - This is where you can send suggestions to Trotec for improvements to Ruby.
- Knowledge base - This is where you can find help around using Ruby direct from Trotec.
- Service File - This is for administrators only, do not click this option.
- Manuals – This is where you can find the manual for all Trotec laser cutters.
Creating a file
Although it's outside the scope of this guide to tell you how to use Adobe Illustrator, we'll cover preparing a simple file.
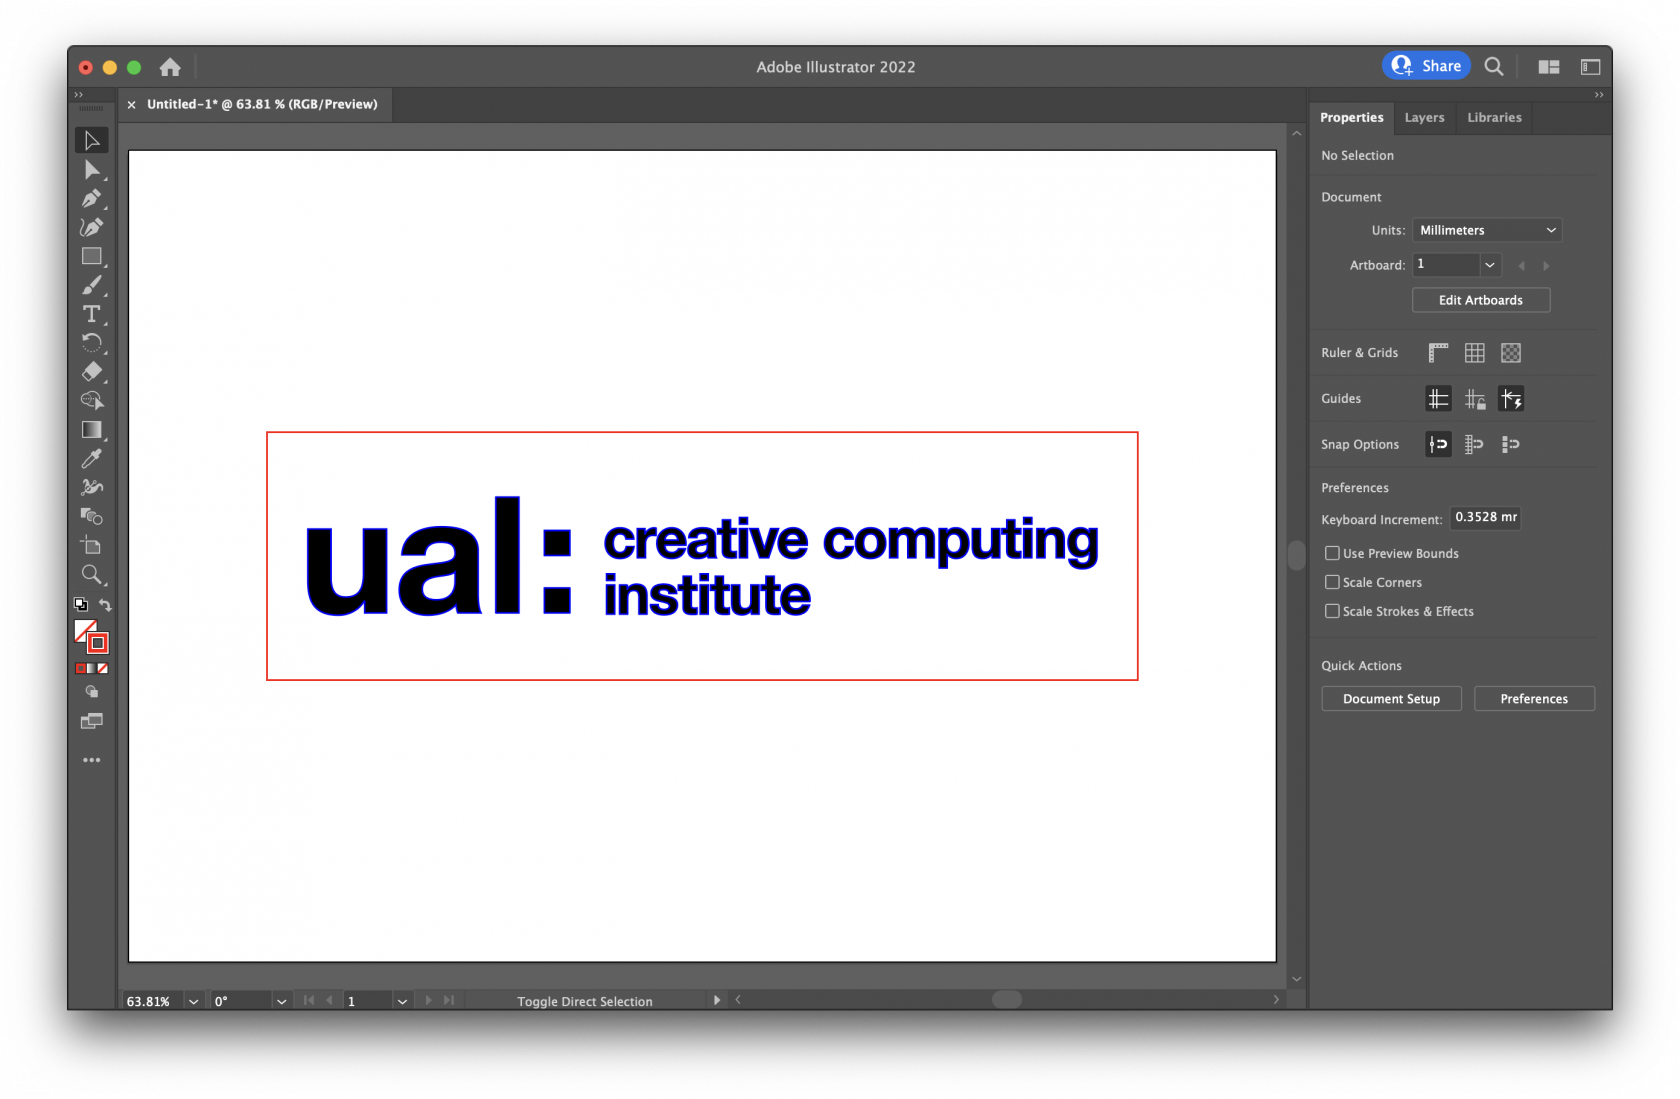
We're going to etch the UAL Creative Computing Institute logo, outline it with an engraved line, and then cut out a bounding box.
Step 1
The laser cutter can etch raster images, however to be able to cut out or engrave we need to provide vector lines which is why you will need to use software such as:
- Adobe Illustrator
- Corel Draw
- Affinity Designer
- Inkscape
Here you can see we've created an Illustrator document in RGB colour mode (not CMYK) and added a vector of the CCI logo to the artboard:
Step 2
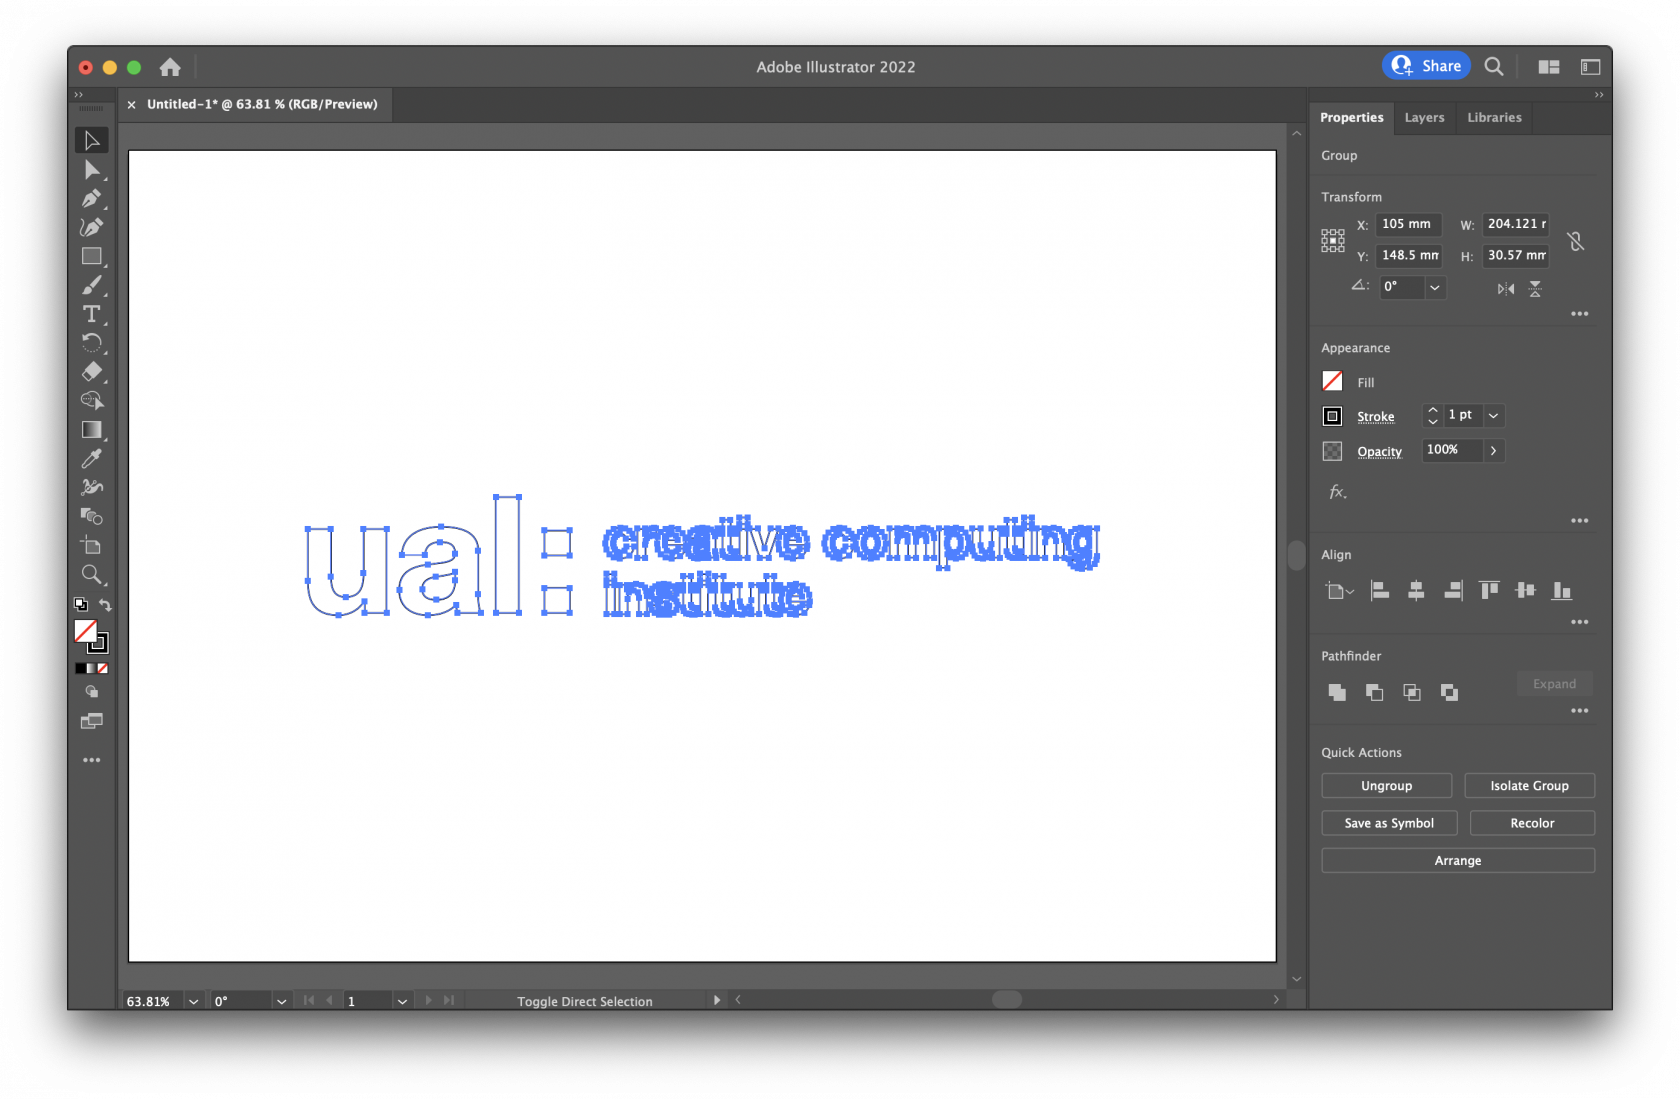
When preparing files for laser cutting with most machines you usually have to use specific colour and line thicknesses, and it's good practice to retain this with Trotec Ruby, however it is far more forgiving than older software.
As a general rule there are 3 types of action, and these are the colour fill and stroke settings for those actions:
-
Cut - This is a vector line all the way through a piece of material.
Stroke: #ff0000 - RGB Red
Fill: None -
Engrave - This is a vector line cut into the surface of the material.
Stroke: #0000ff - RGB Blue
Fill: None -
Etch - This is an area etched into the surface of the material.
Stroke: None
Fill: #000000 - RGB Black
By selecting these colours and strokes you will save yourself work later, if theres a mistake you can change it in the design step in Ruby.
Step 3
Now you need to save the file, Ruby will accept various formats including:
- AI
- JPG/JPEG
- PNG
- BMP
- SVG
- TSF
Save your file to your computer.
StepUpload 4
the file
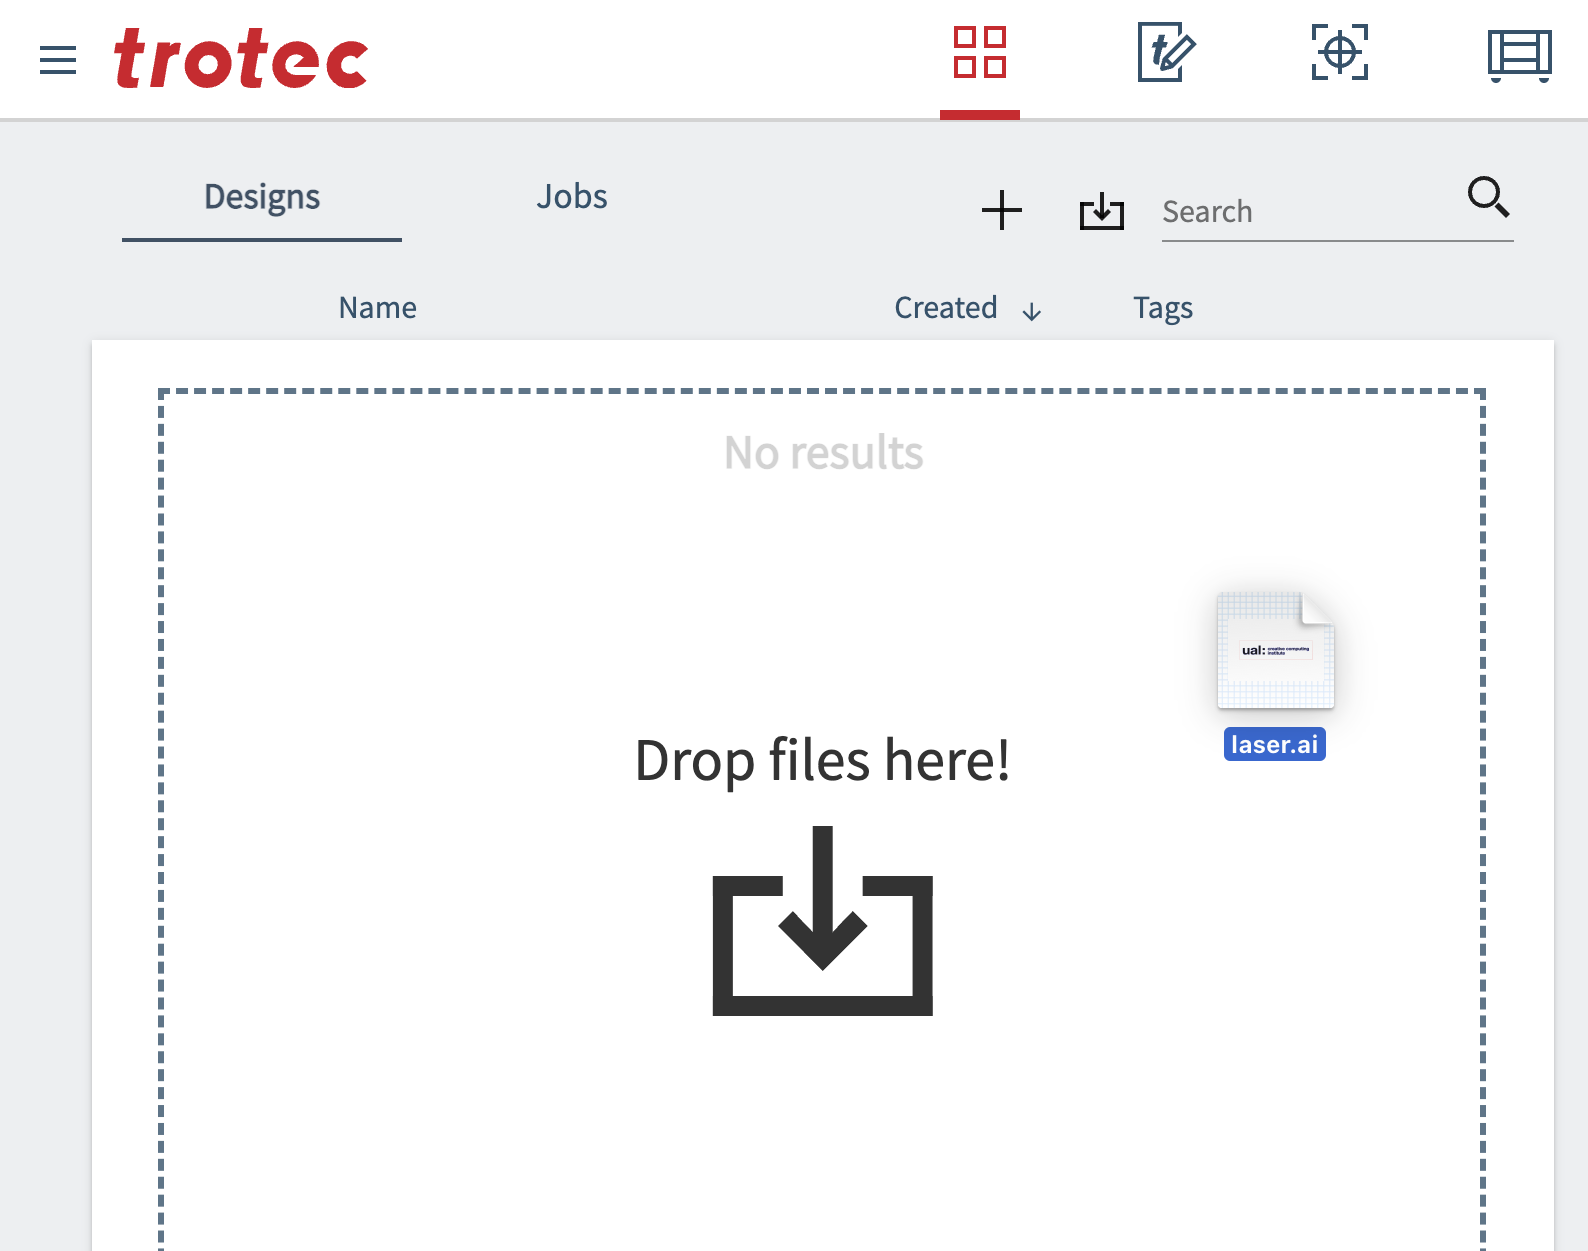
SwitchIn Ruby switch to the manage screen and drag and drop the file(s) onto the drop zone:
Alternatively click the "Import File" icon and find the file(s) in the pop up dialog.dialog:

