How to cancel a booking in ORB
You can cancel a booking by visiting ORB on the SISO app or in a or a web browser.
Step 1 - Login
For more information, see our guide on how to login to ORB.
Step 2 - Check your store
Make sure you are in the Creative Computing Institute store.
You will always see "Creative Computing Institute" on the sidebar, and from the Dashboard, it will also be at the top.
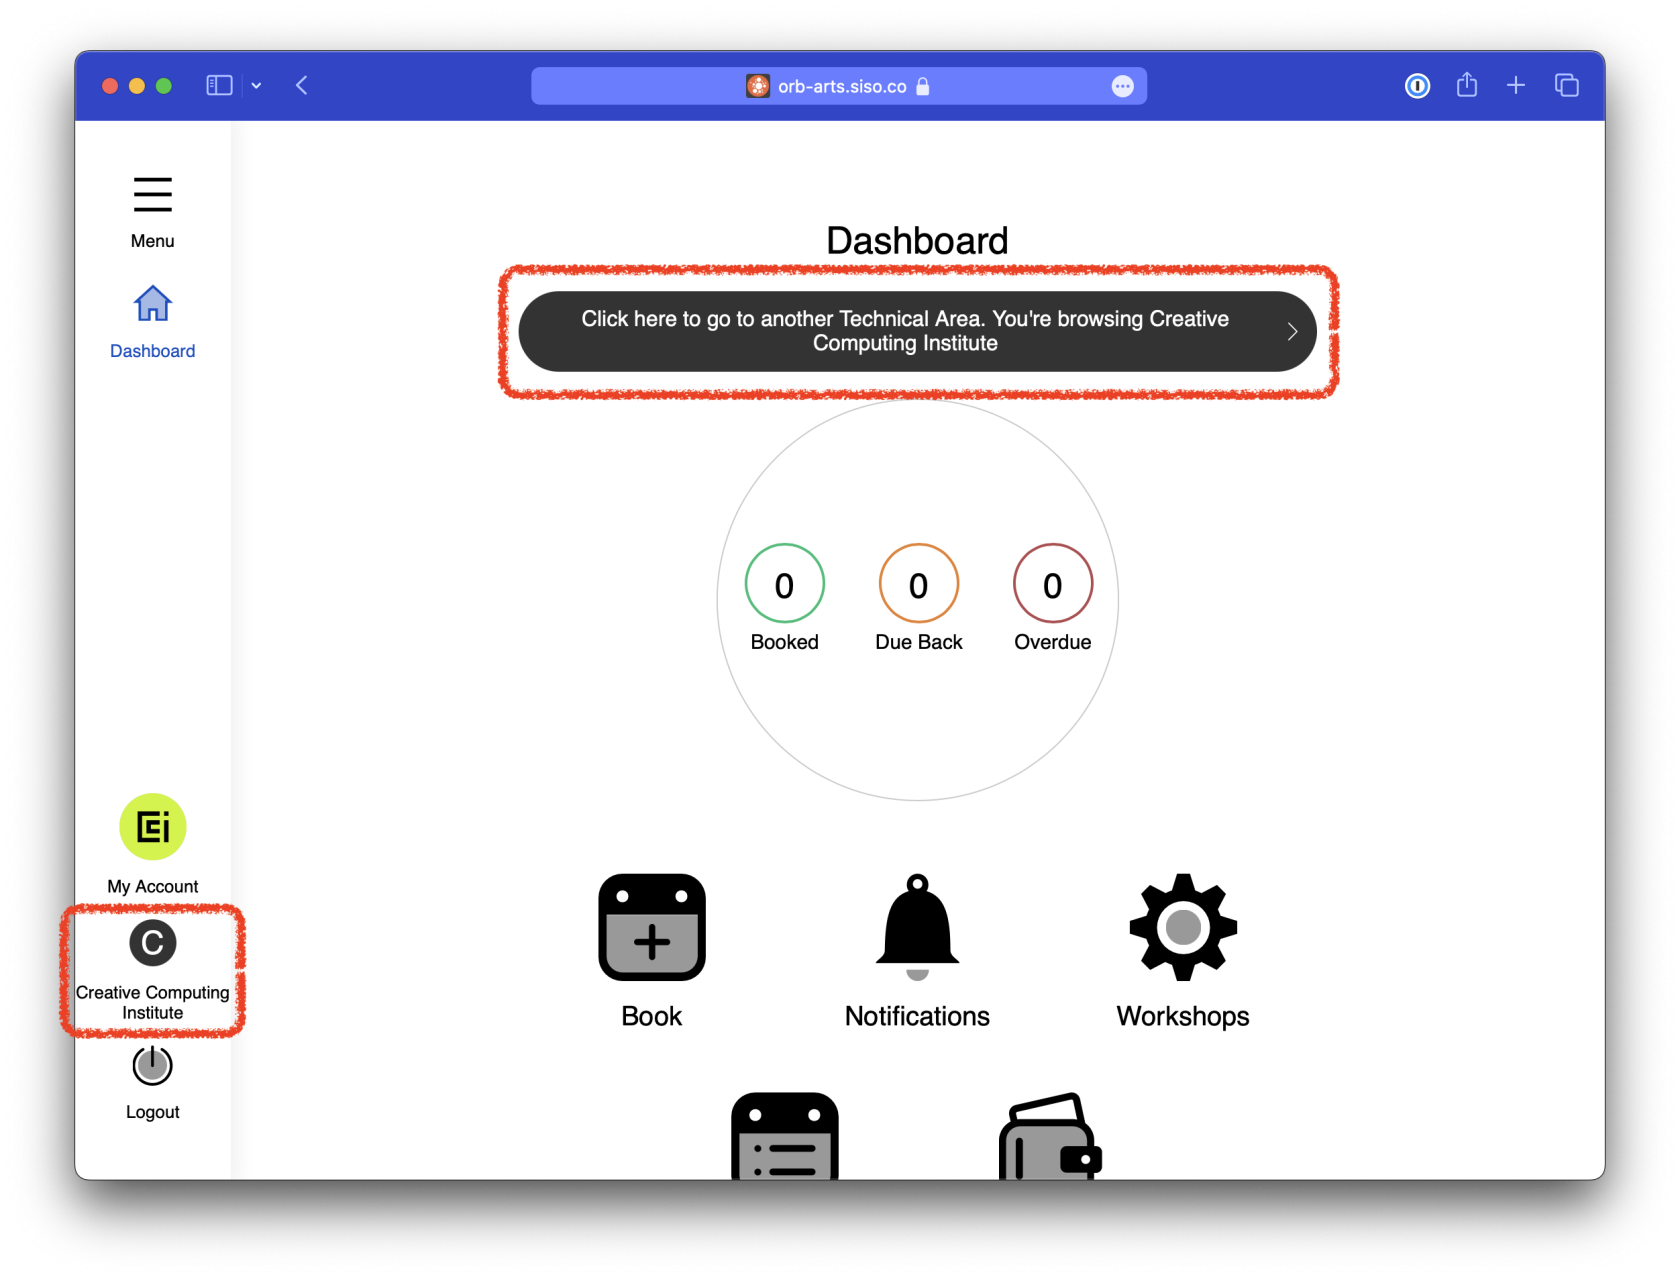
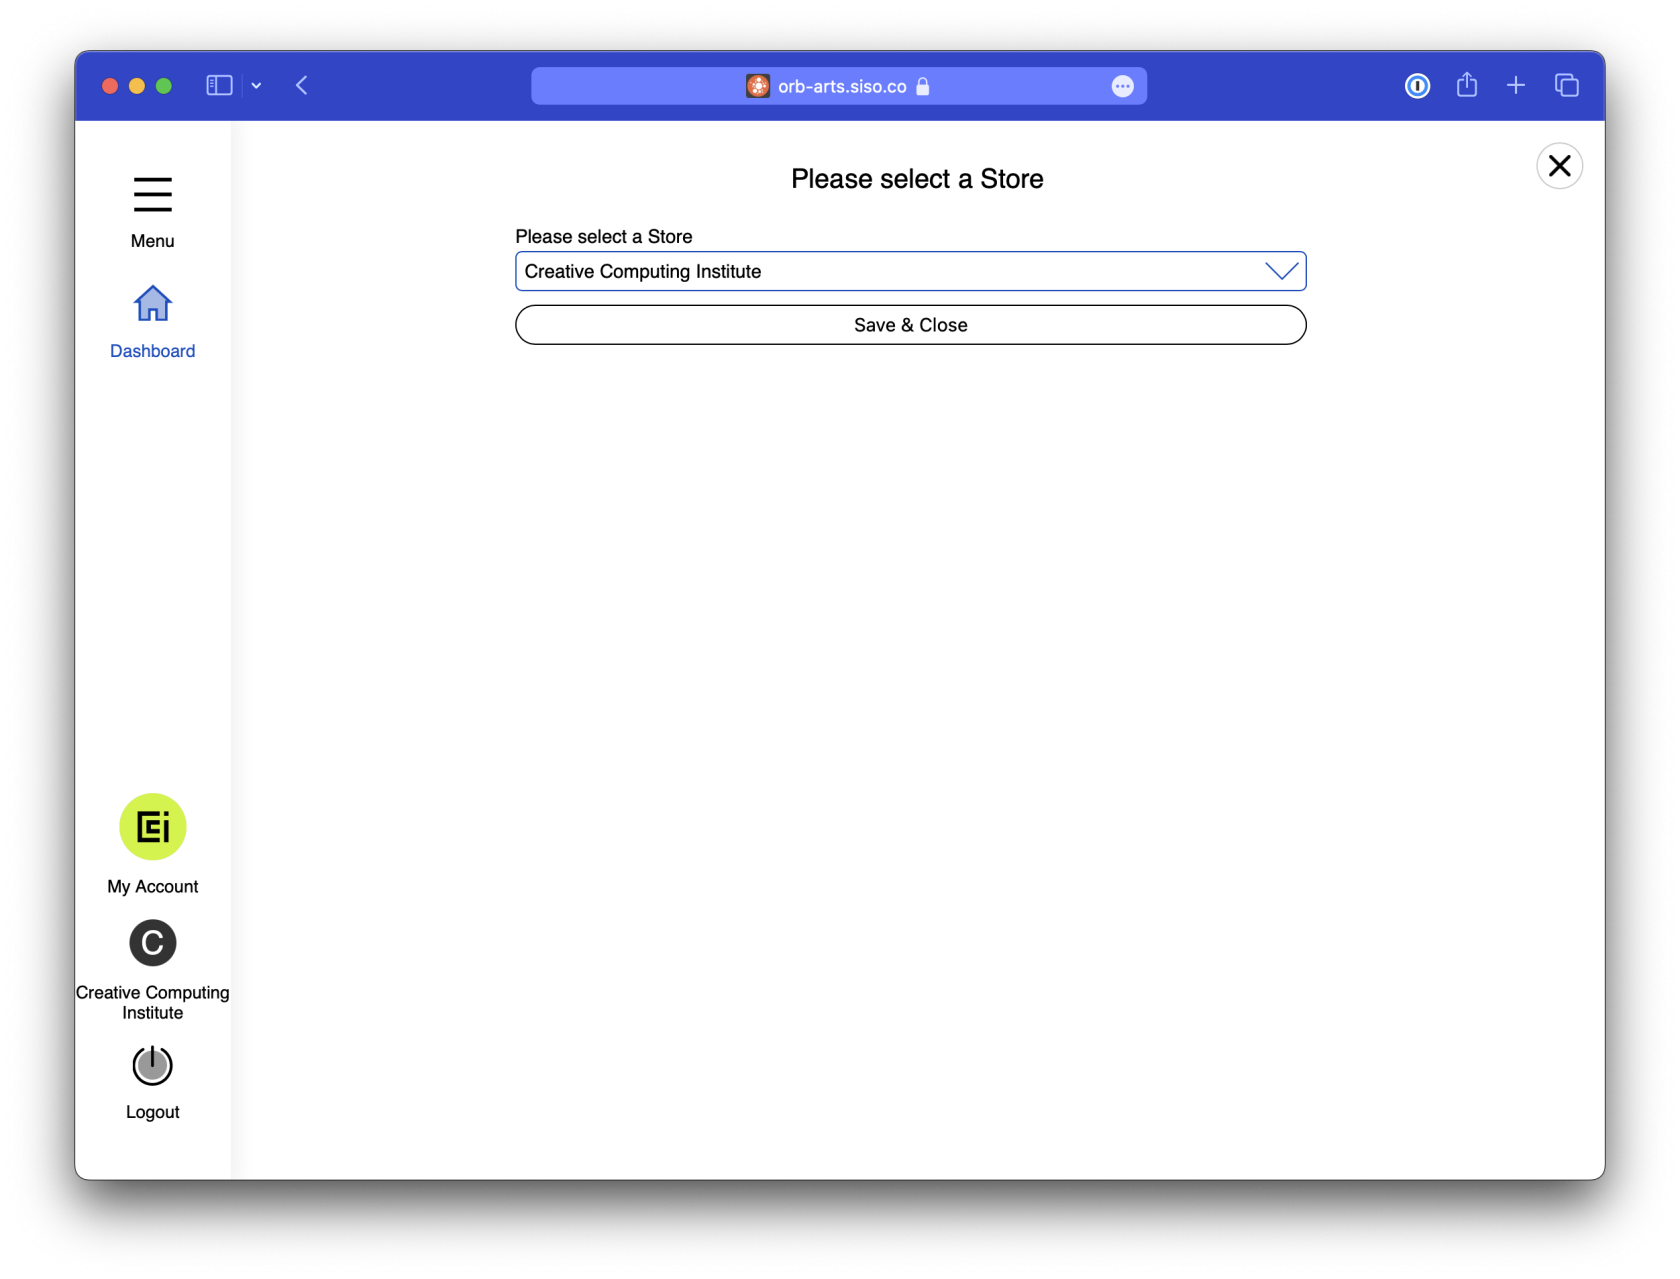
How to change stores
You can change stores by clicking on either of these locations. On the next screen, select the store and press "Save & Close."
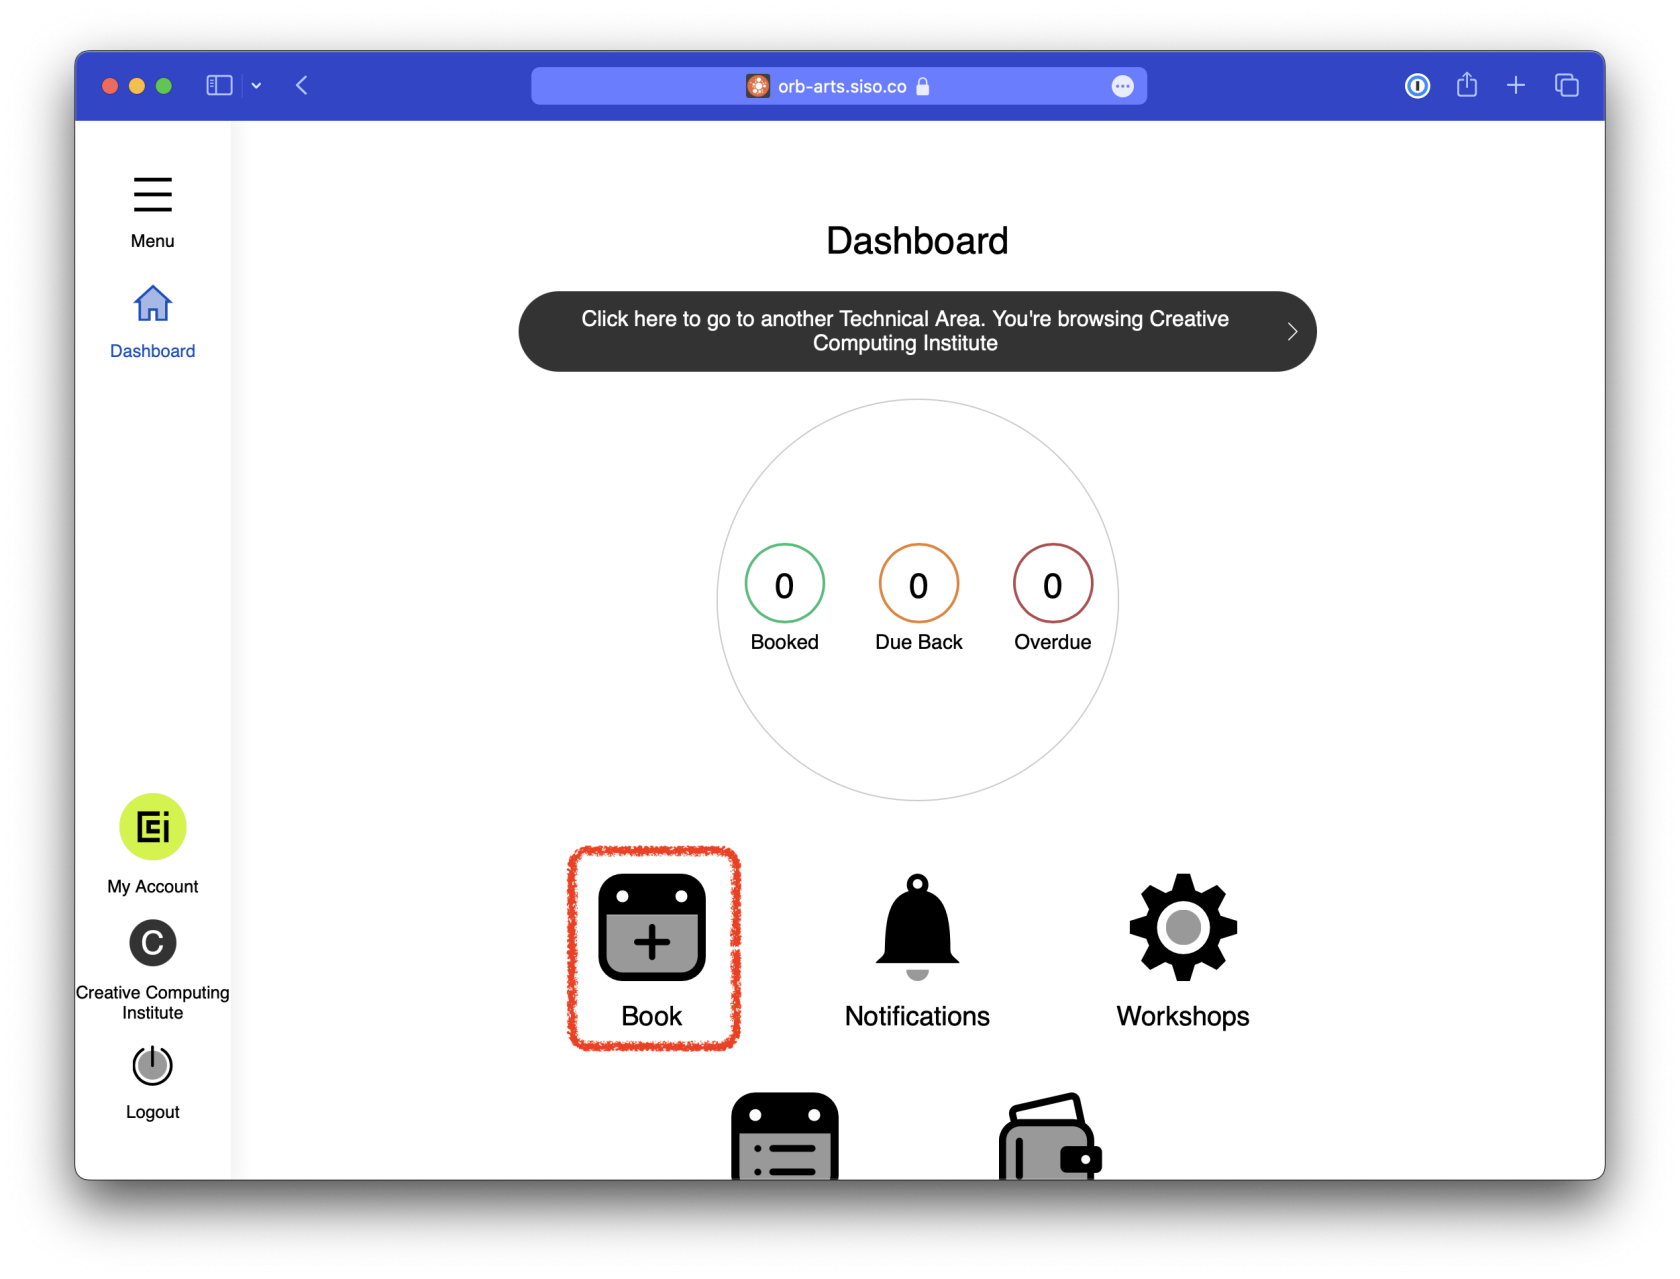
Step 3 – Dashboard
From the Dashboard, when you first log in, click "Book":
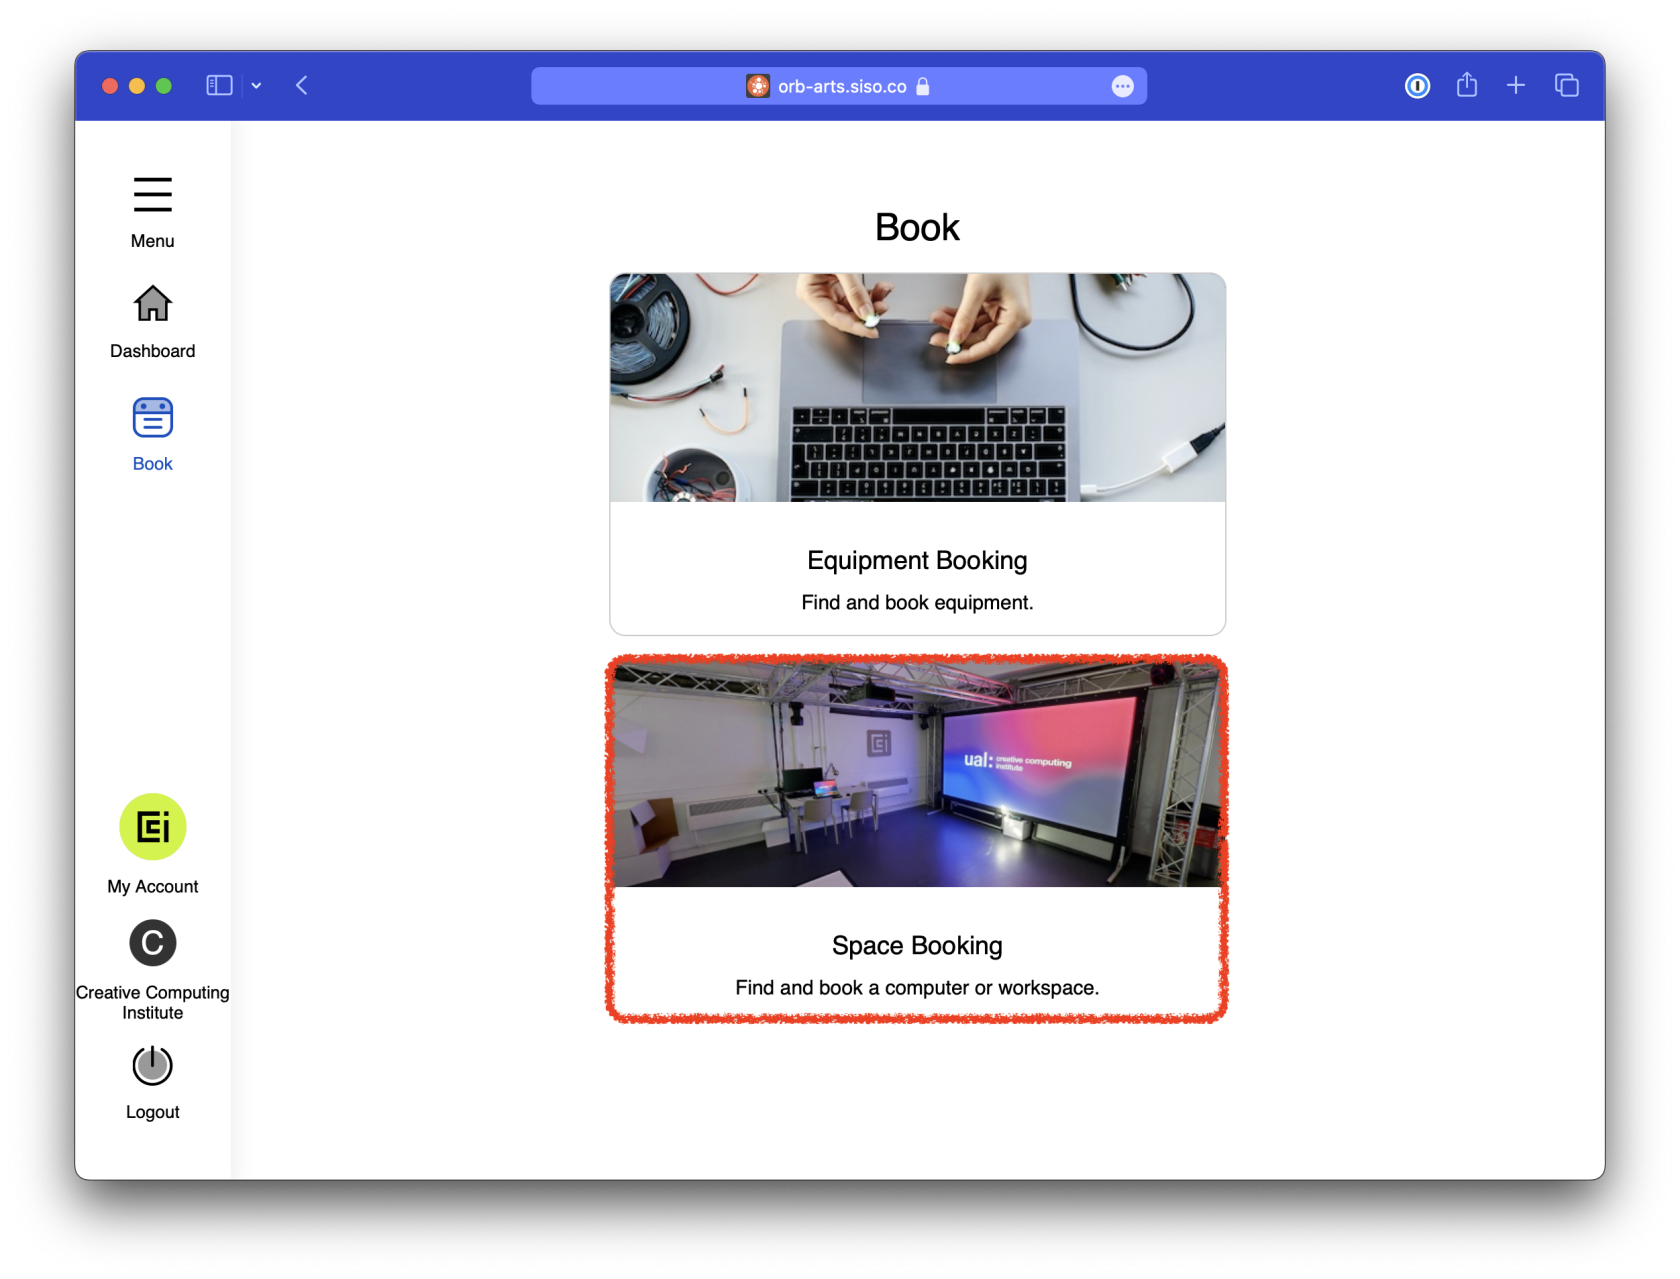
Step 4 – Space Booking
From the next screen, select "Space Booking":
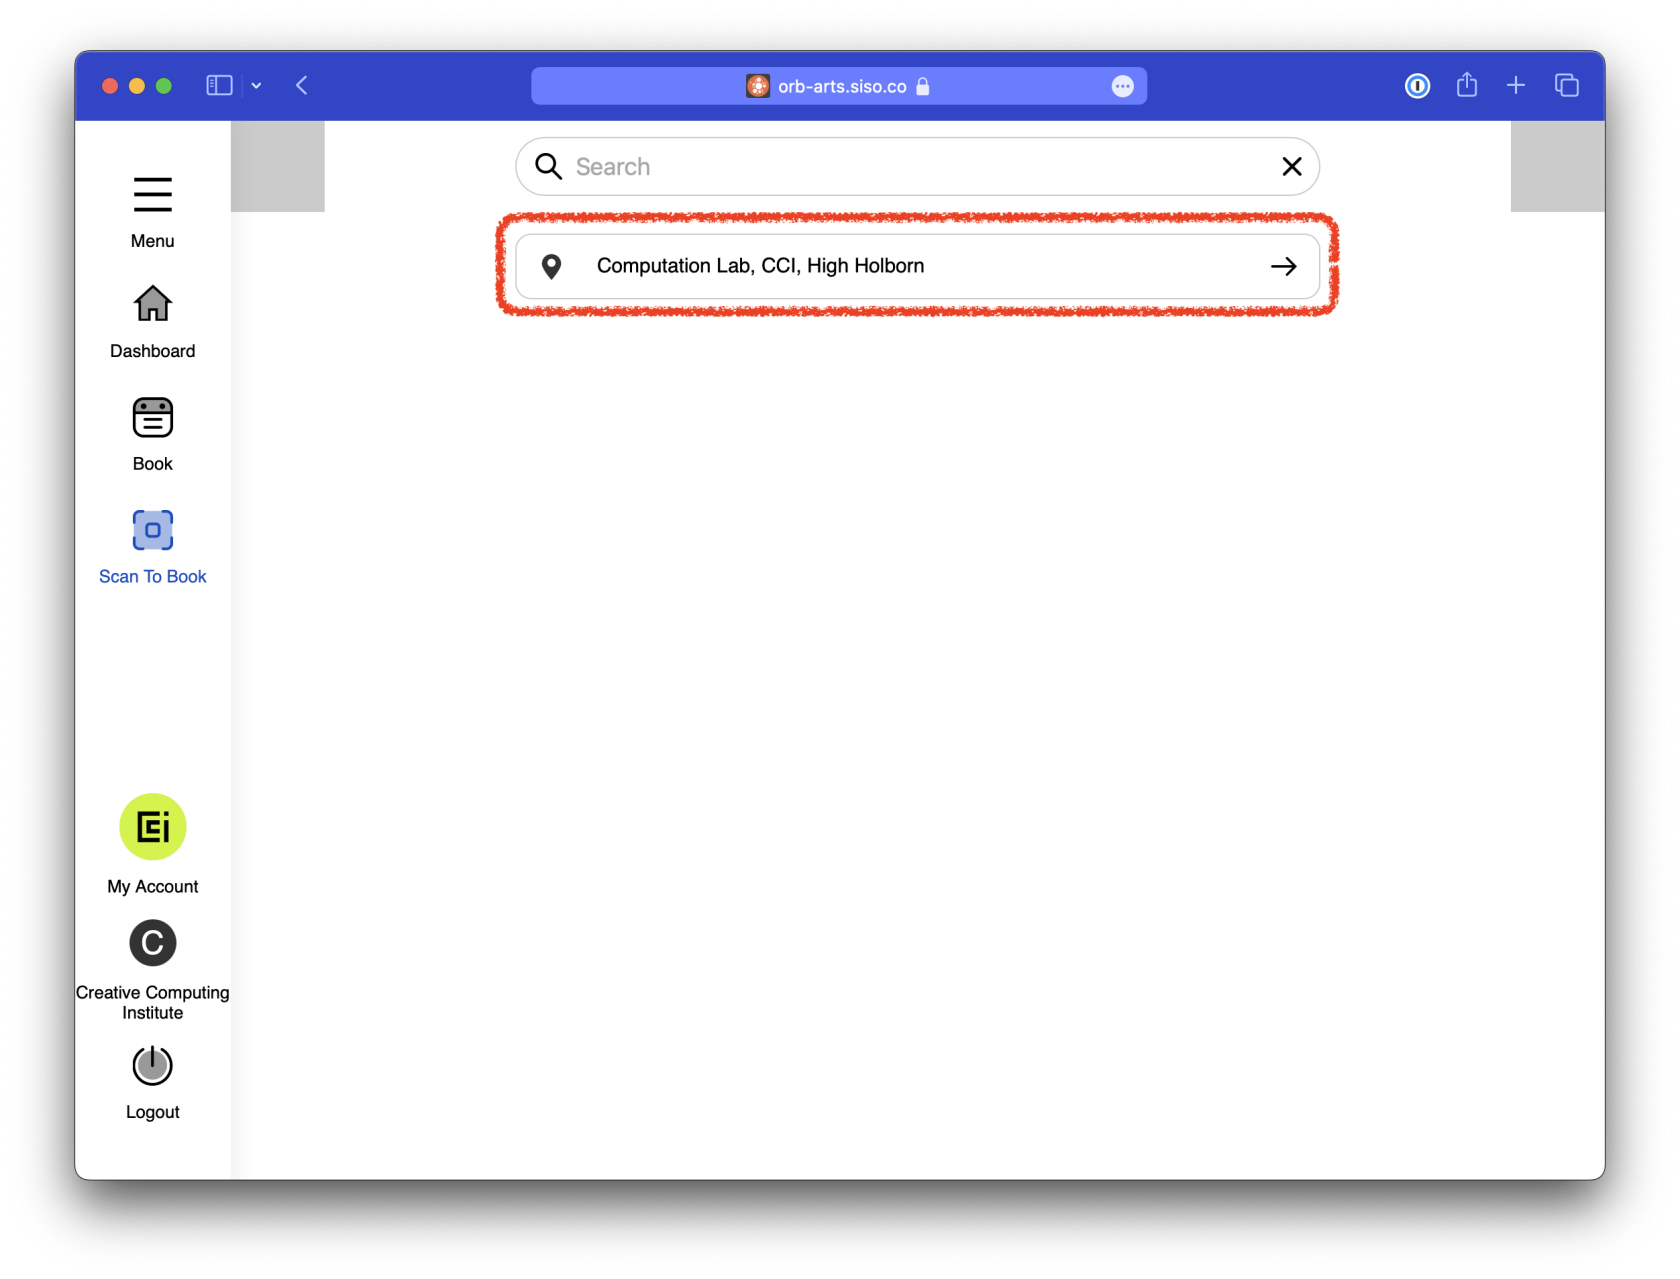
Step 5 – Pick the space
Now you can pick from a list of Technical Resources; not all spaces are bookable; some are just first come, first served.
Step 6 – Booking
Step 6A – Acknowledge the information pop-up
When you view the resource, you may be presented with a pop-up with important information about the resource, read it then close the box:

Step 6B – Select a resource
There are 2 ways to pick your resource. By default, you will see the "Asset List," which is a scrollable list of resources and times for a given day.
In most spaces, you can also switch to the "Floor Plan" view, select a specific resource and then see its availability for the given day.
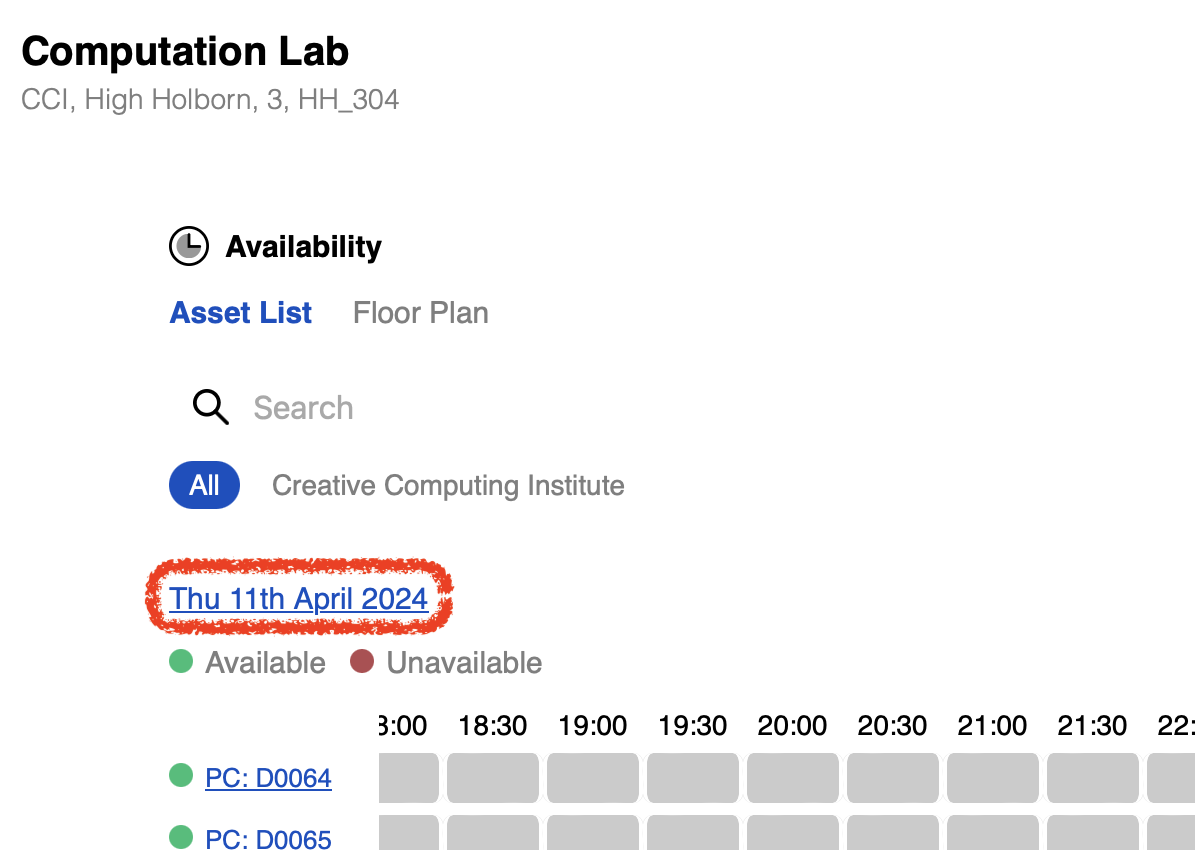
Step 6C – Selecting a day
You can click on the blue underlined date to change to another day, by default, it will show the current date:
Step 6D – Selecting a time range
You can drag the time range around left and right by pressing and holding; this can be confusing on a computer as it doesn't scroll left and right with your mouse or trackpad.
To select a time, click one on the start time, scroll (drag) to the end time, and again click once on that. The time will be highlighted in blue:
Step 6E – Confirm
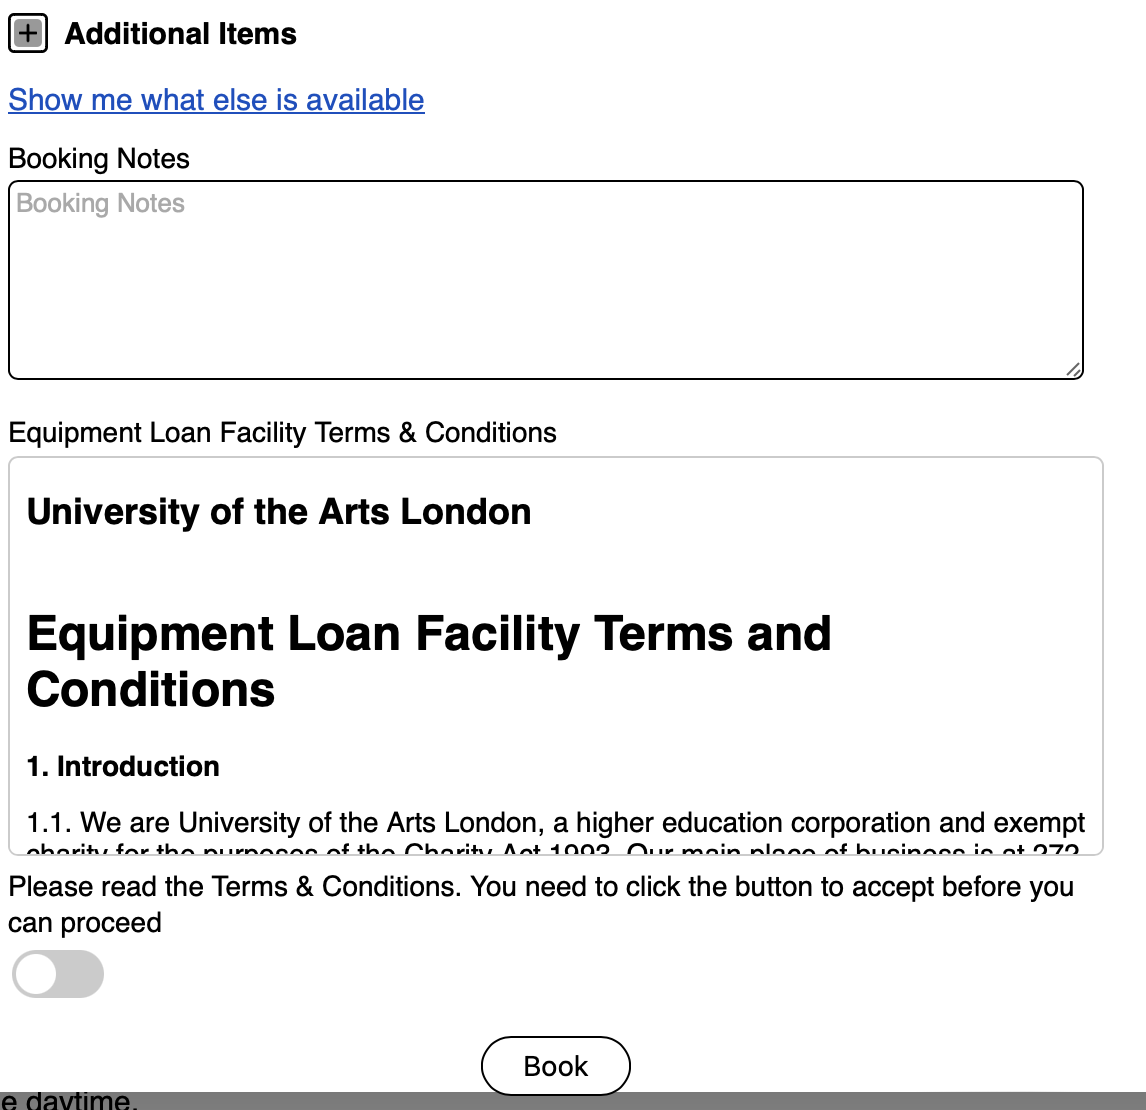
If you are on the Asset List, press Book after you've selected the time.
You must now read and agree to the ORB Terms and Conditions:
Step 6F – Errors
Each resource has a different set of rules, for how near your booking can be, how many you can book at once, and for how long.
If your booking violates these rules, you'll get an error explaining that and will need to adjust accordingly:

Step 6G – Finished
You'll get a green tick confirming your booking.
More information about the resource
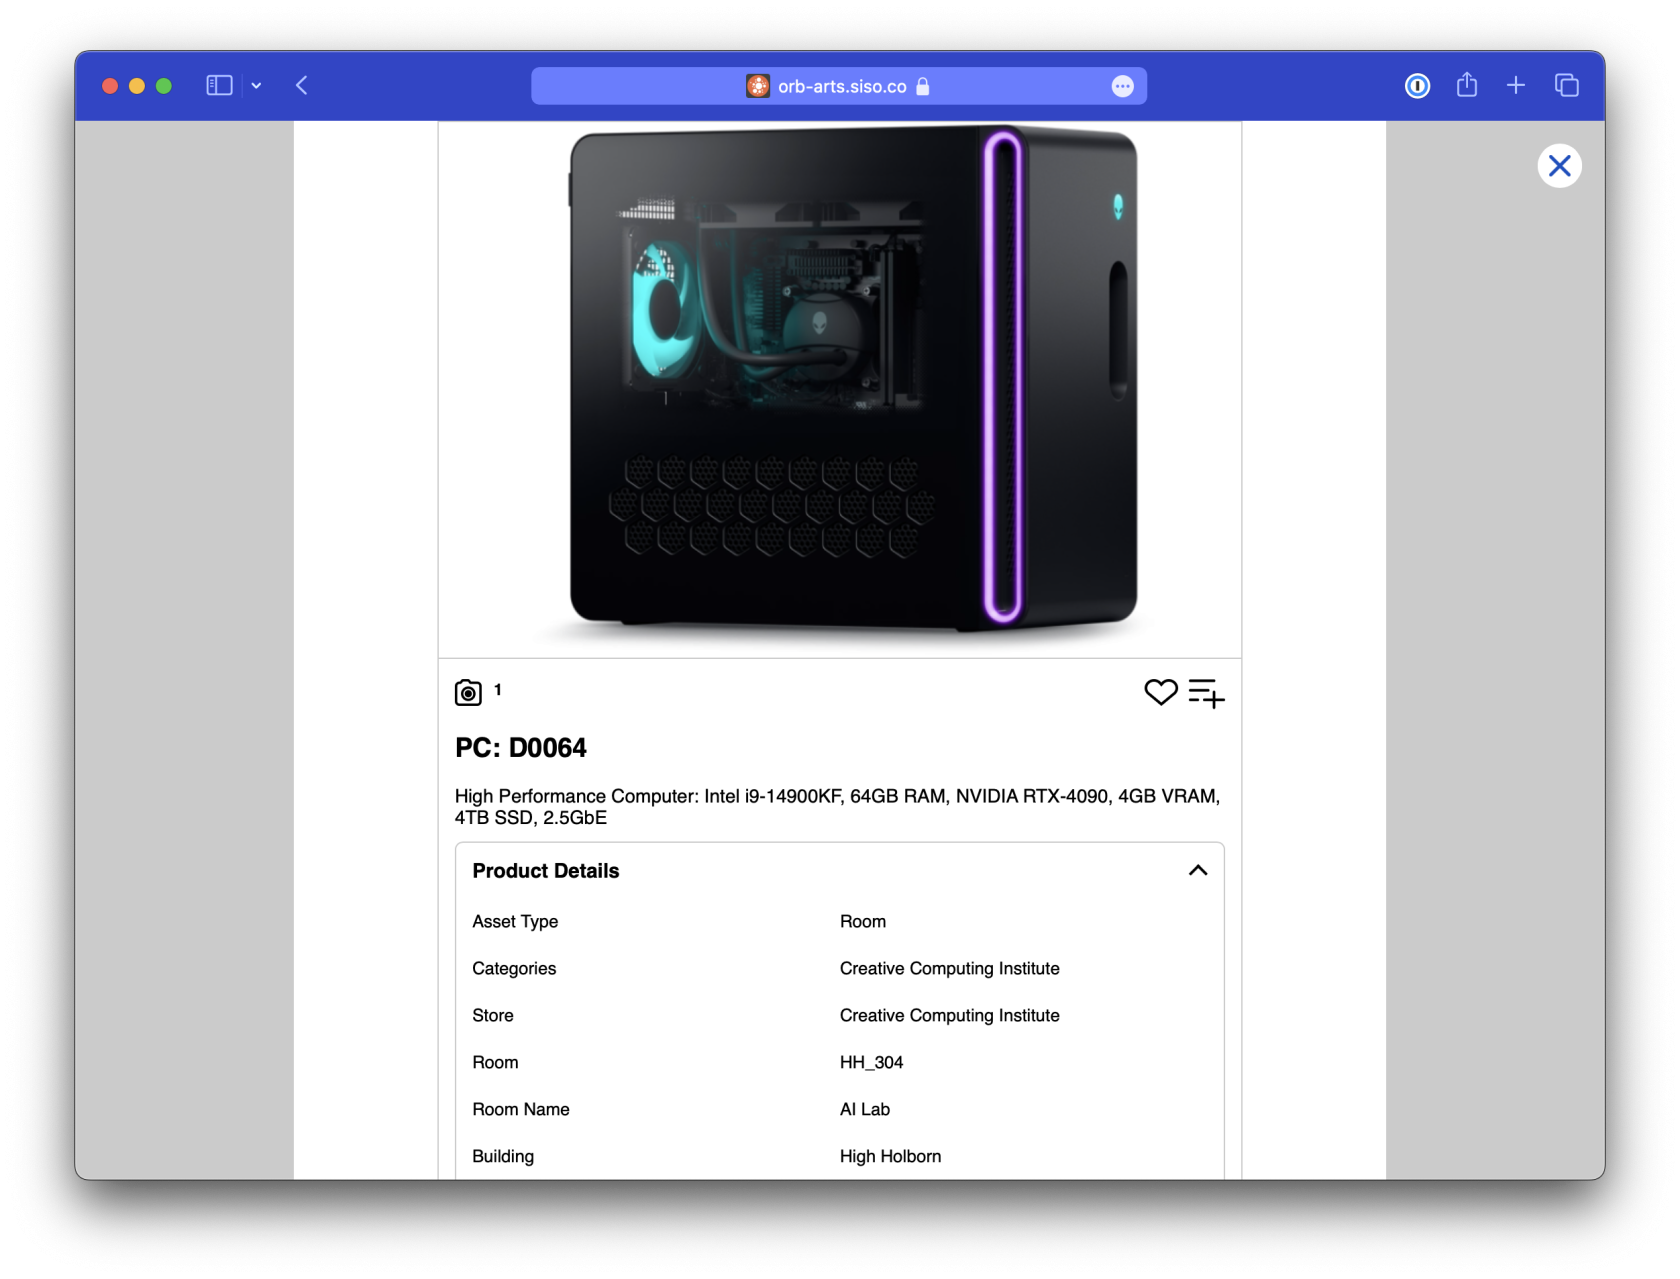
In the Asset List, you can click the blue underlined resource names to create a focused timeline and a picture of the item.
This is the same as clicking on the item in the Floor Plan view:
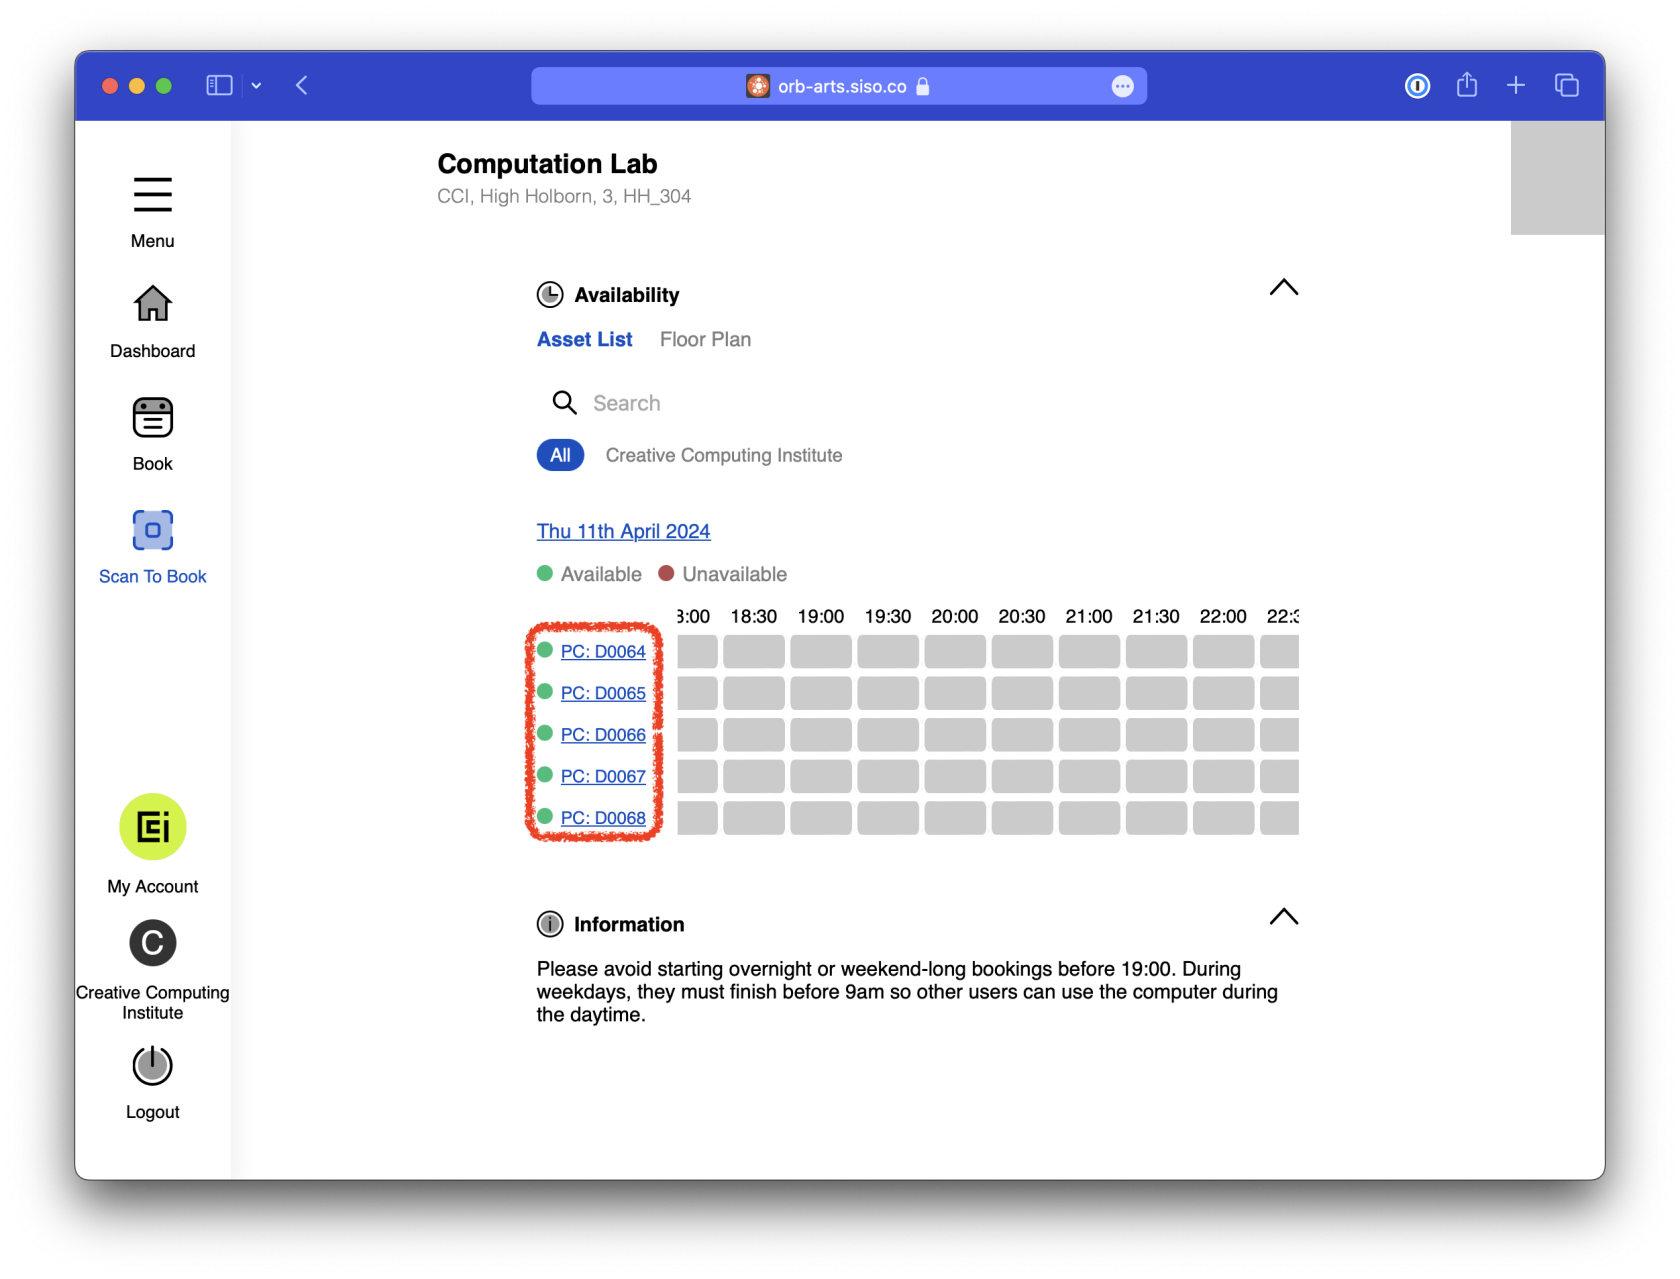
From here, if you click the name again in ORB, it will bring up even more information about the item:
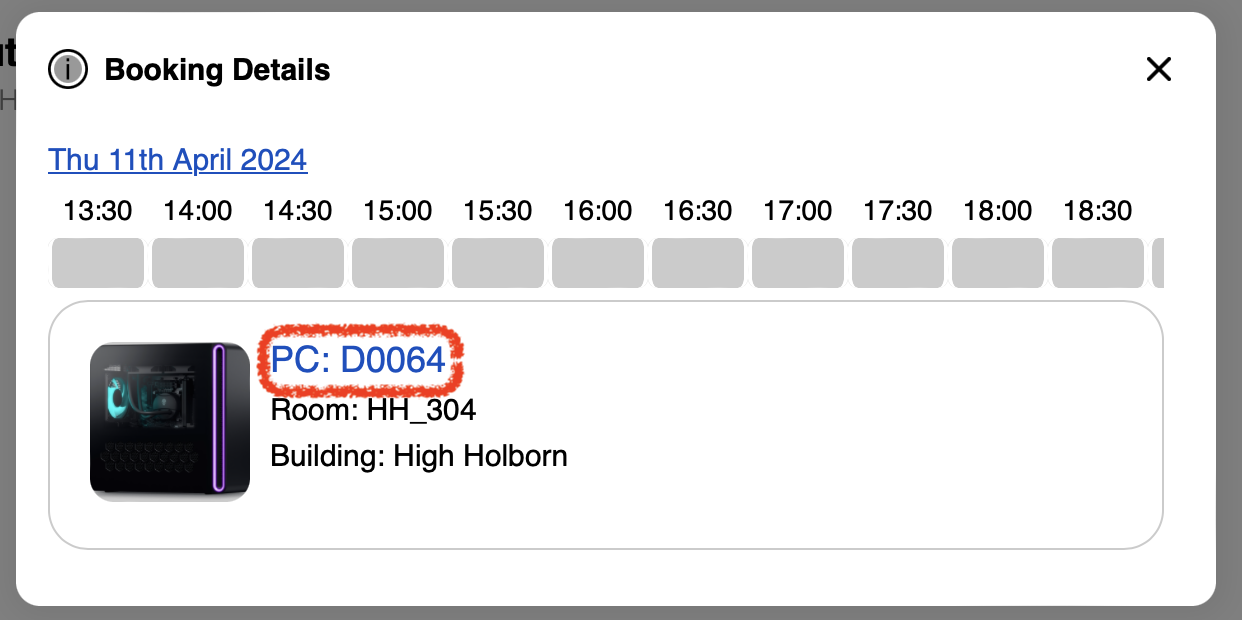
Which looks like this:
