Using NAO V6
Broken: NAO V6 is currently not functional due to unknown boot issues.
Usage Guidelines
- Please read NAO's pocket guide before using the robot. This can be found in the box with NAO.
- Be careful when picking up NAO, do not place your hands and fingers near the joints or between the limbs as you could be pinched
- Do not pull NAO by the head, arms or legs as that might damage the joints.
- NAO's fingers are fragile. do not pull on them as they might come off.
- NAO is designed for indoor use only.
- Keep NAO away from radiators, open flames and heat sources.
- Do not expose NAO to dust, sand and moisture.
- NAO is not a doll, therefore do not put any kind of clothing accessory, makeup or paint on the robot.
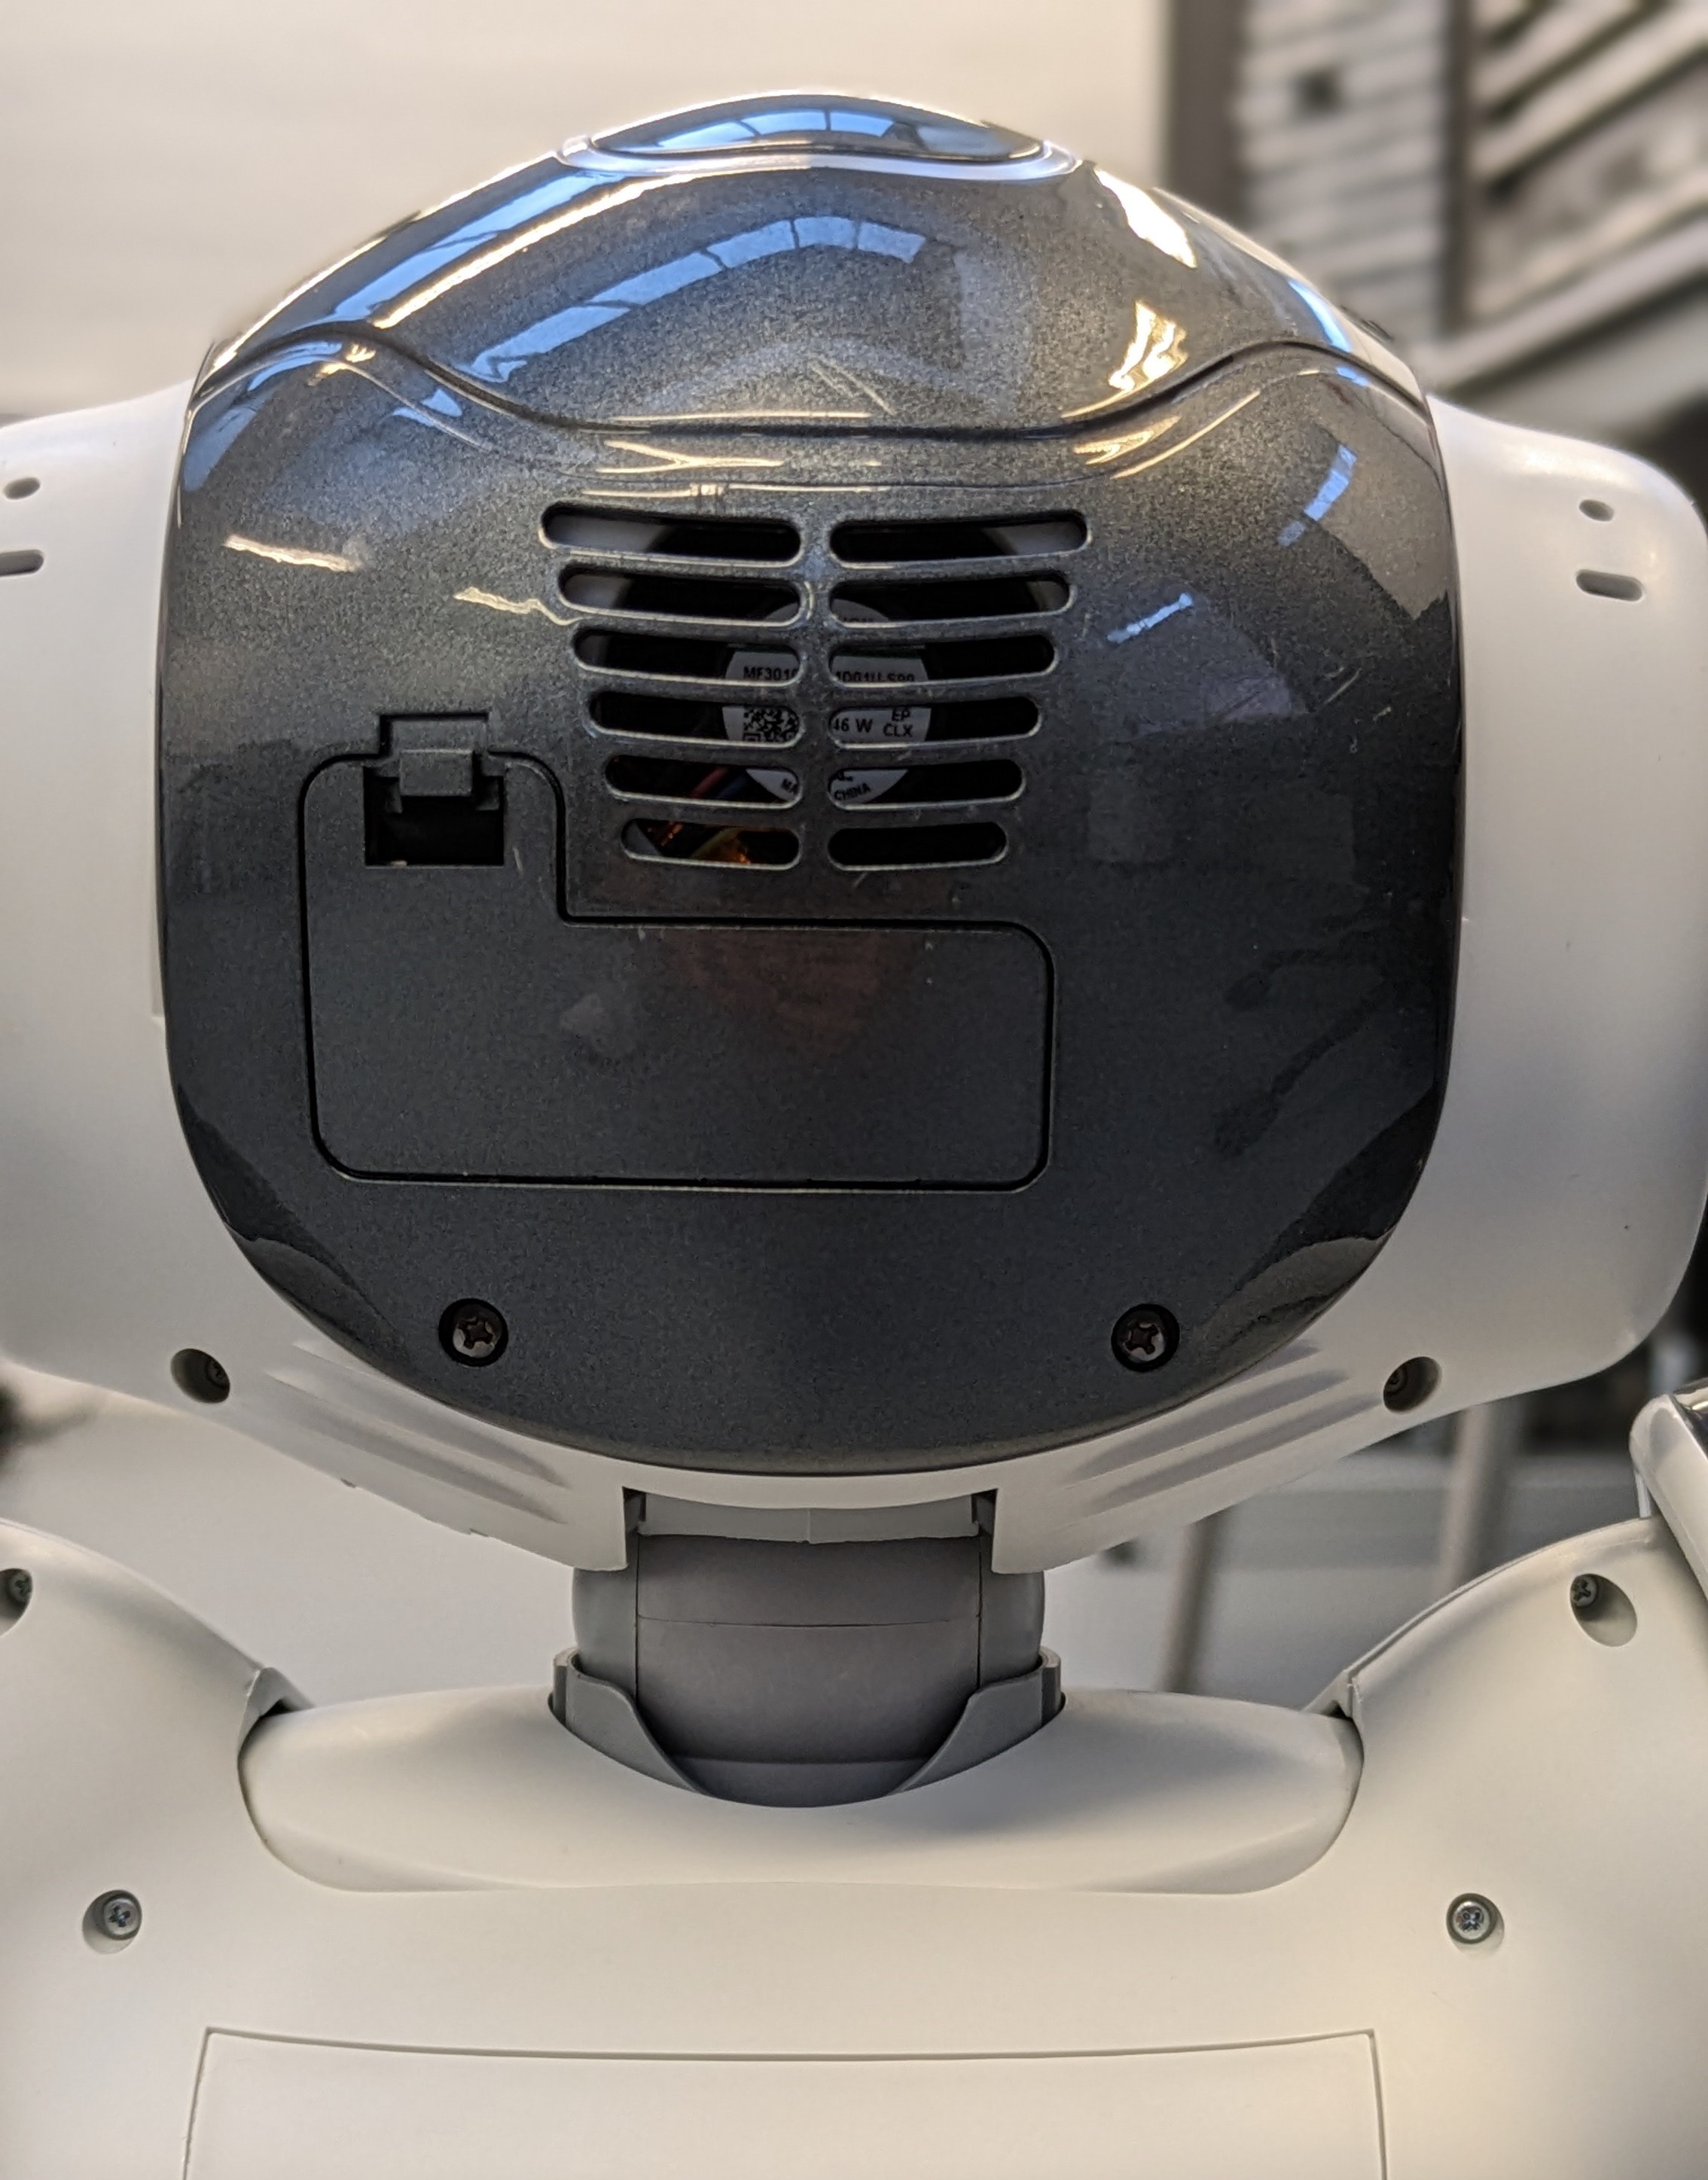
- Never cover the head, in particular the air vent at the back of the robot's head.
- Do not work with NAO on elevated surfaces such as table tops and stairs. If it falls from a height, it will break as it is only capable of withstanding falls from its own height.
- When working with NAO, make sure it is used on a flat surface and provide enough space for it to move around.
- Do not touch or move NAO when it is booting up as this could cause errors.
- Do not use NAO on a rug or thick carpet, as it might fall.
- Please ensure to repack NAO into its box after use.
What is it?
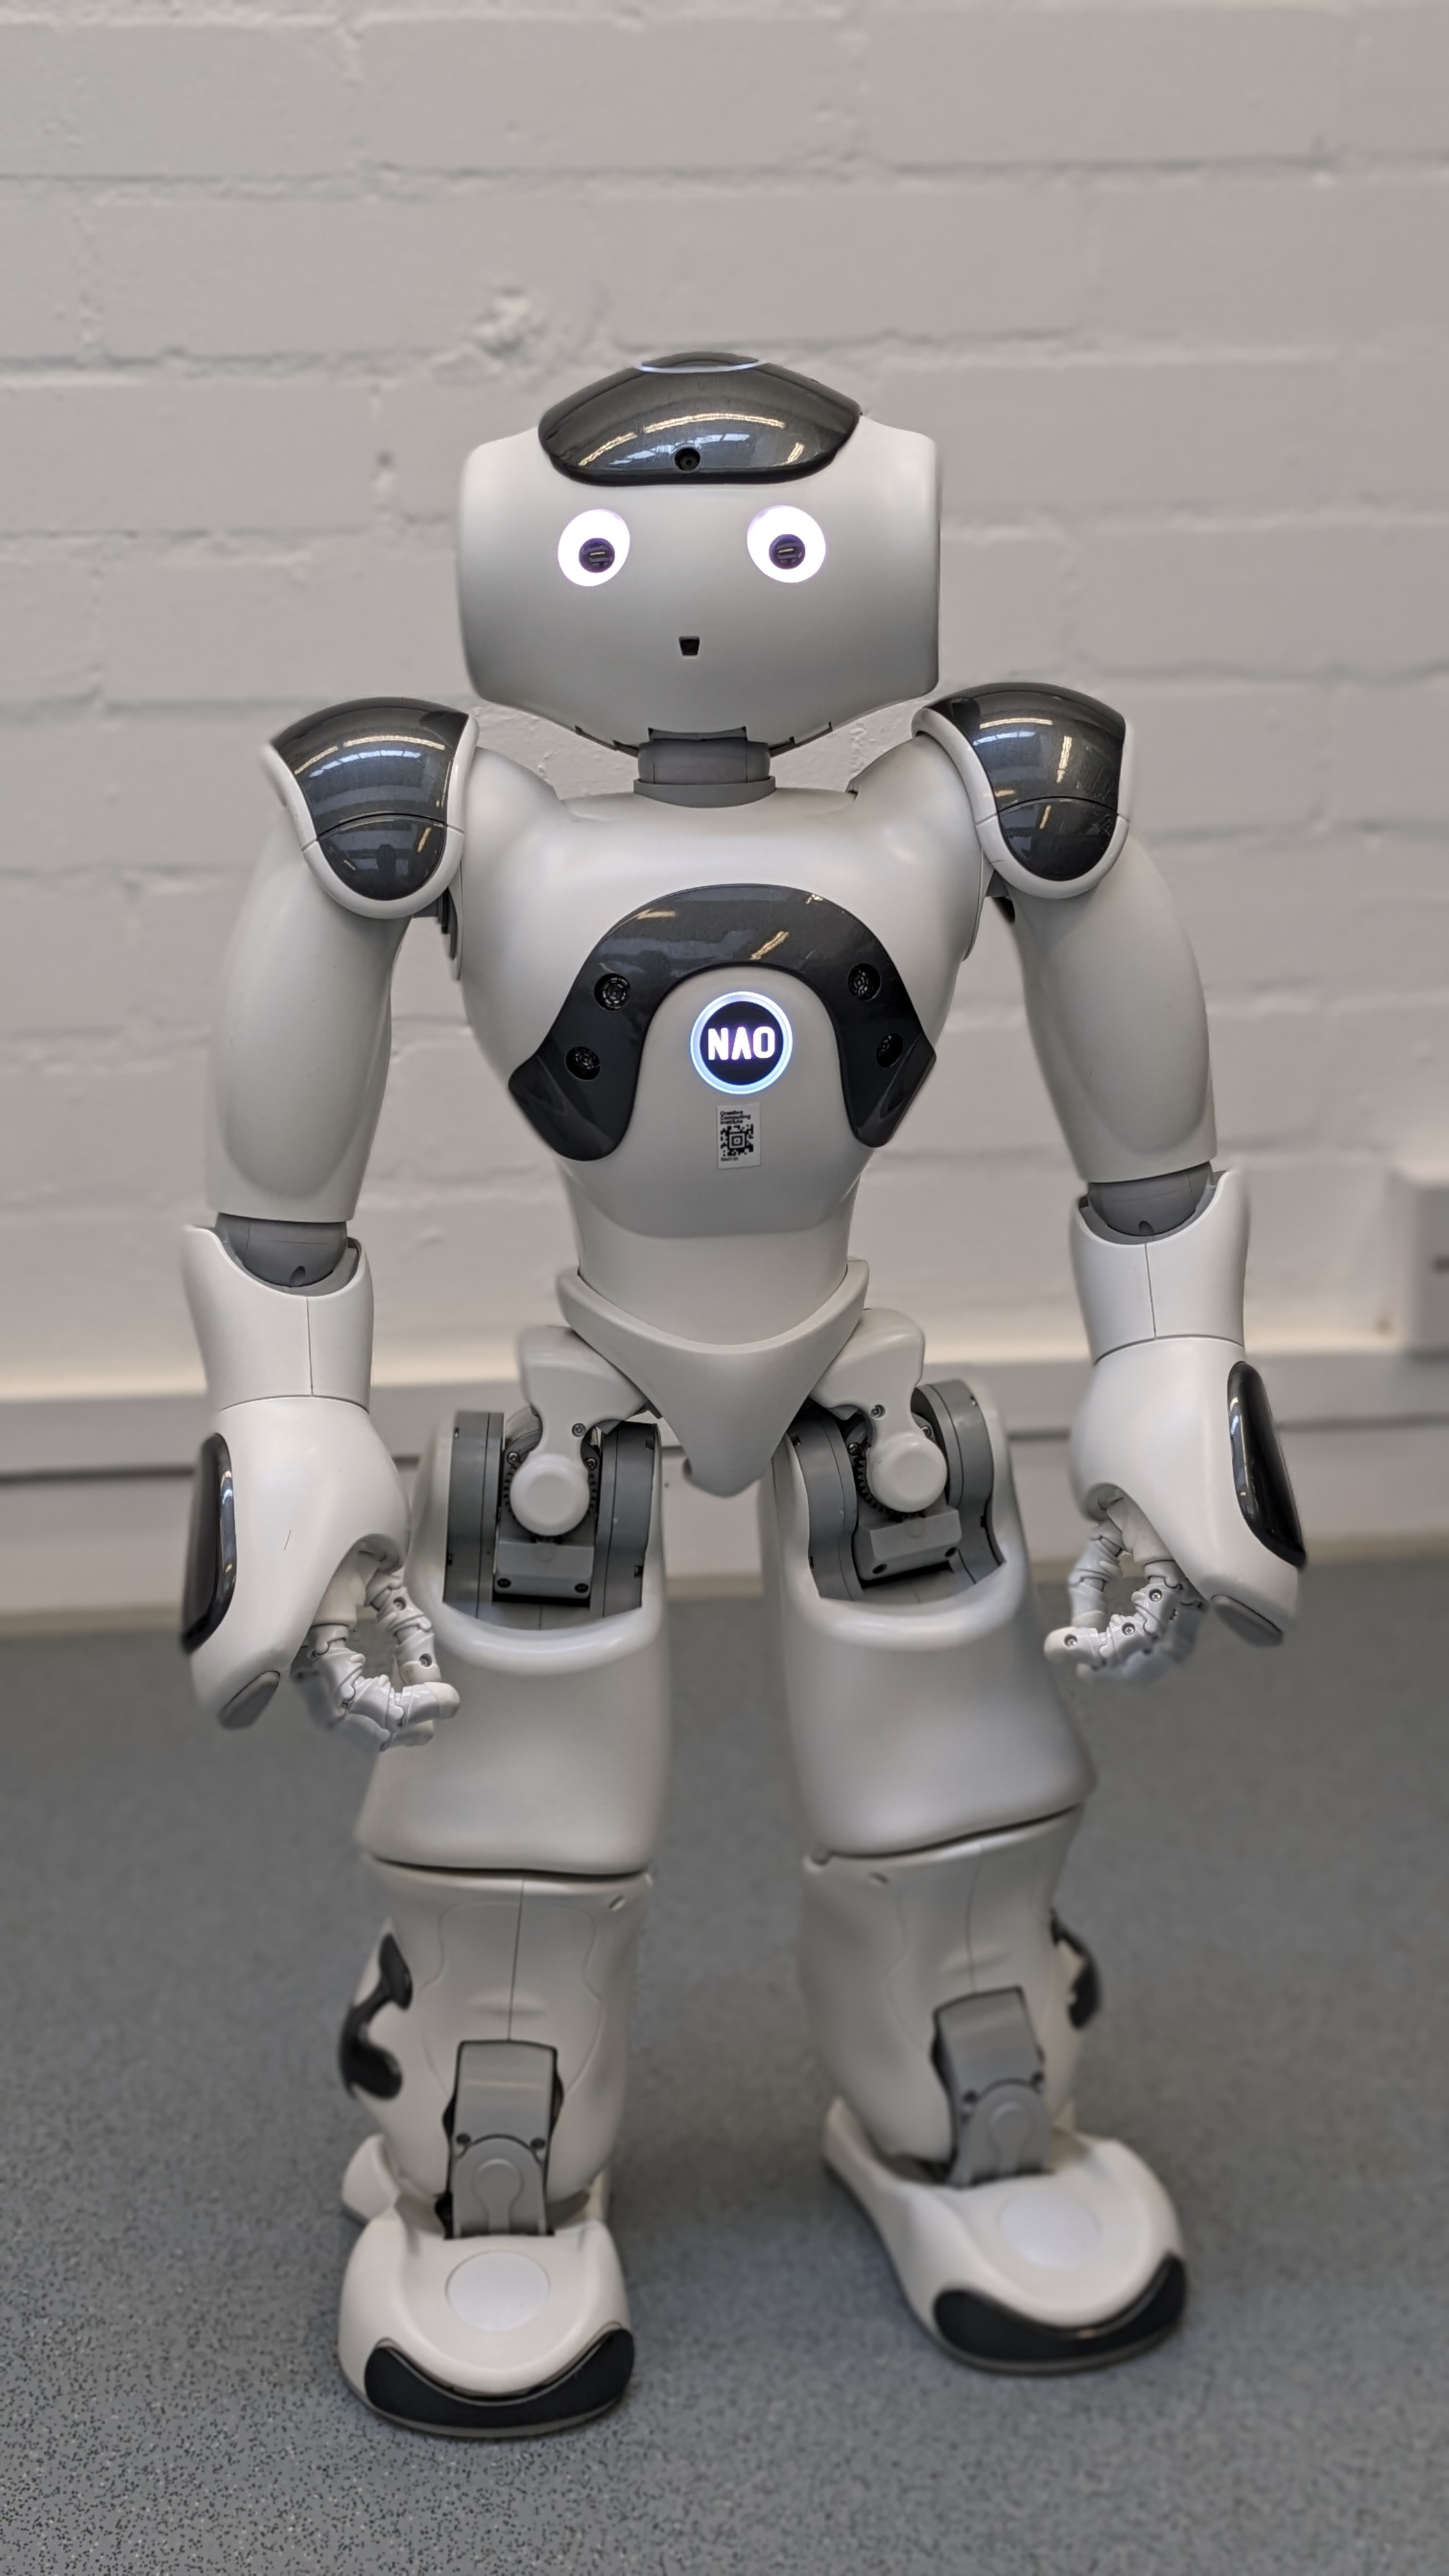
NAO (V6) is the latest iteration of the NAO robot series. It is a humanoid robot that provides a blend of interactive features, mobility, and programmability that makes it a versatile tool for education, research, and entertainment. It is equipped with a variety of sensors, motors, and a sophisticated software platform that supports a wide array of functionalities and applications.
What can it do?
- Interact with people: It is equipped with voice recognition and speech synthesis capabilities, which enables it to engage in conversations, respond to questions, and execute voice commands.
- Recognize Faces and Objects: Thanks to its cameras, NAO can identify individuals and objects, allowing for personalised interactions and the ability to navigate most environments intelligently.
- Perform Physical Tasks: With articulated limbs and precise motor control, it can walk, dance, gesture, and even play Football, showcasing its physical capabilities.
- Teach Programming and Robotics: NAO is widely used as an educational tool, helping students learn coding, robotics principles, and AI through hands-on experience.
- Assist in Research: Researchers utilize NAO for experiments in human-robot interaction, cognitive computing, and more, benefiting from its advanced features to test theories and models.Assist in Research: Researchers utilize NAO V6 for experiments in human-robot interaction, cognitive computing, and more, benefiting from its advanced features to test theories and models.
- Provide Entertainment: With its ability to perform and interact, NAO is also used in events and performances, entertaining audiences with its movements and responses.
Getting started
Unpacking and Reboxing
To learn how to unpack and rebox Nao, click here
Software requirements
You will need to download the following software to configure and programe NAO.
- Robot Settings - This software allows you to configure NAO's settings.
- Choregraphe - This software allows tou to programe NAO.
Try downlaoding and installing the setup version these software, if that doesn't work, try the binaries.
You can find these software here
Power on/off
Power on
To power on the robot, press the Chest button once. The chest button is the big circular button located on the chest of the robot with the text NAO on it. You will see the chest button will start pulsing with a white LED.
The boot process is completed once the robot says "OGNAK GNOUK".
Power off
To power off the robot, make sure it is in a safe position, or it may fall. The safe positions are mentioned in the pocket guide. You could also place a hand on its back to keep it in position.
Press and hold the chest button until it says "GNUK GNUK". The shutdown process is complete when all the LEDS are off.
Disengage NAO's motors
Disengage NAO's motors to:
- pick up NAO
- change its posture
- cool down its motors
To do this, double click the chest button. You will notice, the robot goes to its crouching position. To engage the motors again, simply double click the chest button again.
Connecting to NAO
At the time of writing this documentaiton (27/02/2024), NAO is temporarily configured with Rohit Ramesh Thampy's wifi Hotpot. Therefore, please contact him on Slack or outlook if you'd like to use it.
To connect to NAO through the currently configured wifi hotspot:
-
Connect your laptop/PC to the wifi hotspot.
-
Power on NAO and wait till it is fully booted up.
-
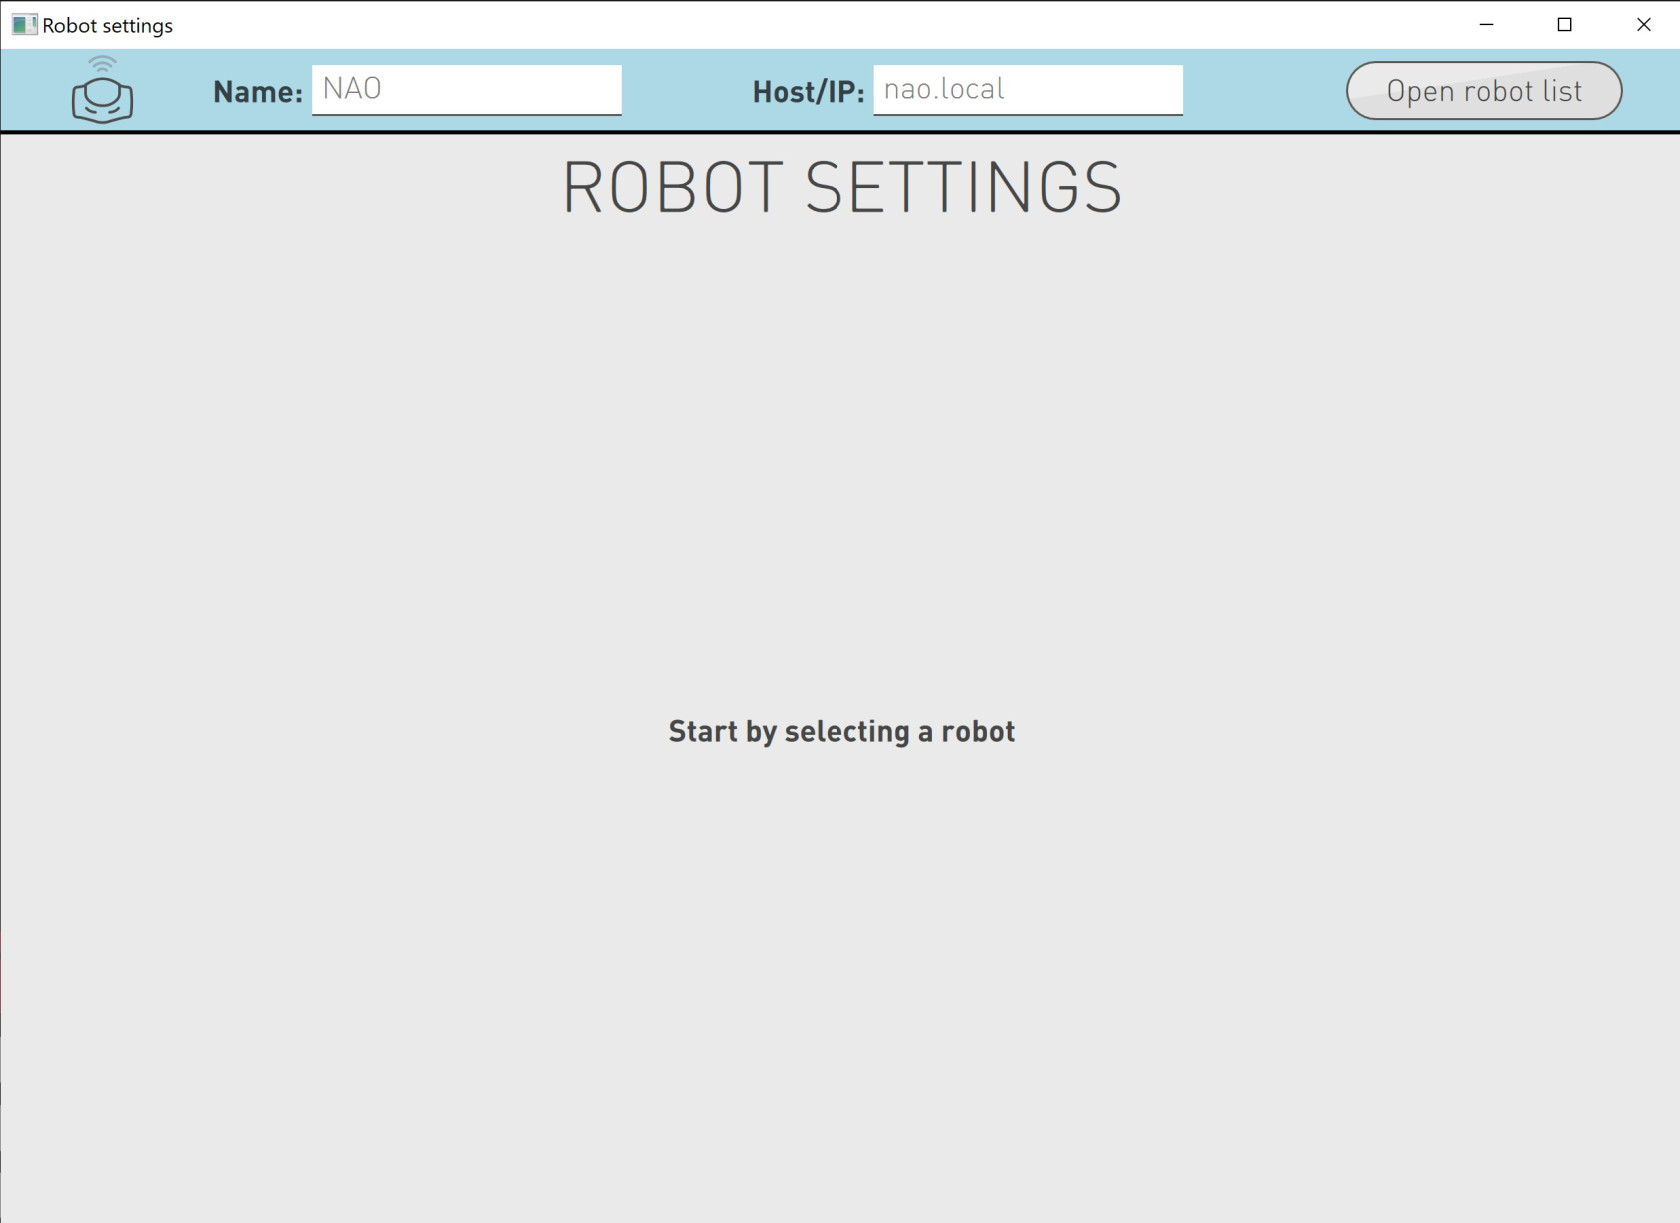
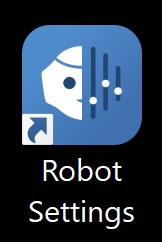
Open Robot Settings, the icon for the app should look like the image below.

-
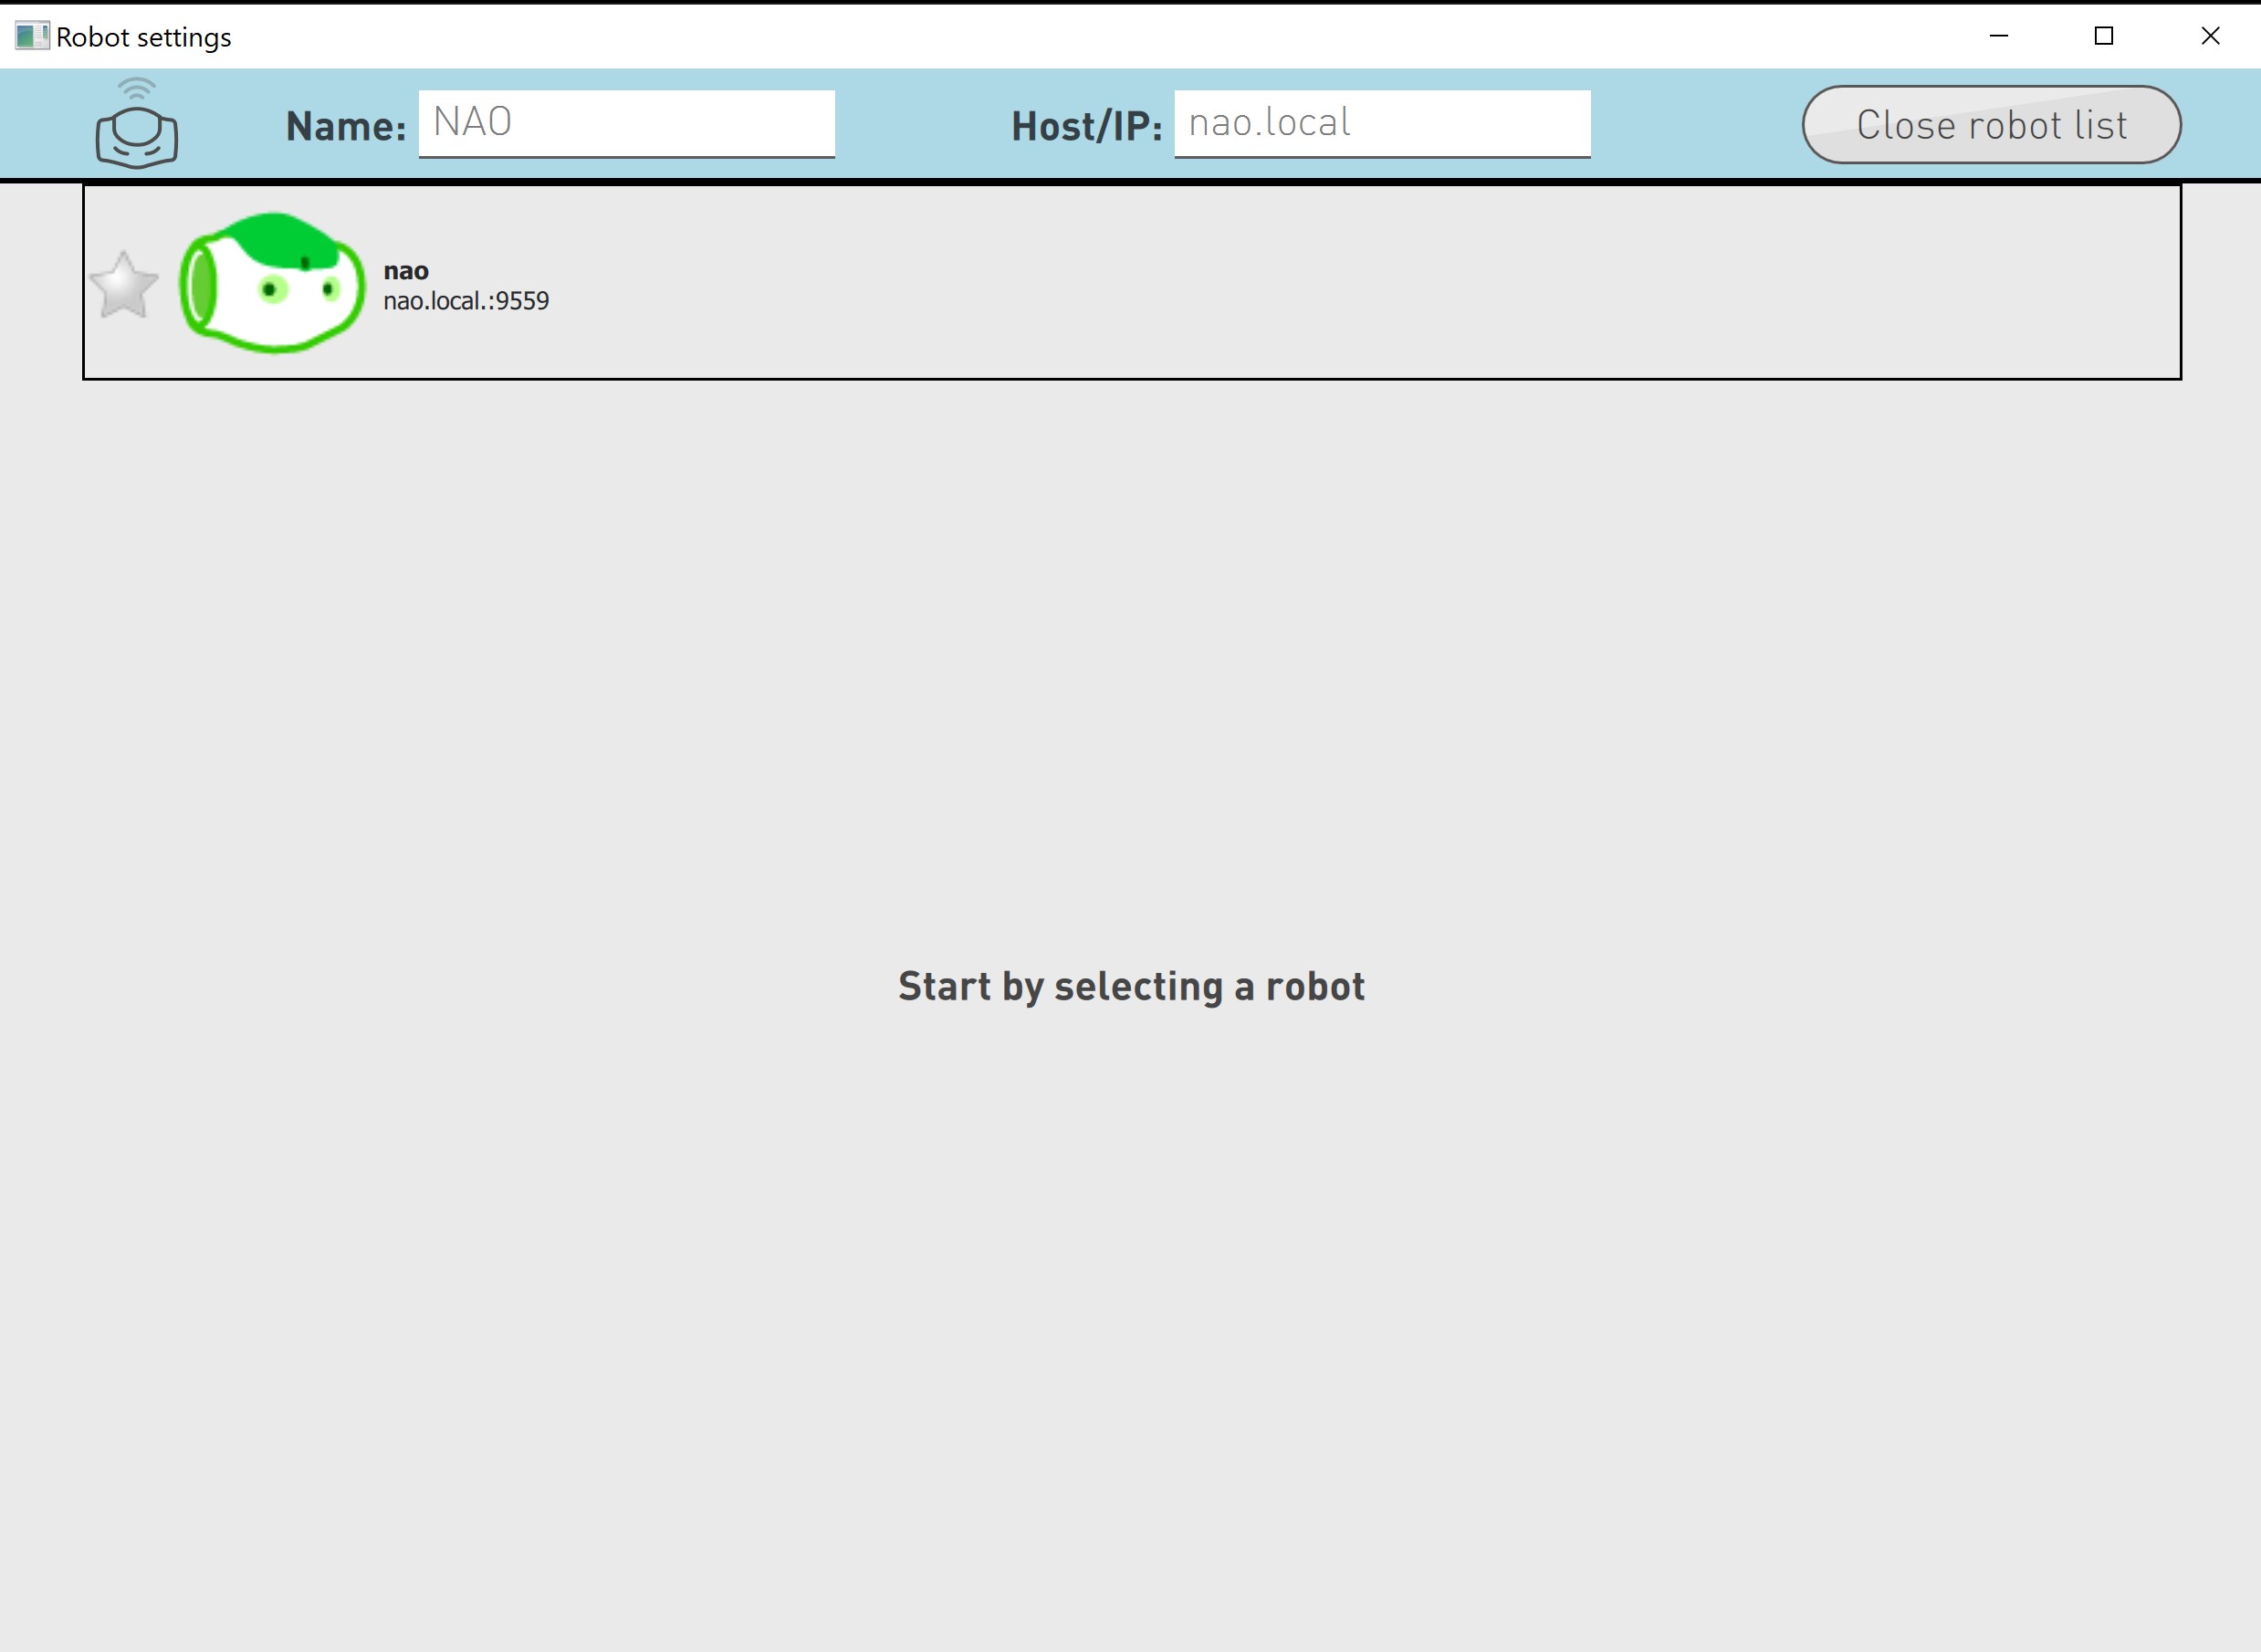
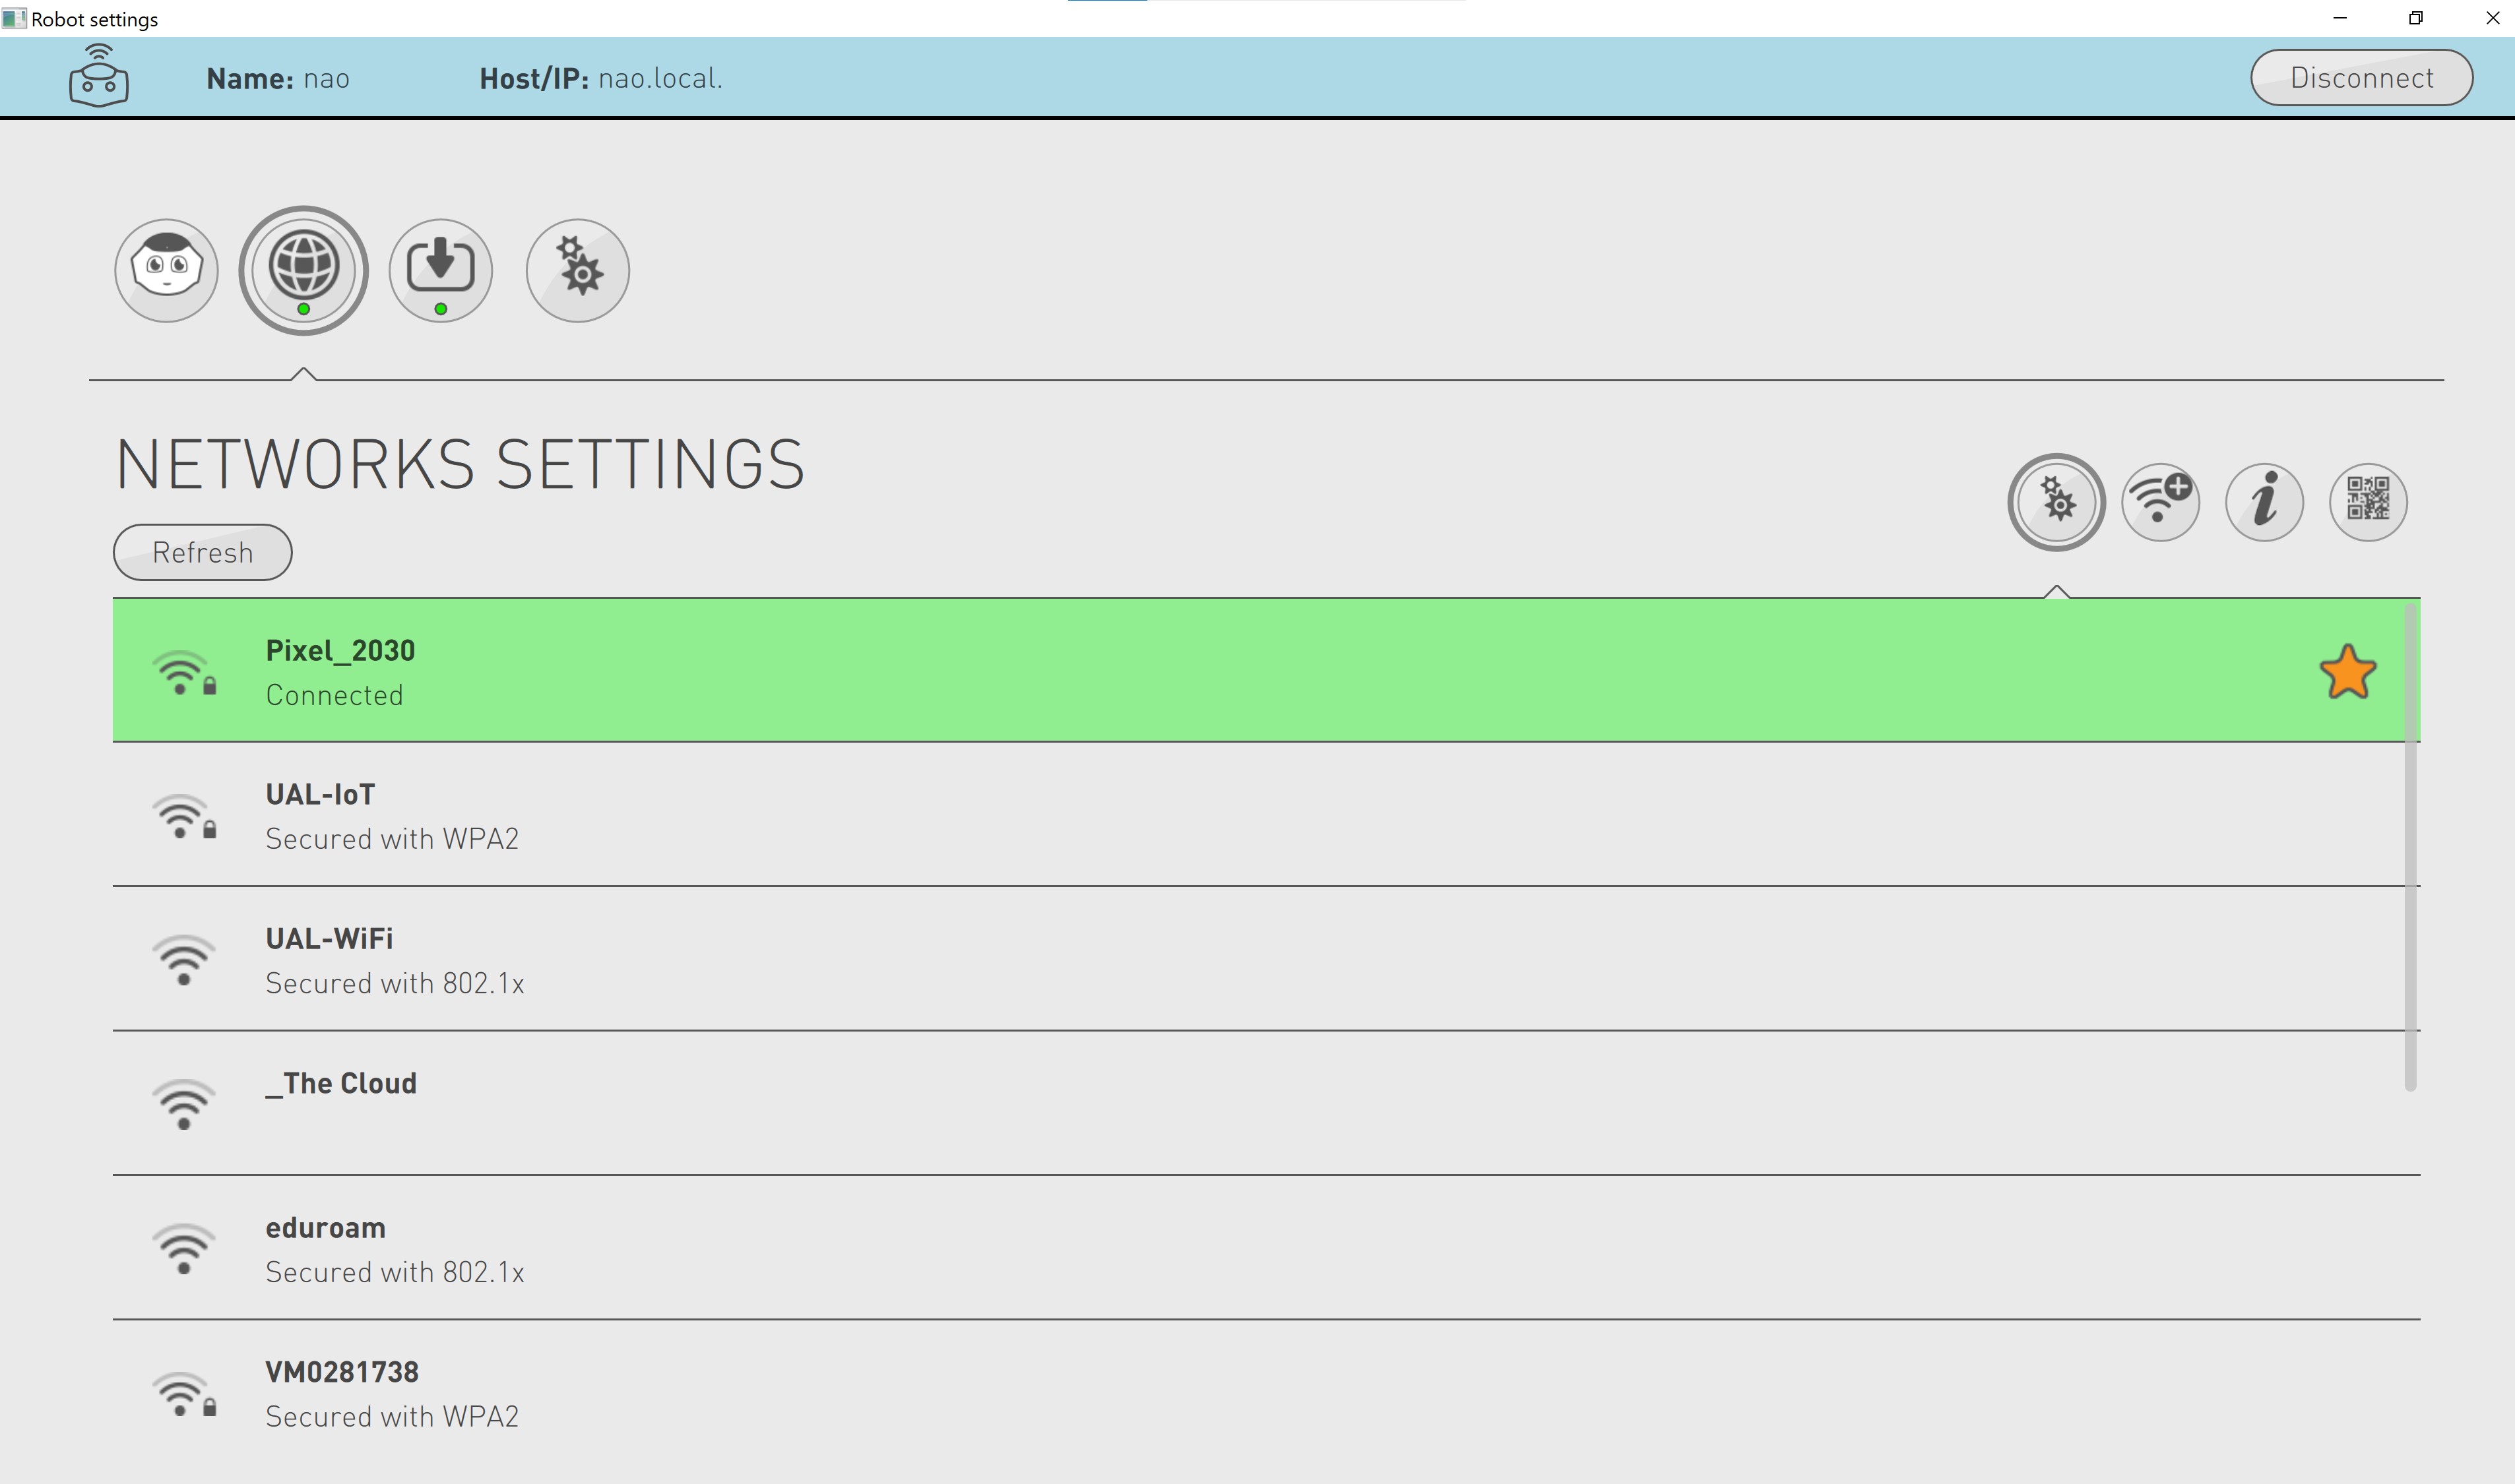
The Robot Settings app looks like the image below.
-
Click on the button that says open robot list, it is located on the top right.
-
This will show you the NAO robots that are available on this network. Click on the one that is available.

-
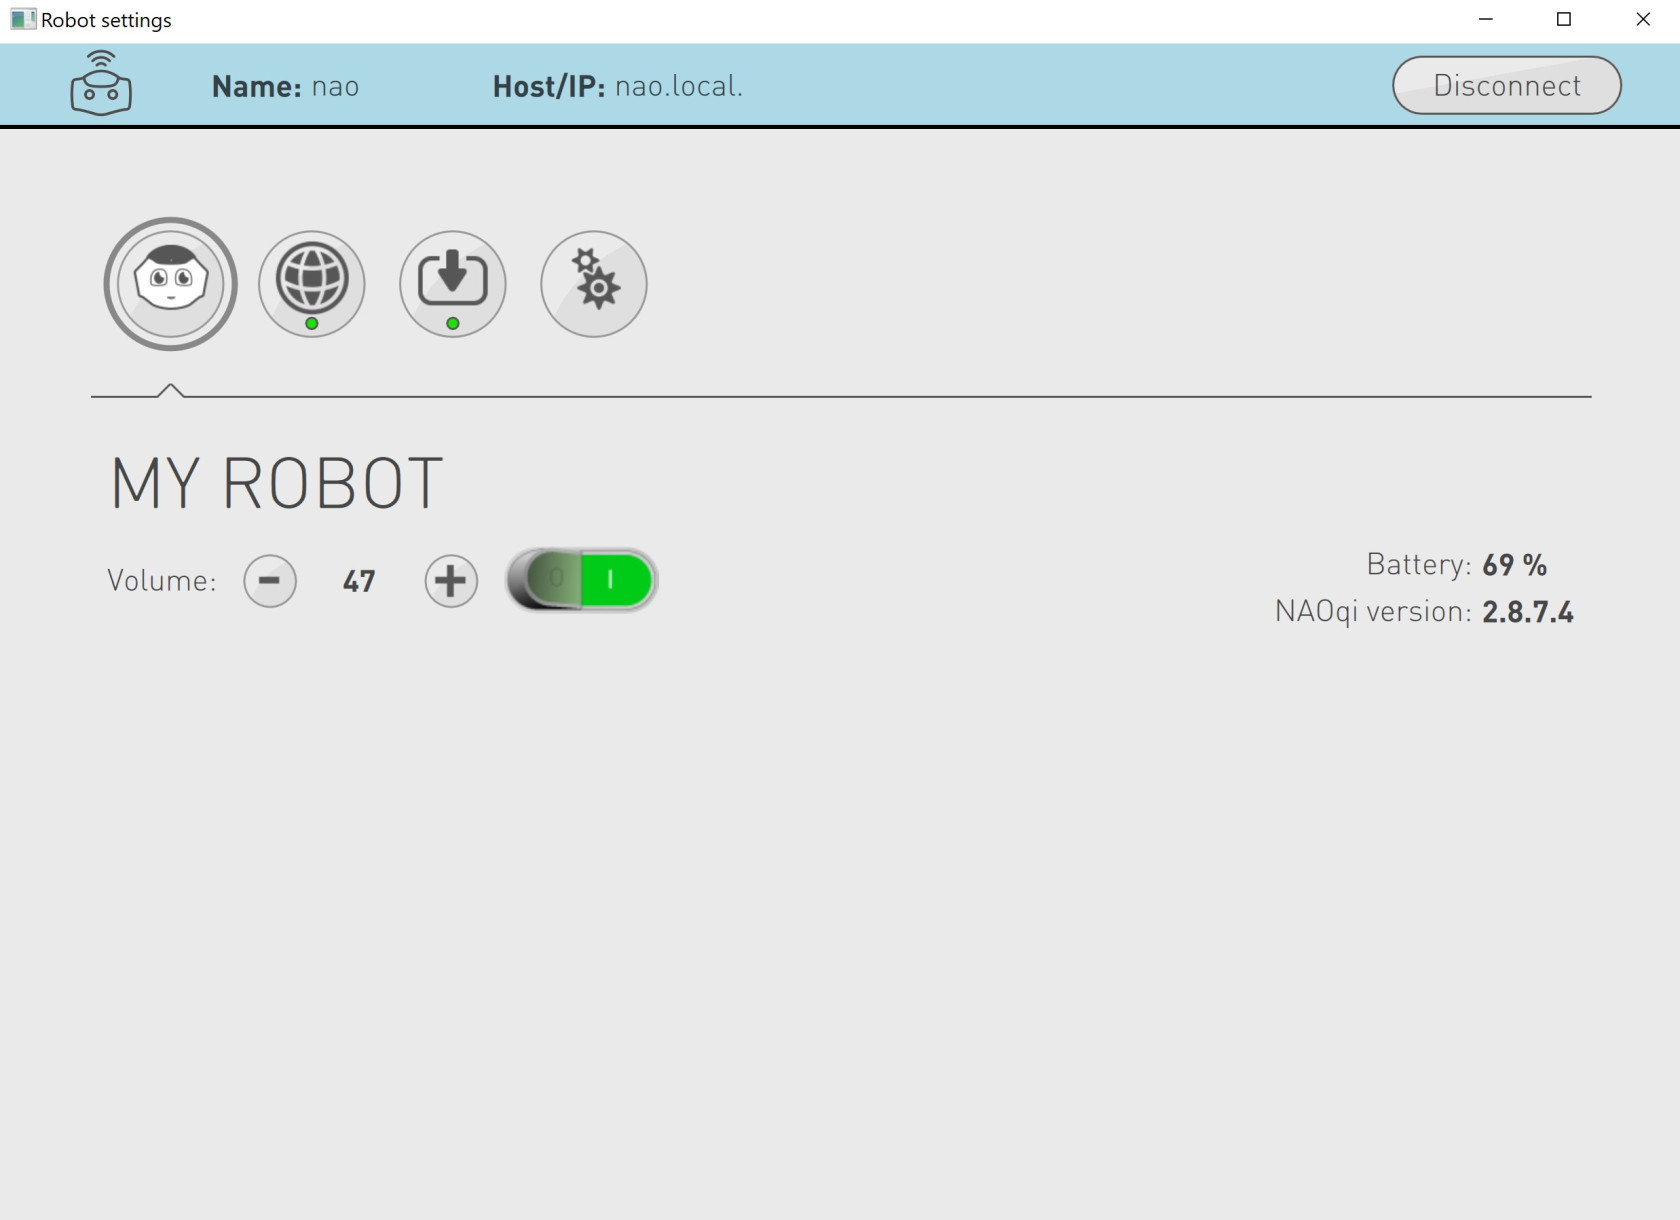
If everything goes well, you should be connected to NAO and your screen should look like the image below.
-
You should now be able to use this interface to mute, adjust sound and edit other configurations of the robot.


Connect using your own wifi hotspot
Ensure you have atleast 5GB of mobile data on your phone.
To connect NAO to your own wifi hotspot, you will need the following:
- NAO
- A laptop/PC with Robot Settings installed.
- A smartphone with atleast 5GB of mobile data.
- An ethernet cable.
To establish a connection between NAO and your hotspot, read the following:
-
Turn on your wifi hotspot. Instructions for Android devices can be found here. Instruction for Iphone devices can be found here
-
Connect your laptop/PC to your wifi hotspot.
-
Power on NAO.
-
Once NAO is powered on and booted up, disengage the motors by double clicking the chest button.
-
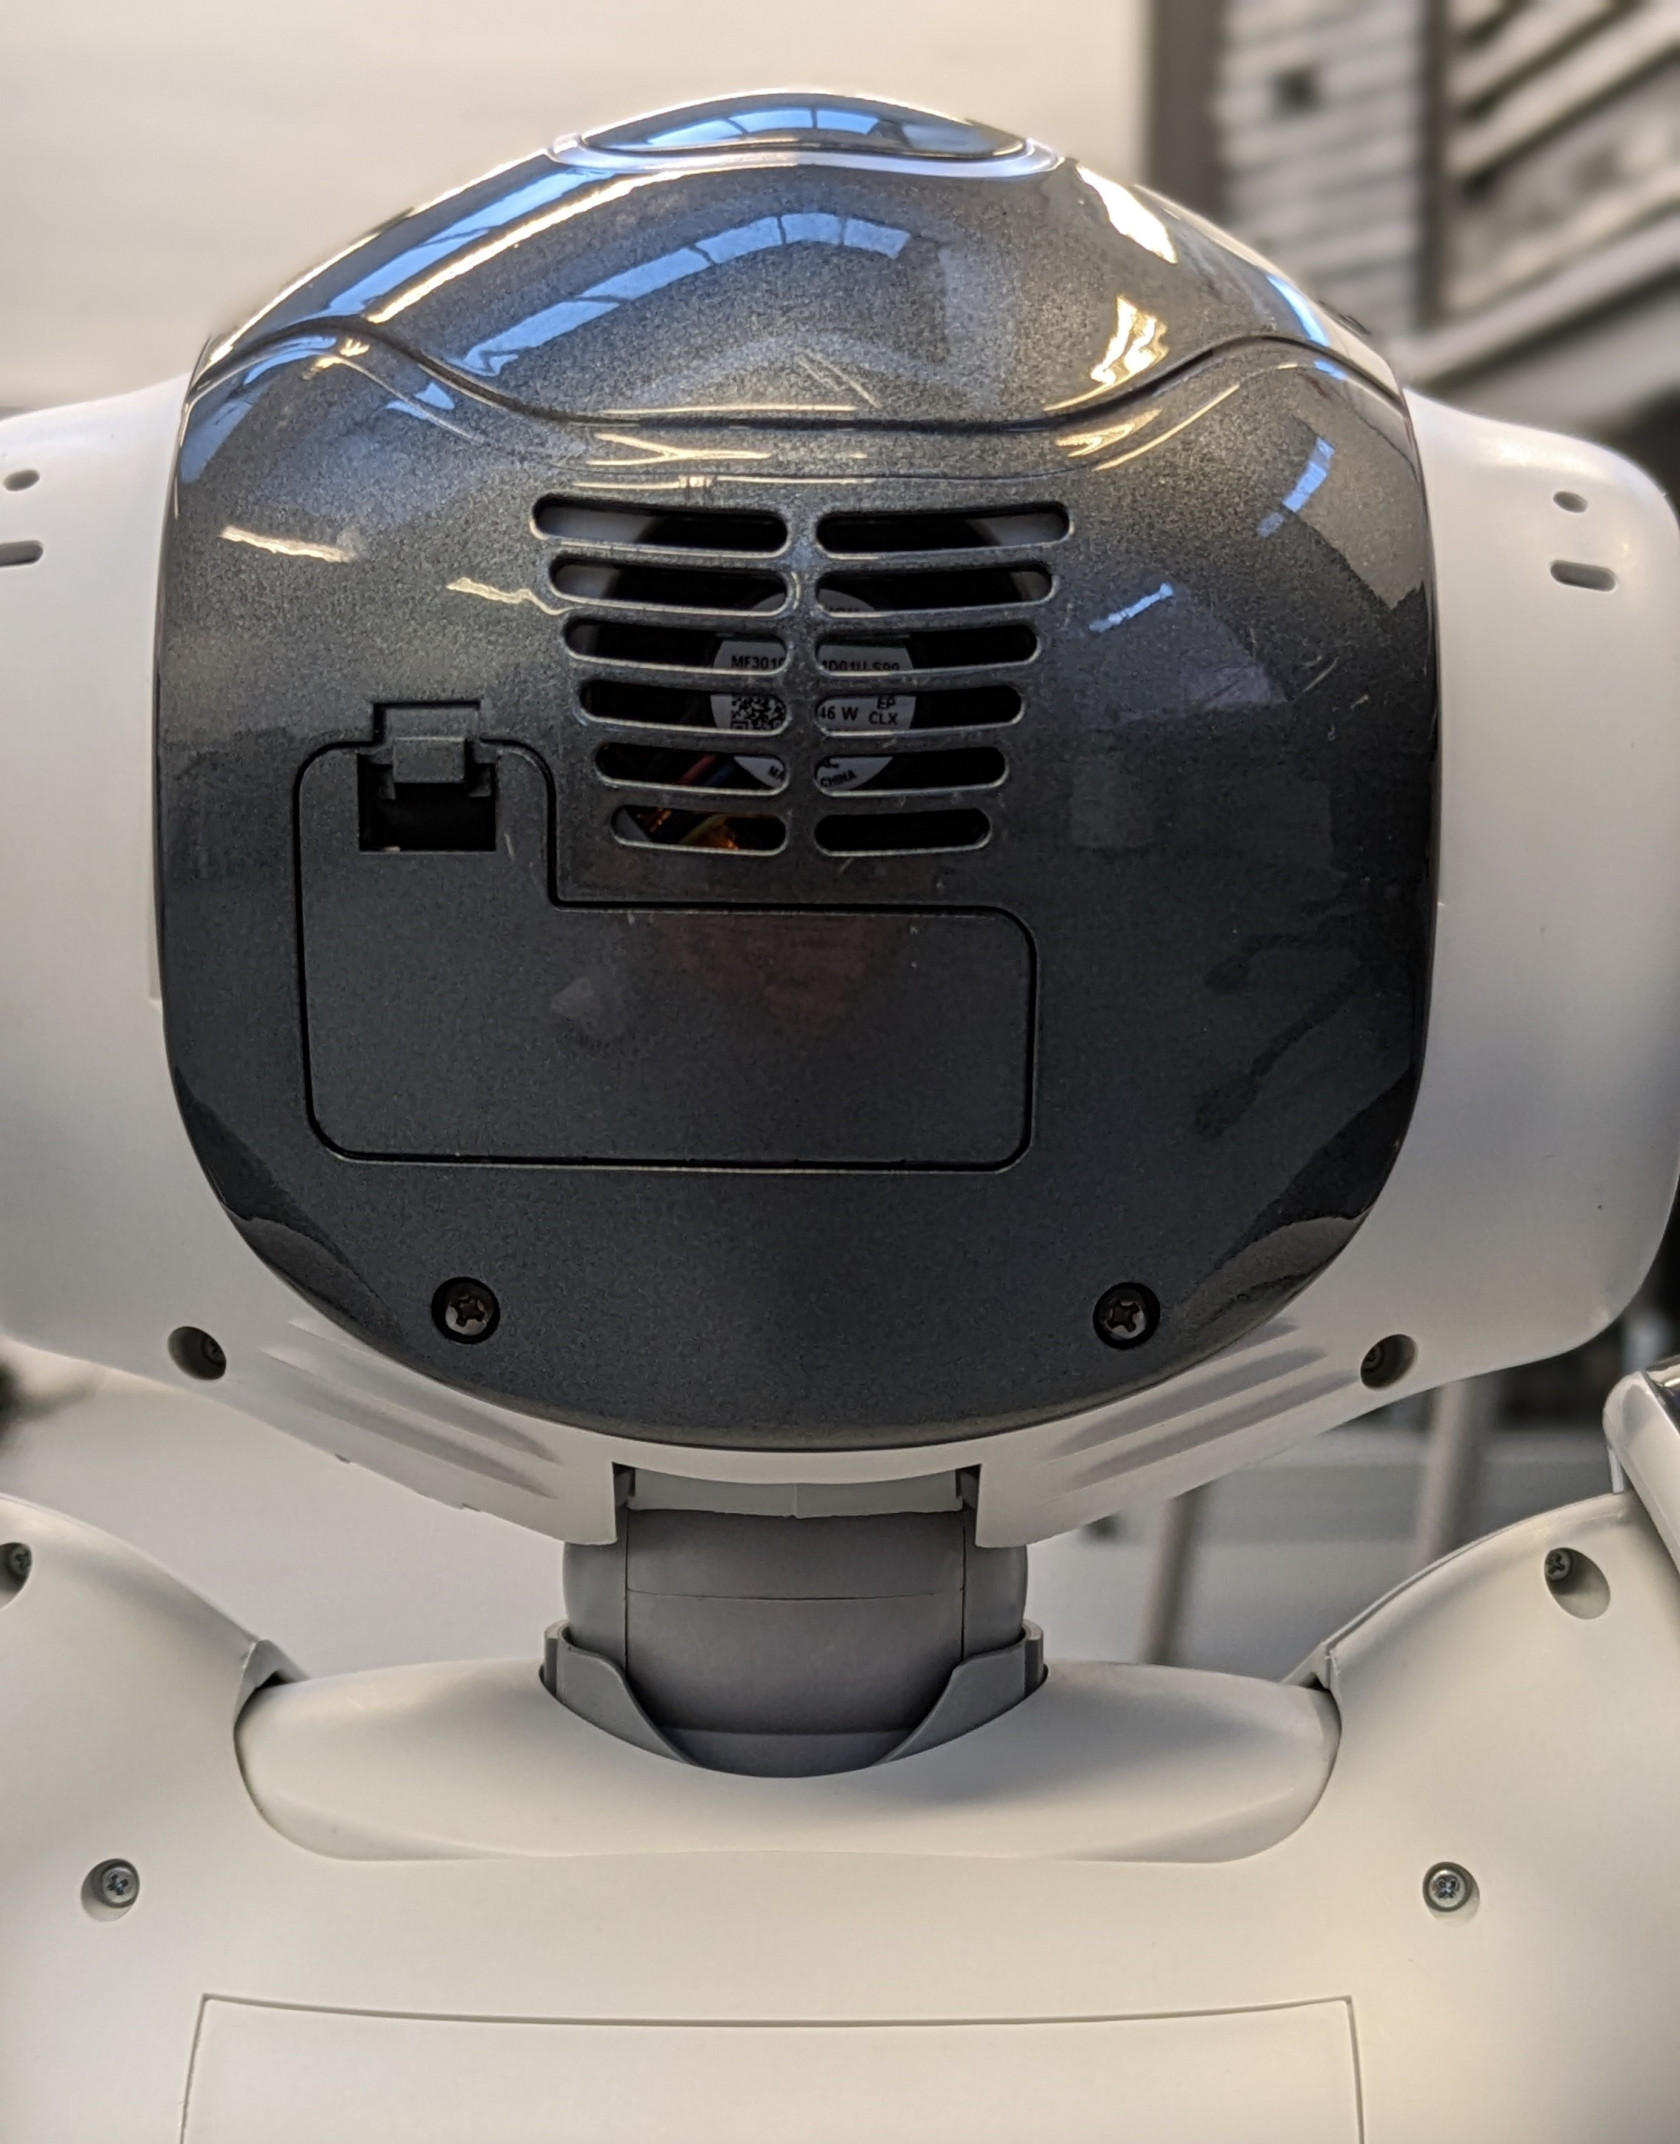
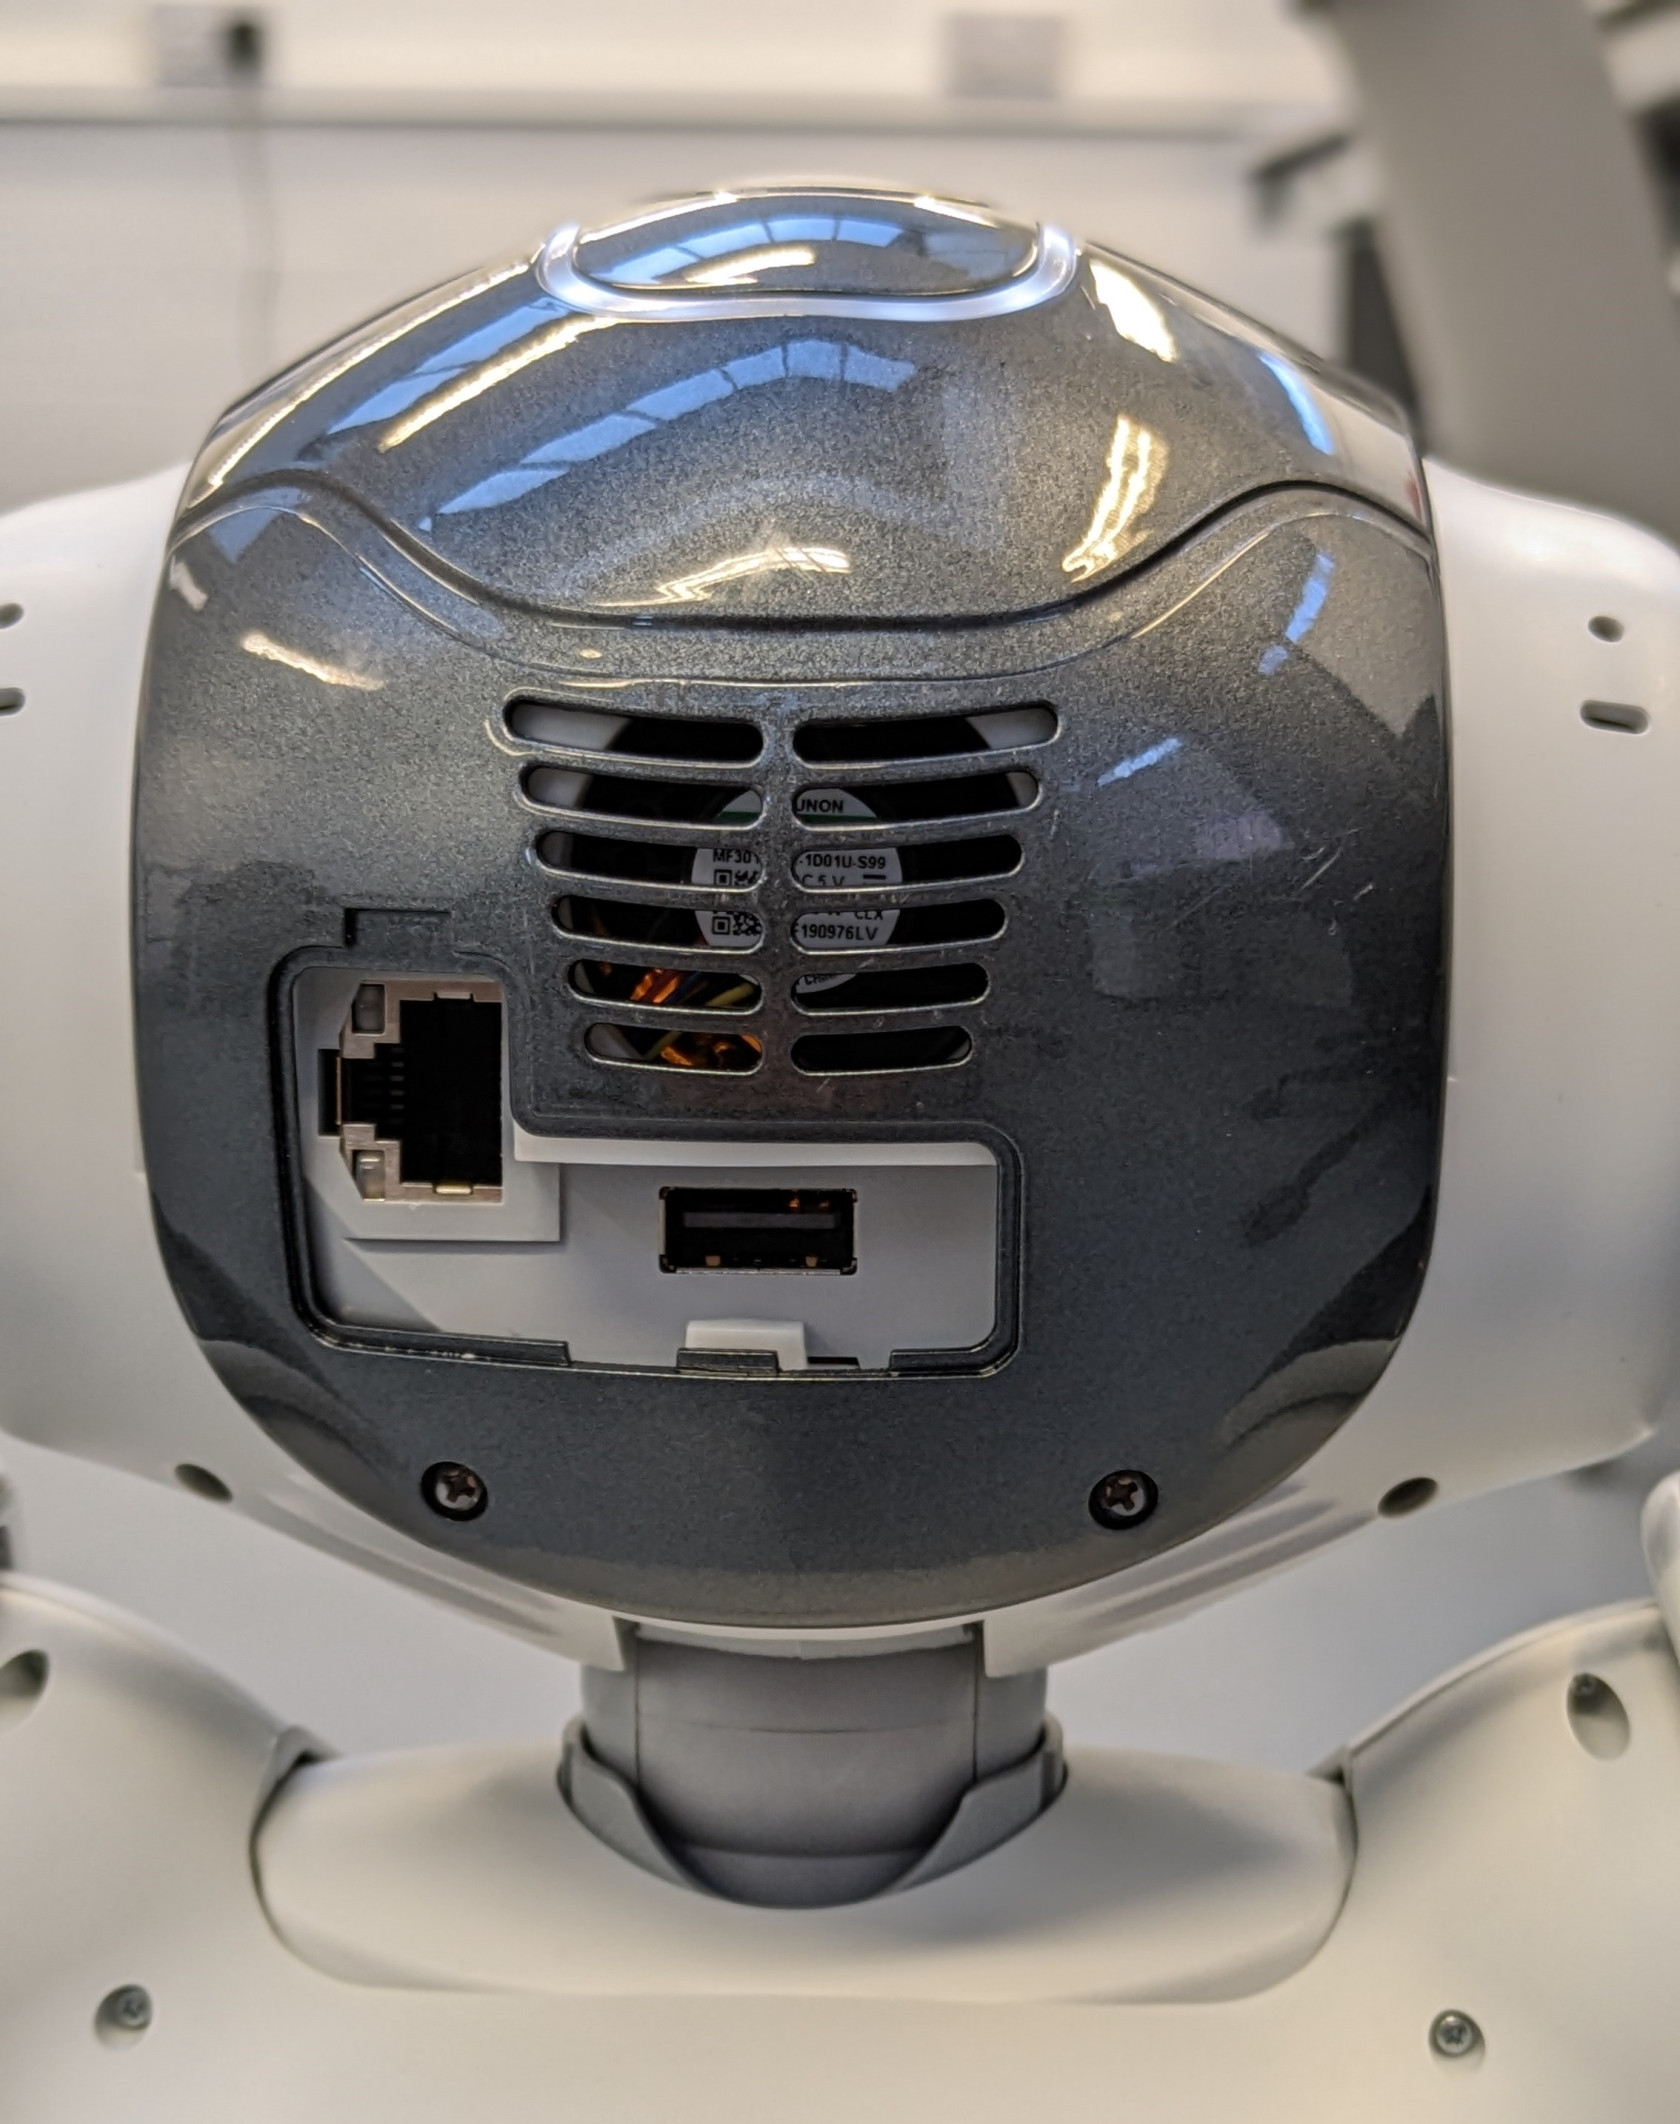
Remove the hatch on the back of the robot's head.
-
Connect one end of the ethernet cable to the ethernet port within NAO's head and connect the other end to your laptop.
-
Wait for about 10 seconds and press the chest button once, this will make NAO say its IP address. Make sure to note it down.
-
If NAO says "cannot connect to a network", wait a bit loger and try the previous step again.
-
Open Robot Settings and enter the IP address next to the text that says Host/IP and press
EnterorReturnon your keyboard. -
If everything goes well, you should be connected to NAO via ethernet and your screen should look like the image below.
-
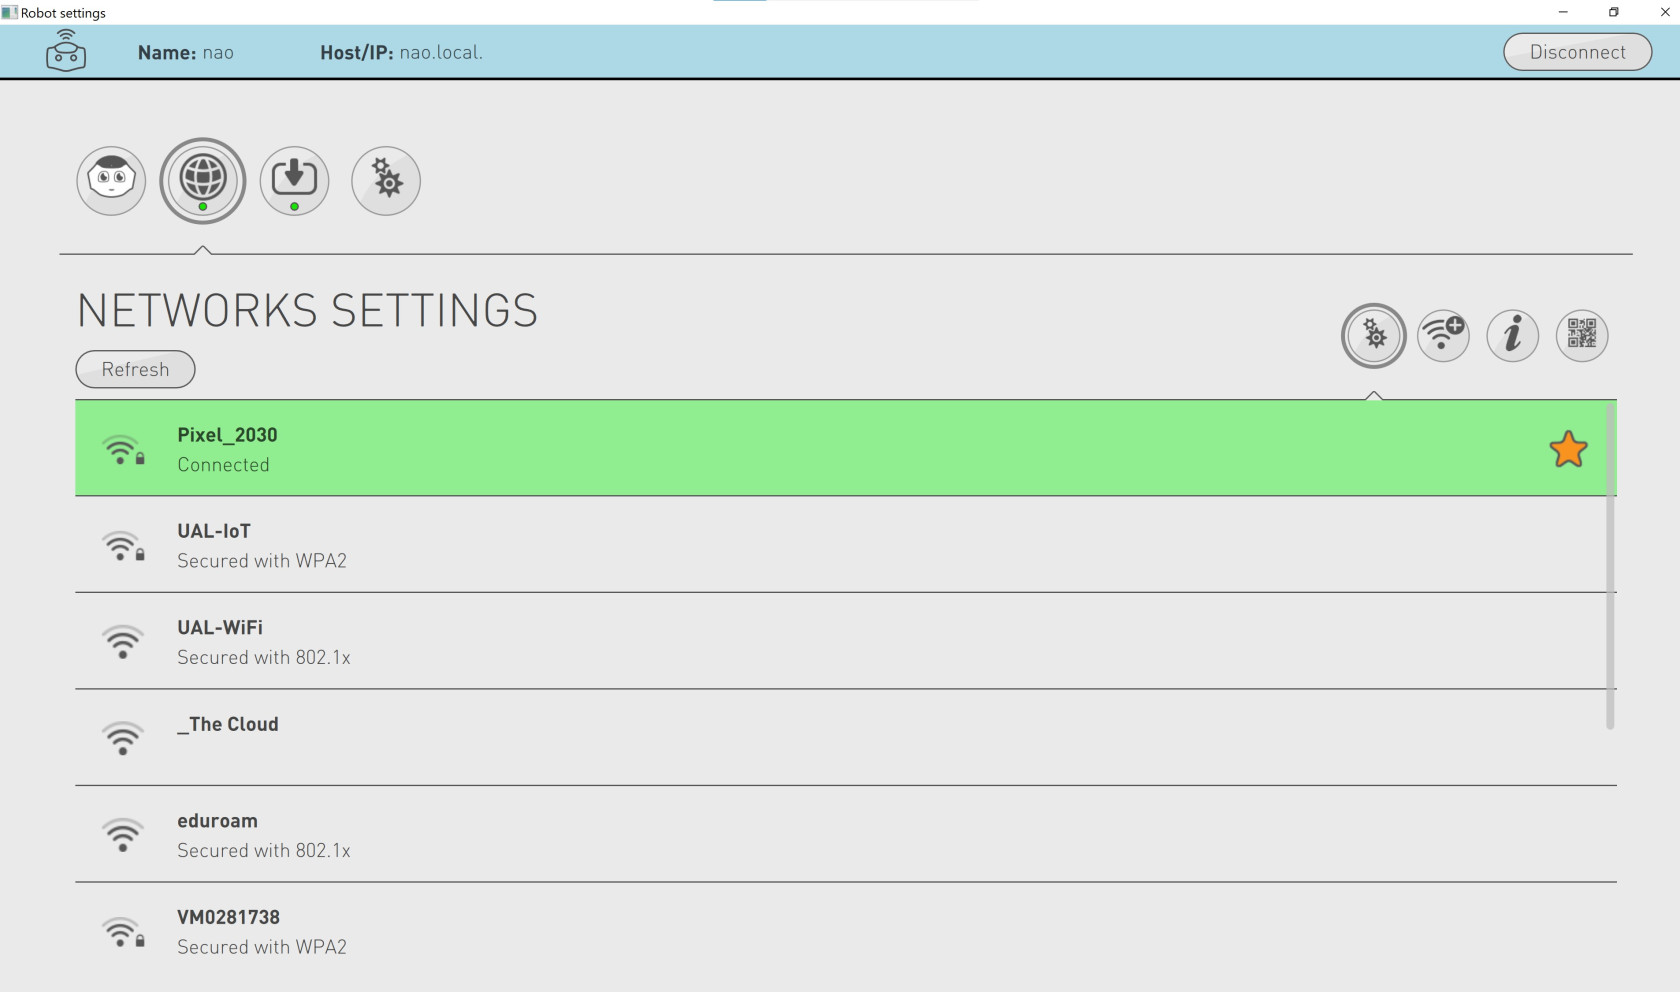
Click on the network icon within Robot Settings, an image of it is shown below.

-
You should now be able to see a list of wireless networks that you can connect to.
-
From this list, select your wifi hotspot and enter its password. Then press enter on your keyboard.
-
Close Robot Settings and remove the ethernet cable from NAO and your machine. Ensure to close NAO's hatch.
-
Reopen Robot Settings and press on NAO's chest button once to get its IP.
-
Enter this IP next to the Host/IP text within Robot Settings and press
EnterorReturnon your keyboard. -
You should now be connected to NAO via your hotspot.

Using Choregraphe to program NAO
Ensure you have connected to NAO through robot settings before attemmpting this.
Make sure to download and install the Choreographer software, which can be found here
-
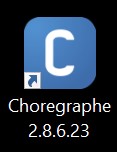
Open Choregraphe, the app's icon will look like the image below.

-
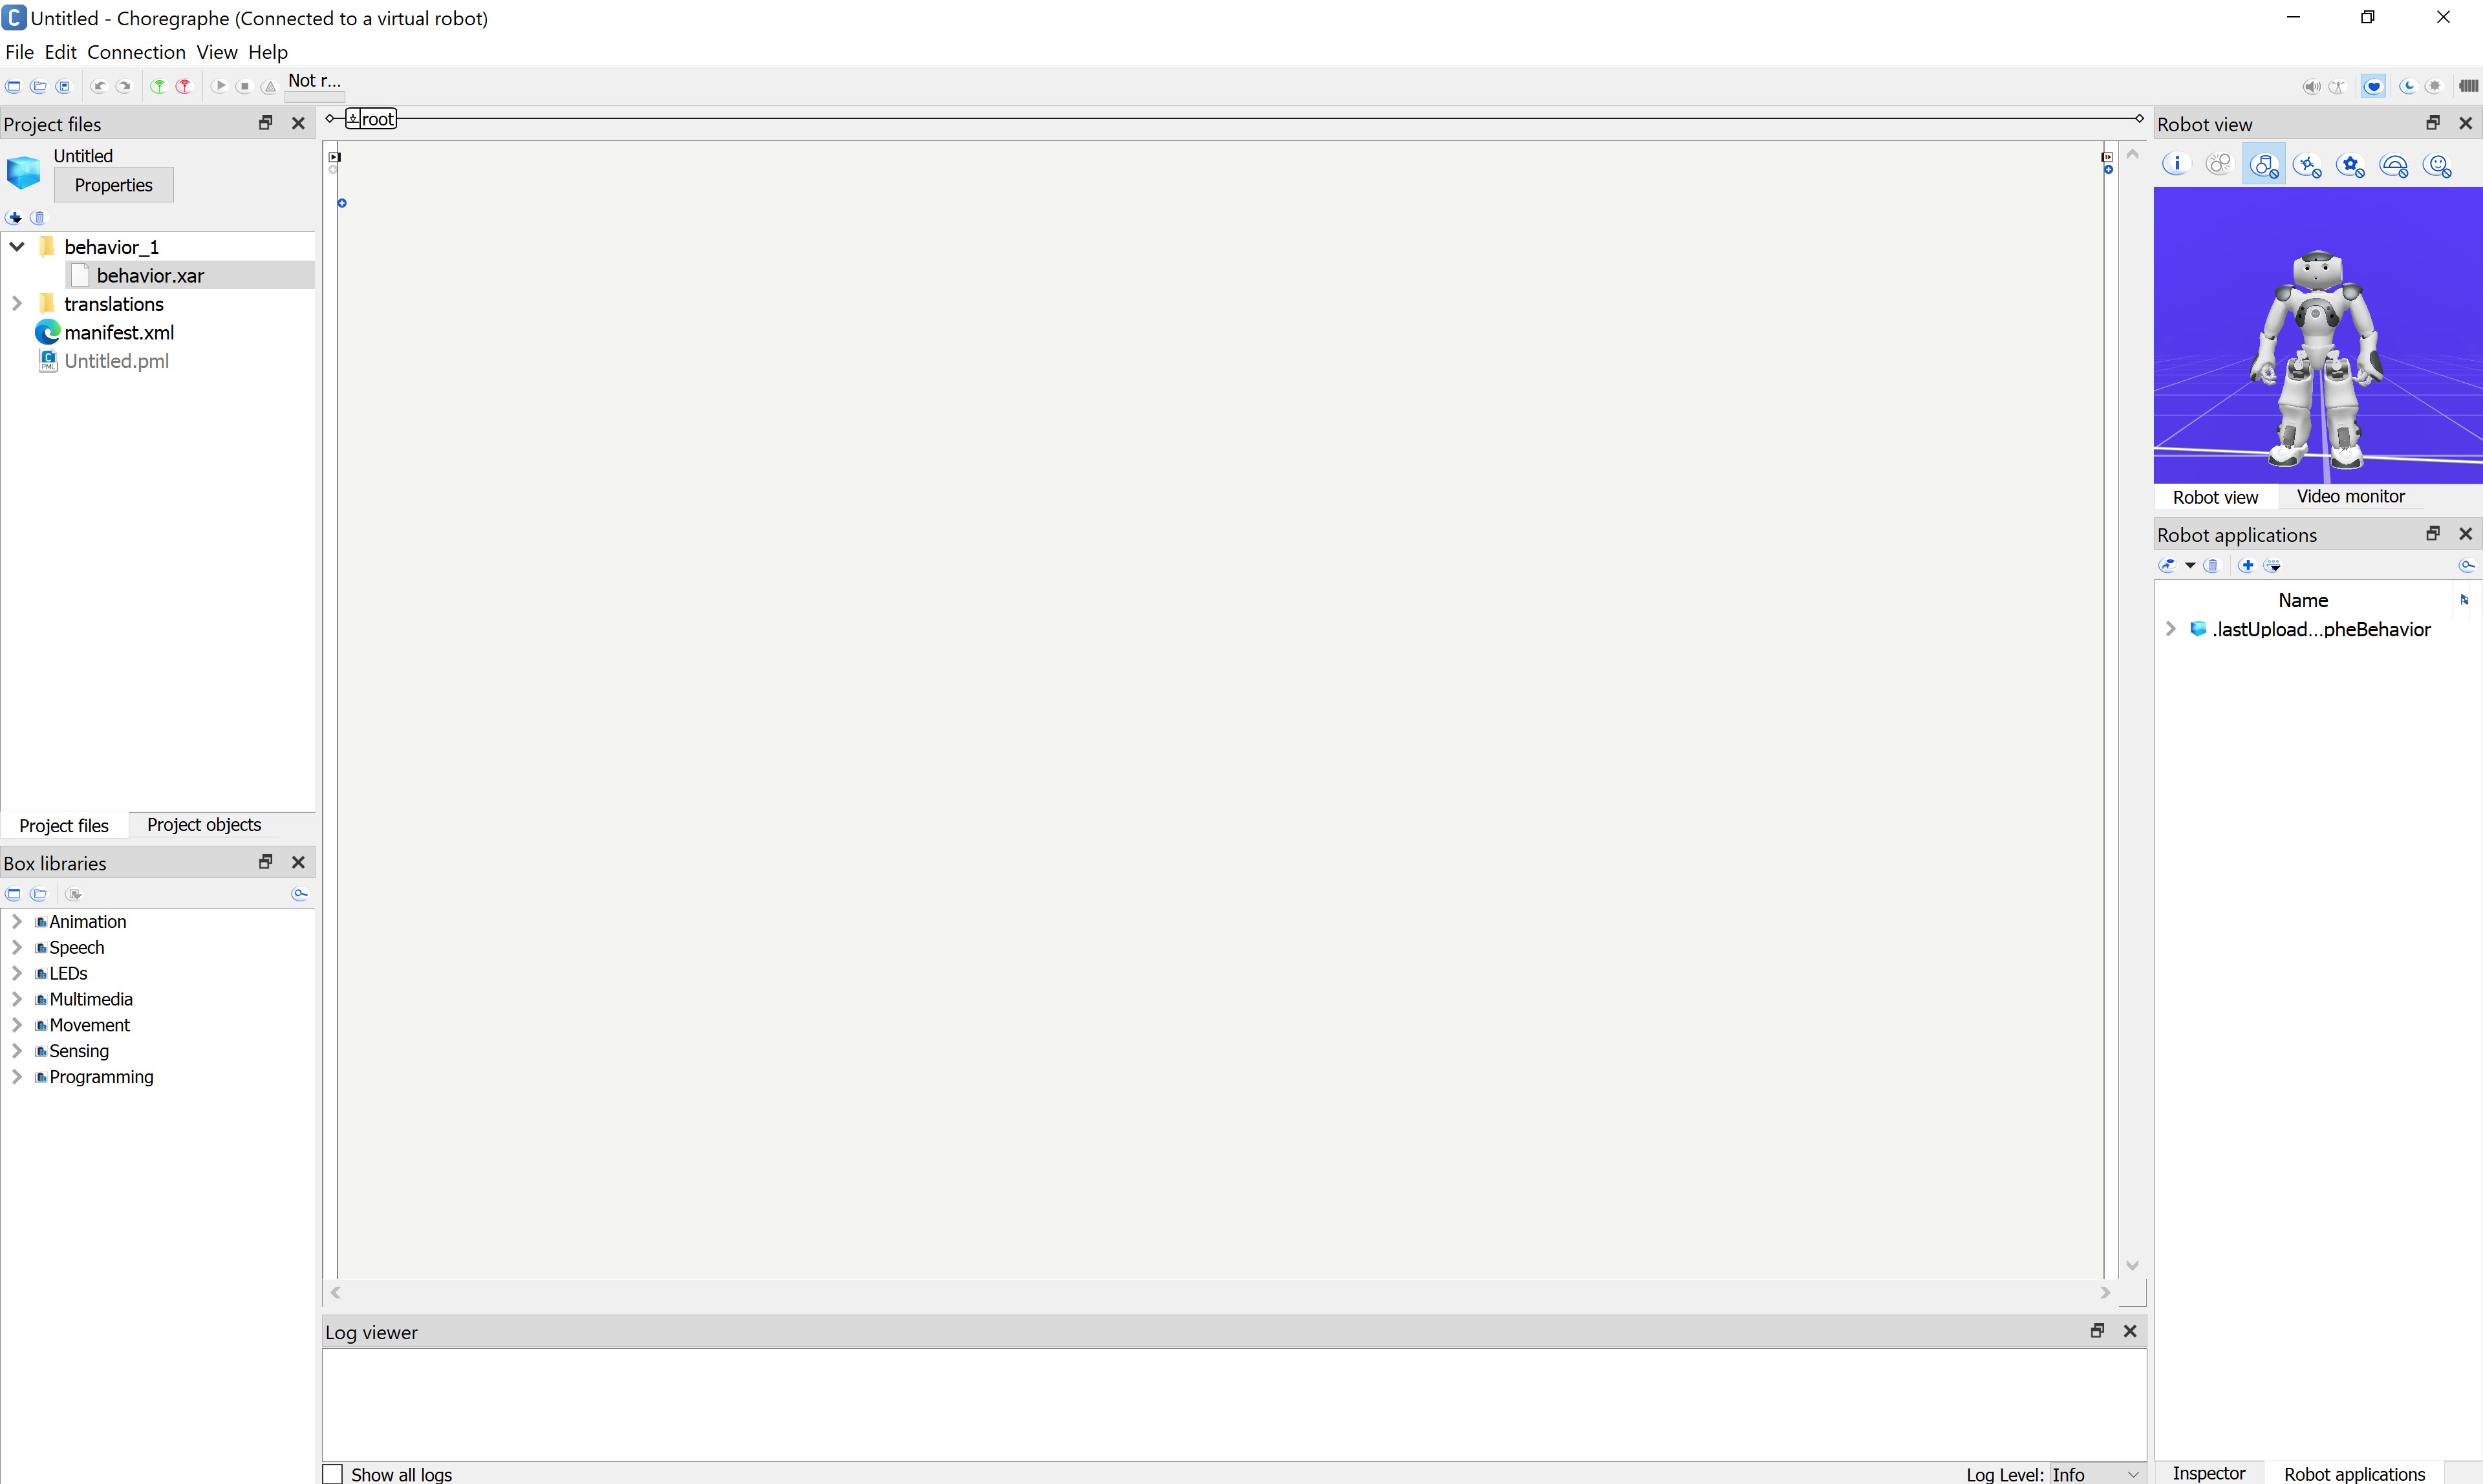
Given below is an image of how it looks like when it is open. Make sure to click
Okon the Getting Started pop up box if that appears.
-
The robot that is shown in Choregraphe is a virtual robot or a simulation. You can change the virtual robot to a NAO by clicking Edit -> Preferences -> Virtual Robot. Click on the drop down list that is next to Robot Model and select NAo H25 (V6). Then click
OK, this will change your virtual robot to NAO. -
Connect to NAO using Choregraphe. To do this click on the
connect tobutton that is located at the top left of the screen. An image of this is given below. You can aslo do connection -> connect to or the keyboard shortcutctrl + shift + corcommand + shift + c
-
You will notice the following pop up will apprear.

-
On this pop up, click on nao and then click on
select. This should establish a connection between Choregraphe and NAO. -
Try out this "Hello World" tutorial to verify your connection with NAO and to get a feel for programming NAO with Choregraphe.


More Choregraphe with NAO
To learn more about controlling NAO through Choregraphe, click here