17/04/2024 Debugging Code
Your code is broken but you don’t know why! What gives? The internet won’t help?? What’s a console? A breakpoint?!
This session covers the philosophy and practice of debugging, across a range of different languages and tools. We work through a series of practical examples contained in this repository. Learning to debug is pretty much the essential skill of learning to write code -- nobody writes code without bugs in it, and the skill of programming is knowing how to recognise, diagnose and fix things when they don't work.
A great reading that sums up a lot of the ideas in this workshop is Eric Lippert's How to debug small programs. It gives a nice overview of the steps and frame of mind needed to debug code.
JS example walkthrough
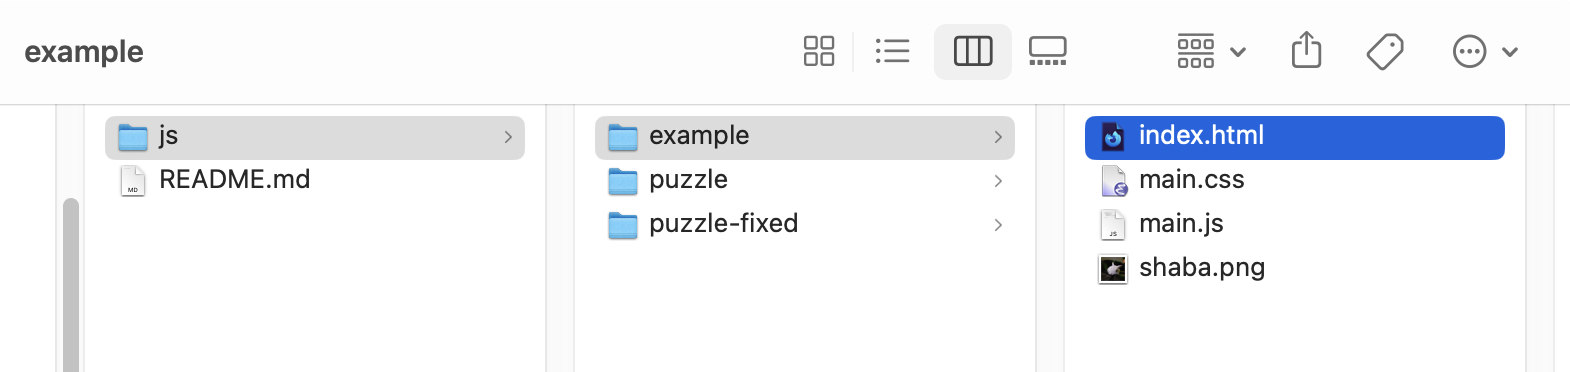
For the JS example, we will use this sample website from the examples repository. We want to open the folder (we will need to edit the HTML, CSS and JS files) in a code editor. We will be using the browser's debugging tools to fix this code, so also either open the html page in your browser, or use the VSCode 'launch' button to serve the files.
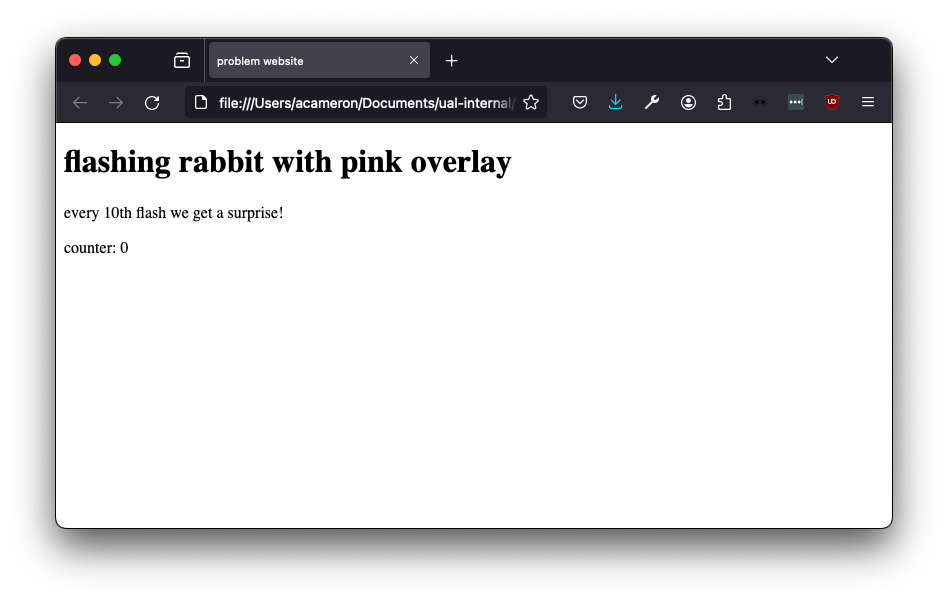
When we load this in the browser we can see that the title (which describes the page) doesn't match what we can see. No rabbit is flashing! Where's the pink overlay? The counter doesn't work!
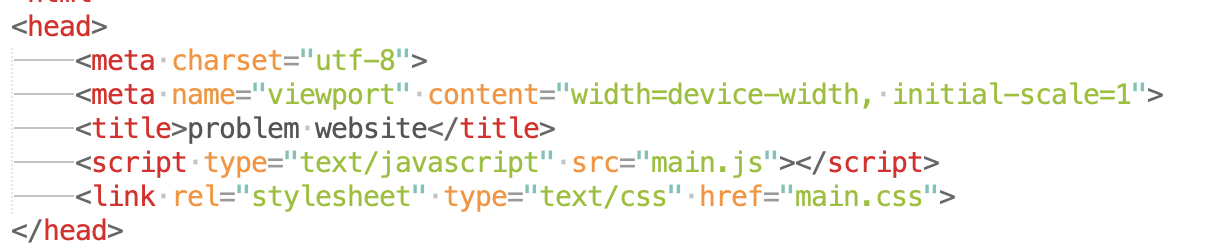
First of all, we want to check that all our files are included properly. This is a common issue in making websites when we are linking multiple things together! We add in a console.log statement to the JS to check if it's getting called at all... it's not!

There's a bunch of issues with this line! mian.js is a misspelling (we change it to main.js), and we want to use src rather than href to link the file. This second error is more subtle, and found out by googling.
We also realise we haven't linked the CSS file at all!
before:

after:
That's all fine, but it's still not working! Now, we can see we have an error. It's telling us our element is null.
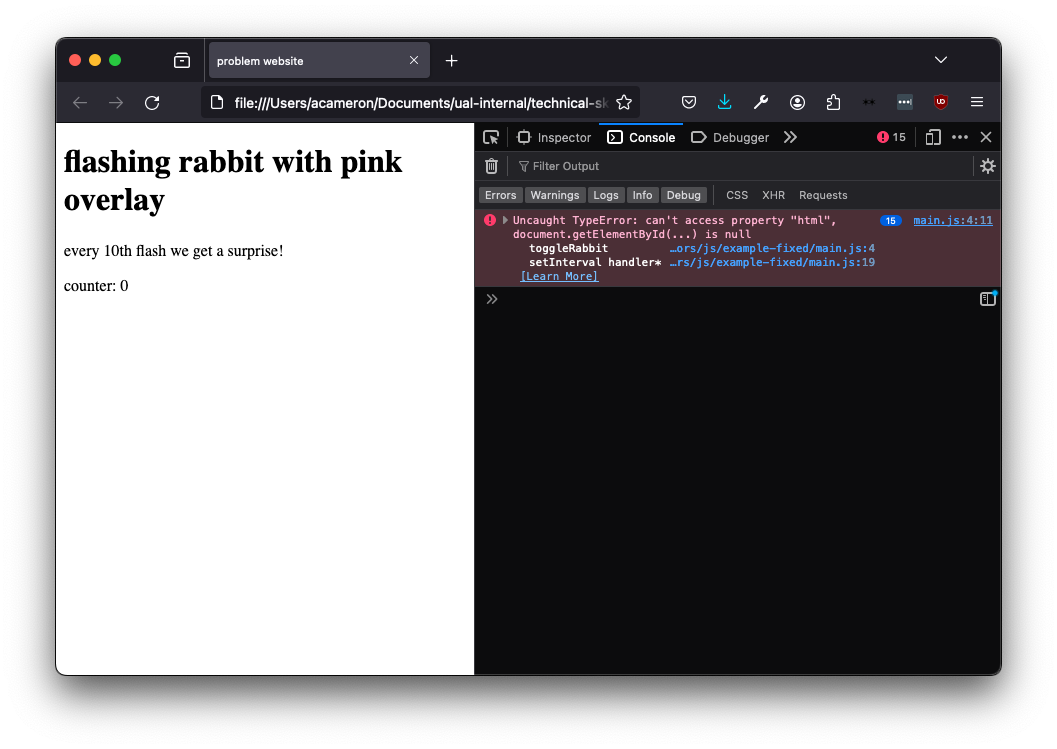
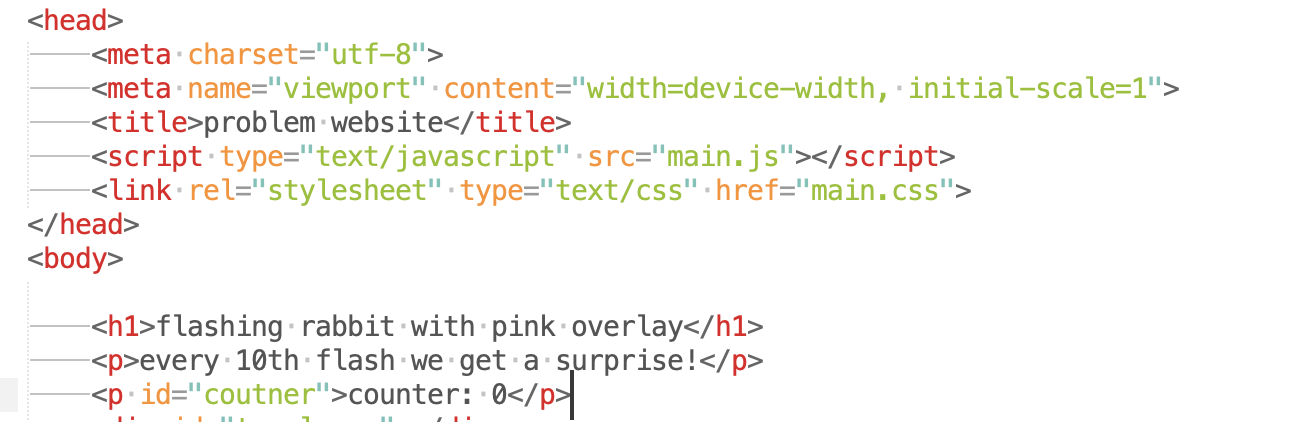
The error is telling us the issue is on line 4, so let's take a look at what's there. We can see that it's referencing an element with an id counter.

We can see that the element id is spelt wrong! However, when we correct it, the error remains. The error we're now getting is actually quite subtle and to do with the order in which the page is constructed. If we move our script tag to after the body (e.g. after all the elements have been made), that error will go away.
Now we get the following error. Note that the issue is still on line 4! At this point you might be getting a bit depressed, but a new error normally fixed the last one, so you should actually be really pleased :)

For this one, we're going to google to get the correct syntax.

Now that's fixed, we're getting something very weird:
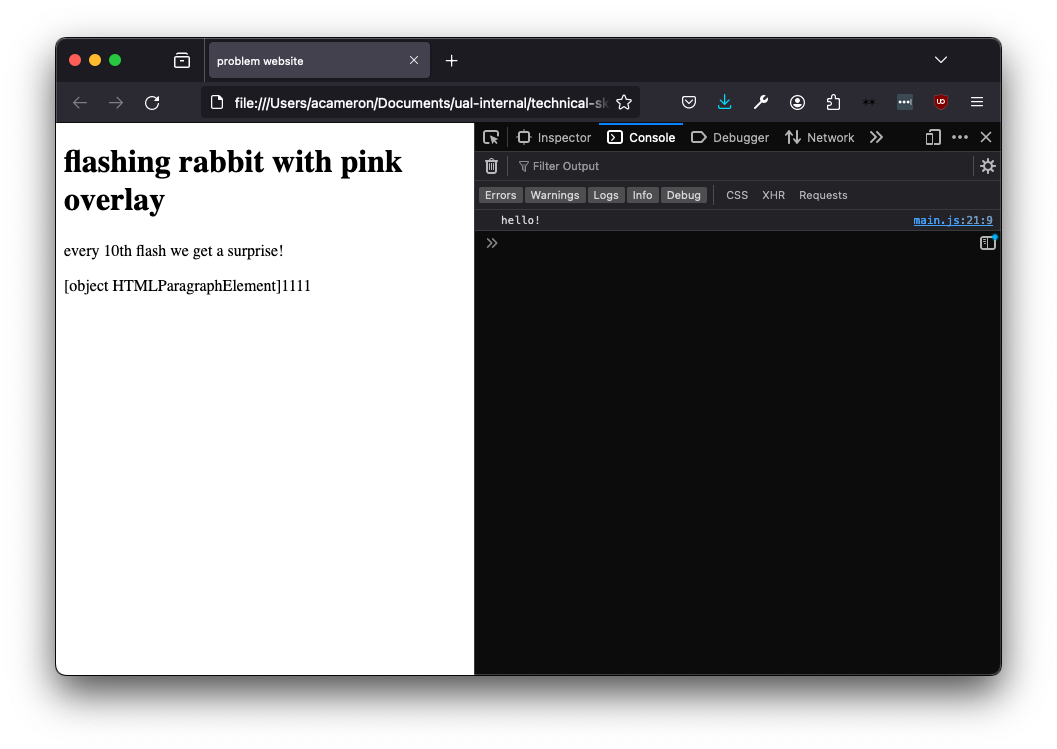
To find out what's going on, we're going to log the counter variable and see what's getting written to the element. This seems super mysterious -- we've never set the variable counter! What's happening here is that counter is initially undefined, so when we reference it in the code it gets set to what it should be being set equal to.
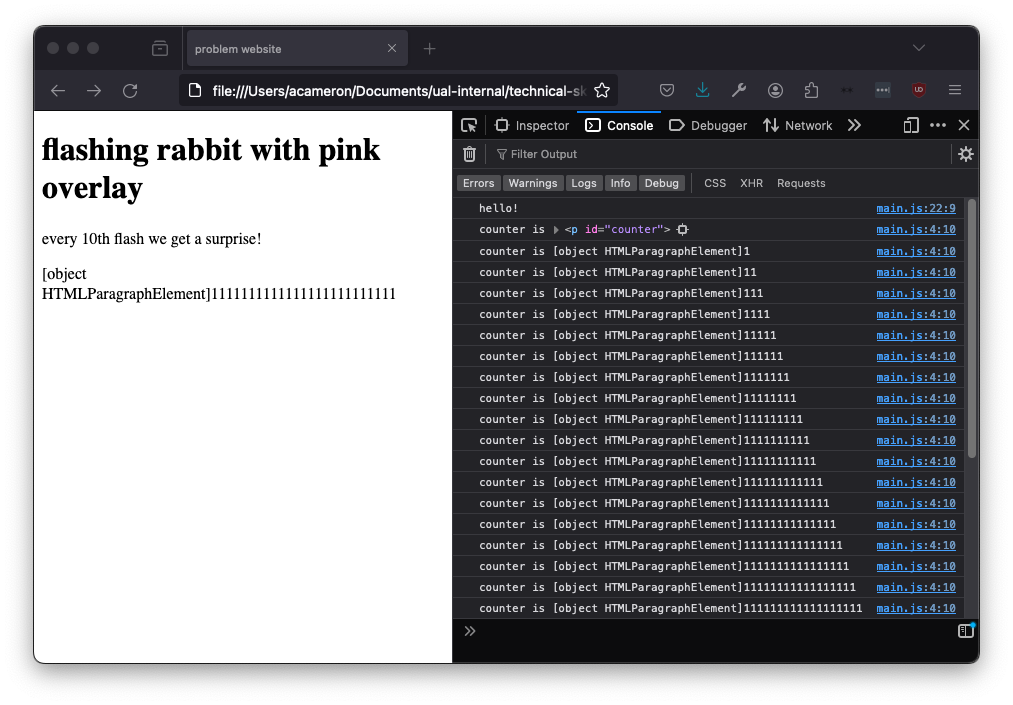
If we initialise the variable properly, it goes away. To make it look nice, we also prepend a string to the text we're adding.

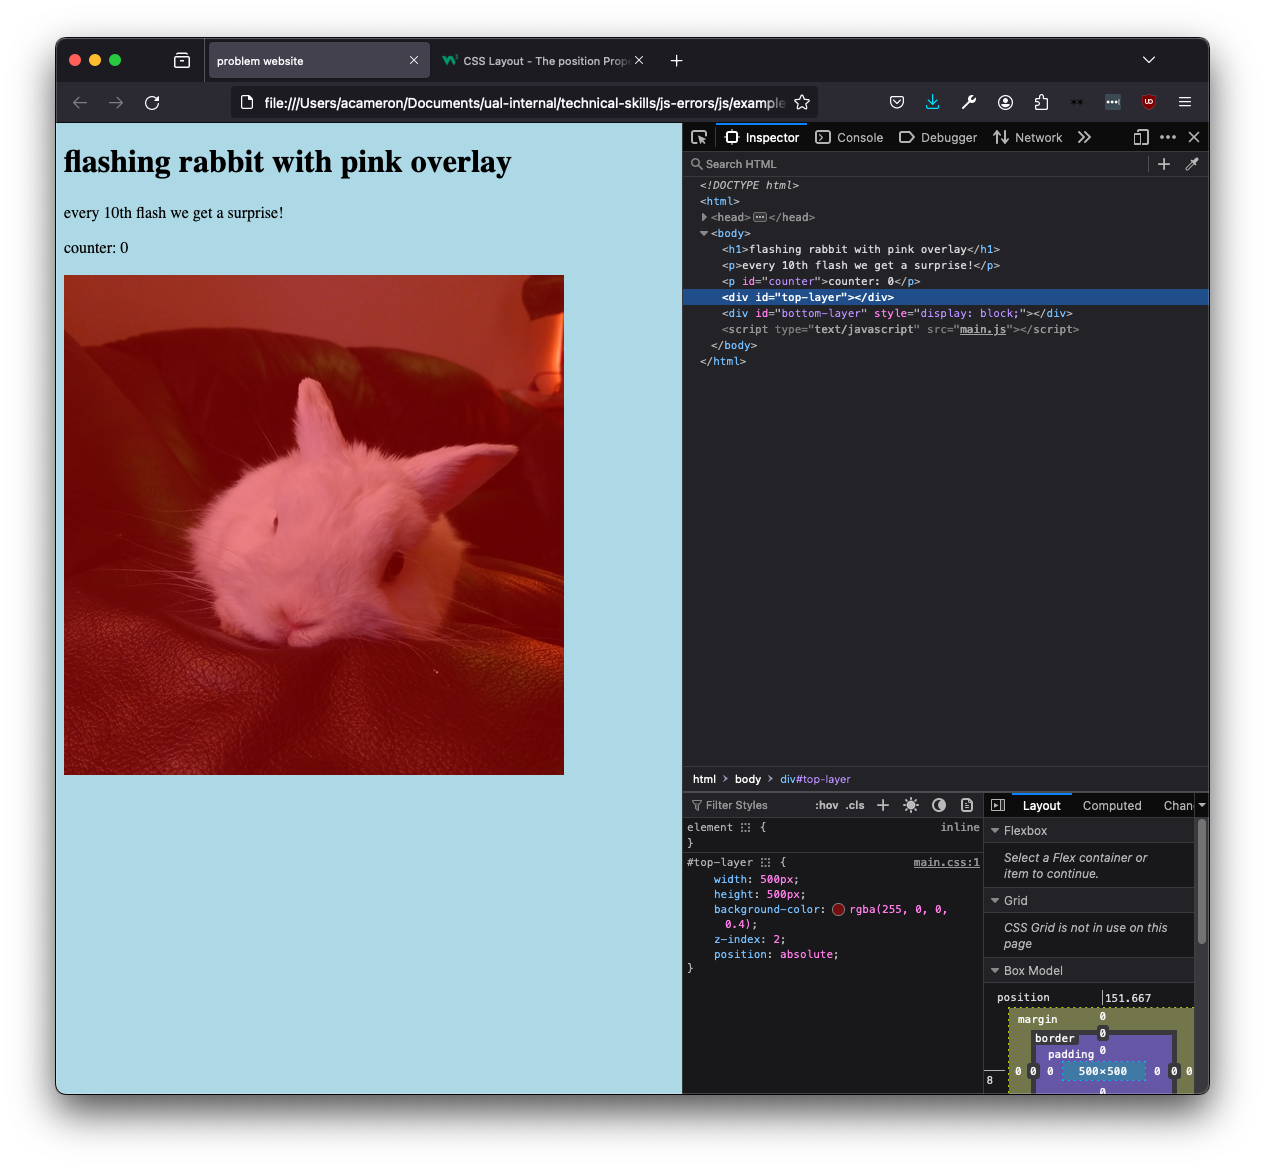
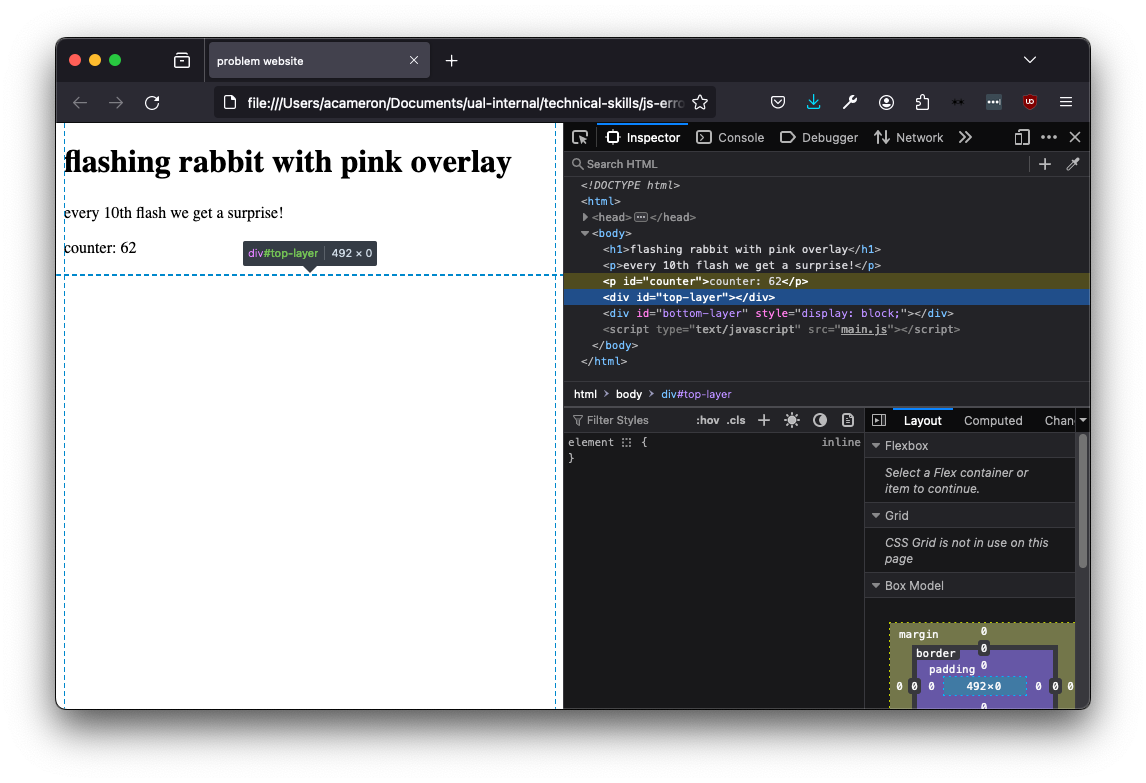
Now that's all sorted, it's time to solve the mystery of where the divs are. We can't see them at all! If we click on the '#top-layer' element we can see that it's currently 0 height. We can also see that there's no style information in the sidebar! We can tell our css is loaded by changing the body colour, and that a height is specified for this element, so what gives?
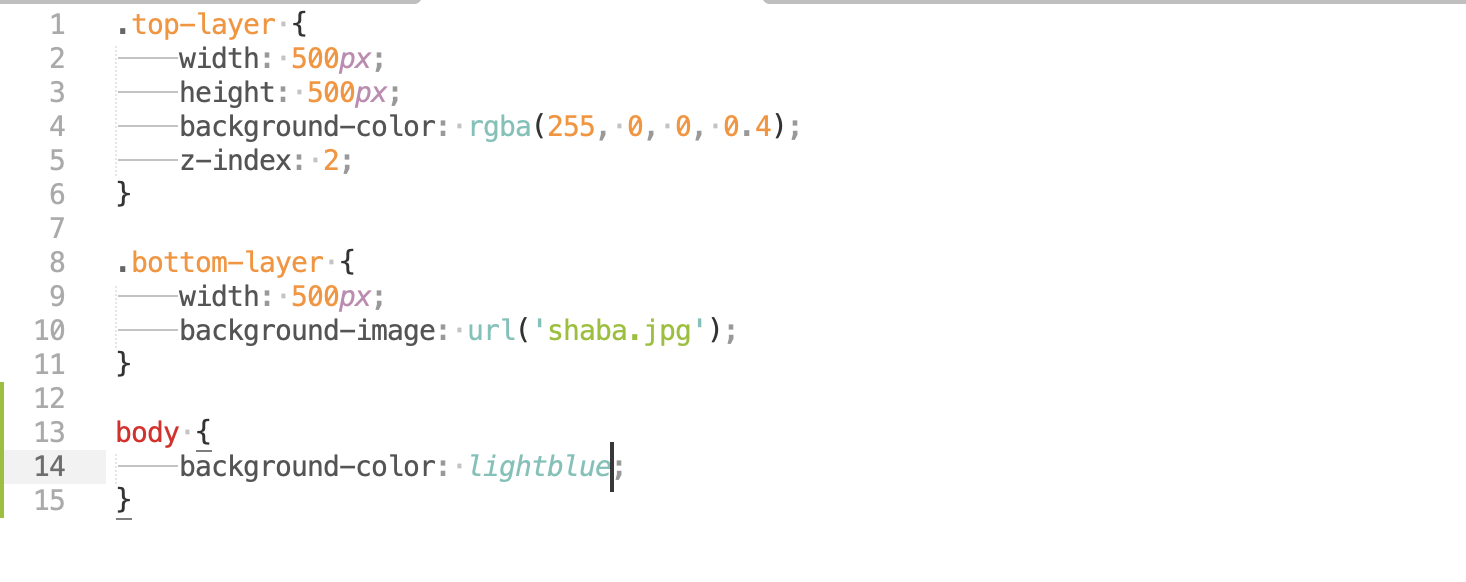
Here we can see that instead of referencing the elements by id (with a '#'), they are addressed by a '.', which represents the class. (Agnes does this basically every time she makes a website). Changing the dots to hashes fixes the error.
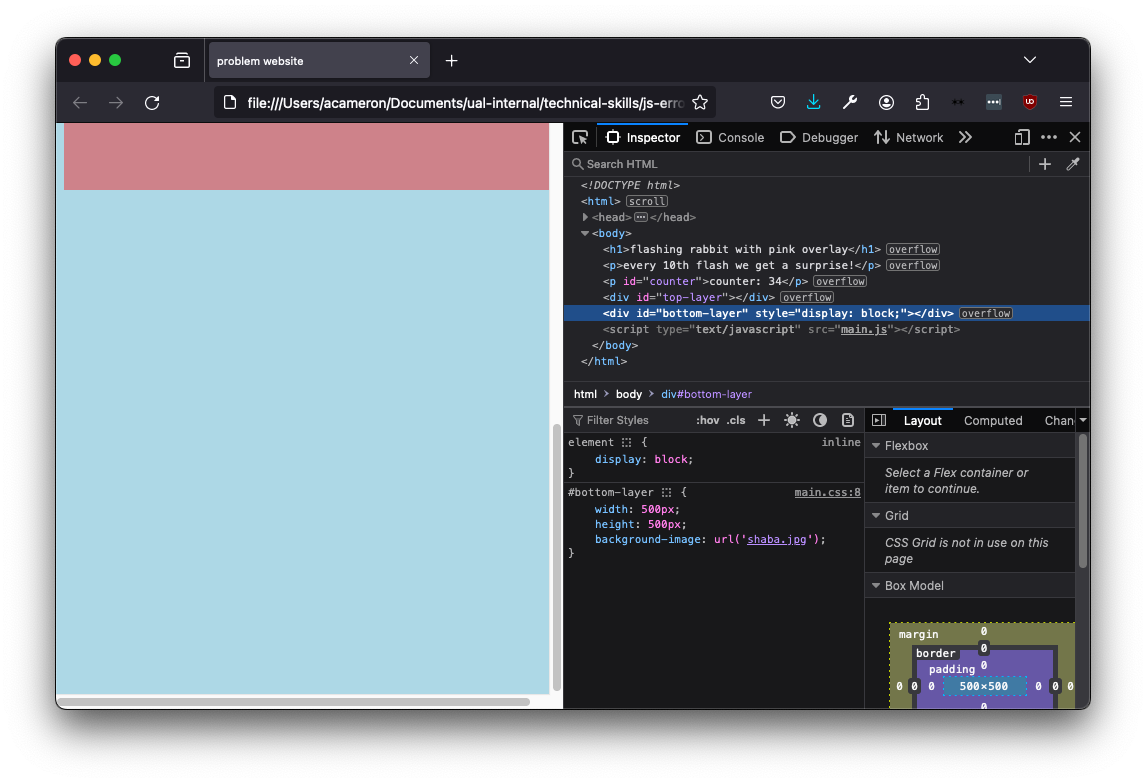
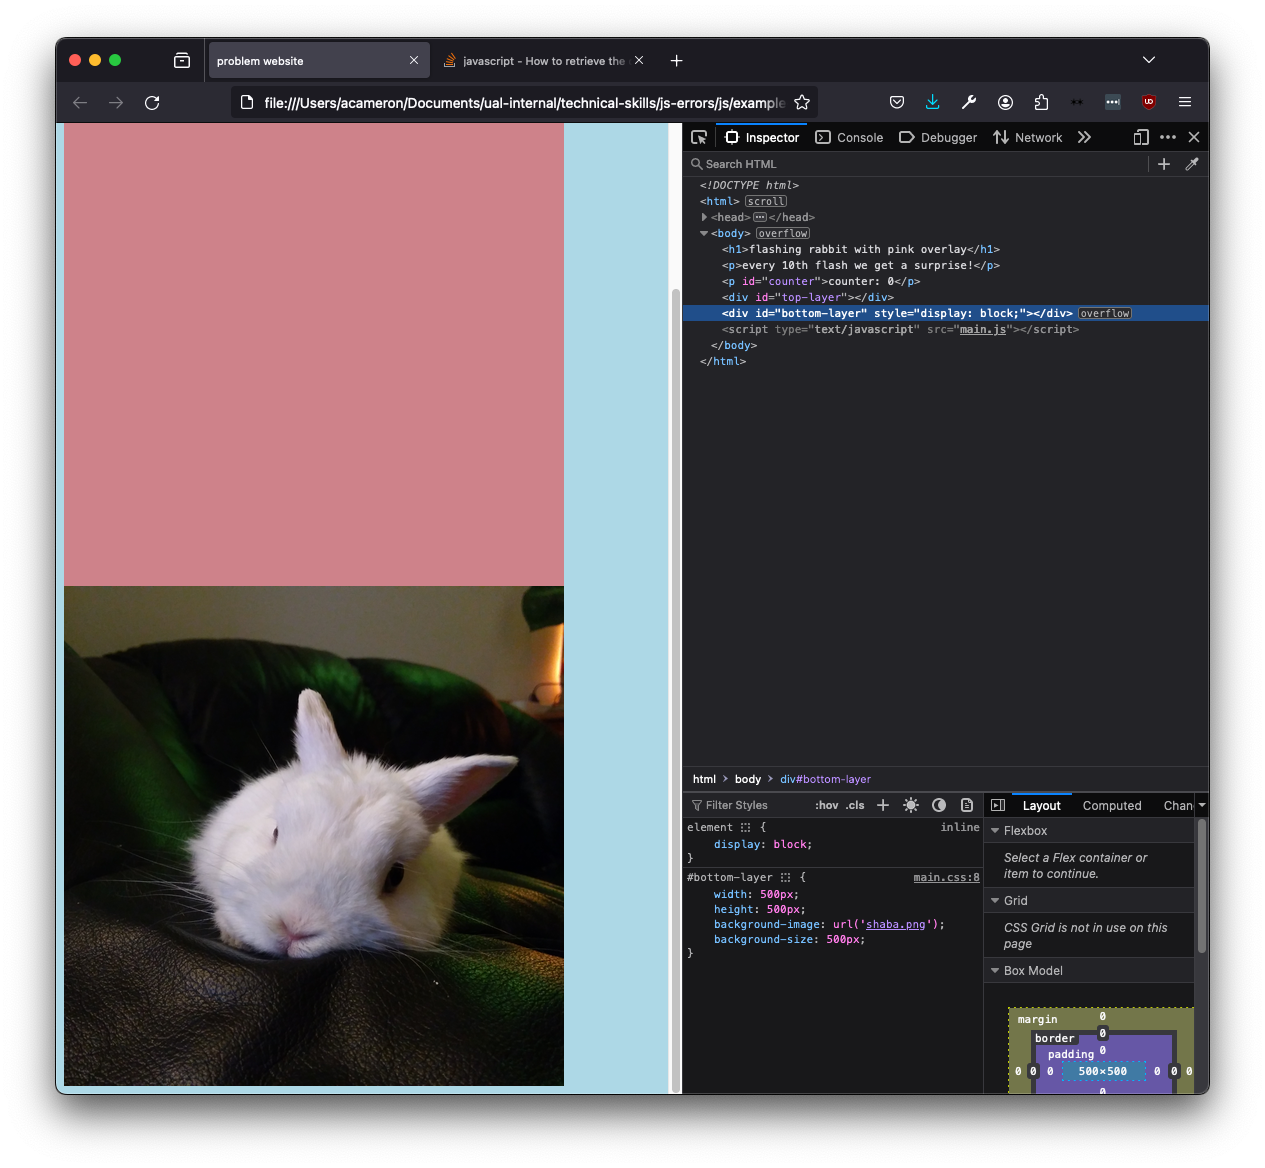
Now we have an overlay but still no rabbit. When we look at the css for #bottom-layer, we can see it also has a height of zero. When we change that in the bottom layer, the CSS changes but we still can't see a rabbit!
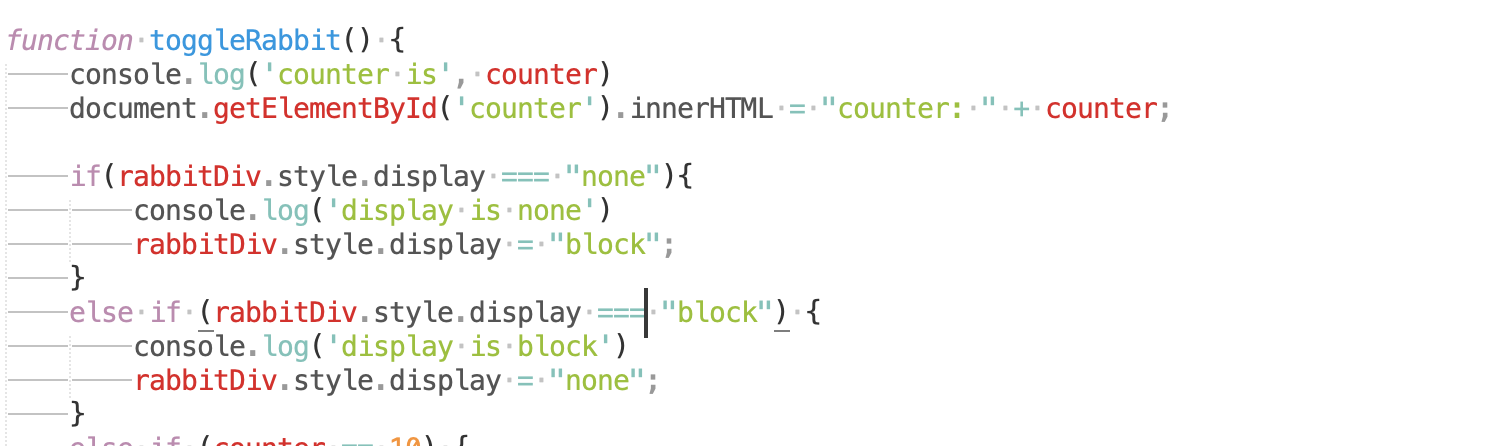
Let's go back to the JS. We can add some logging to try and discover what's happening with our code:
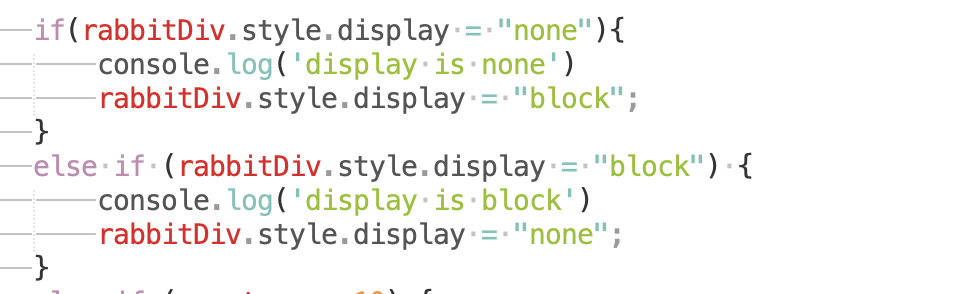

The display is always none! How come? The reason is that we're using a single equals sign in the if statement. This sets the display value to one, rather than checking it. To correct the code, we use the '===' strict equality (for more info on strict and loose equality, e.g. '===' vs '==', see here).
Now, nothing happens! We can also see that there's nothing in the log. If we log the value of rabbitDiv.style.display, we can see that initially it's <empty string>. We can fix this by initialising this property.

We still can't see a rabbit though! Let's go back to looking at the CSS, this time at the background-img property. We can see that the image isn't loaded. This indicates that we can't find the file!
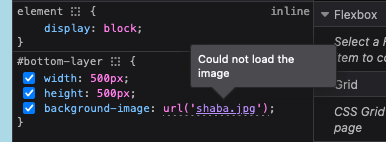
If we look at our folder, we can see that it's a png not a jpg. If we change the path in the CSS, we see the bunny!
However, the pink isn't overlaid. If we go back to the #top-layer element in the inspector, the browser will give us a clue why!
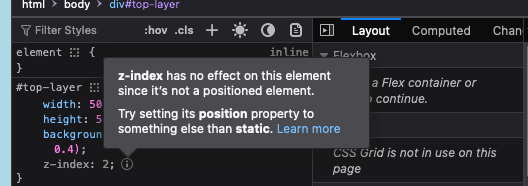
If we change the position value to absolute (more info on CSS layout here), we now get the overlay.