Virtual Reality

What do we have?
We currently have the following headsets and other Virtual Reality (VR) equipment available at CCI:
Headsets:
VR controllers:
- 4x Vive Pro 2 controllers
- 2x Vive Index ('Knuckles') controllers
VR trackers + straps:
- 10x Vive Tracker 3.0
- 2x '3-pack Vive Ultimate Tracker with USB receiver dongle'
- hand, foot and waist tracker straps
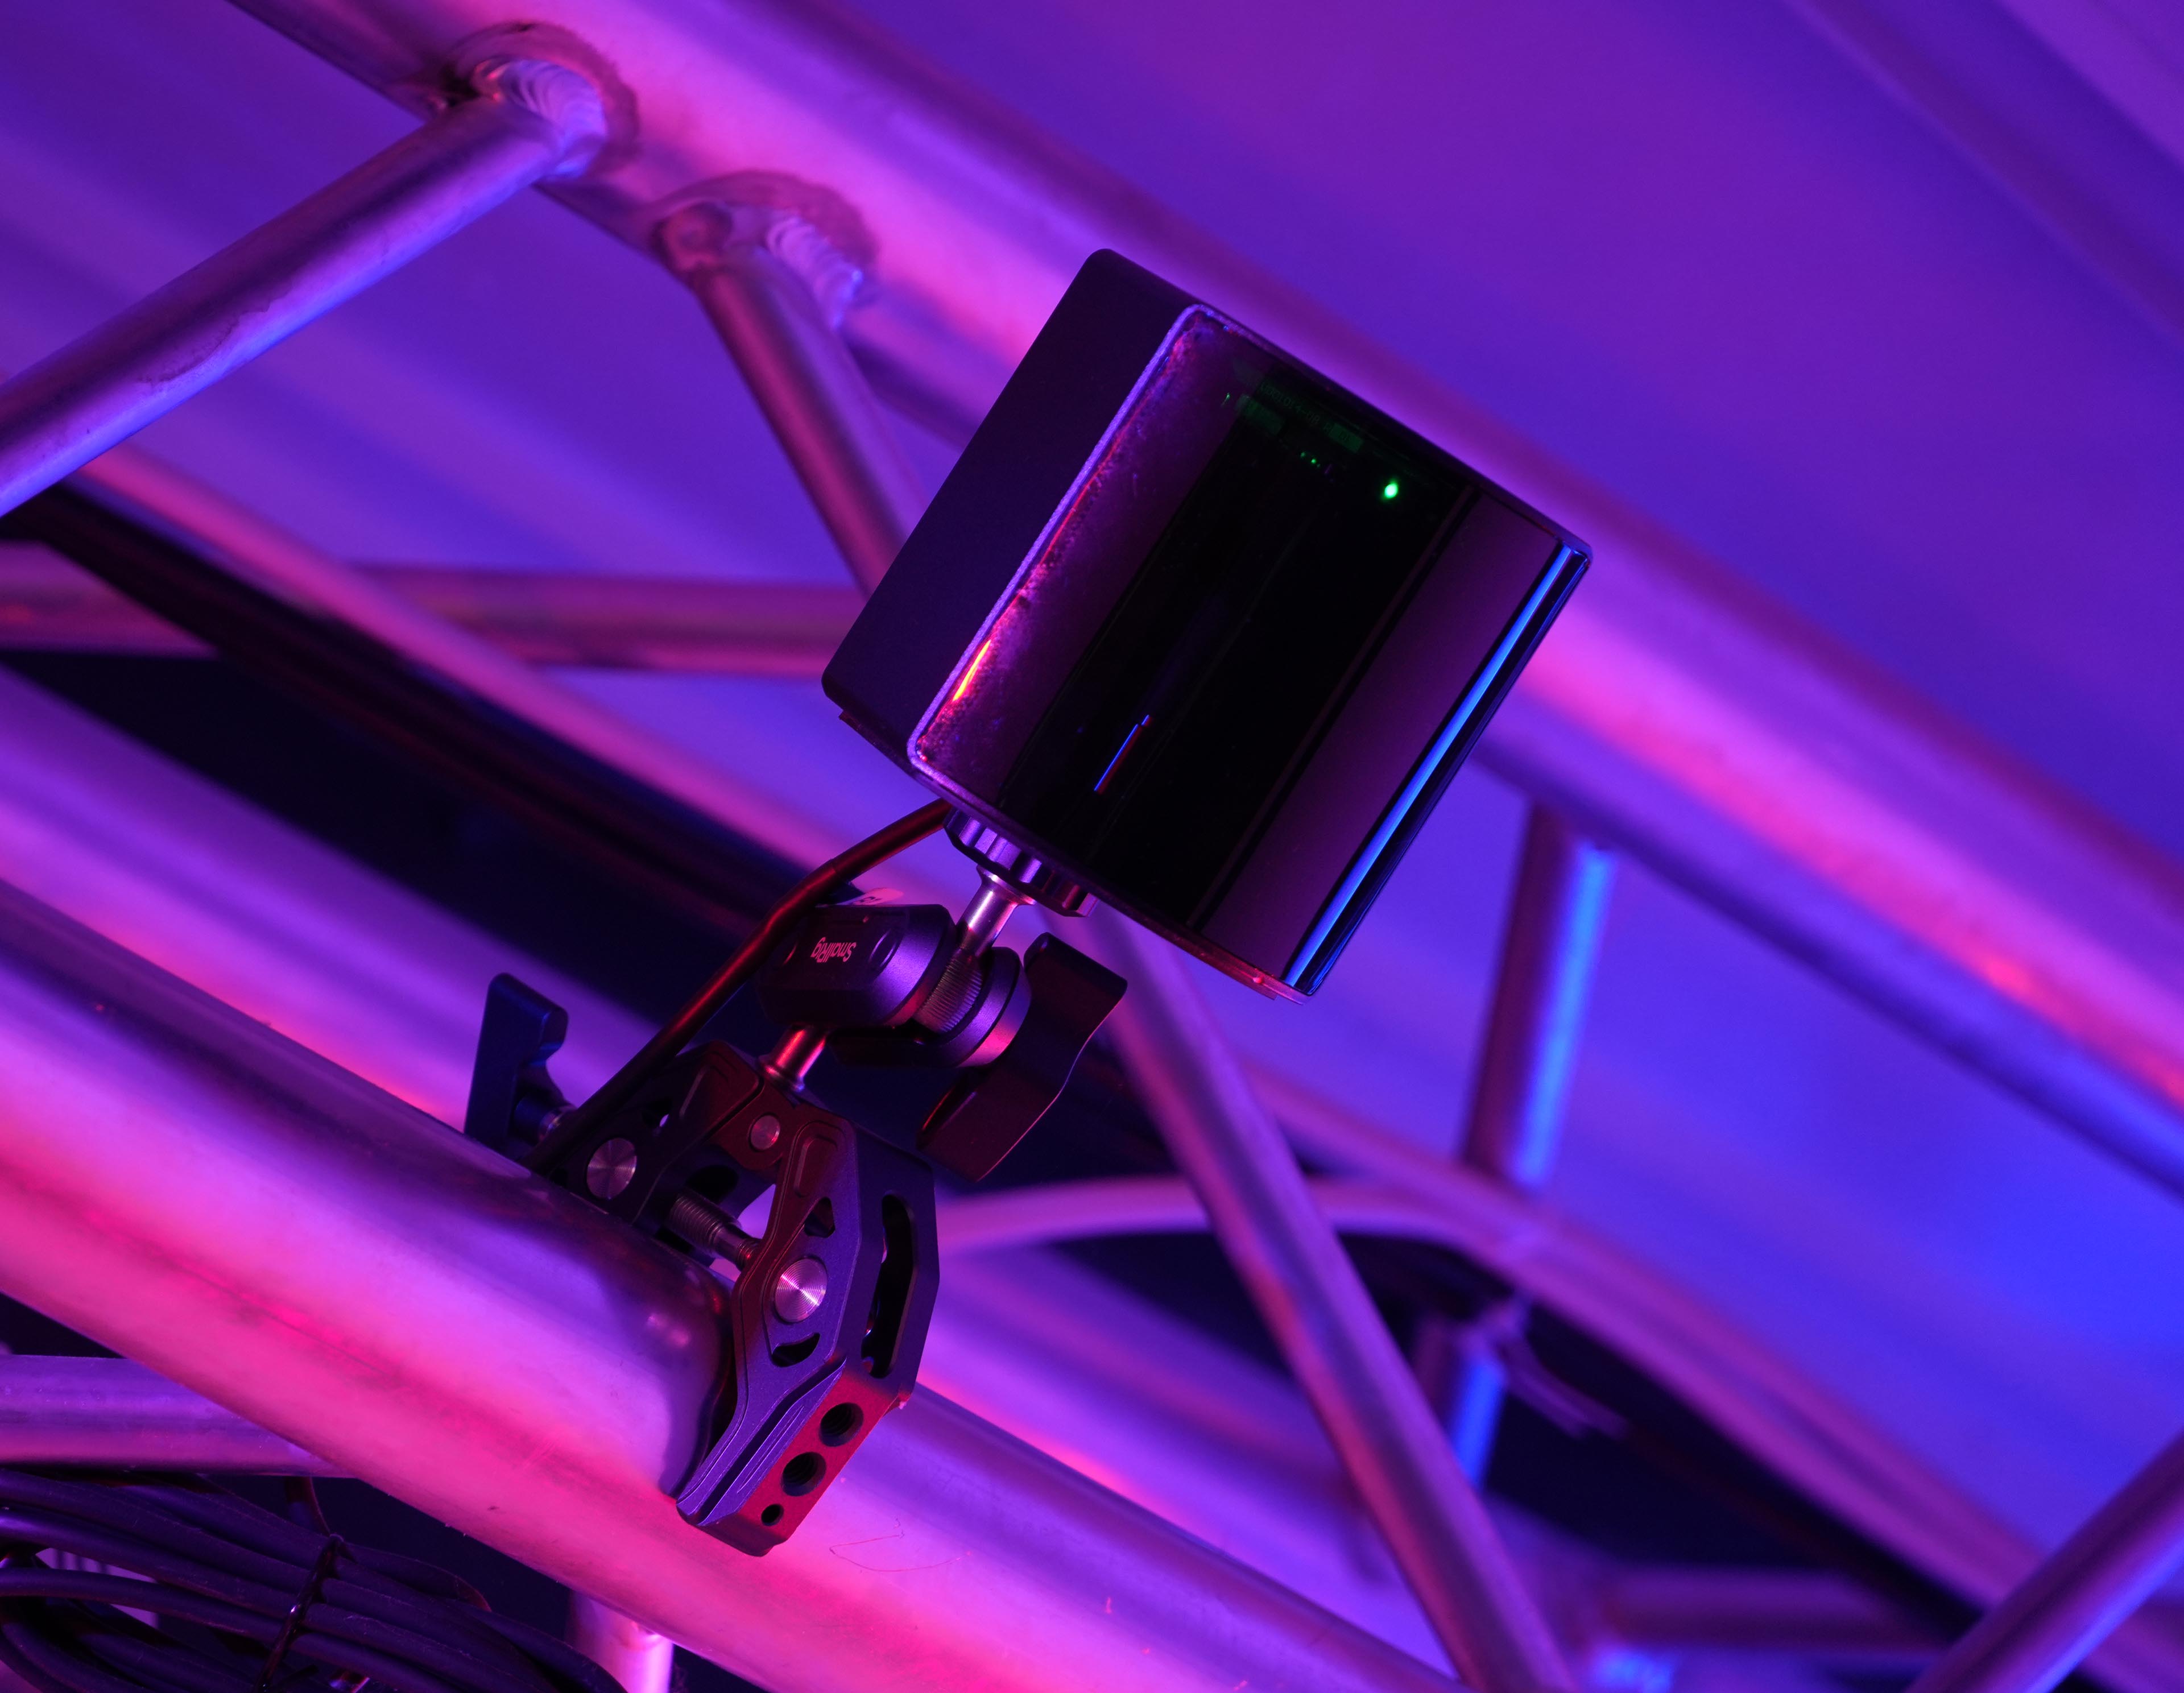
Trackable areas in Dark Lab:
- 4x base stations in VR area
- 4x base stations in projection area
(covering most of the Lab)
How to use our headsets
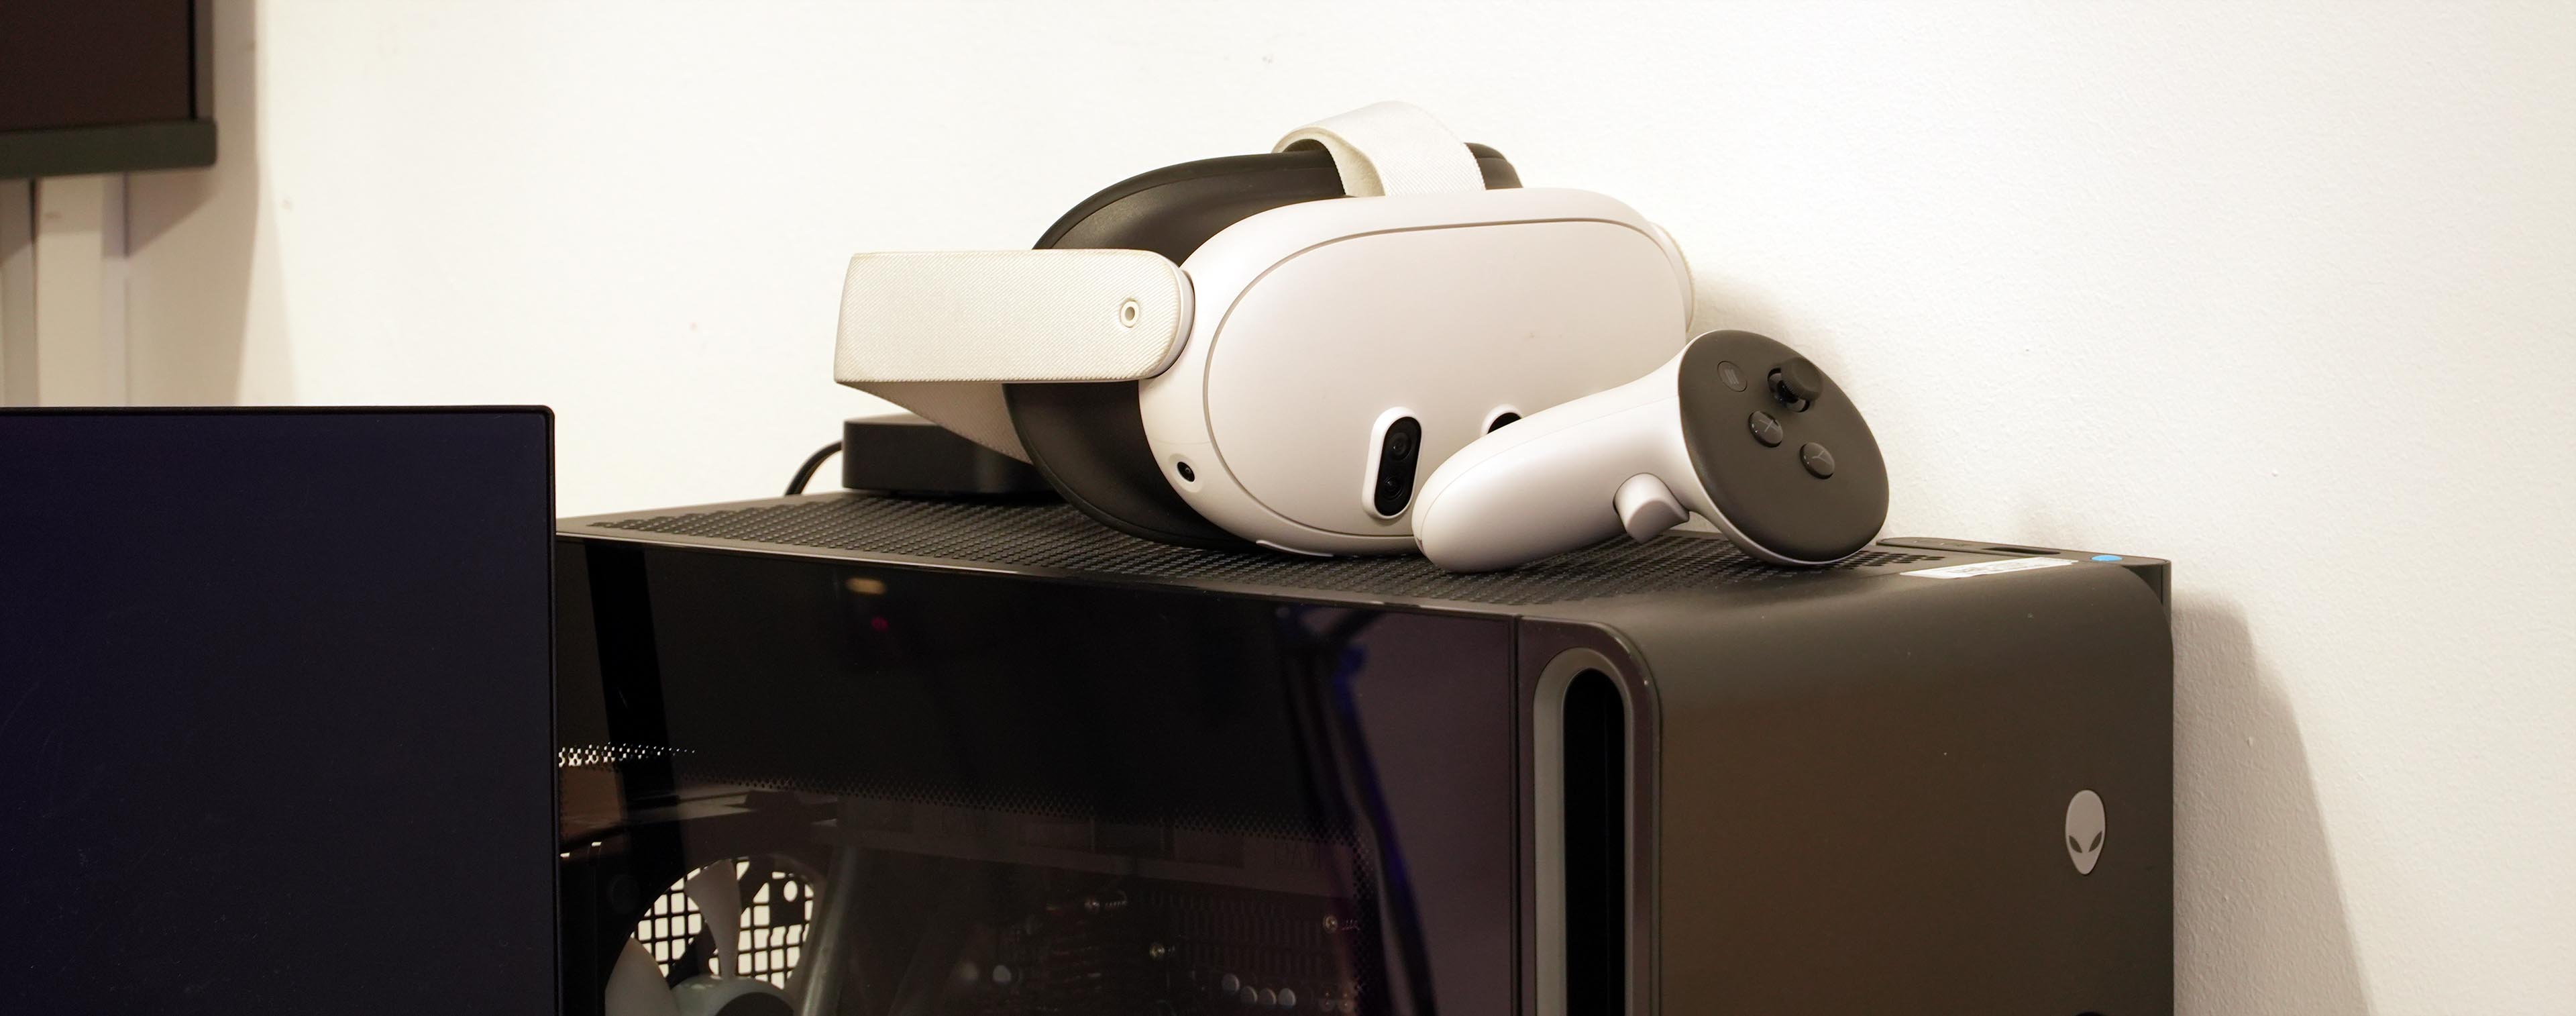
The VR area in the Dark Lab is set up with two stations. One features a PC-based VR headset, and the other a battery-powered standalone headset that can also do MR or 'mixed reality' - where you see the real world with virtual things in it.
The Quest can also be used for tethered PCVR through the provided USB-C cable.
Both stations feature a top spec gaming PC and a big TV for spectators.
The computers should be fully set up and good to go for VR development - or if you just want to have a go in VR!
Feel free to pop in anytime.
Getting started
For PC-based VR:
~ open and log into Steam
~ open SteamVR
~ make sure everything seems to be up and running in SteamVR:
~ install and/or fire up some VR applications!
For Meta Quest (as standalone device):
~ Just turn it on, using the button on the side of the unit
~ There should be a Dark Lab user account waiting to be used
~ Use either controllers, or your hands/fingers, to control the cursor
~ open the library button marked as below to view all installed apps
~ Download the 'Meta Quest Developer Hub' on your computer to more easily upload code samples, etc, to the headset.
For Meta Quest (connected to the PC):
~ Make sure the provided USB-C cable is plugged into the Quest
~ Run the Quest Link app and sign in. This might need to be the same account on both the headset and the computer.
~ Double-check that Meta Quest is the current VR runtime
~ Run Steam and sign in
~ Run SteamVR
~ install and/or fire up some VR applications!
PCVR vs. Standalone
Virtual Reality typically comes in two main forms:
~ PC-based; where a headset is connected to a gaming-style computer (usually over a cable, or sometimes WiFi).
The computer runs the applications, sending the video feed to the headset, which gives you the highest graphics power and performance at the cost of being bound to a PC.
~ Standalone headsets can run completely independently; wireless and off battery power. The tend to use camera-based 'inside-out' tracking, allowing them to be used without needing tracking base stations in the room. The downside is that everything runs off what is essentially a mobile phone processor, so the graphics and processing power will be less compared to PCVR.
Getting started in VR Development
This section is a work in progress!
Both Unity and Unreal Editor have empty VR project templates that you can choose when starting a new VR project.
You can also convert an existing project to VR; usually this involves swapping or converting your main camera to an 'XR camera rig'.
Both Steam and Meta have some great developer resources and guidelines.
SteamVr / OpenXR / Meta (Oculus)
Getting into VR development can be confusing with all the various protocols and APIs.
The way it works is: you develop your project or code to use 'OpenXR', which is becoming the main platform for Virtual and Mixed Reality applications.
Each headset comes with 'VR runtime' software that can interpret OpenXR apps and run them on the actual hardware (similar to driver software for your webcam or printer).
On Valve / HTC Vive headsets, the runtime is SteamVR. For the Quest, it is the Meta Quest runtime.
(OpenVR, Steam's original SDK / API has now pretty much been superceded by OpenXR. Both are implemented in the SteamVR runtime though)
- Unreal / Unity standard project templates
- Convert existing project to VR
- setting backends etc