Vive VR Trackers (body / object tracking)
Vive Trackers are little devices that can track their position and orientation in the room, in real-time.
They rely on HTC's base station VR tracking system, which gives them extremely high precision at essentially zero delay.
You can attach them to anything you want to have tracked, e.g. your body, a camera, object, etc.
Just make sure they are visible to the 'base stations' mounted all around the lab!
These trackers connect to either a PCVR headset, or a USB receiver dongle connected to your computer.
You don't need a VR headset to use them, and they are compatible with any software that supports OpenXR/SteamVR/WebVR (including Unity, Unreal, TouchDesigner, most programming languages).
This tracking system is set up all around the Dark Lab - but we also have a version of these trackers that can work anywhere, including outdoors! (see Vive Ultimate Tracker)
One of eight 'HTC Vive Base Station 2.0' in the Dark Lab

How to use
1) Getting Ready
First things first — make sure:
~ your Vive Trackers are charged and turn on.
~ you have Steam running, and SteamVR installed.
~ you have either a compatible (Vive/SteamVR) headset plugged in, or the USB receiver dongle (one for each tracker).
2) Pairing your VR trackers
Wireless VR trackers (and controllers) need pairing just like any Bluetooth device. This is done through SteamVR.
TL;DR: SteamVR Settings > Devices > Pair Controllers > I want to pair a different type of controller.. > HTC Vive Tracker and follow the steps. You’ll know it’s good to go when the LED light is solid green, and your tracker shows up as 'currently tracking' in your SteamVR app.
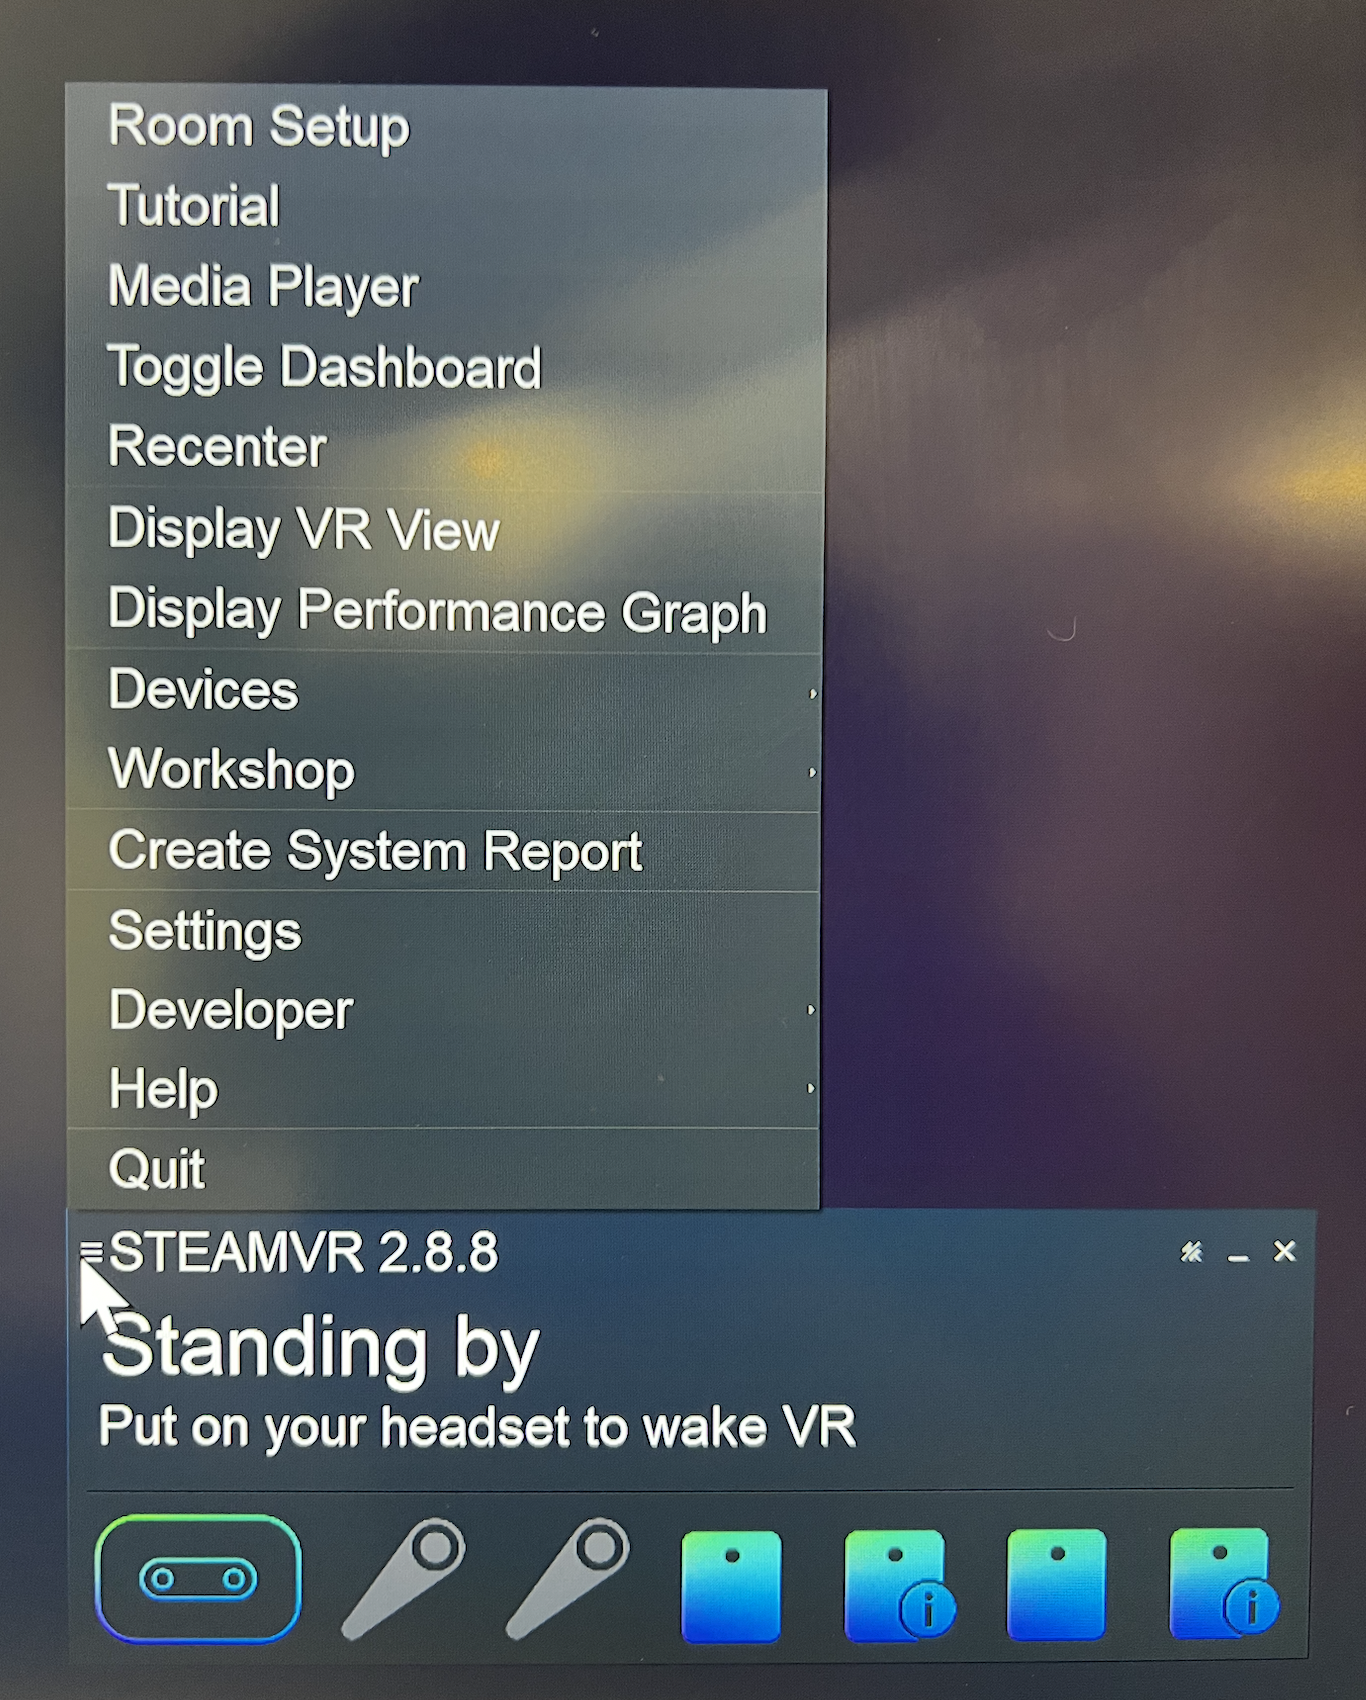
- Click the 3 little lines on the top left of the SteamVR desktop dashboard window to open the SETTINGS.

- Then go to Devices, chose pair your contrllers, click on I want to pair a different type of controller, then select HTC Vive Tracker.
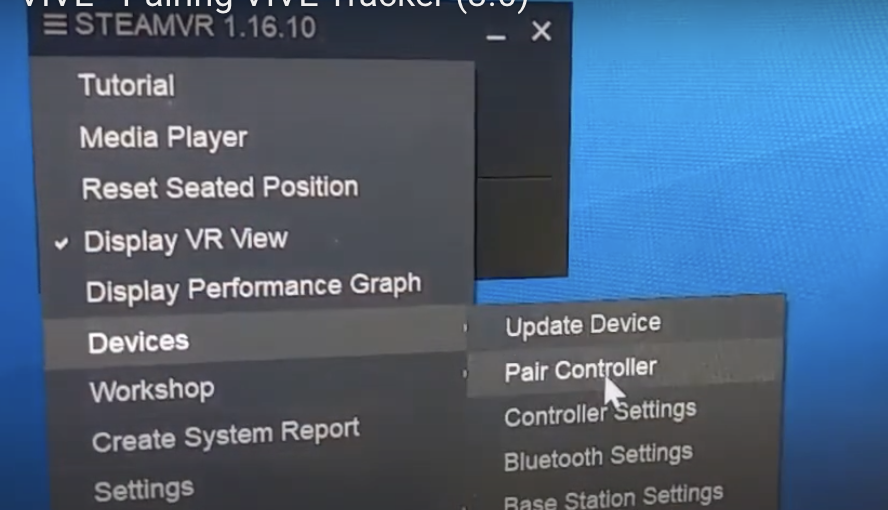
- Turn on the Tracker.


3. Assign Tracker Roles
Your tracker should now be tracking, and a little icon for it should have appeared on the SteamVR GUI.
Now let’s tell SteamVR which tracker does what:
- SteamVR Settings > Controllers > Manage Trackers
- Assign the roles like this:
- Waist →
waist - Left Foot →
left_foot - Right Foot →
right_foot
- Waist →
This will tell other software what the tracker is attached to, so it can assign them to the correct body parts or game objects.
VR tracking in Unreal Engine
1) Set Up the Plugin
- Double-check that SteamVR is running.
- Open Unreal Engine and go to Edit > Plugins.
- Find and enable OpenXR Vive Tracker.
2) Integrate with Unreal Engine
- Open your project’s blueprint.
- Locate the Motion Controller component.
- Add a Live Link component to stream tracker data.
- Make sure the Role matches the SteamVR assignments.
3) Find and Link the Prawn Asset
- Connect the prawn’s motion controllers to the corresponding trackers. You could check here for more details Fixing Live Link XR in Unreal Engine 5.2 and 5.3
- Open the Content Browser.
- Search for prawn, and follow the tutorial video.
4) Test and Calibrate
- Run your project in VR Preview.
- Do some basic movements to check if everything tracks correctly.
VR tracking in Unity
Vive has a great page explaining how to get things fully up and running in Unity right here!
We also have been using EasyOpenVR as a simple means to get tracking data into C#.
We will be posting some CCI code samples shortly.
VR tracking in TouchDesigner
TouchDesigner has built-in VR support. Some of it might seem a bit dated, but it should work for our trackers.
See the following pages on Derivative's website for more:
TouchDesigner VR Support
TouchDesigner OpenVR
Useful links:
~ OpenXR Runtime Switcher if you work with different VR backends, like Meta Quest and SteamVR
For the full official tutorial, please refer to: