Ruby: Design Array
One of the most useful features in Ruby is the ability to automatically create a repeating grid from your design as a job. Trotec call this a Design Array, but you might also call it a grid, matrix or repeat.
When making a simple design like our key chain one of the most common things to do is to make lots of the, and it's also a really easy way to make a mistake as you copy and paste multiple files and have to update the duplicates too when any changes are made.
The Design Array feature in Ruby does this for you, allowing you to specify the number of repeats in an X and Y axis, as well as the spacing between them, the offset from any corner of the laser bed, and also an alternating offset which allows round objects to be interlaced to save space.
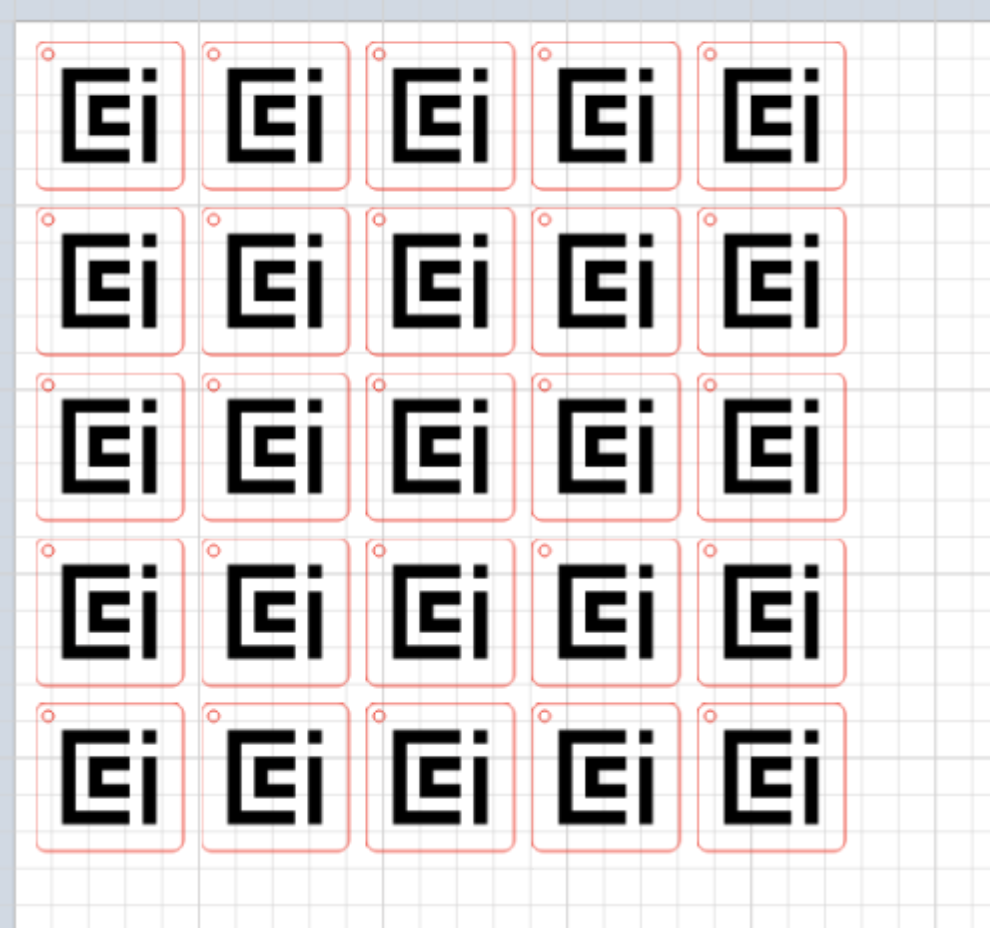
In this example you can see a 5x5 grid of our key chain design with a 5mm wide and tall margin from the bed, and from one design to the next:
How to create a Design Array
- Create a new job / open an existing job
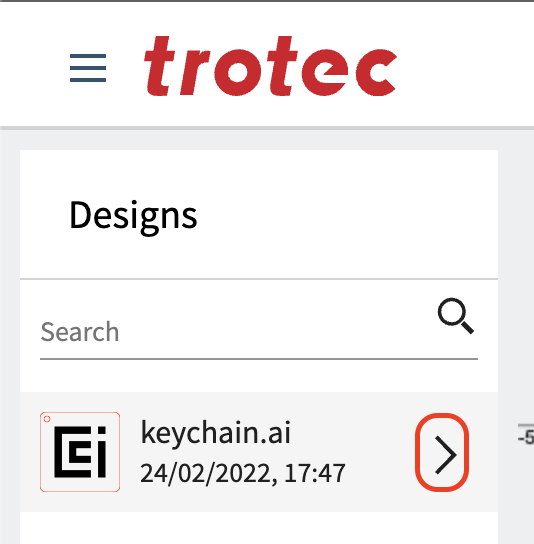
- Find the design in the left side bar.
- Double click the arrow:
- Choose your options:
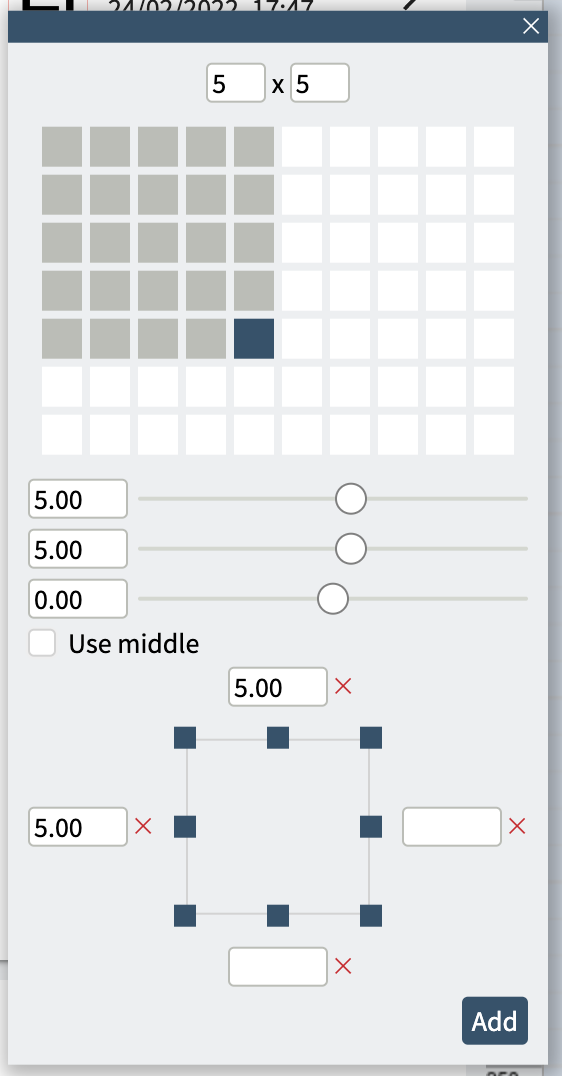
- Press Add
Now your Design Array is created. This is a one time process which means if you change the design or want to change the array parameters you'll need to start again.