Step 4 - 🌟🌟🌟Check the machine before you started
3D Printing Workflow Manual
From slicing to post-print care — applies to UltiMaker Cura 3D printers.
Before You Print
- Unnamed files will be aborted. Bring your laptop and a USB drive and name your print as
yourSlackUserName.ufpbefore saving to a USB drive. - Talk to the Digital Fabrication Technician (Yuwei) about your project before printing.
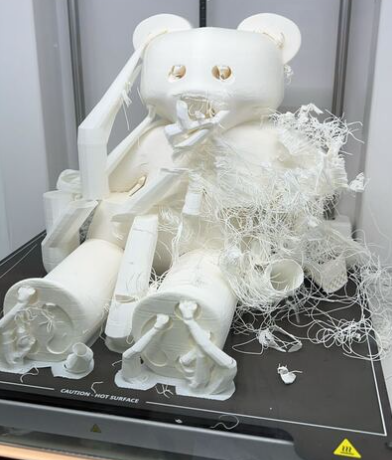
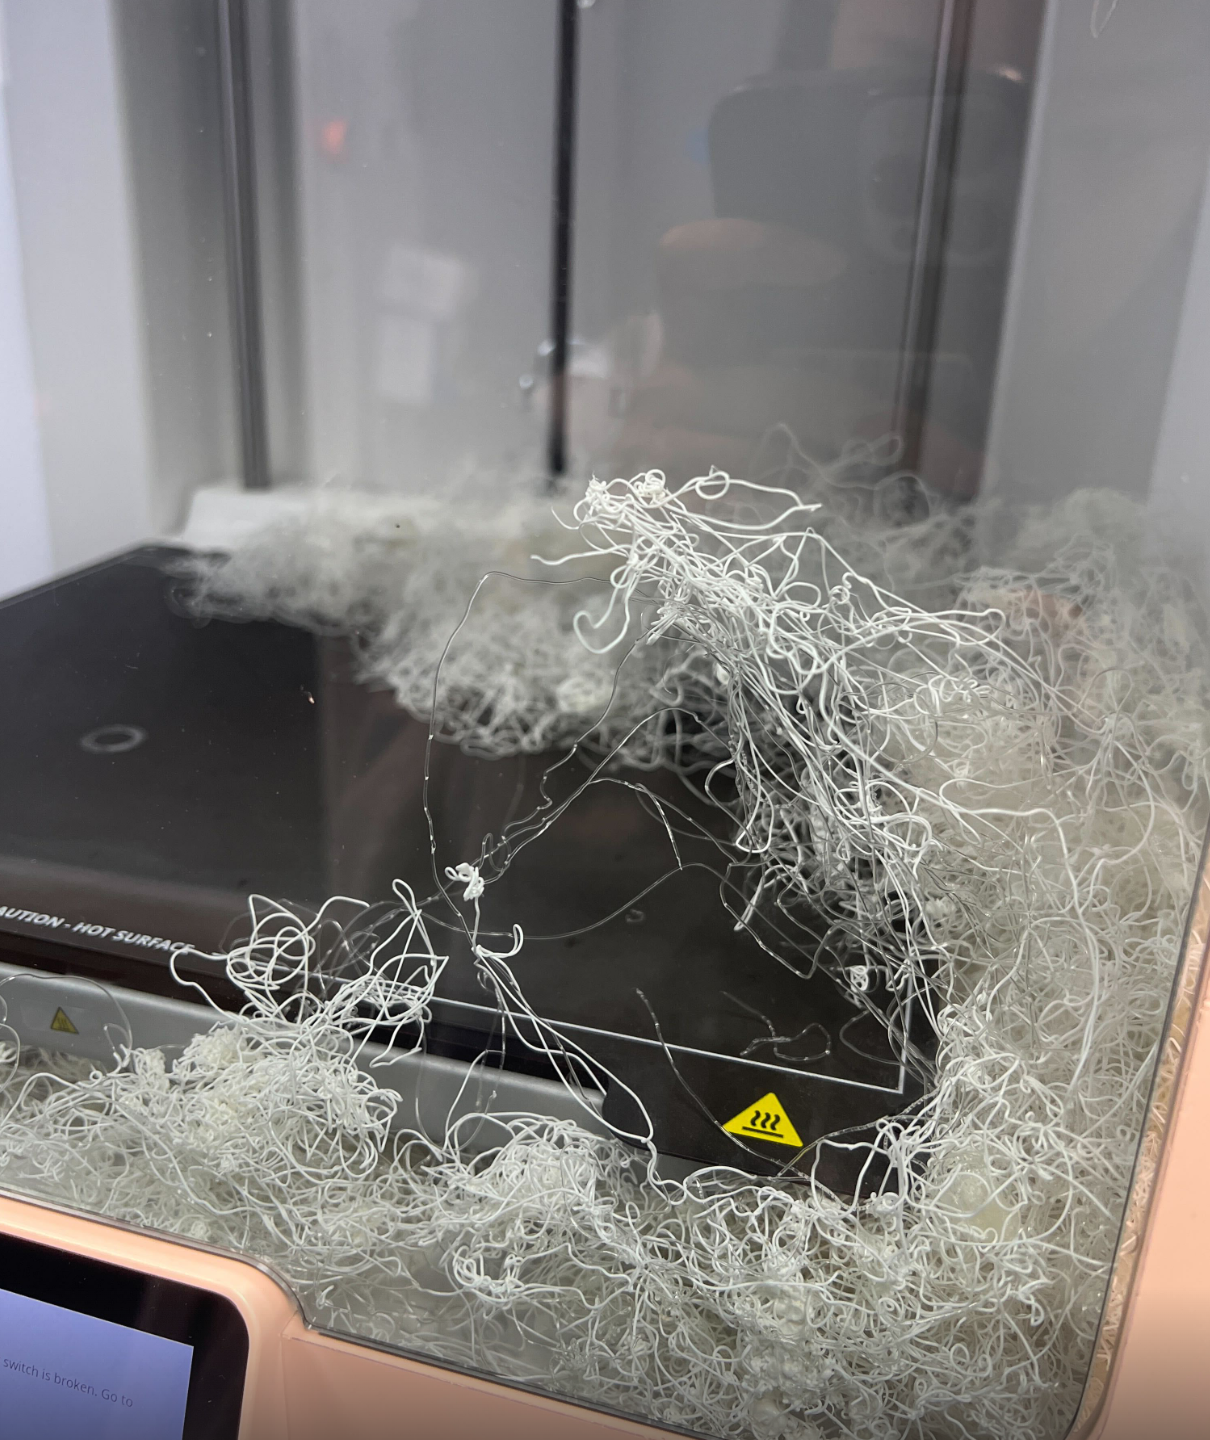
- Always do a small test print before the final, larger one — or this might happen 👇
If the filament continues to be wasted, we have to either suspend your access or charge for the material. Please use our free resources responsibly, so everyone can benefit.
- Slice in UltiMaker Cura (set material, temperature, nozzle, supports, infill, etc.).
- Export the print file as .ufp and name it exactly:
yourSlackUserName.ufp - Save a project copy as .3mf to keep your Cura settings for future edits.
- Copy
yourSlackUserName.ufpto a USB drive. Unnamed files will be aborted. ()
At the Printer: Pre-flight Checks
- Build plate seated — all four alignment pins must drop into the holes.

5. **Never scrape** the plate with tools. If residue remains, please talk to Yuwei.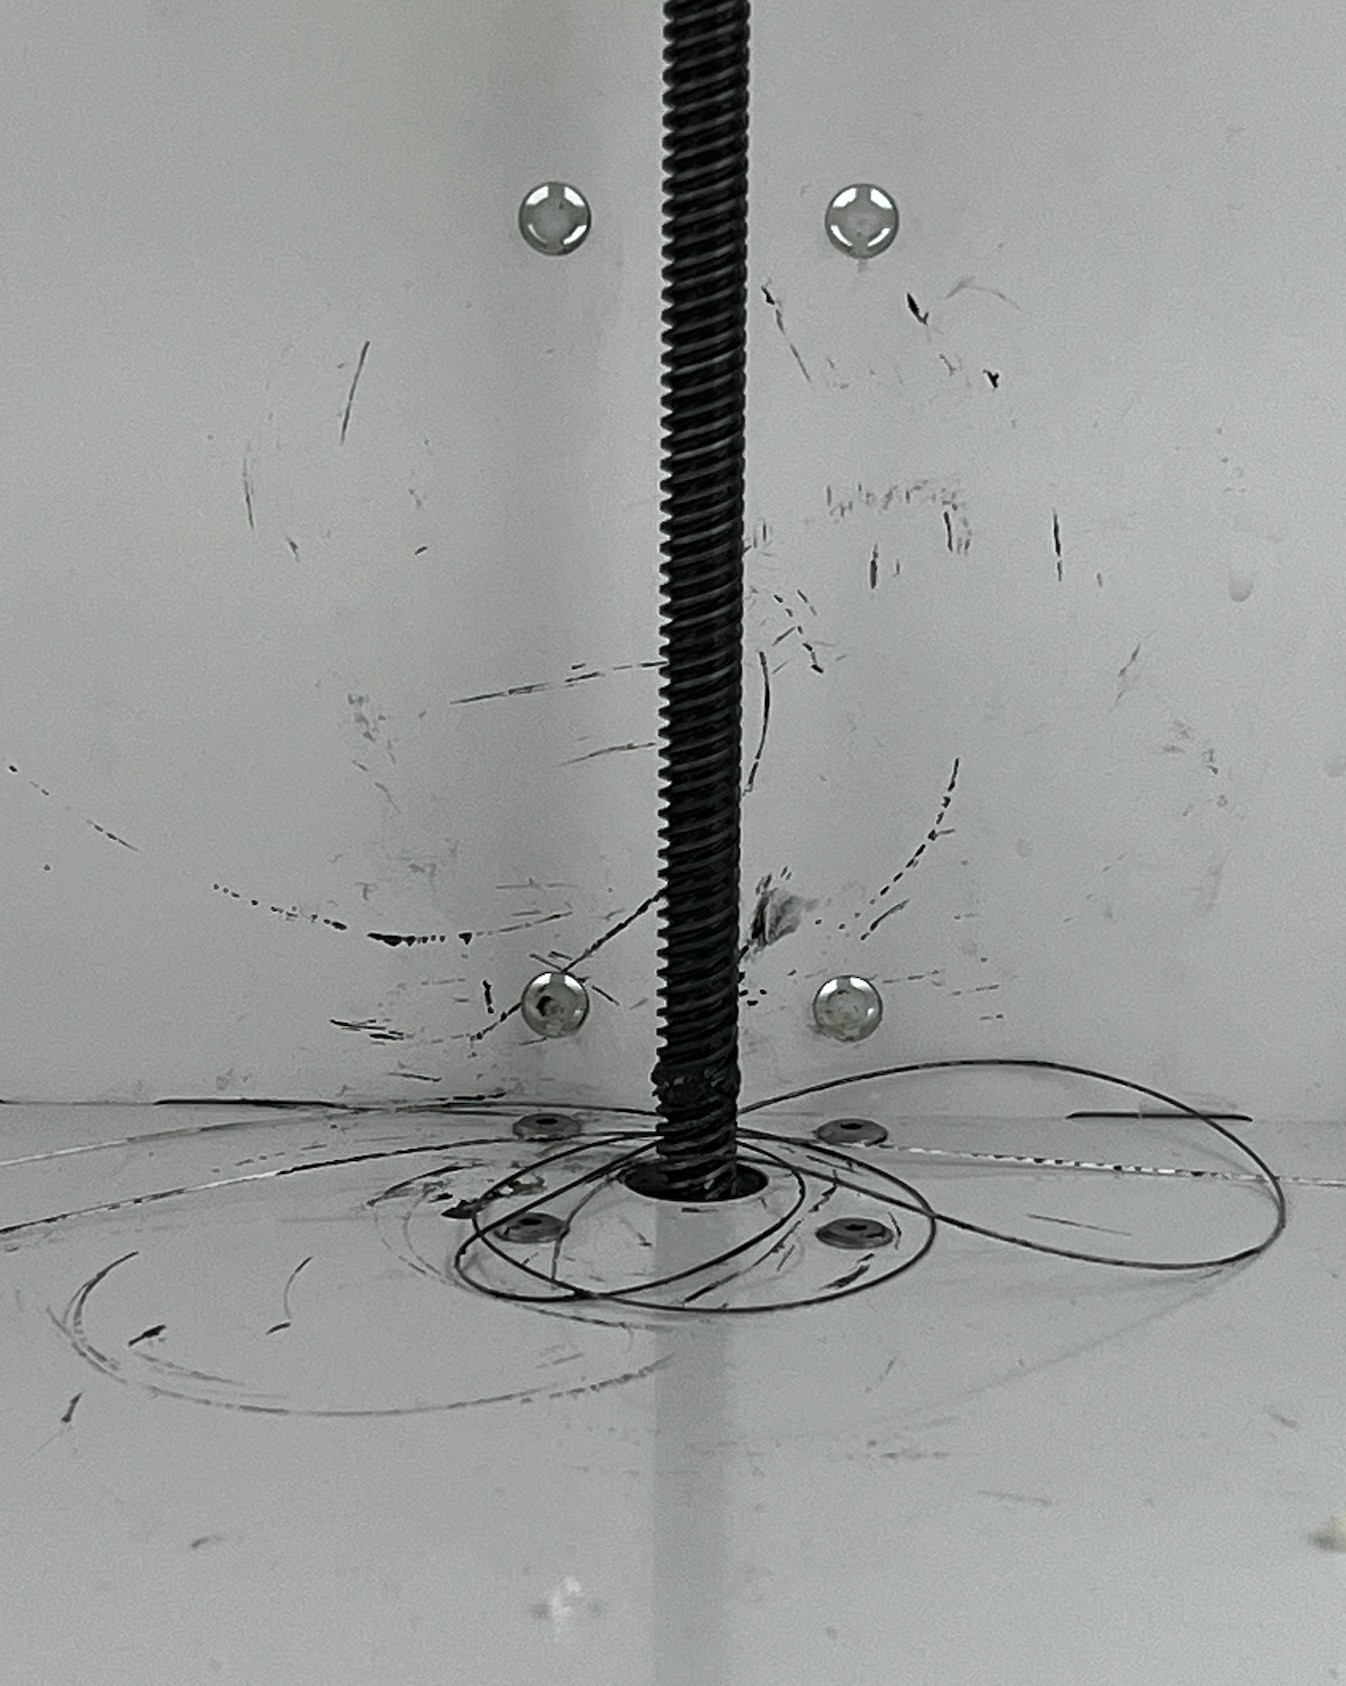

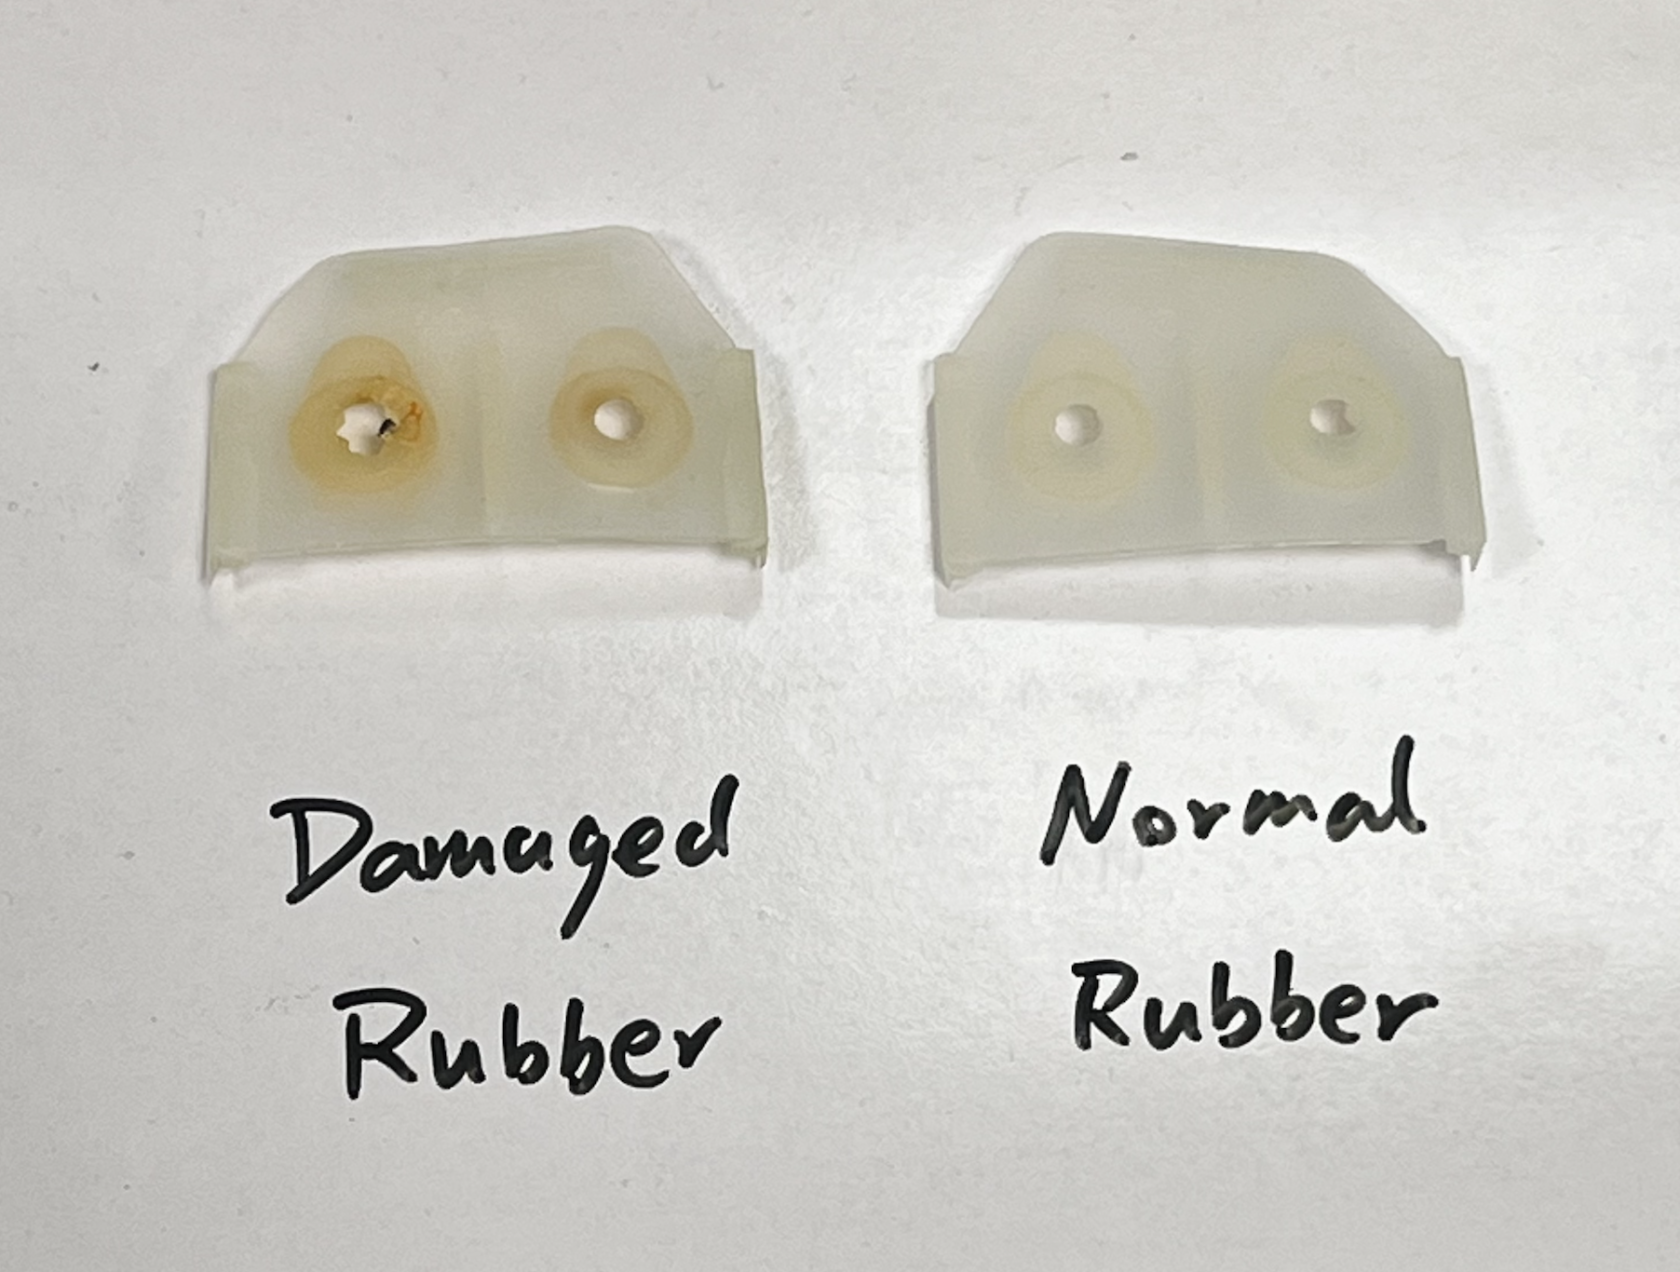
7. **Inspect the print head rubber (silicone shroud/wiper)** — if broken, report to Yuwei before printing.
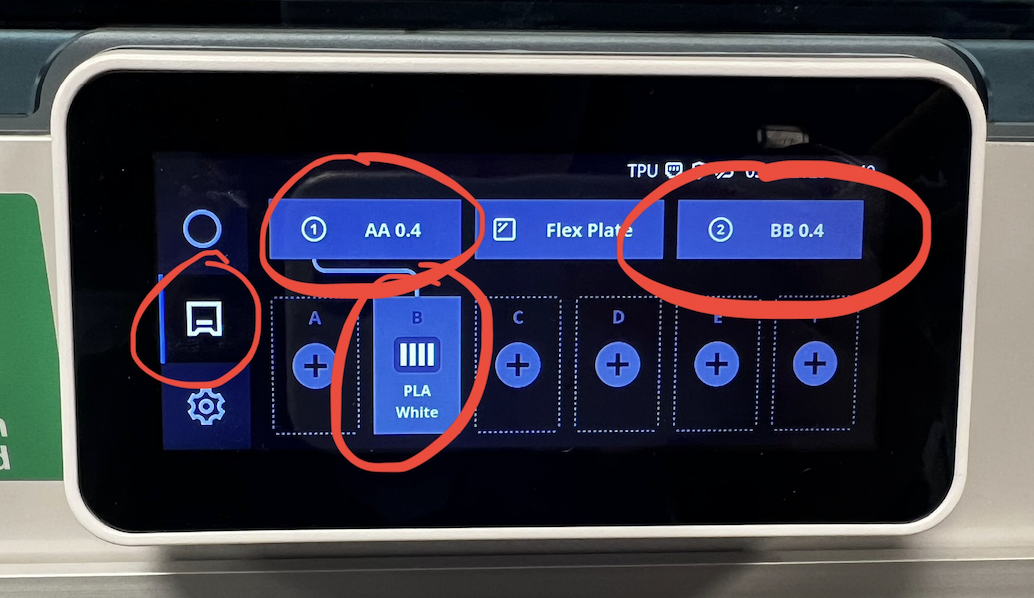
- If the screen shows “Conflict”:
- The filament or nozzle/core (AA/BB) does not match the profile.
- Check the screen for allowed material/nozzle.
- Speak to Yuwei if changes are needed.
During Printing
- Stay nearby for the first few layers to confirm proper adhesion.
- If anything looks wrong, pause or cancel immediately and ask the Technician.
✅ After Printing
- Wait for the build plate to cool — most models will be easier to release once cold.
- Do not use sharp or hard tools on the build plate to pry models off.
- If stuck, wear gloves, remove the build plate, and place it on a table to cool faster.
- Remove the model gently once cooled.
- Always return the build plate to the machine. A damaged plate cannot be reused.
- Clean the printer: remove stray filament and check taht the build area is clear.
- Inspect the print head rubber again. Report damage to Yuwei immediately.
- Press the confirm removal button after you have finished those steps
