Metal to Fabric Connections
A big challenge with integrating electronics into textiles is making a good and durable connection between a metal wire/component and the conductive yarn/thread. Below are a few examples of how this can be done.
You can find even more examples here.
JST crimps
If you have used JST connectors before, this uses the crimps to securely connect strand core wire to conductive thread/yarn (if you haven't used JST connectors before ask a technician to show you before trying this).
- Strip and trim the wire as normal
- Tie the conductive thread in a knot around the striped part of the wire as below.
- Holding the thread in place, crimp the wire as normal. This should lock the thread into the crimp with the wire, creating a secure connection.
This method works best if you connect the thread and wire before sewing as trying to do this when the thread is already connected to the fabric will be very tricky. This method is quite fiddly and takes a bit of practice so if you would like some help, speak to Rosie.
Pros: strong and reliable connection, sleek and small for more intricate designs such as wearables
Cons: fiddly, time consuming, permanent

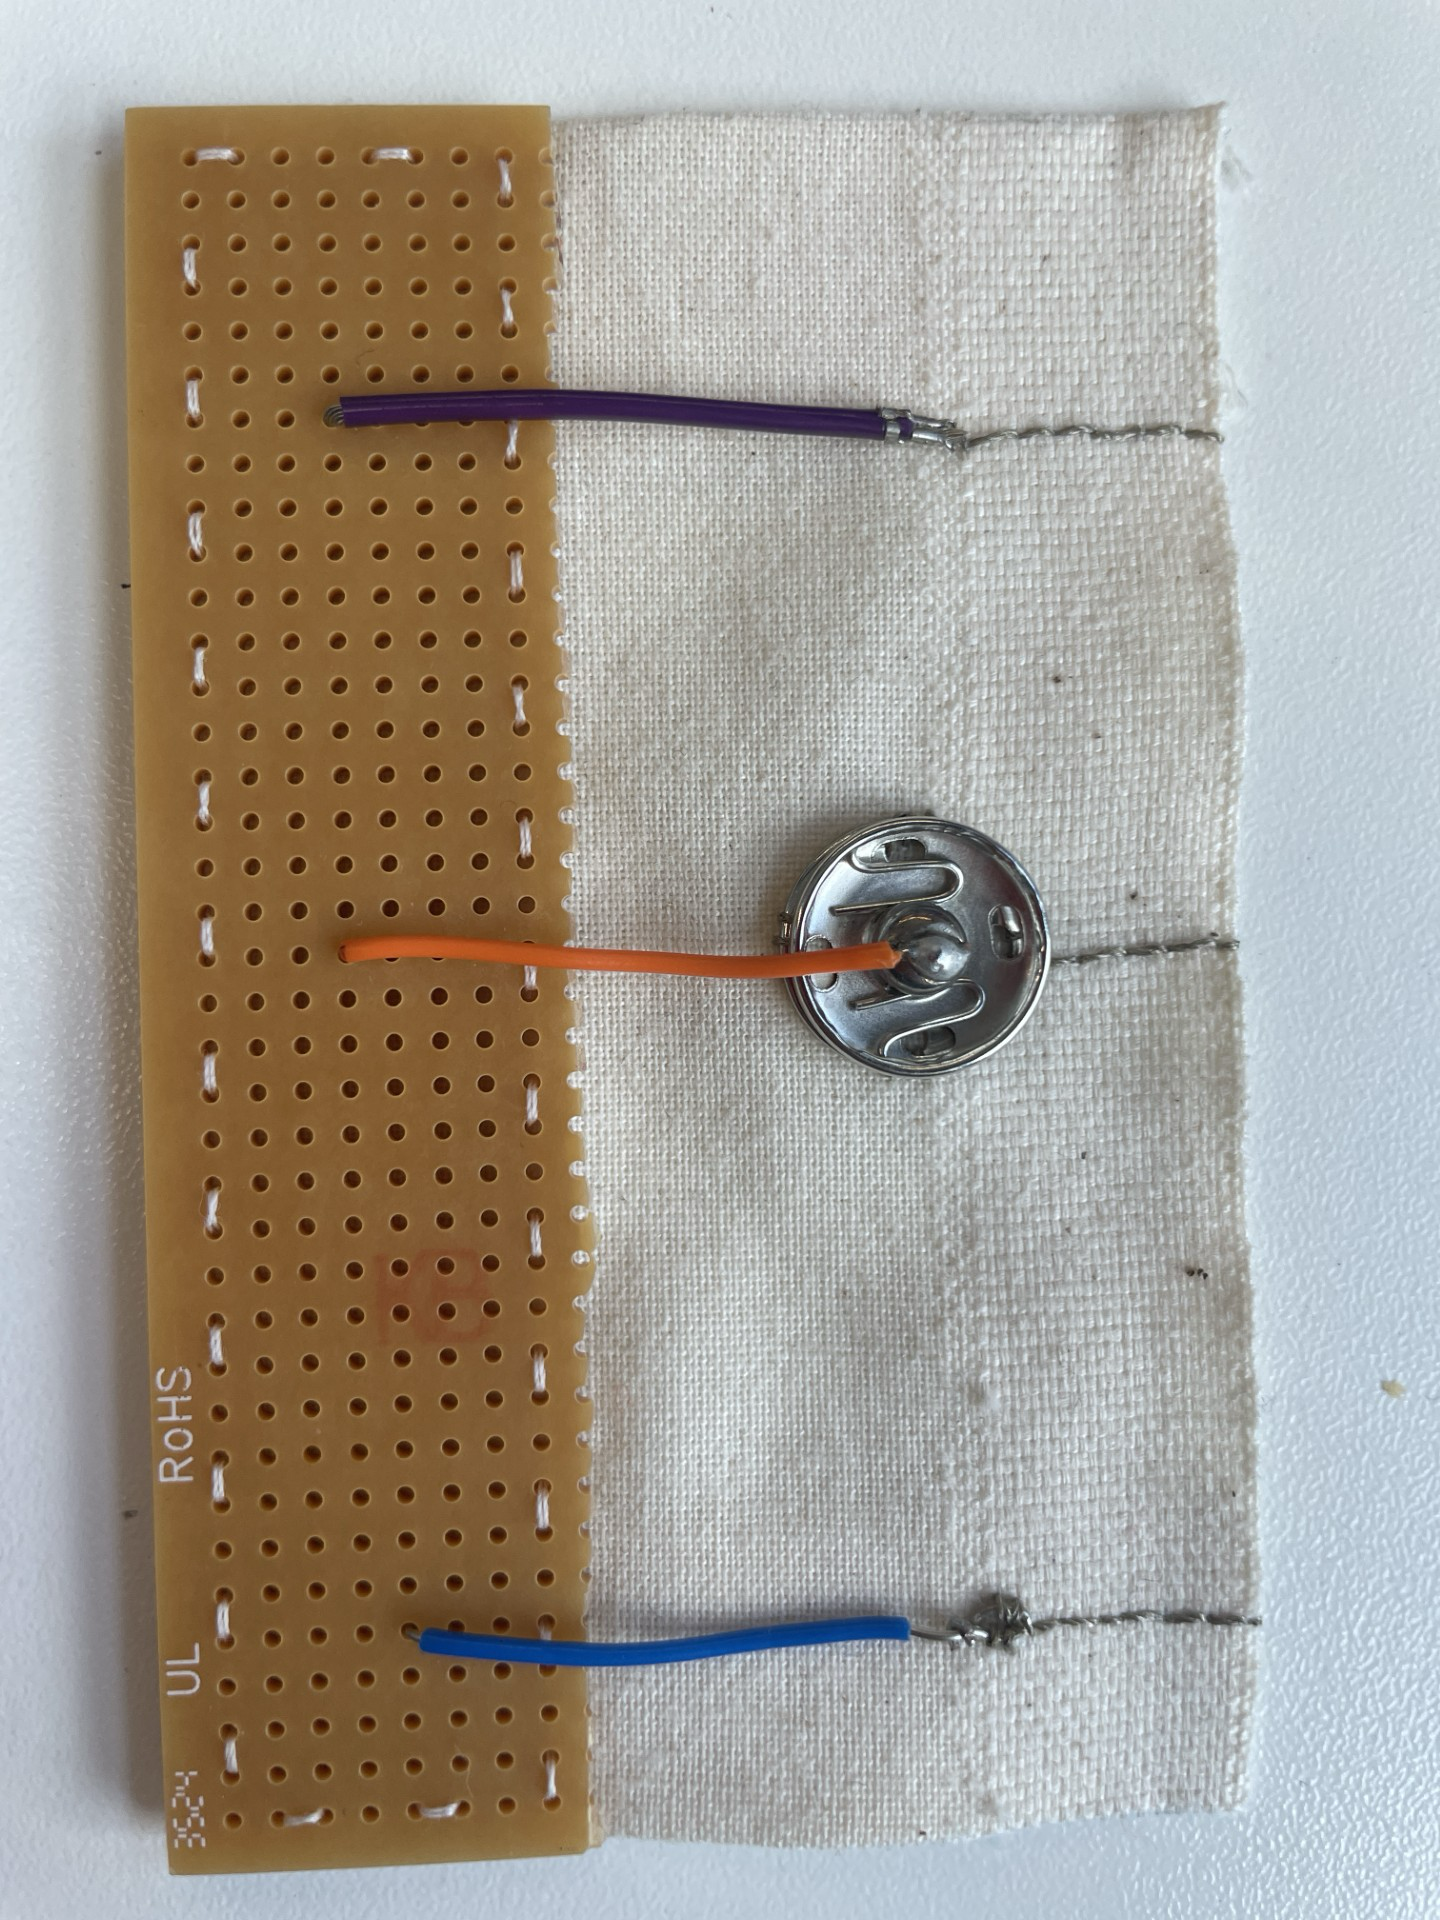
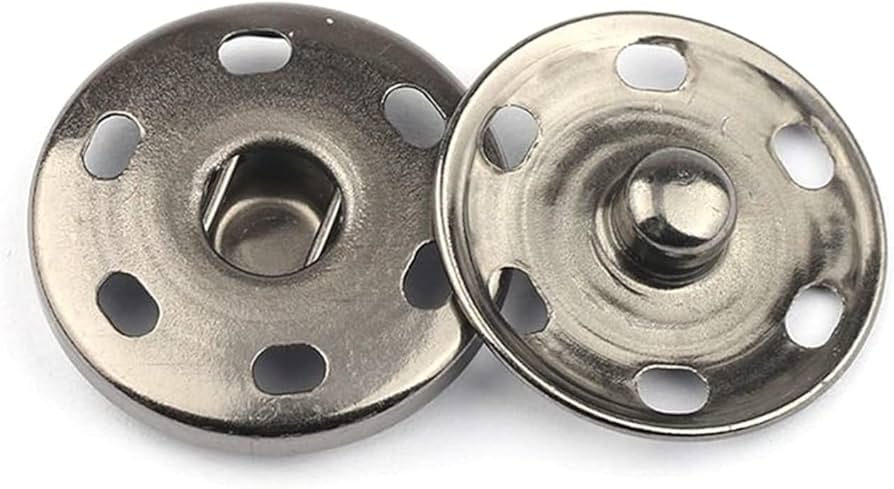
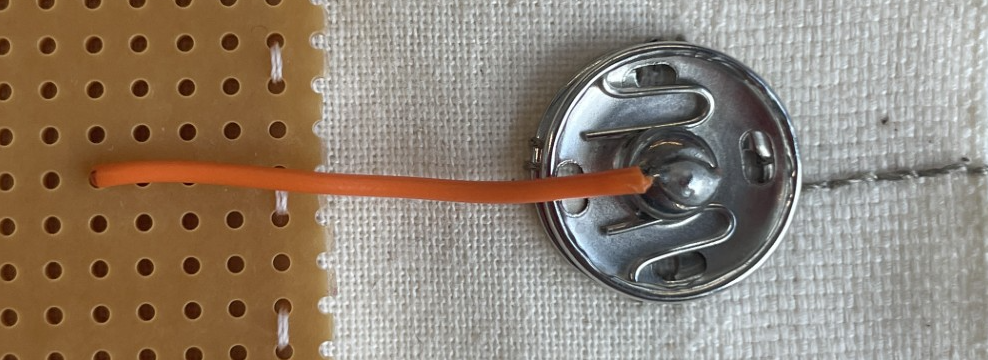
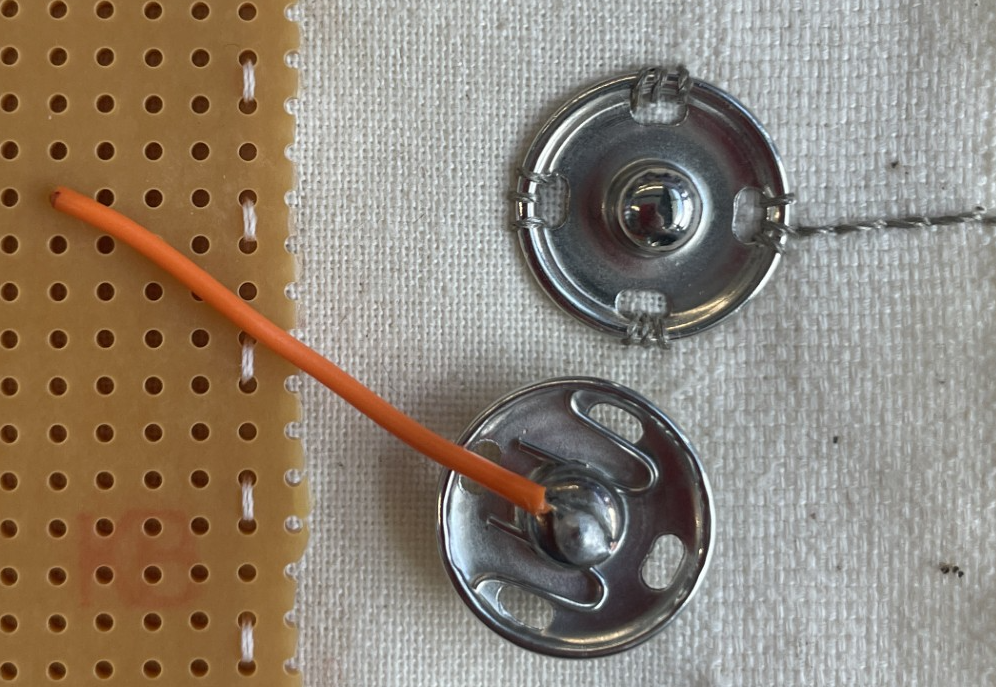
Sewable snaps
By sewing one side onto your fabric with the conductive yarn/thread then soldering a wire onto the other, you can create a very reliable connection that can also act as a switch.
Pros: can be disconnected making things easier to move around, can act as a switch as well
Cons: bulky (depending on the size of your snaps), sometimes the snaps can wear out after repeated use making the connection not as reliable.
Hand sewing into a loop
This is the simplest method but the least reliable.
- Strip about 2cm of the wire
- Use pliers to bend and twist it into a loop
- Sew through the loop with the conductive thread or yarn
Make sure that you are sewing nice and tightly around the wire in order to get the most reliable connection.
Pros: reasonably fast
Cons: can be unreliable if not tight enough, permanent
