Ruby: Design Screen
Once you open the design in Design Screen you should see the artwork you've created. You will be able to see artboard size, as well as all the colours and lines were all retained.
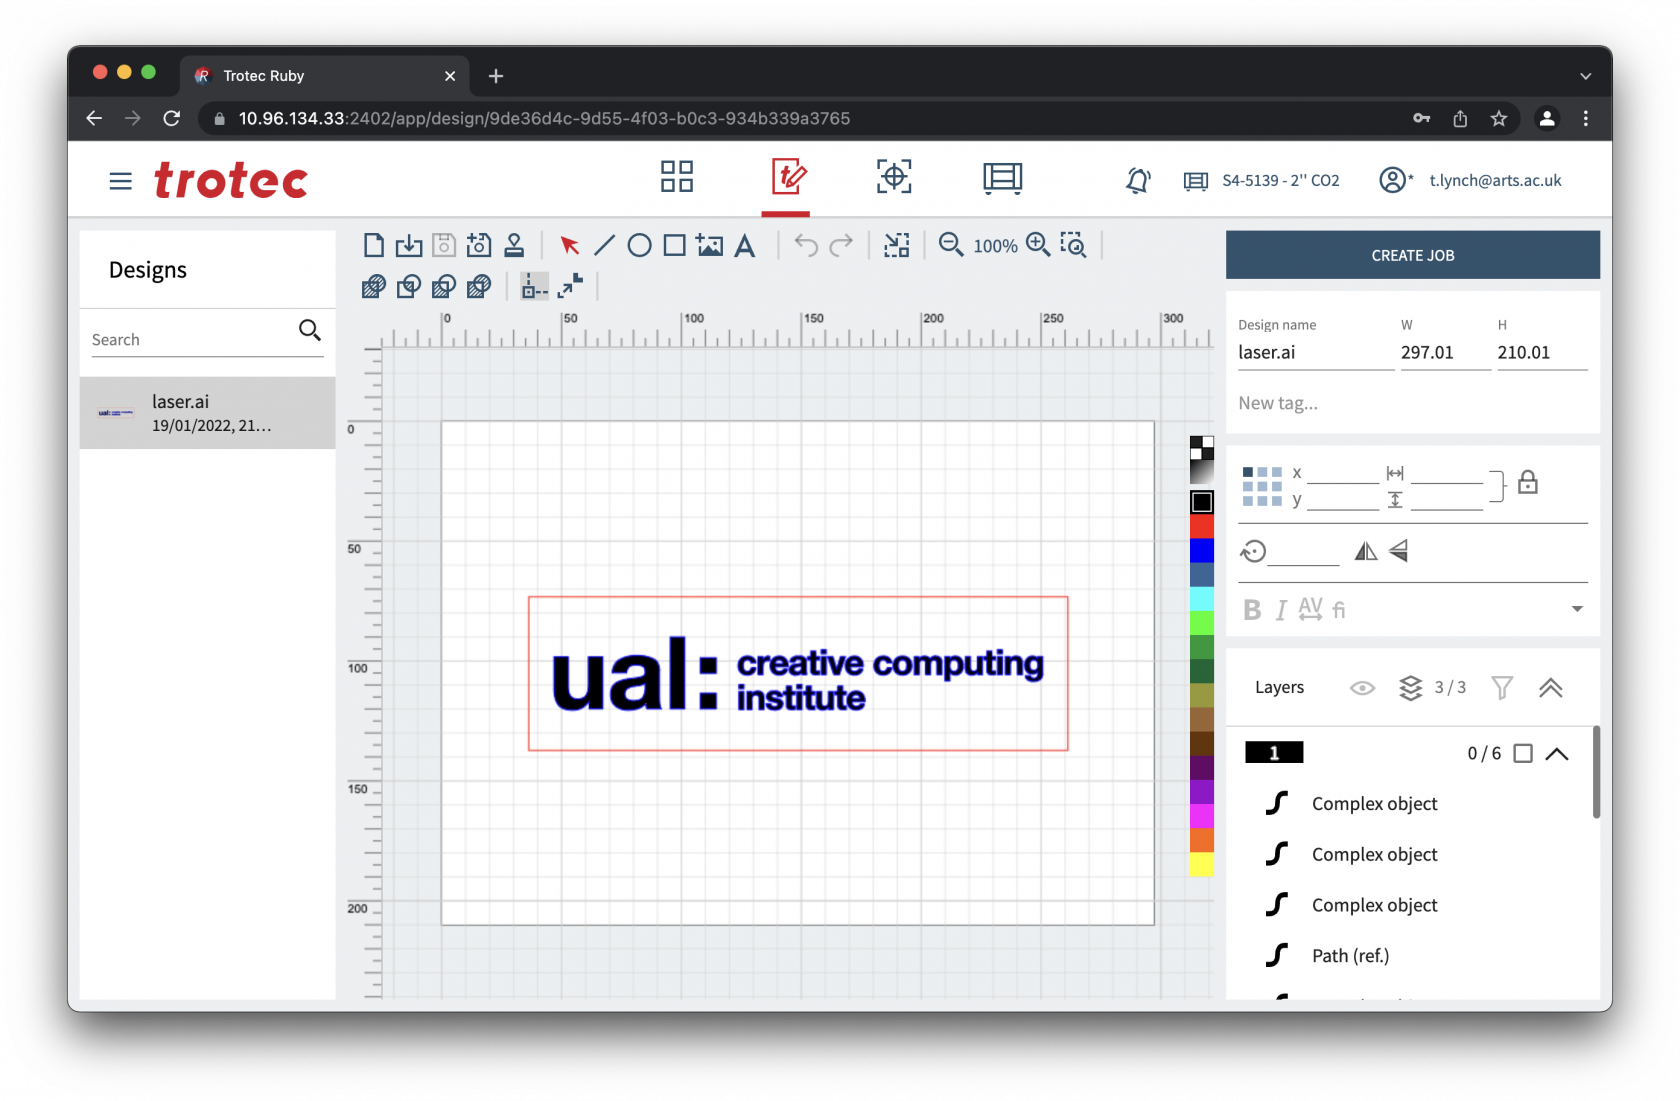
The design screen is split into 3 columns:
- Left: Design browser
- Middle: Work area
- Top: Toolbar
- Bottom: Work area
- Right
- Top: Design name and tags
- Middle: Object parameters
- Bottom: Layers
Toolbar
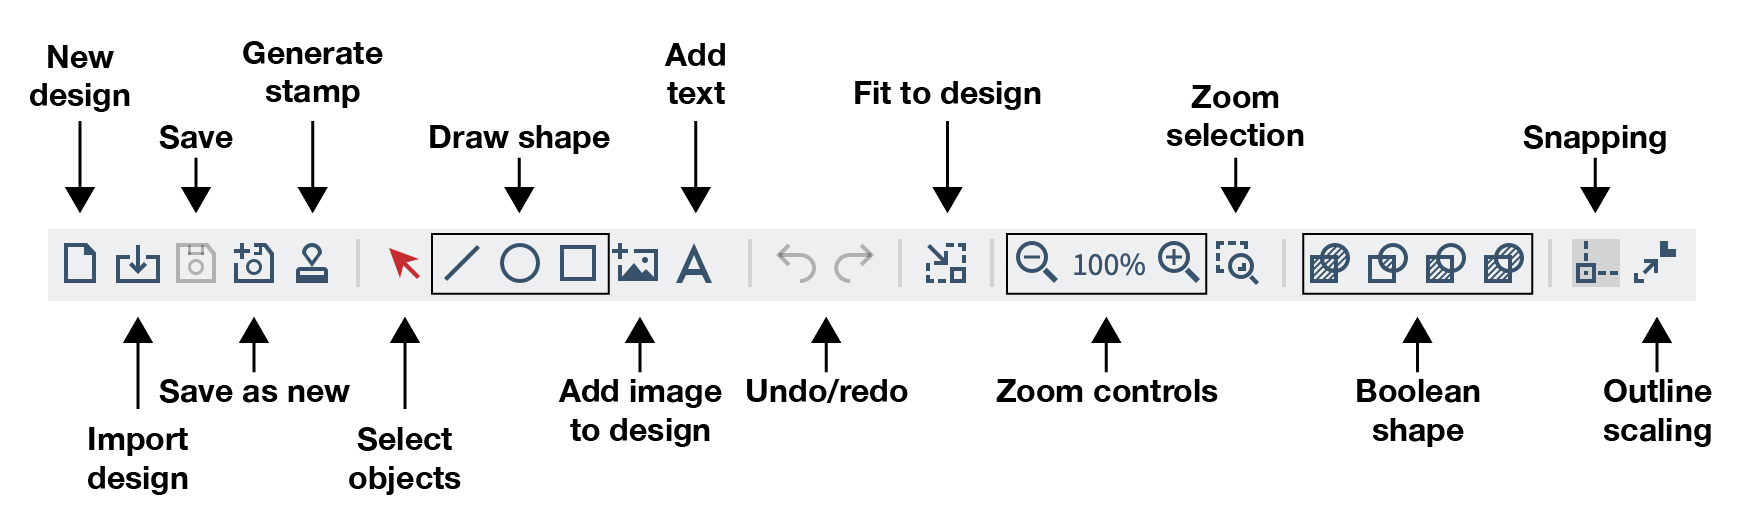
- New design - Create a new design.
- Import design - Upload a file from your computer.
- Save - Save the open design. Greyed out means there are no changes to save.
- Save as new - Save the open design as a new design.
- Generate stamp - Convert the open design into a stamp as a new design.
- Select objects - Switches the active tool select objects.
- Draw shape - Switches the active tool to draw the selected shape.
- Add image to design - Allows you to insert an image into your design from your computer.
- Undo/redo - Undo the previous action or redo it. Greyed out means there are no further undo/redo steps available.
- Fit to design - Shrinks the artboard to the smallest size that encompases all design elements.
- Zoom controls - Zooms the viewport in and out on the design.
- Zoom selection - Lets you draw a selection box to zoom into.
- Boolean shape - Allows you to Union, Intersect, Difference, or Exclusion vector shapes.
- Snapping - Toggle object snapping.
- Outline scaling - We're not sure what this does yet!
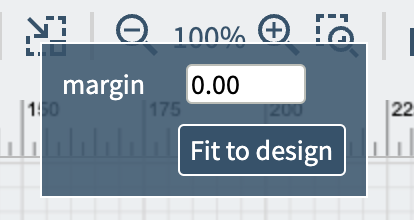
Fit to Design
As we created the whole design in Illustrator already the only thing we would probably want to do is reduce the size of the artboard to the design.
We could do this in Illustrator but Ruby offers a tool to do it automatically by selecting "Fit to design" in the toolbar which will prompt you for a margin size, we'll leave this as 0.00mm and click "Fit to design":
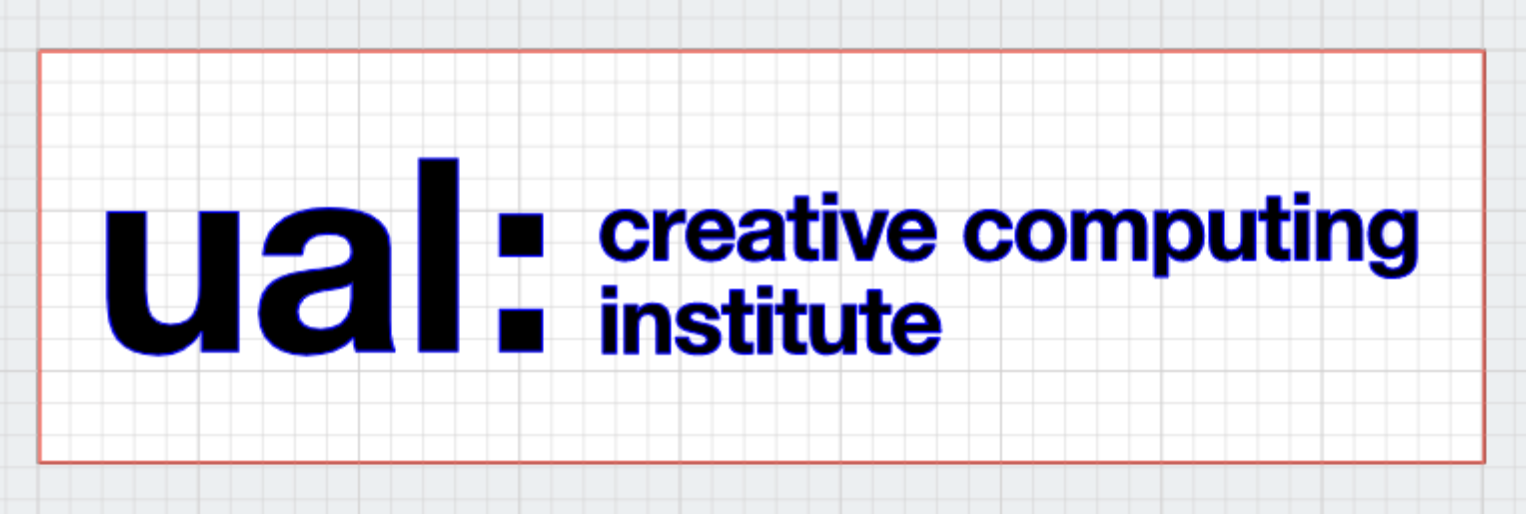
After you'll see the white area of your artboard has been made to perfectly fit the design we created, this might seem like a simple task, but it makes it easy to tightly pack multiple designs onto a piece of material.
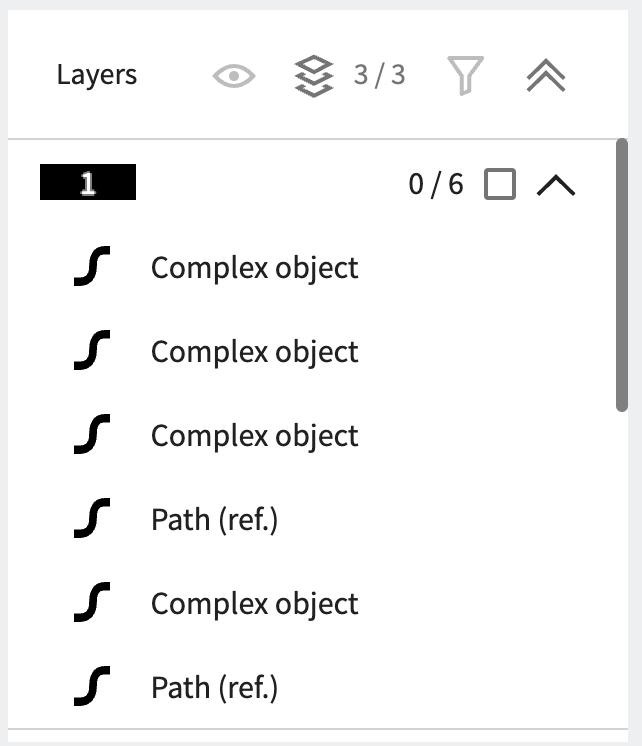
Check your layers
As we've already setup the original file with 3 primary RGB colours and it's a simple design there should be 3 layers.
Layers are different in Ruby to most drawing packages, they're basically a way of defining multiple tasks for the laser cutter, for example:
- Etch the black area
- Engrave the blue line
- Cut the red line
Changing colours / Merging layers
If any object is the wrong colour you can select it by clicking the object on screen or in the layers, you can select multiple by pressing Command or Control and clicking each object. Or you can select all objects in a layer by pressing the tickbox next to that layer in the layers area.
Once you've selected the object(s) you can change the colour by selecting from those listed:

Create Job
Once the design(s) are complete you can click "Create Job" to move to the Prepare Screen.
