Python with Anaconda (Install)
There are different ways to build Python environments. Deciding which option is the best one for you just depends on:
- How much storage space you have left in your computer.
- How familiar are you with using your command line
- General preference
So in this post, we are going to show you how you can install Anaconda Navigator:
We recommend using this installation route if:
- You prefer to have a graphical interface to interact with.
- You are not yet too familiar with the command line
- It is quite a heavy package, so you also need to be able to store it in your computer (at least 5GB)
- The conda command also has the alternative of miniconda for a light-weight install of the same package manager, but this involves a bit more useage of the command line as it does not come with the GUI (which we will cover in another post)
Please note that all of the steps mentioned on this page are recommended from original sources; try to follow them as faithfully as possible. If, in any step, something does not work as it should, contact a technician first before following any other instructions that need you to move things directly from your terminal.
Package versions in Anaconda are managed by the package management system conda which analyzes the current environment before executing an installation to avoid disrupting other frameworks and packages.
The Anaconda distribution comes with over 250 packages automatically installed. Over 7500 additional open-source packages can be installed from PyPI as well as the conda package and virtual environment manager.
It also includes a GUI (graphical user interface), Anaconda Navigator, as a graphical alternative to the command line interface. Anaconda Navigator is included in the Anaconda distribution, and allows users to launch applications and manage conda packages, environments and channels without using command-line commands.
For this reason, it is a very begginer friendly way of installing and managing Python environments.
Installing Anaconda navigator
This might be the first time you are ever learning to use package managers at all, but even if that is the case, is always good practice to check if there is anything in your computer that can already have Anaconda.
To see if anaconda is installed and working on your machine, the first thing we are going to do is open the terminal.
For Mac users
To open the terminal you can type the short cut Command + Space bar and Spotlight search should appear in your screen.
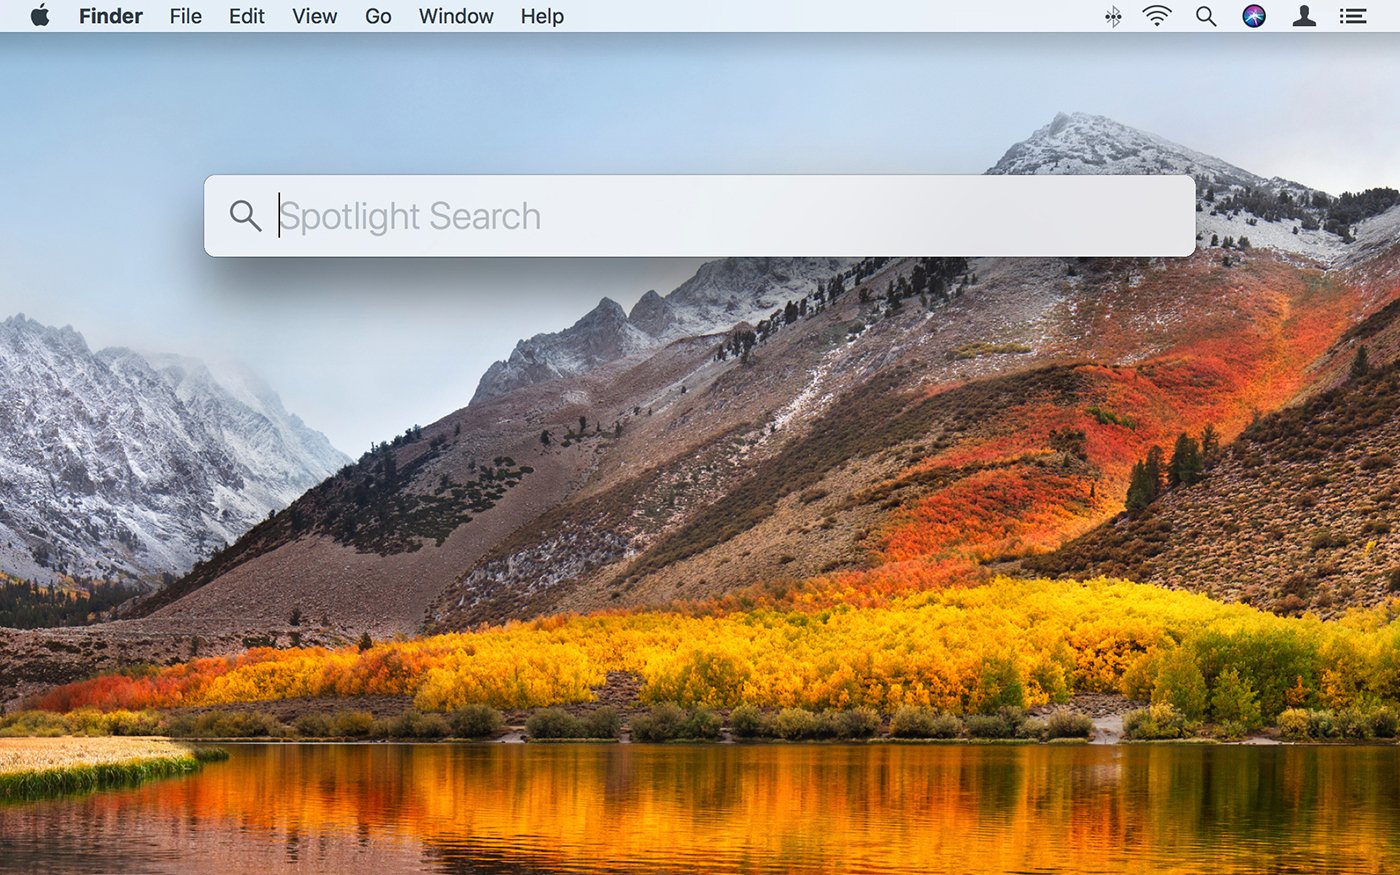
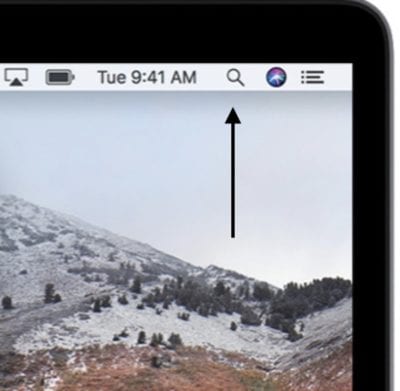
It should also be available in the top right corner of your screen, right next to where the time is displayed.
This is a shortcut to open any application on Mac. Once the spotlight search is enabled, you can type 'Terminal', to open your command line application.
If you have never used your command line and you are curious what you can do with it, we recommend you take a look at our previous jumpstart session on File systems and the command line.
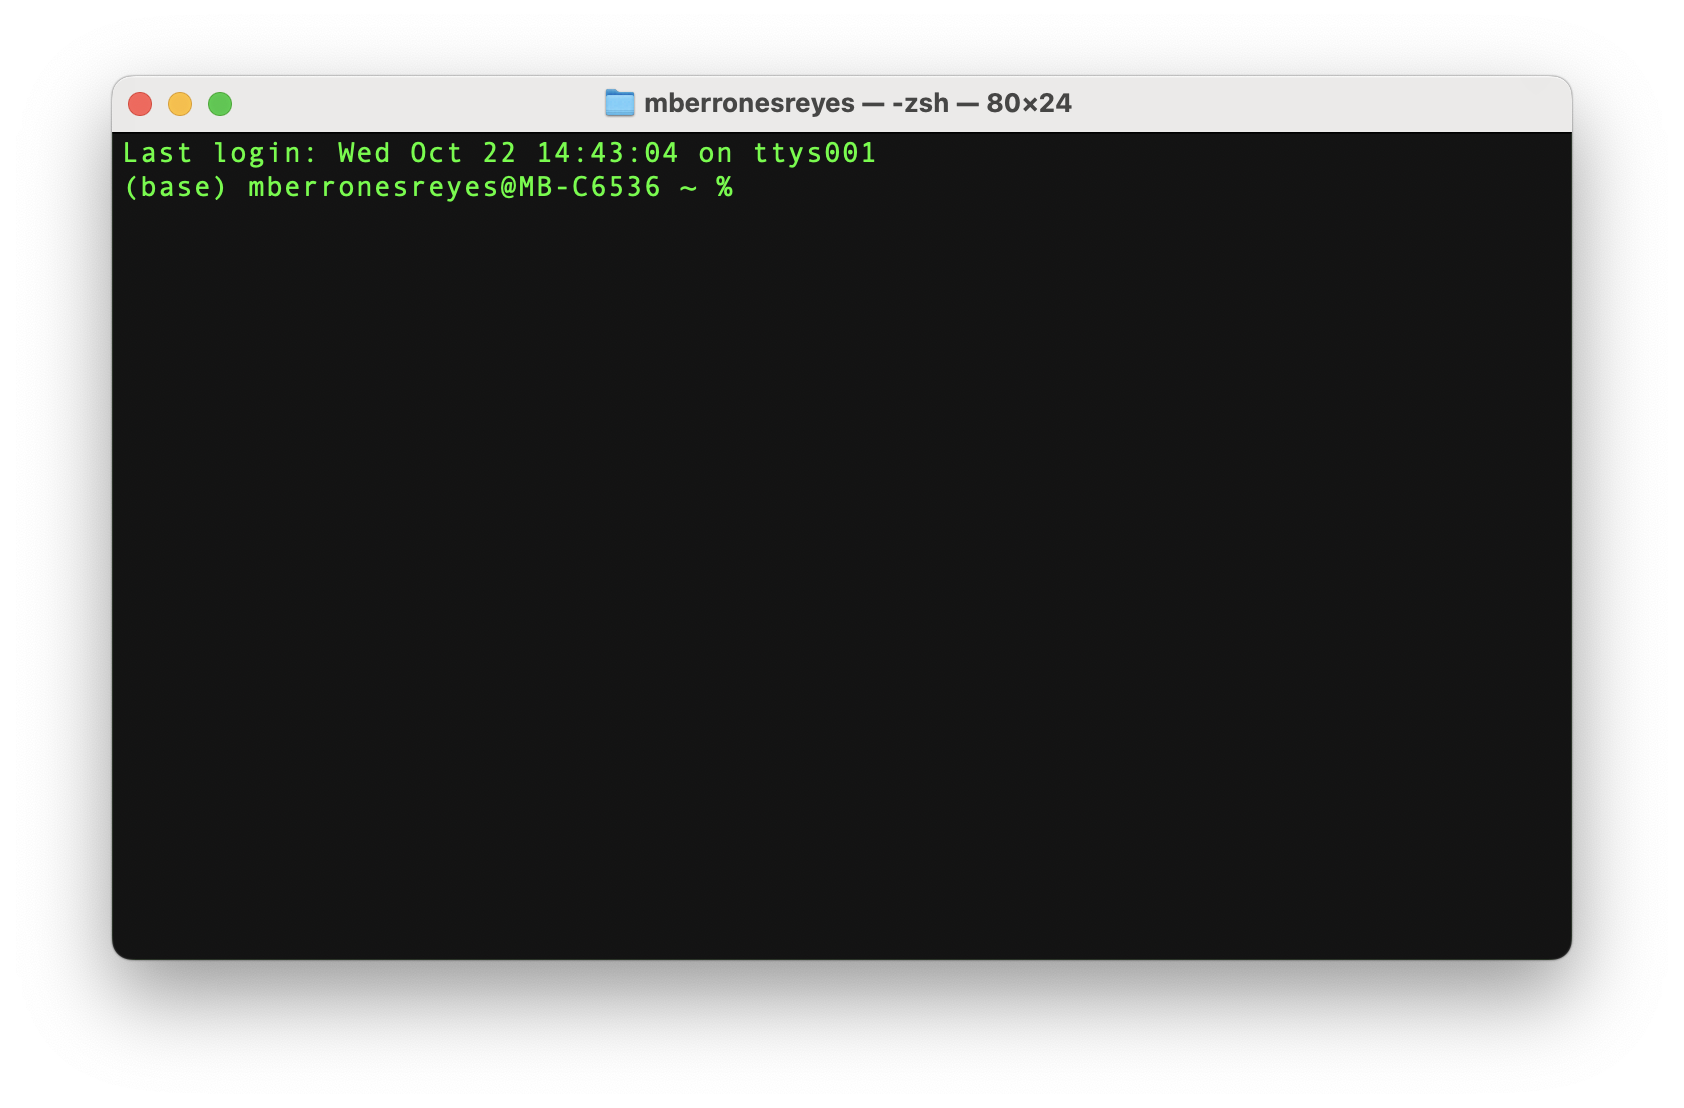
The first clue you are going to have is if when you open your terminal, it looks something like this. (base) will be in the front of your user name, to signal that you are inside of the Global environment. If you cant see anything that says (base) then we will try to search it mannually.
In the terminal, you will type the command conda and click Enter. In the next image, we can see that the command conda calls all of the different functions that Anaconda has built in. If you want to learn more about these commands, we recommend the following resources:

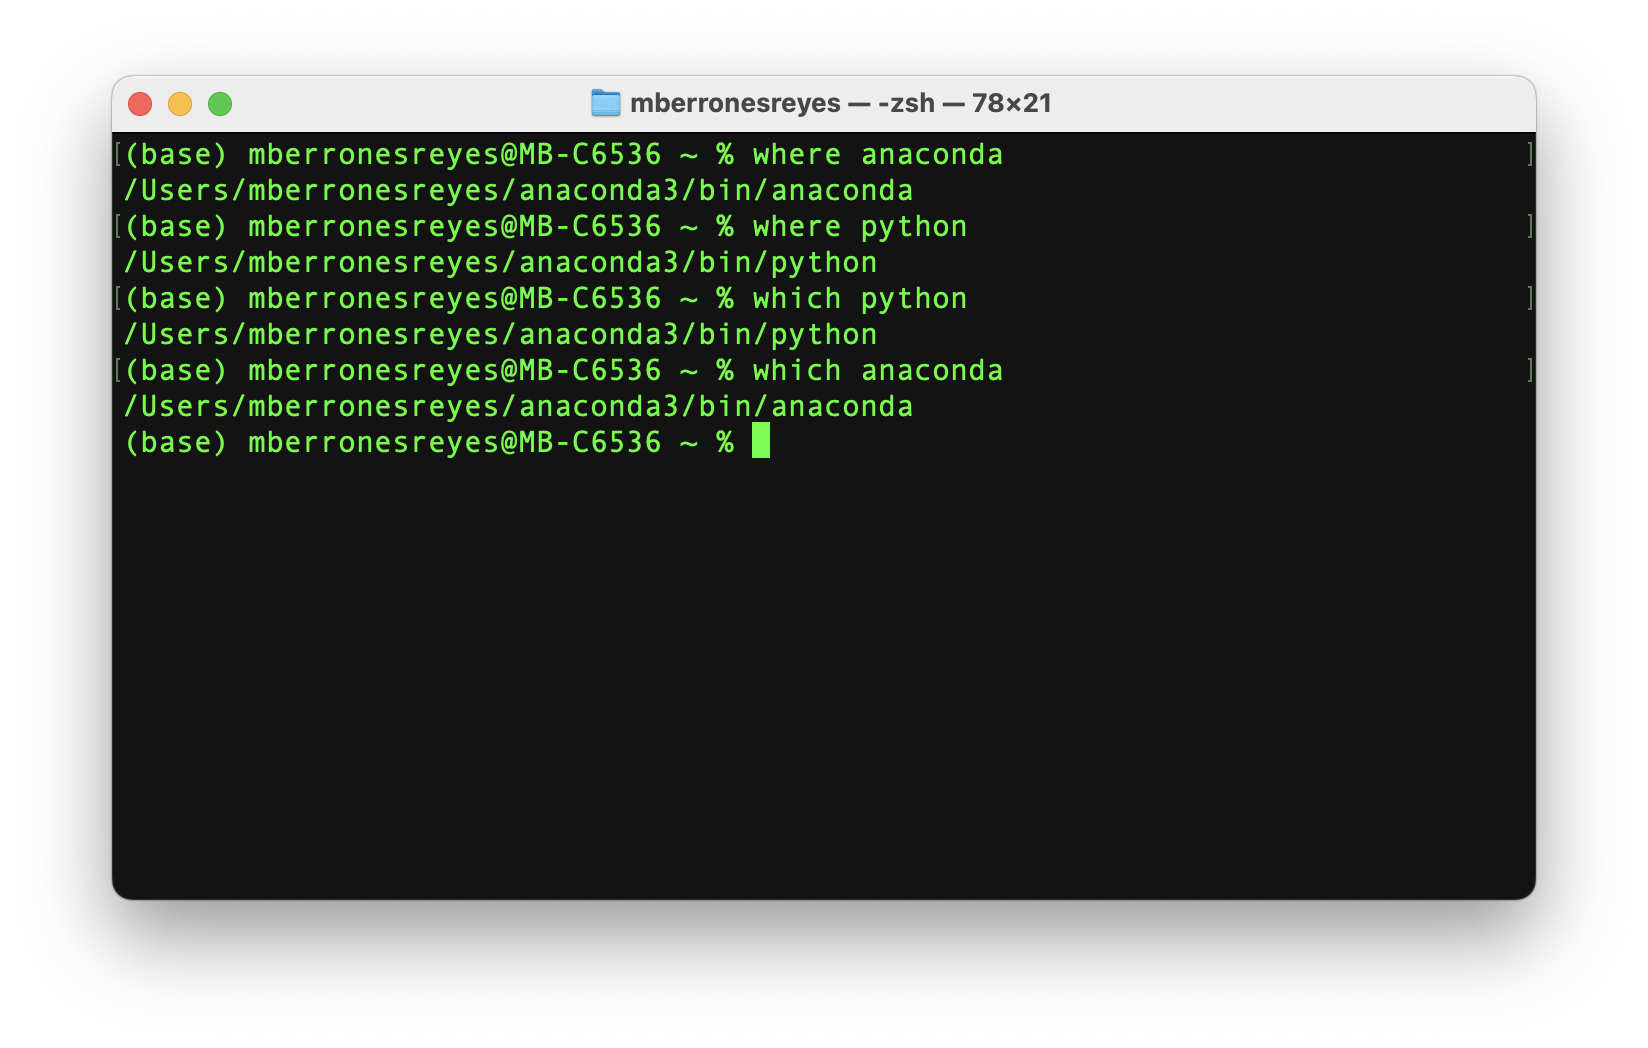
Another way that you can check in your command line where some software is stored is with the which or where command. Just type which anaconda or where anaconda in your terminal and clic Enter. If nothing is showing underneath the command you typed, then it means that it is not in your computer and we need to install it.
Installing from scratch:
Follow this link to the official Anaconda download page. Once you see a page similar to this:

You can go ahead and click on Get Started. It is going to ask you to sign in with your details, and if you do not have an account yet, it is going to ask you to create one with a valid email. This whole process is free of charge.
Once you completed the Log in process, it would automatically redirect you to a page that looks like this:
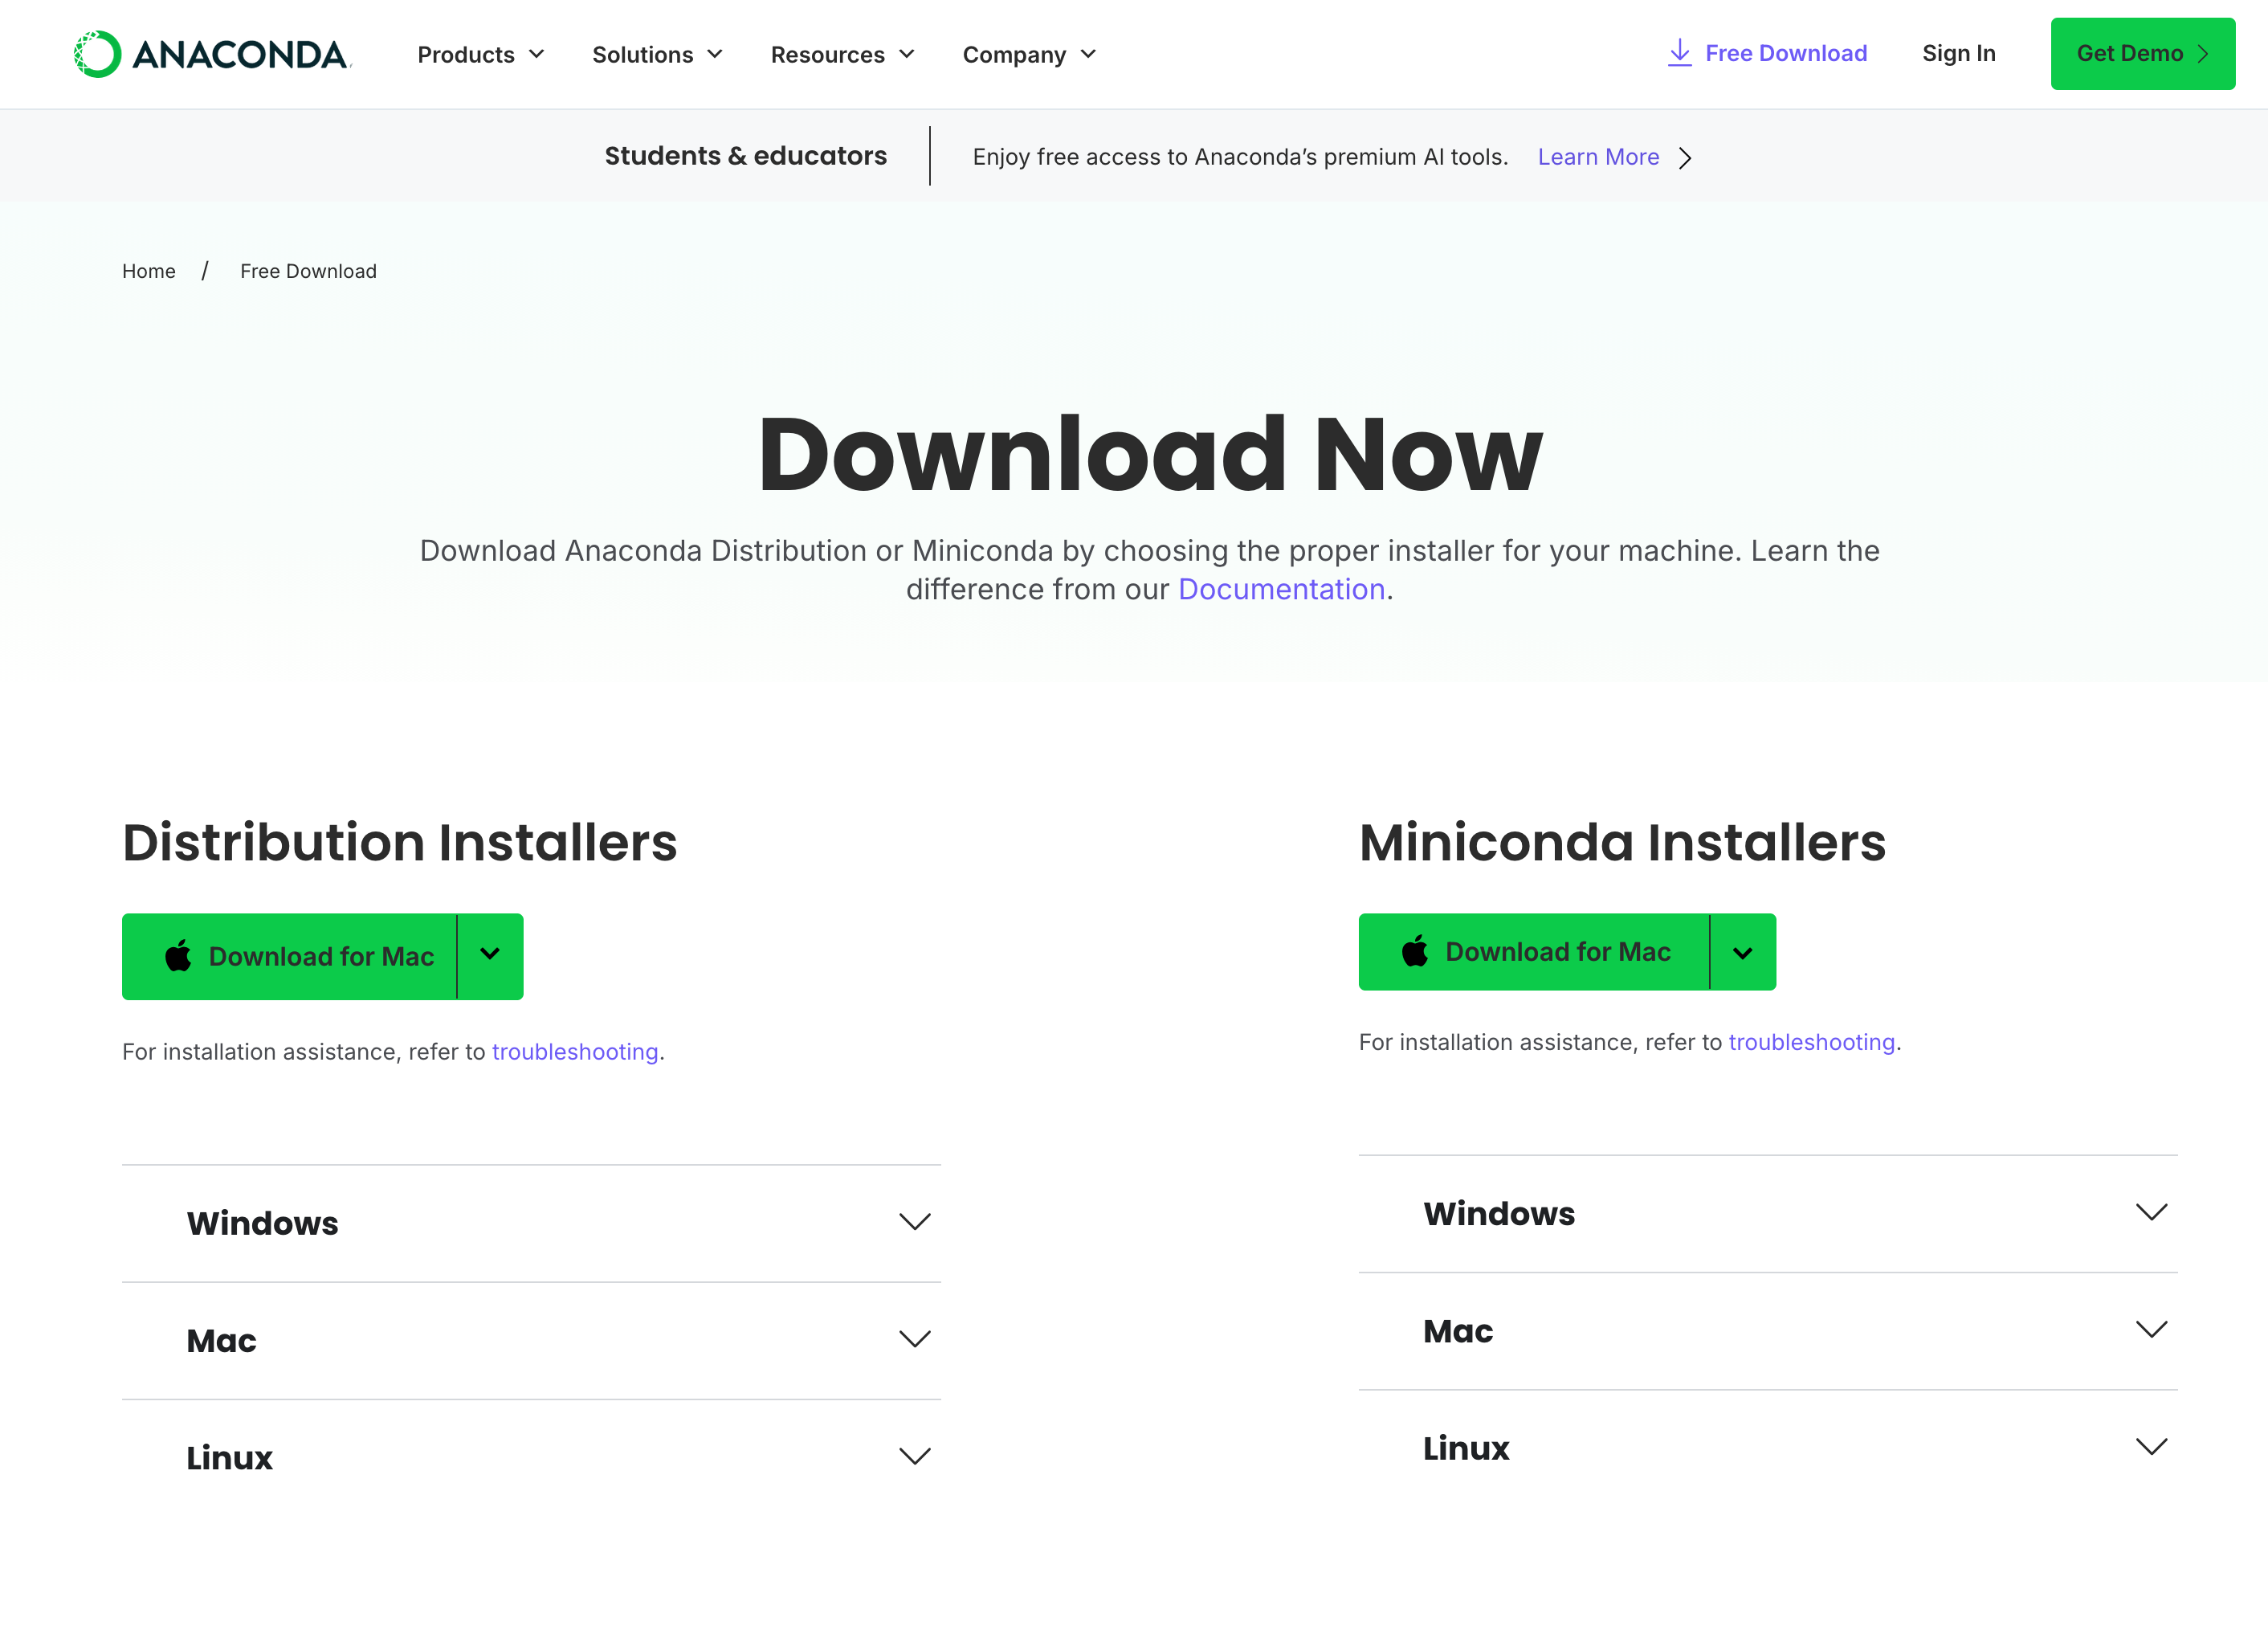
This is where you can either install the whole Anaconda distribution manager, or the miniconda installer. The choice again comes to preference and space on your computer.
Note: These two versions are from the same distribution and are widely used for data science and scientific computing. The main difference between the two is the size of the installation. Anaconda requires at least 5 GB of free disk space, while Miniconda only requires 400 MB (Something you need to take into consideration if you do not have enough space available on your computer). Anaconda comes with a large array of pre-installed packages and a very user-friendly graphical interface that can favor those who are not very familiar with the use of the terminal or command line prompts. Miniconda only includes the conda function and Python in its installation.
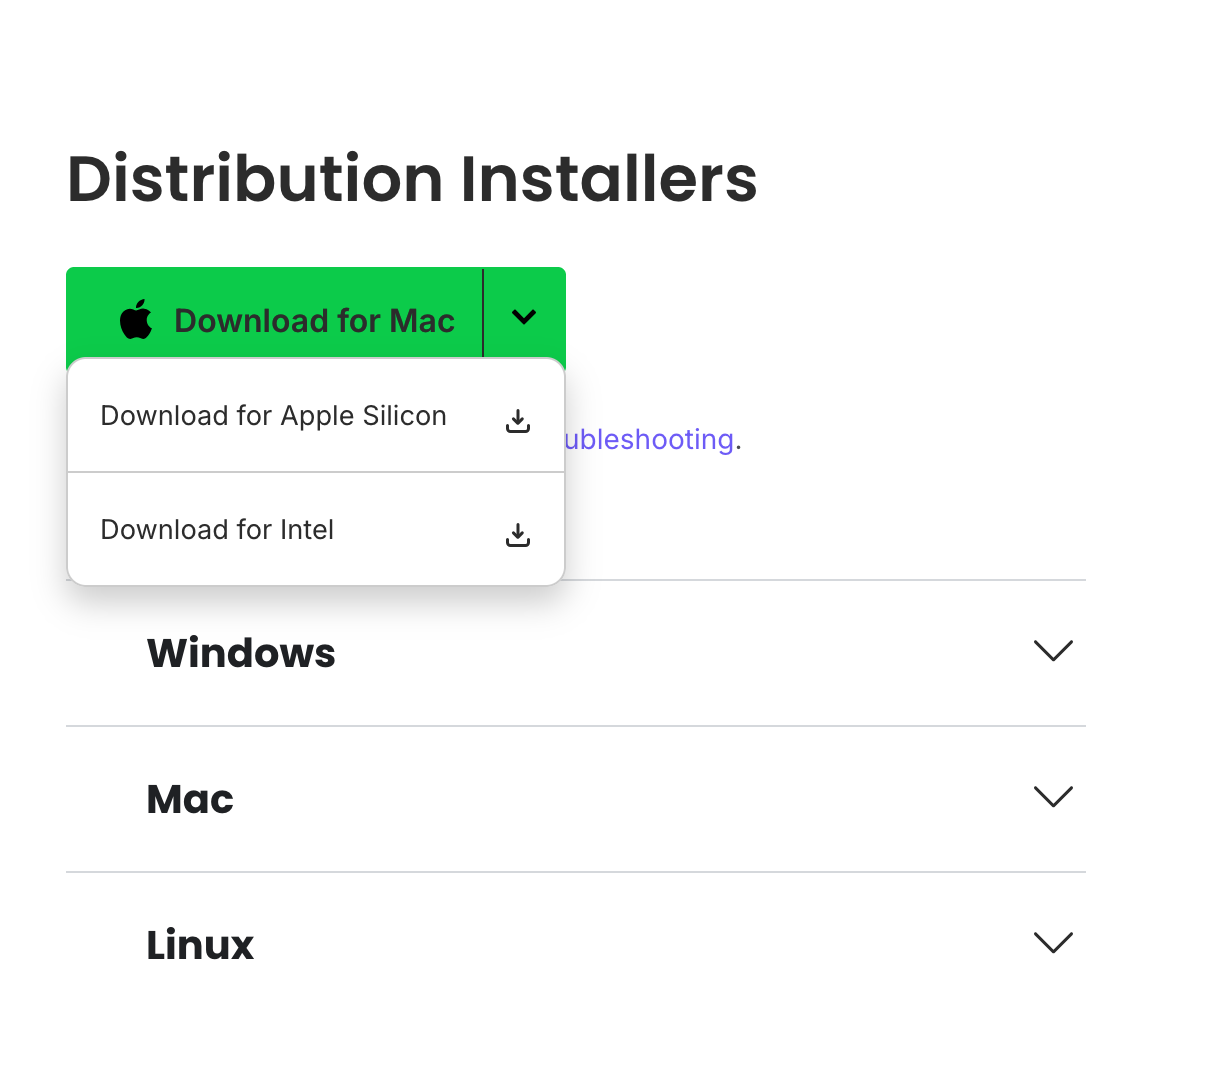
If you are unsure which Download you need, you need to know which chip is your computer running on. If its a computer older than 2020, it is more likely to run on an Intel chip. To check this, go to this page to check your hardware specs.
Since it is a bit of a heavy package, It might take a few minutes to complete (5 to 10 min) so in the meantime, if you have not already, you can have a look at some other resources that might be helpful:
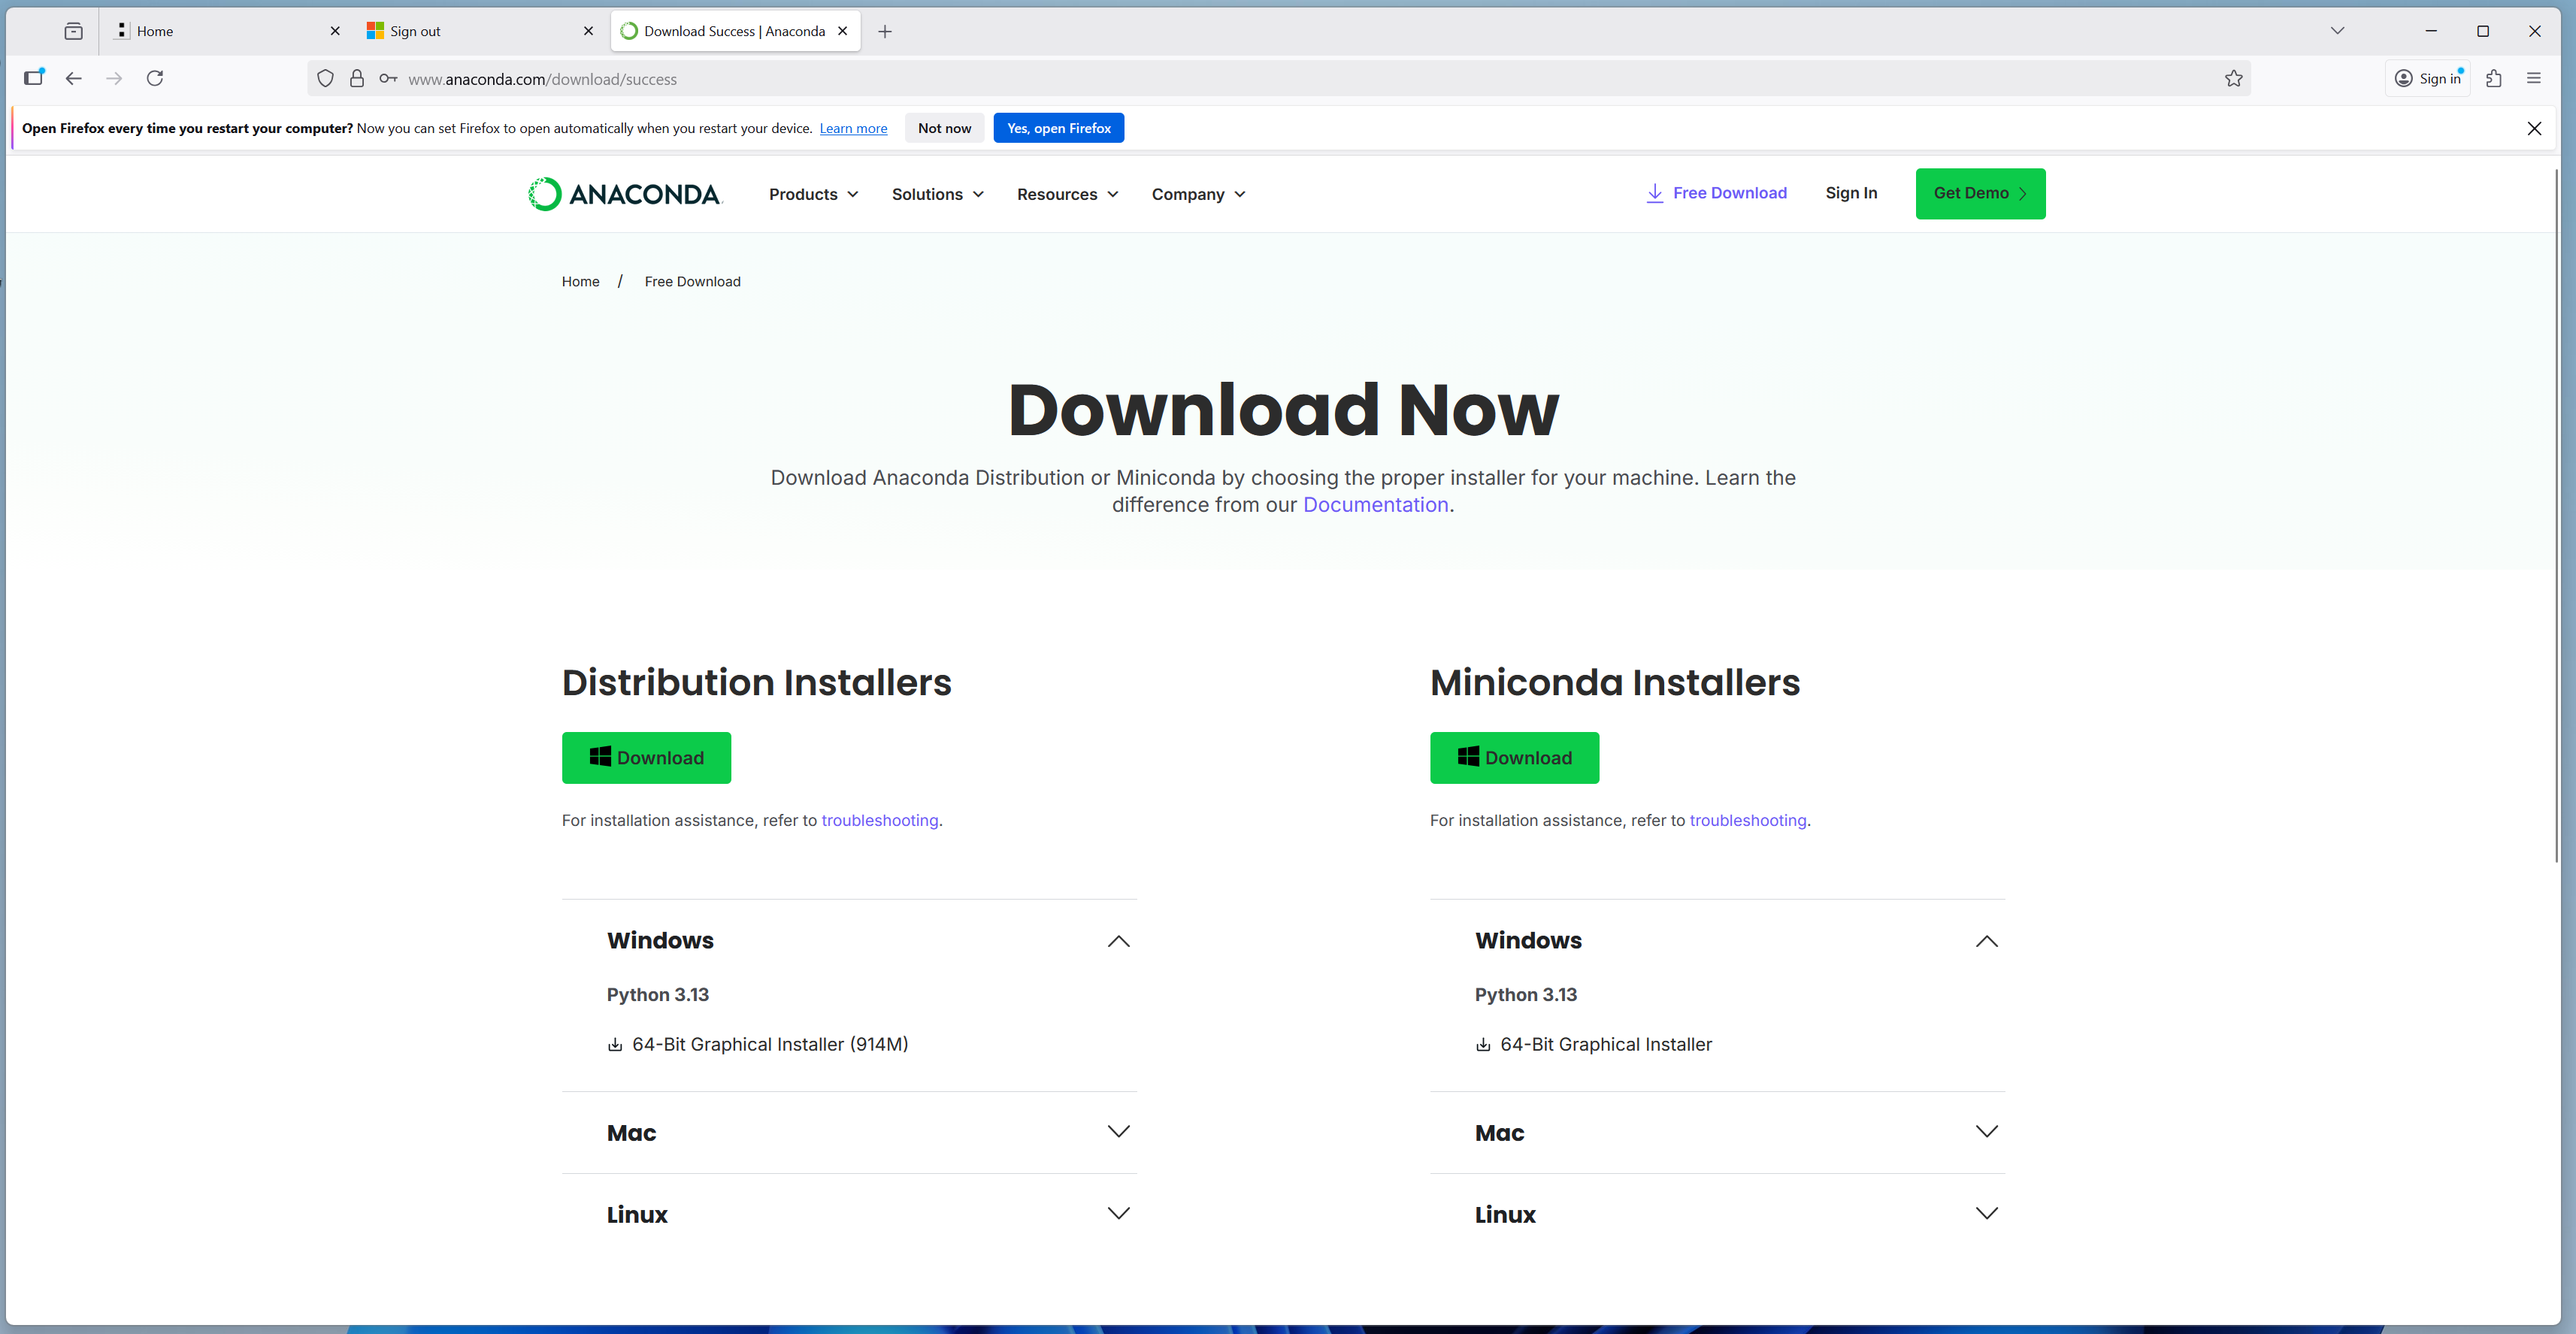
For Windows users:
For Windows, there is only one universal installer, so it does not matter the version of Windows that you are using. It is only important to know that it is only available for the 64-bit version (What is 64-bit). If your computer is a 32-bit, please look into the Anaconda archive.
Follow the installation process. Same as with the Python installation, this installer is going to ask you if you want to add this software to your path variables.
If you do not want to add Conda to your path variables, you can use the command prompt directly from the Anaconda Navigator. Otherwise, all the other Windows terminals will not have the `conda` prompt.