ComfyUI installation for Windows users
This guide is intended for both personal and CCI computers.
Installation
On CCI PCs we almost always install ComfyUI into the root folder of the `C:/ drive. You can find it in C:/ComfyUI folder.
If you are installing ComfyUI on your personal Windows machine, I would recommend installing via Windows Installer.
First check compatibility of your GPU drivers. Your GPU must be from Nvidia. To check if your drivers are correctly setup type in nvidia-smi in your Command Line/Terminal.
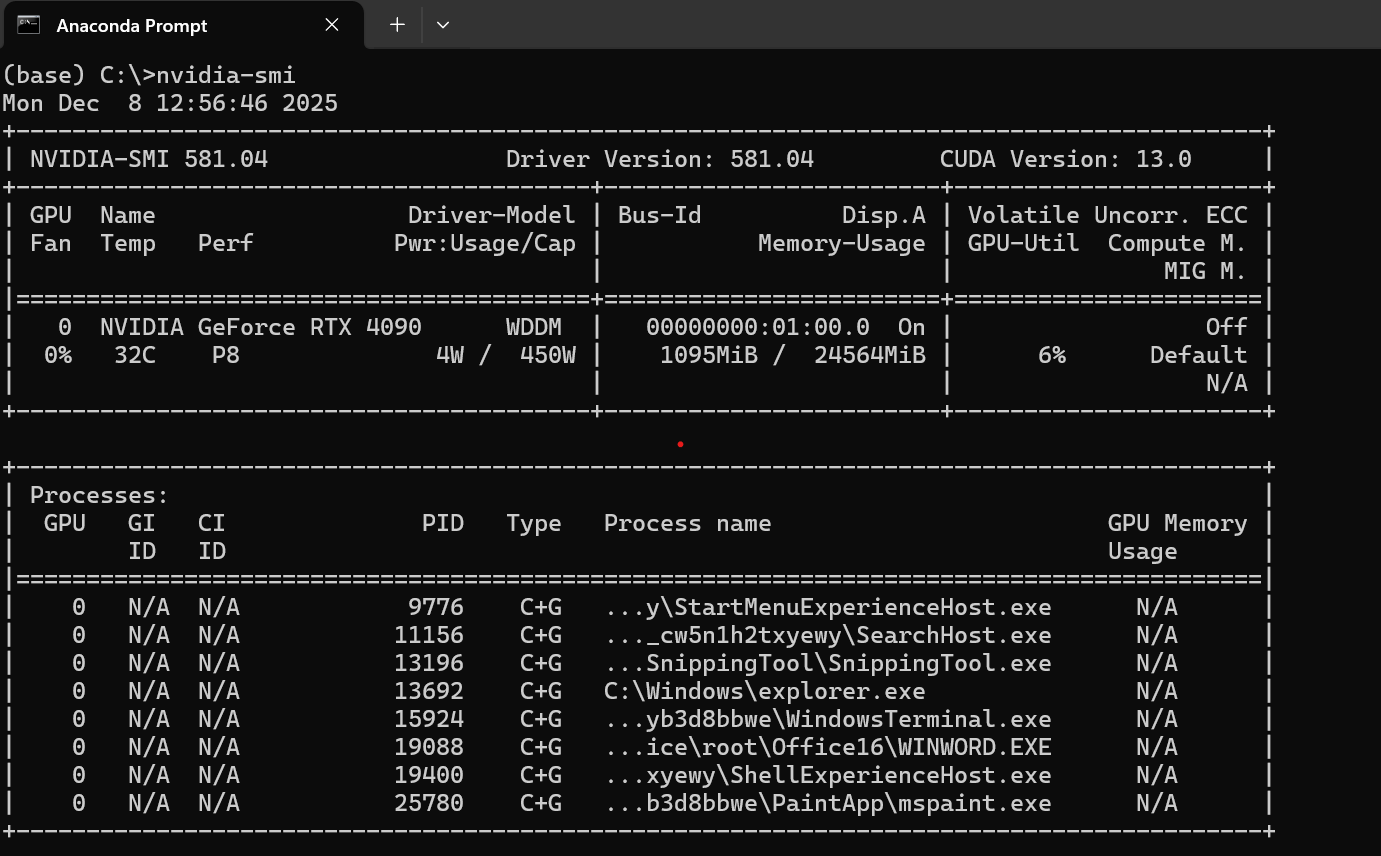
If you see something simular, it means you are good to go!
Head over to https://www.comfy.org/download and download Windows installer. Specify easy to find location for your ComfyUI installation.
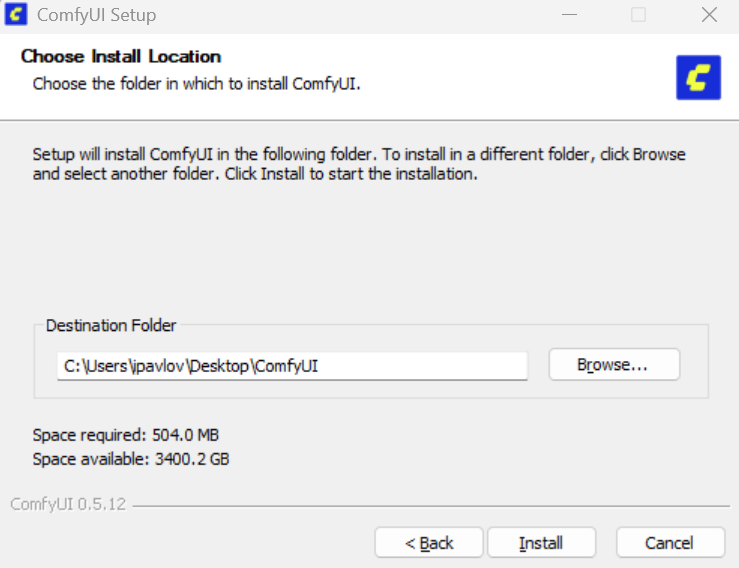
In this example I choose my Desktop as the installation directory.
Click install and you are ready! Well, almost.
ComfyUI Manager installation
This useful tool will allow you to browse and install models and custom node packs. It should be already installed on all CCI PCs with ComfyUI. So this part of the guide is only for people on their personal Windows machines.
Check that you have git installed. To do this simply type git in any terminal of your choosing.
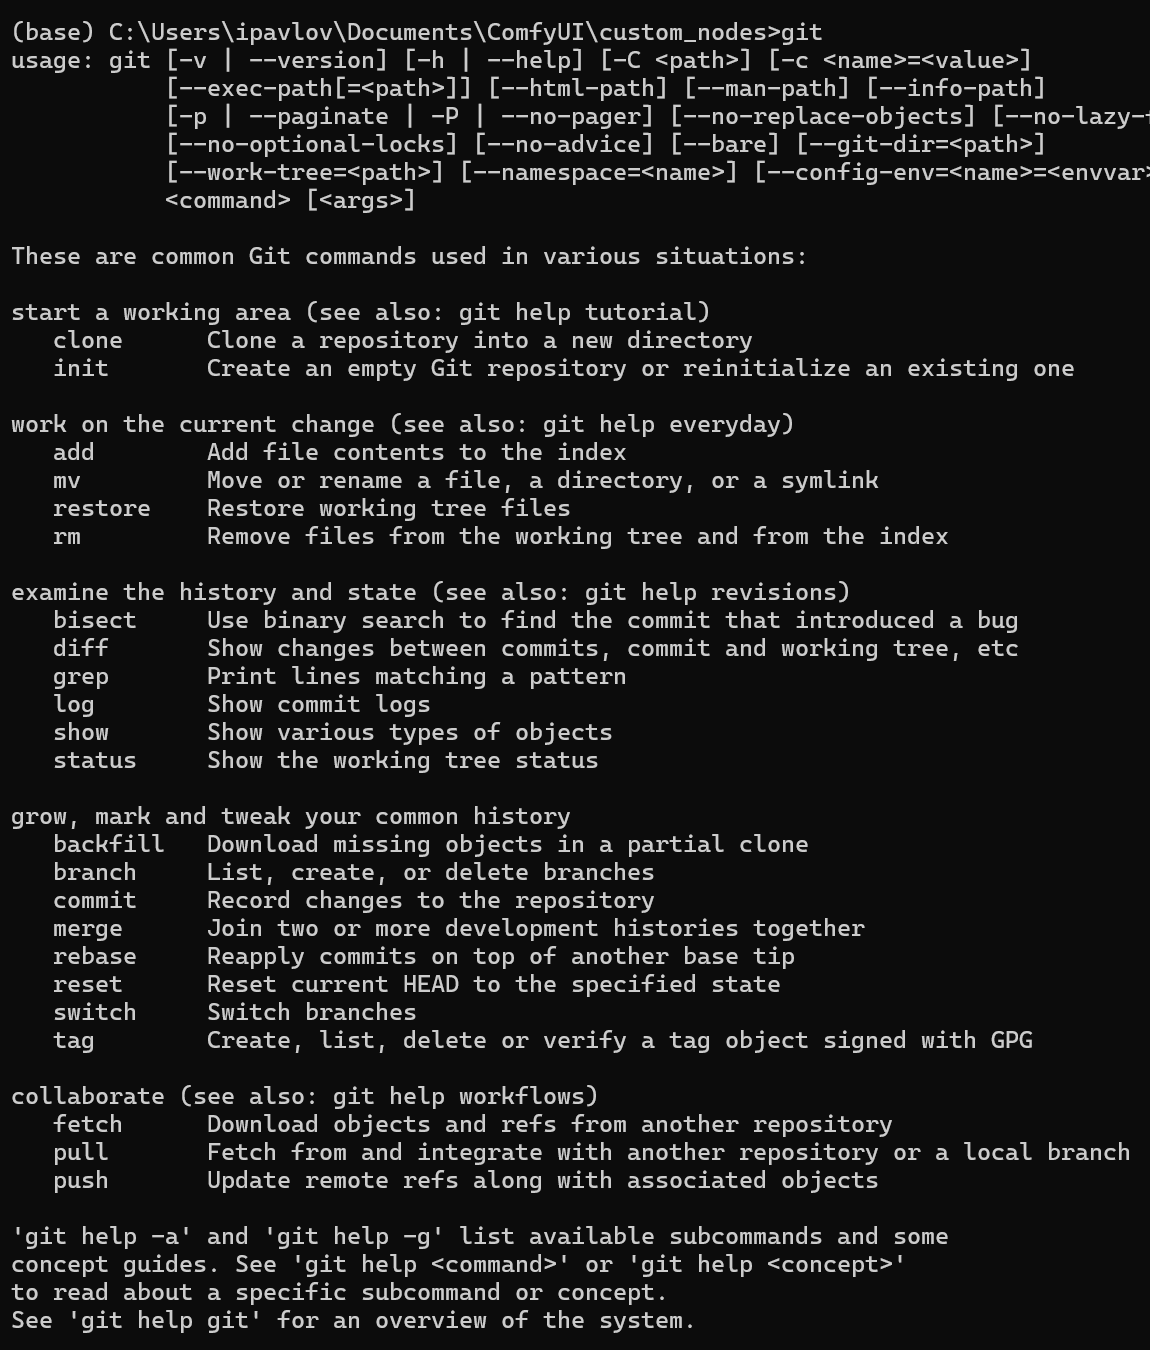
If you see something similar, that means git is installed.
Once git is ready, head over to Documents/ComfyUI/custom_nodes folder. ComfyUI installer actually creates two folders. One in specified installation directory and the other in your User's Documents folder.
Once you are in the correct folder, run git clone https://github.com/ltdrdata/ComfyUI-Manager comfyui-manager and restart your ComfyUI.
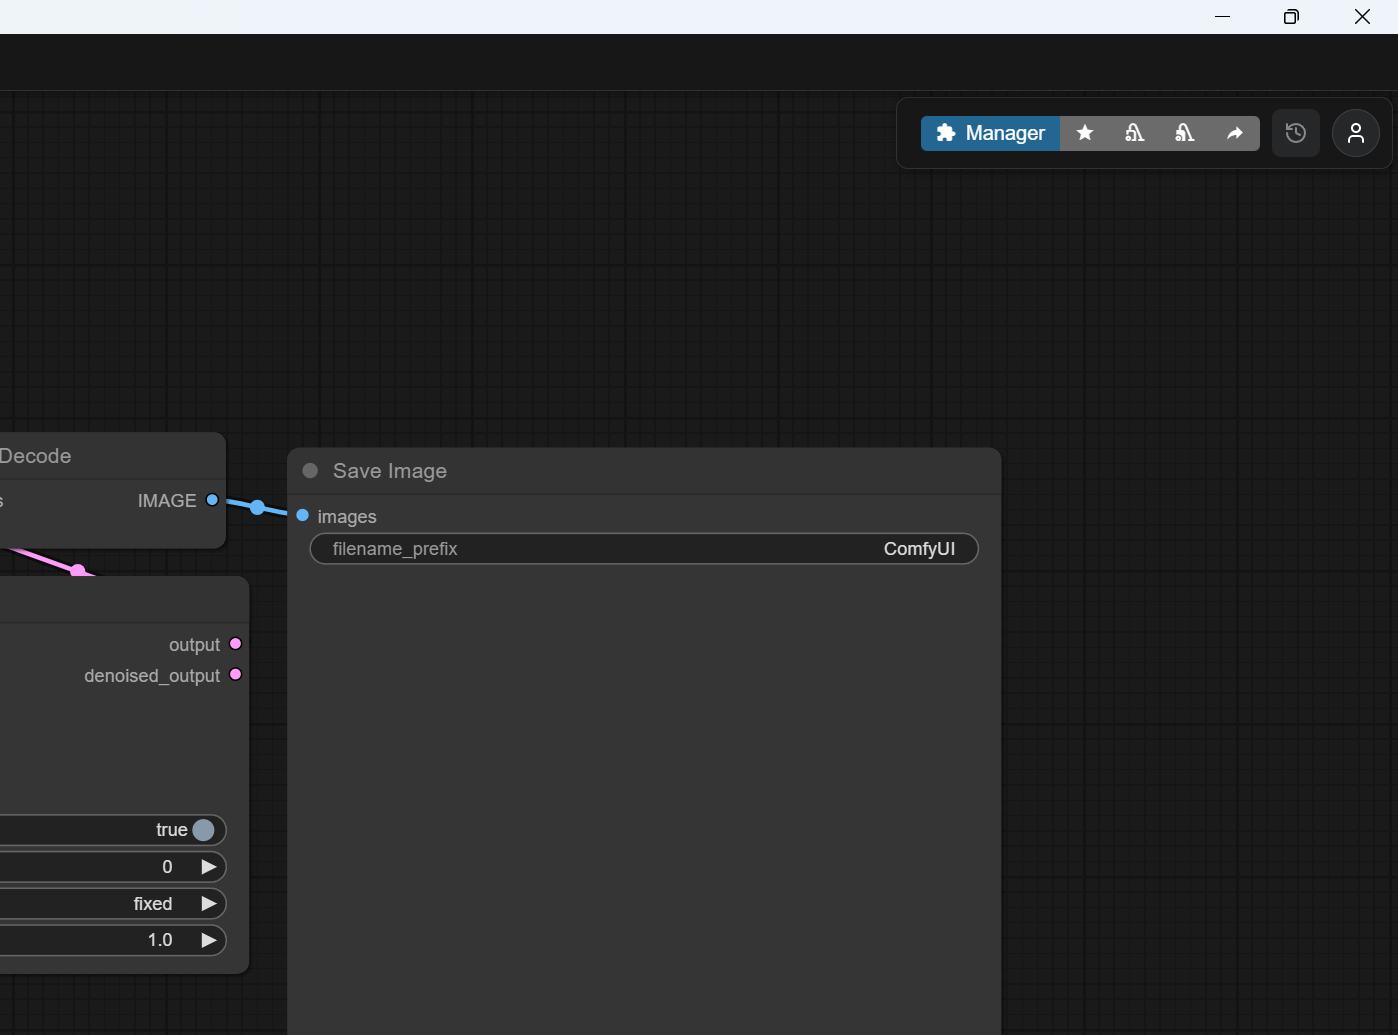
When you re-launch your ComfyUI you will see a new button in top-right corner.
Installing new models
If you click on the Templates button on the left side of the ComfyUI window,
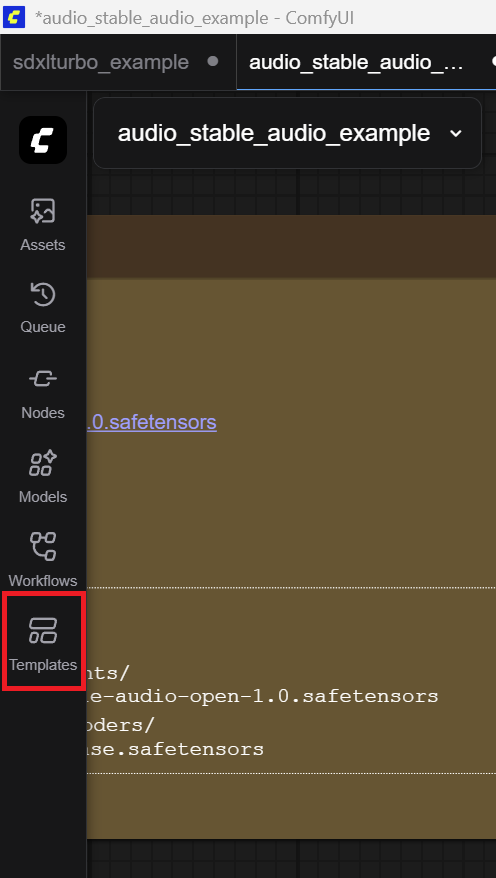
You will open the Templates window. Select the one your are the most interested in. For this example I will open Flux.2 Dev template.
Once you upon the template, you will be greeted by this warning:
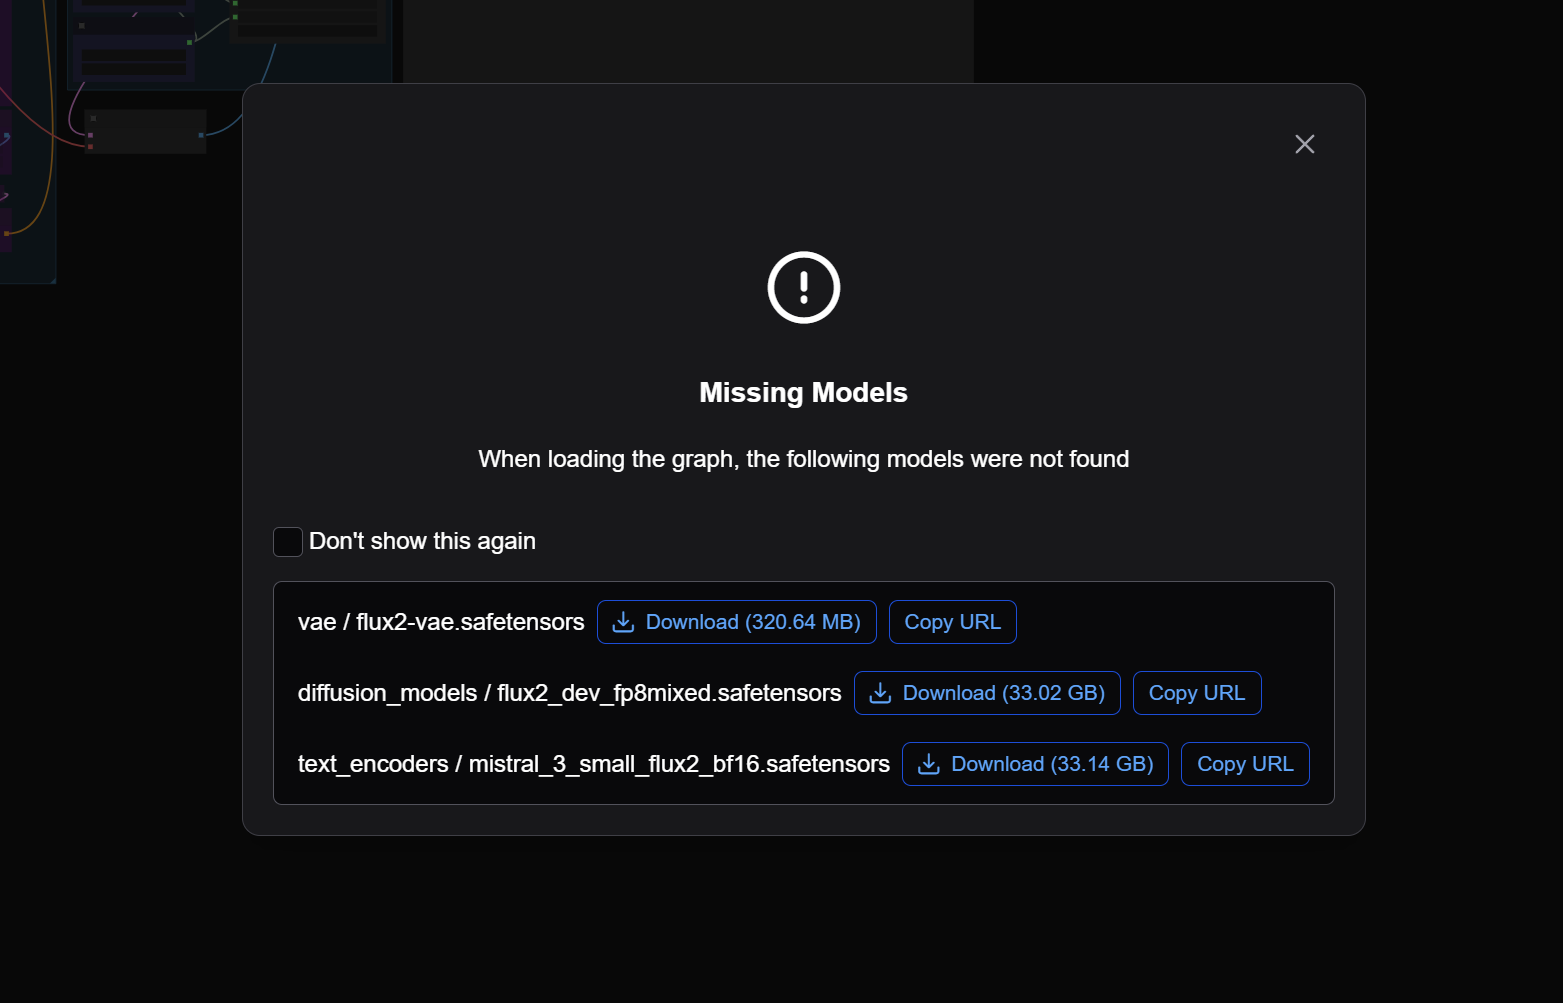
This basically says, that you are missing model files. Other template will be asking for different models and in different amounts. This only is asking for three.
Go ahead and download them.
Be careful, if you are not using CCI PCs for this ComfyUI will most likely download them into your installation folder. You actually need these files in ComfyUI folder located in your Documents. So the same one, we used to install ComfyUI manager.
If you are using CCI PC, it will start the download in your browser.
ComfyUI needs the model to be correctly placed, for it to detect it.
You need the downloaded models to models folder and after that to correct sub-folder.
On the example screenshot, you can see additional text to the left of a model's name. In the example's case, its vae, diffusion_models and text_encoders.
This shows the correct sub-folders you need to place the model files into.
So, if you are using CCI PC, you can find the models folder here: C:\ComfyUI\ComfyUI\models or C:\ComfyUI\models.
If you are using your own, you can find it Documents\ComfyUI\models.
Place the model files in correct sub-folders. Restart the ComfyUI. Open the template again and it should be ready to go.
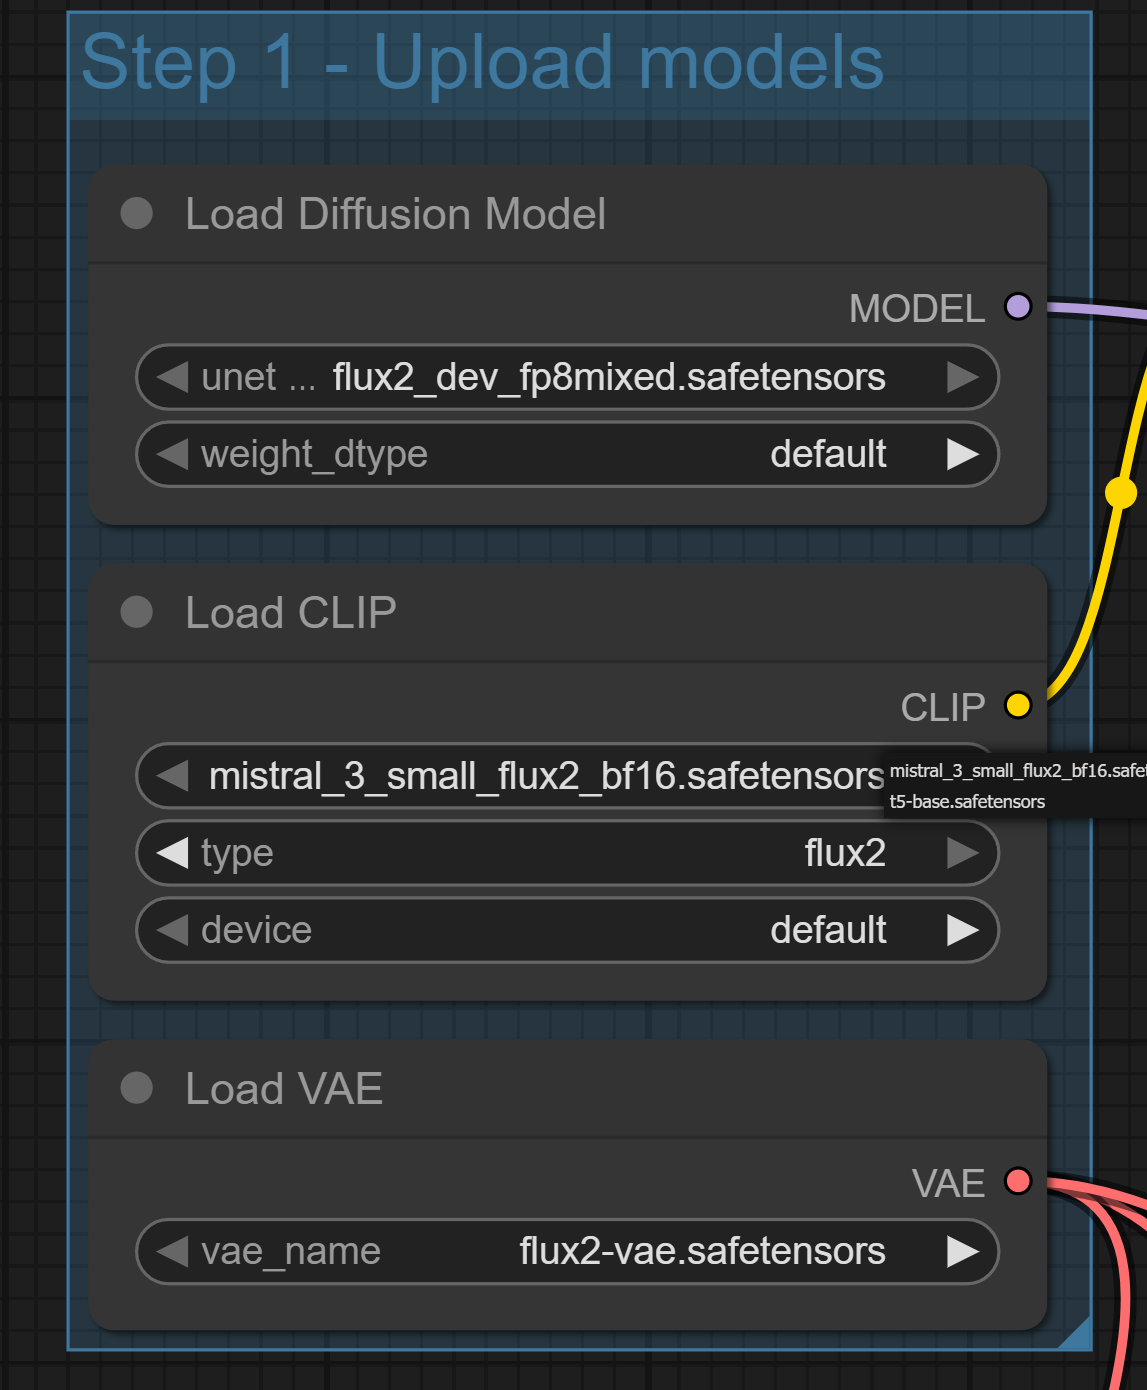
You can click the model name in the node to the appropriate model file.
Installing nodes
There is more to this, but to quickly install a node pack, navigate to ComfyUI Manager. Open Custom Nodes Manager. Look for the package and click Install.